
Salt Cookie Caramel Ice Cream
Remember that one food you had on a trip that was soSO good and you think about it all the time but you’ll probably never have it again?
For me, it was the summer of 2025… when my tongue first touched the sweet icy taste of the one and only Salt Cookie scoop from Blue Seal Ice Cream in Okinawa, Japan.
Because I am me, I knew immediately I wanted to recreate it at home—(or a version of it). I made sure to buy a WHOLE BUNCH of Salt Cookies, so I could satisfy my ice cream cravings from afar.
Chinsuko are a crumbly shortbread often with an addition of a “snow-like” powdery salt (yukishio) added to the dough. Super tasty omiage but an even better ice cream mix in!

The likelihood of you also having copious amounts of Chinsuko (salt cookie) souvenirs is quite low. However, this recipe will certainly work with any other regular cookie you might prefer.
To name a few alternate cookie options: Shortbread, Lady fingers, Lotus, etc. Get creative!
The base of this ice cream is a caramel base, which is different from Blue Seal’s. This is not meant to be a copycat recipe, but an inspired recipe, if you will.
Let’s make it.
Caramel Ice Cream Base:
250g Heavy Cream
400g 2% Milk
60g granulated sugar
75g corn syrup
60g skim milk powder
0.5g xanthan gum
3g vanilla bean paste
2g salt
50g Chinsuko (salted shortbread cookies), crushed
Prepare your ice cream maker by freezing the double insulated freezer bowl for 24 hours.
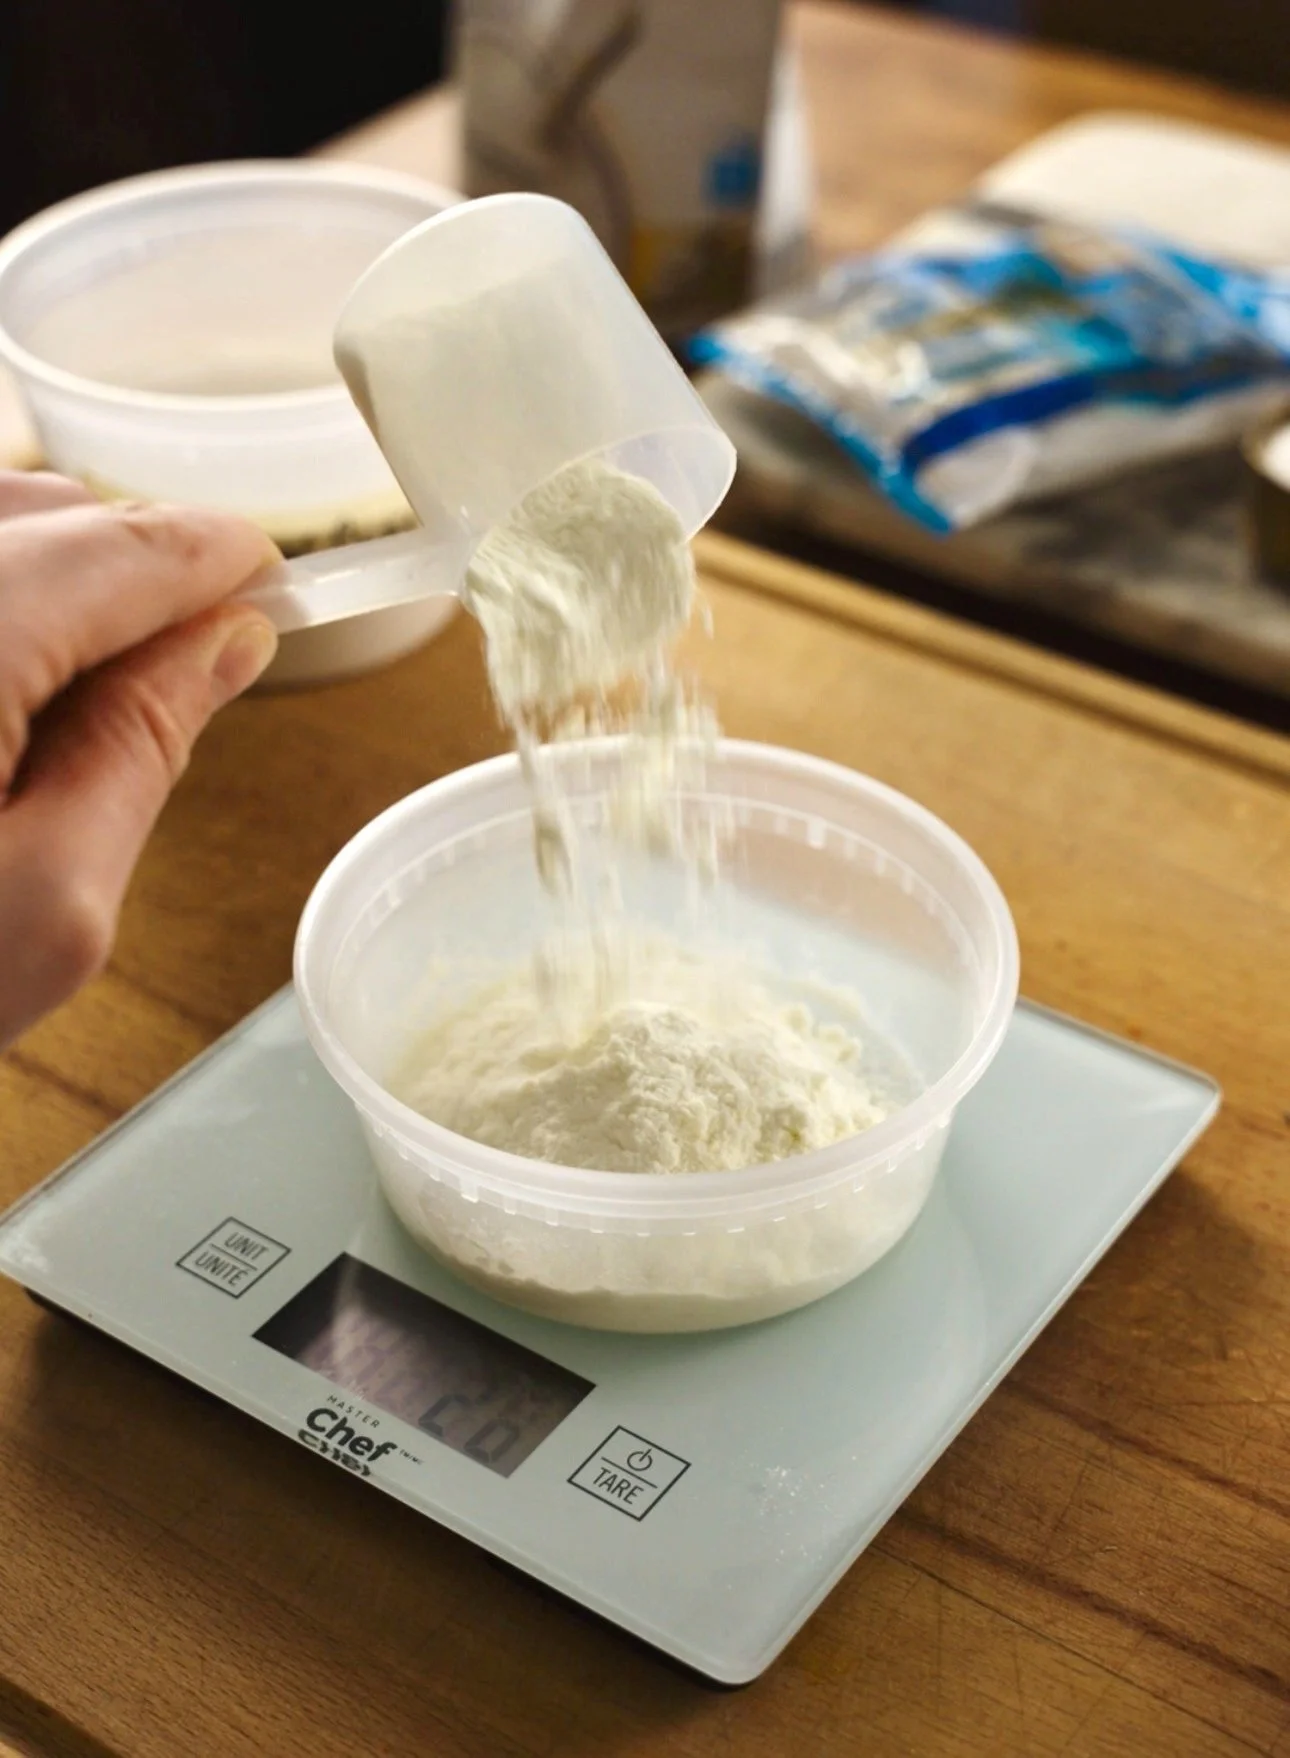
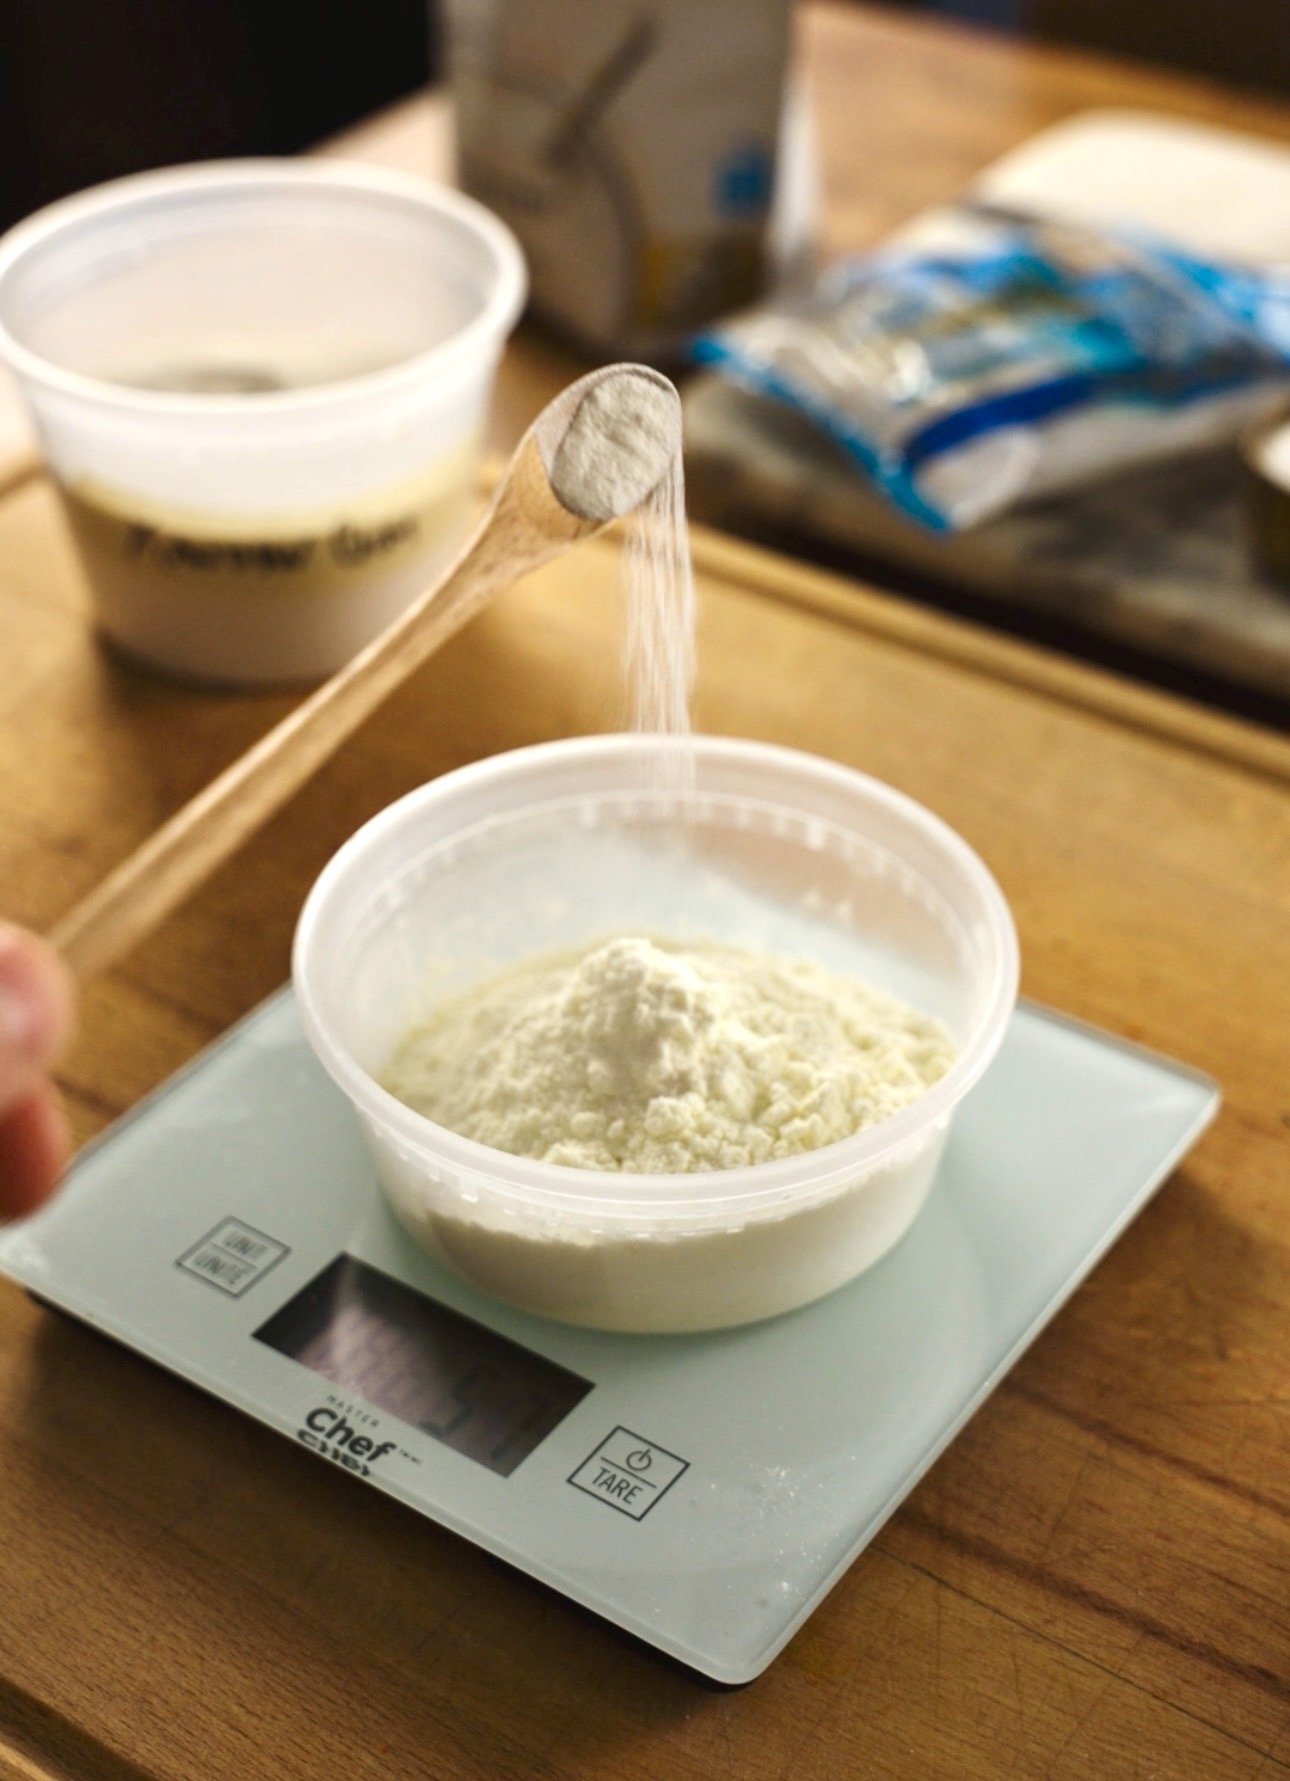
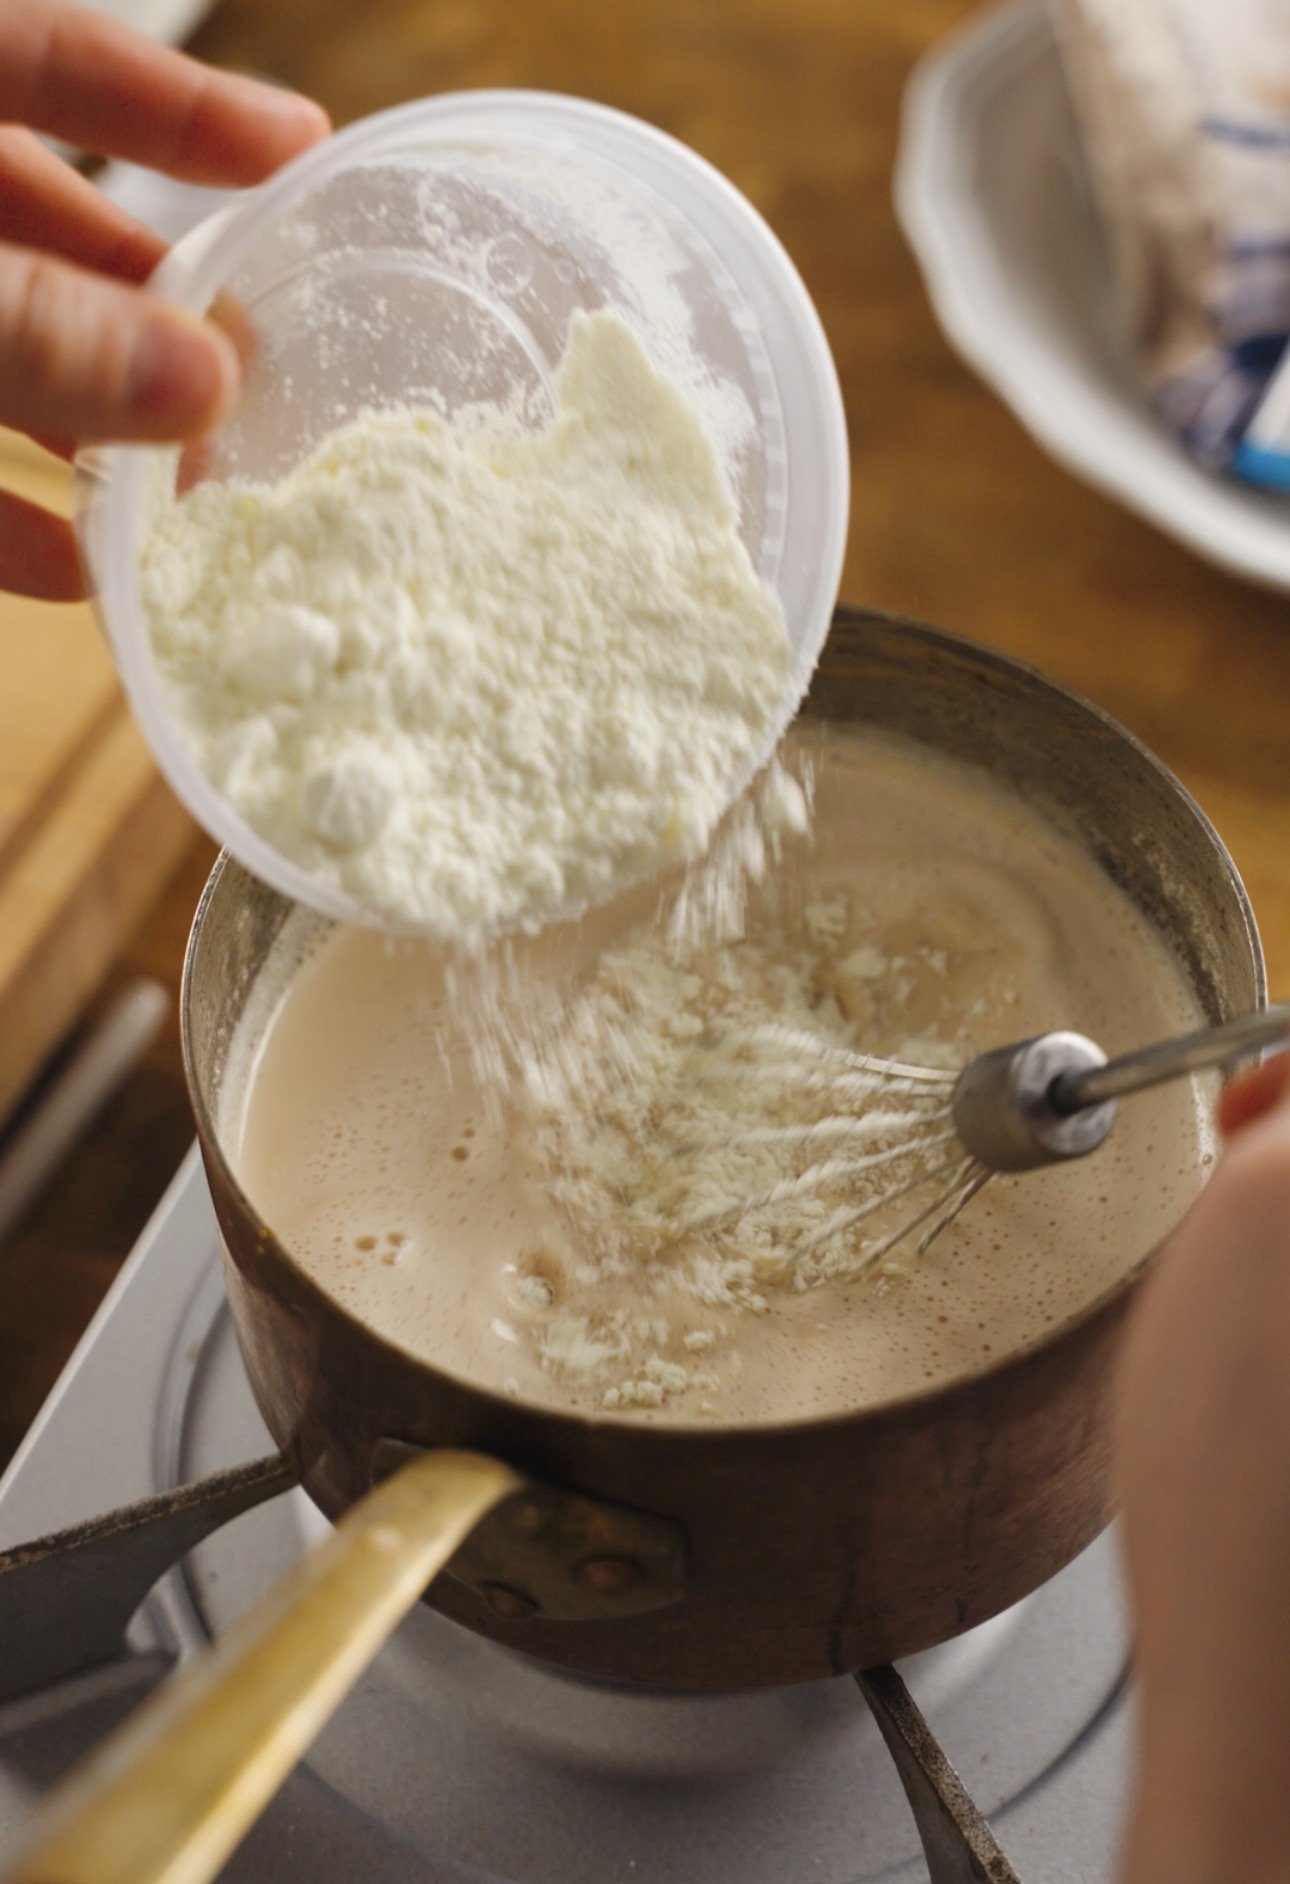
In a small bowl, add your skim milk powder, and xanthan gum (make sure it is measured out precisely) stir to disperse the xanthan gum into the powder. This prevents clumping when we add it to the liquid!
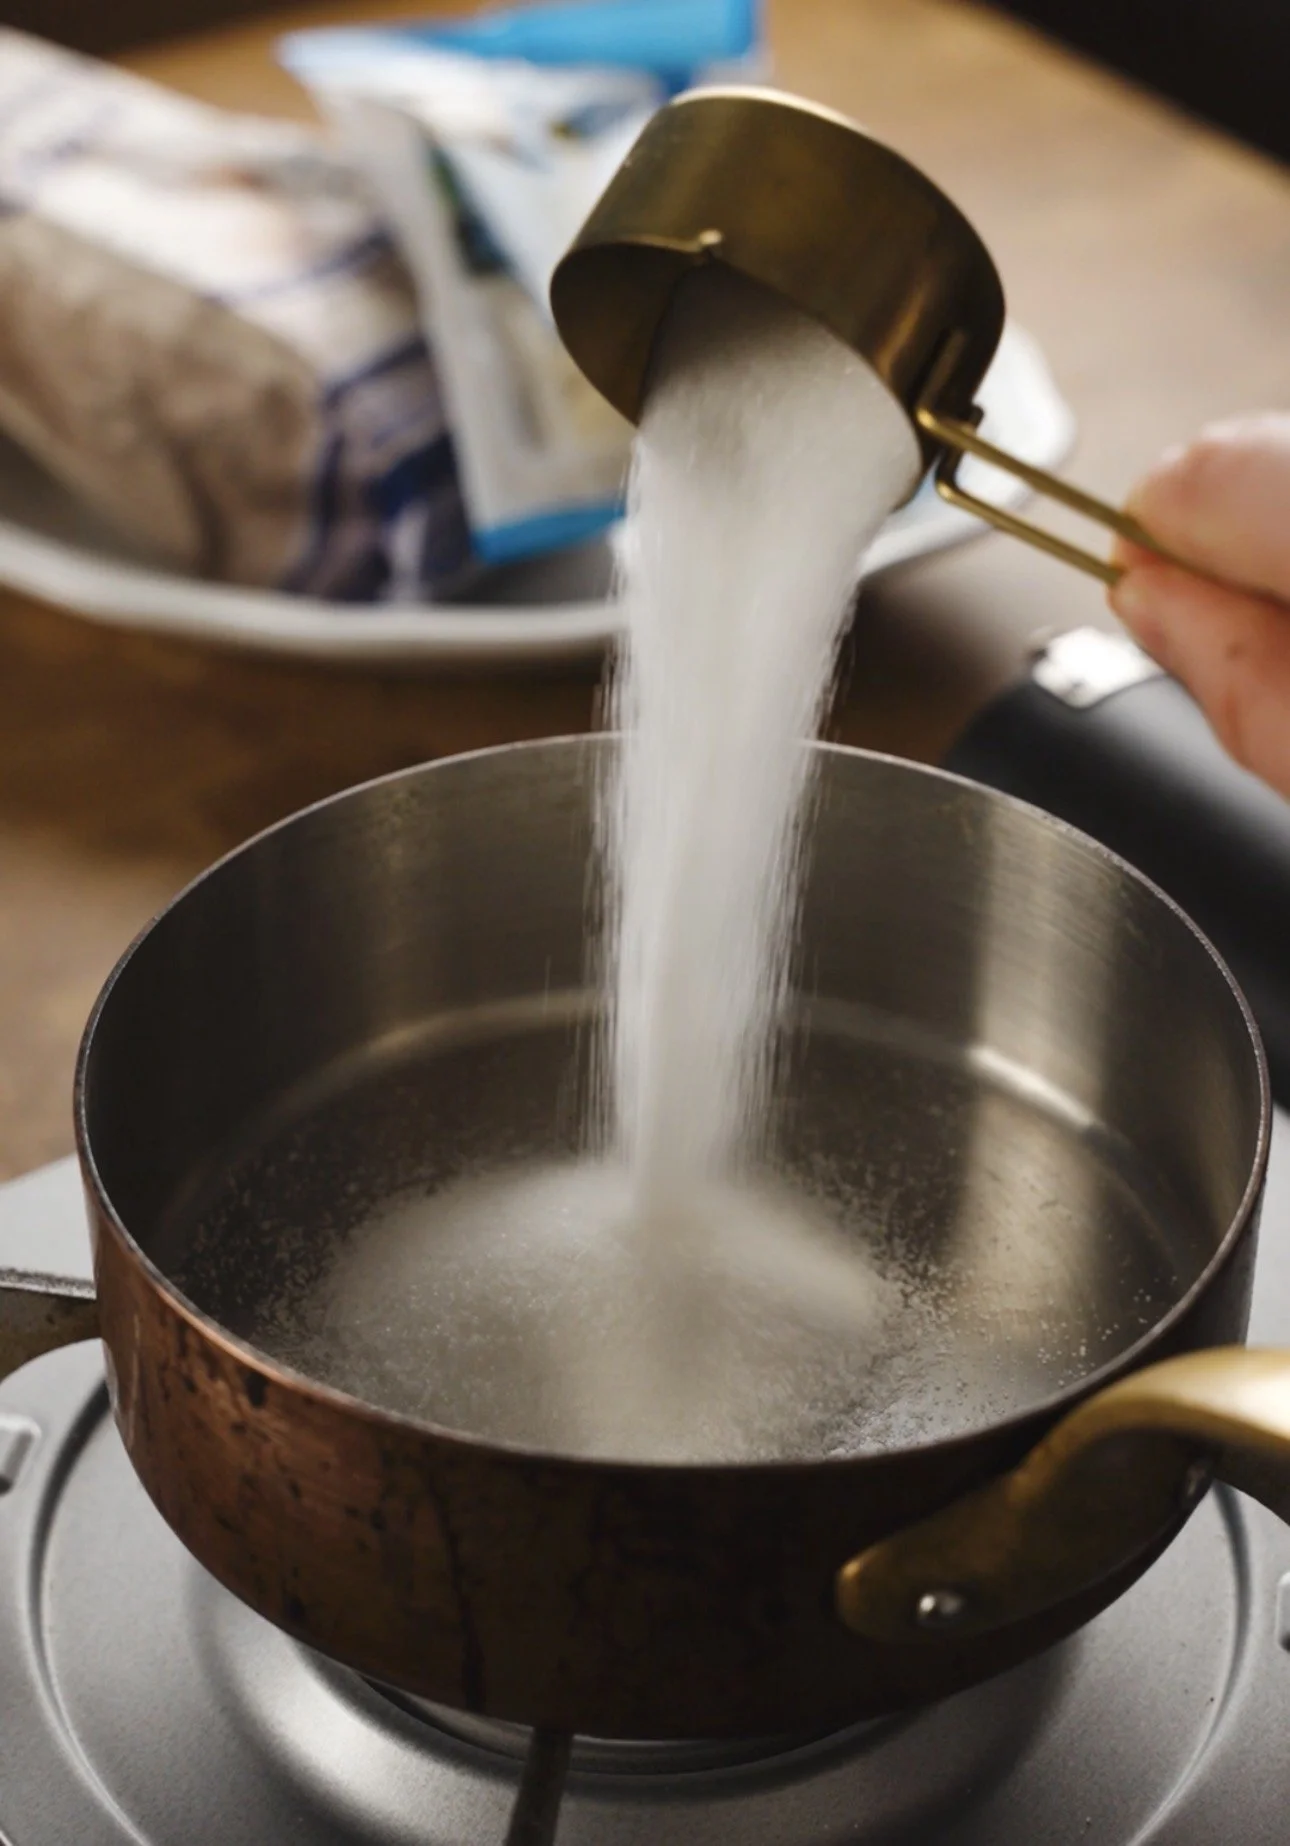
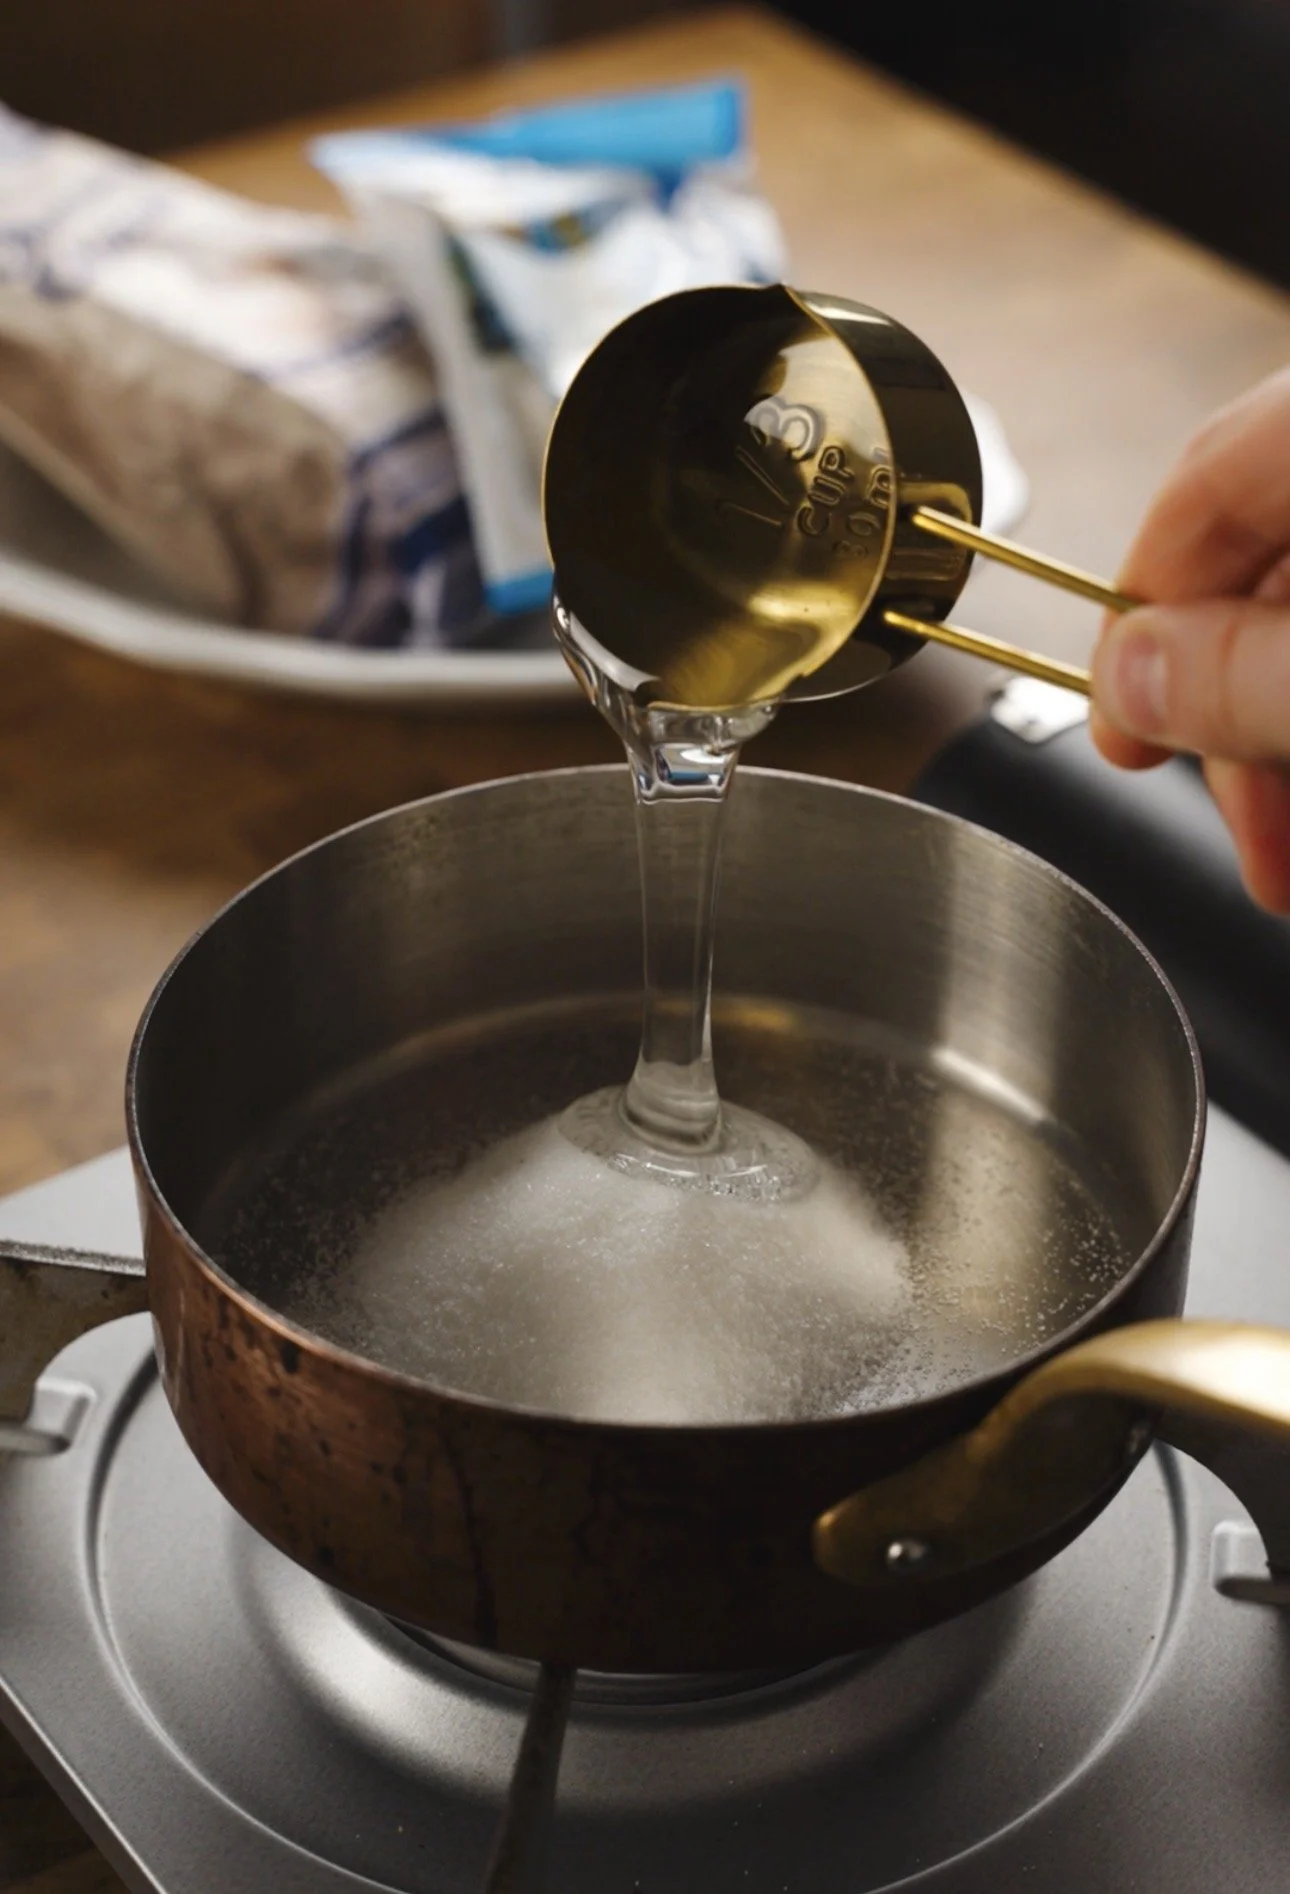
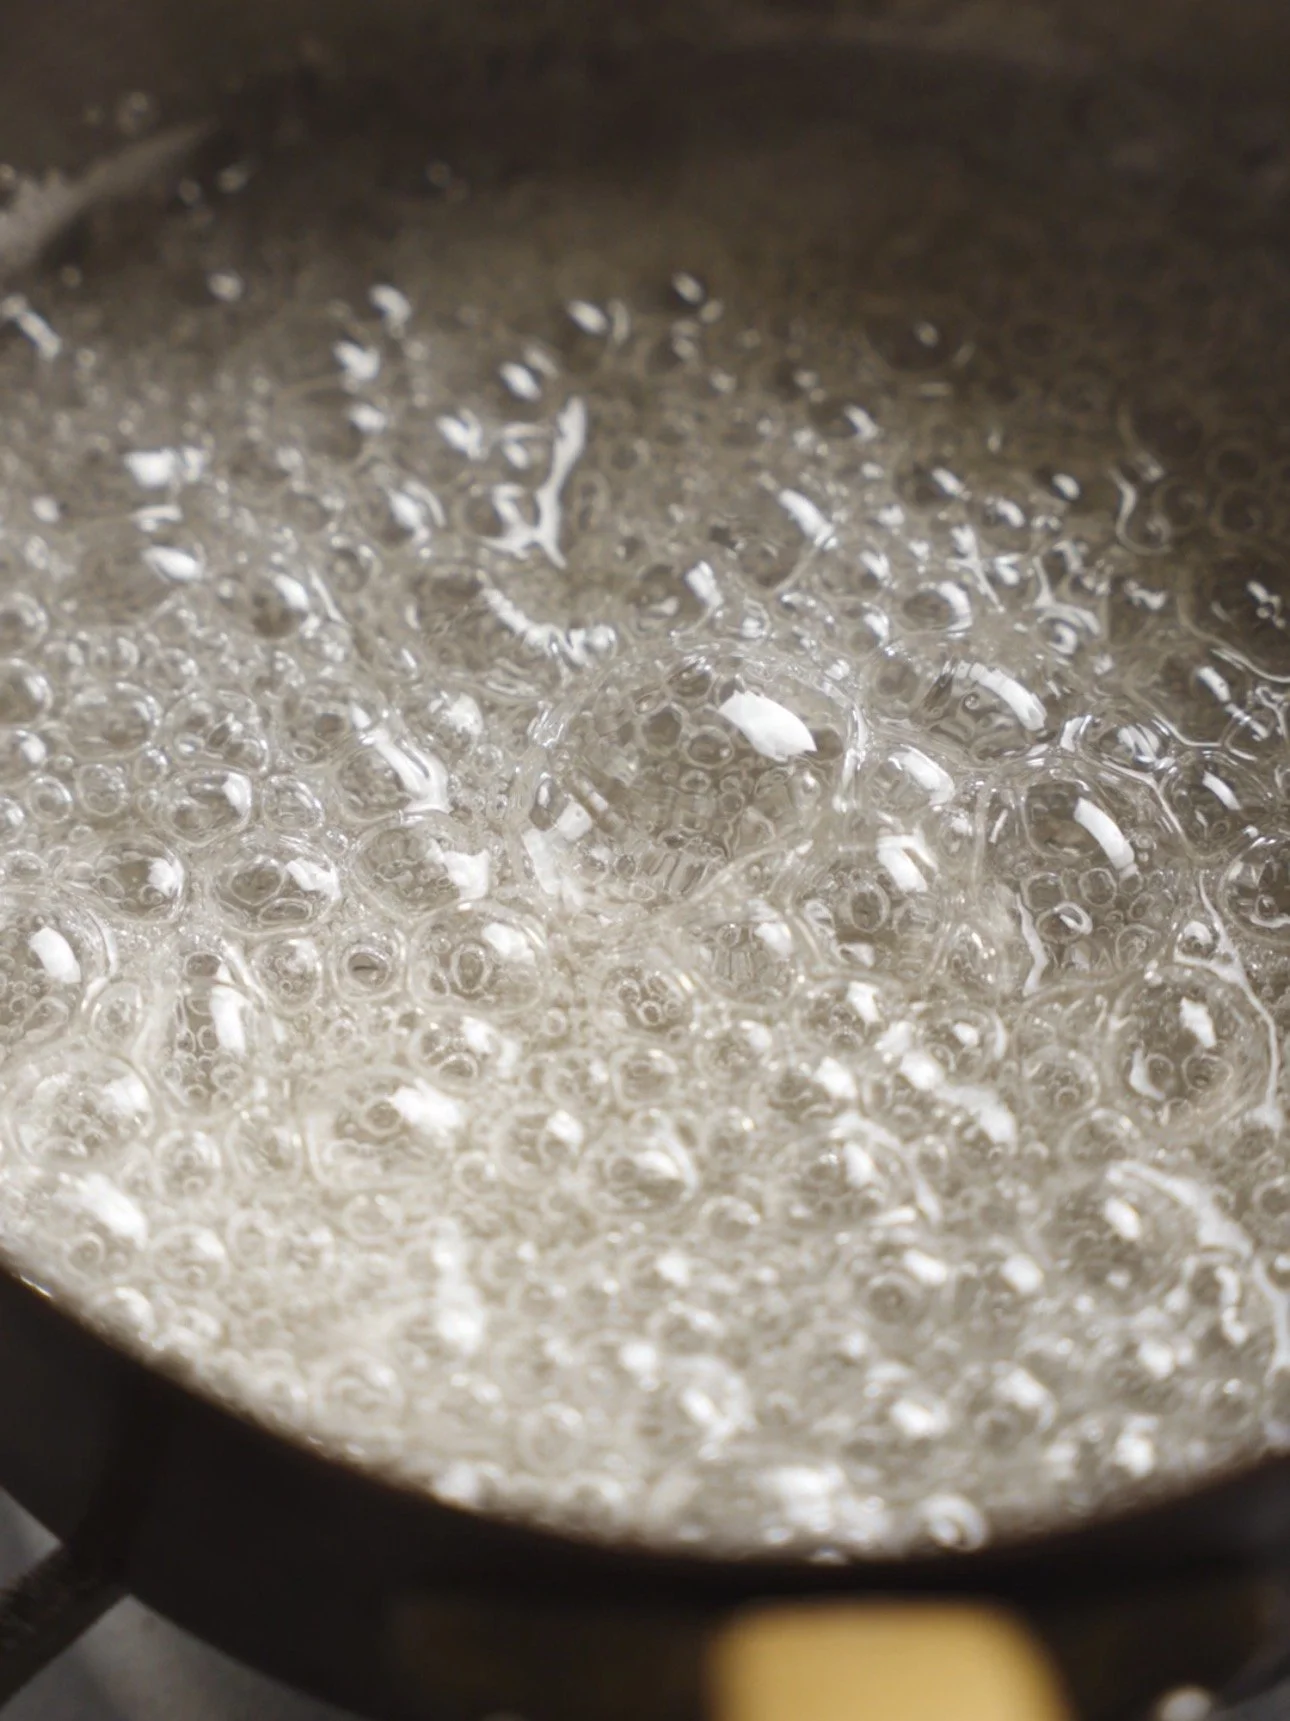

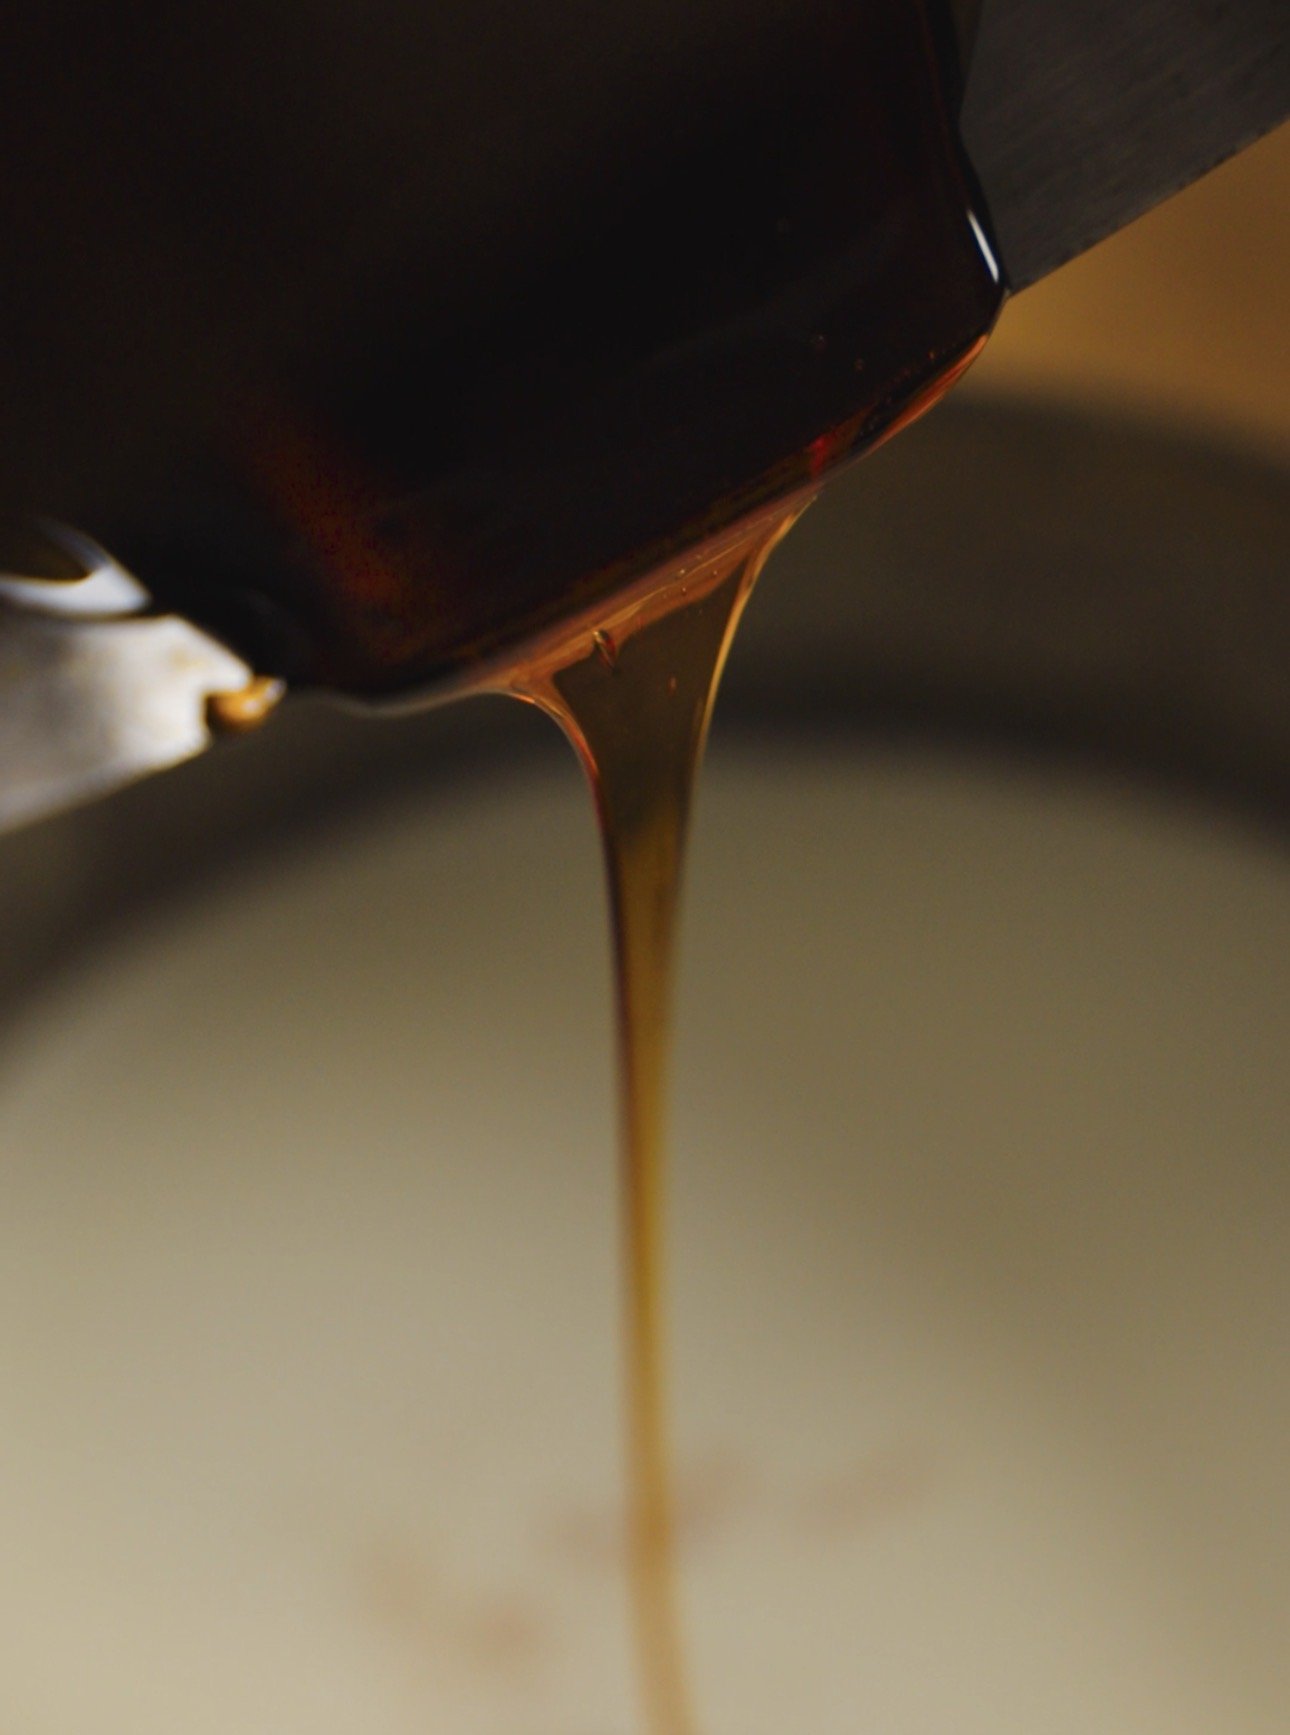
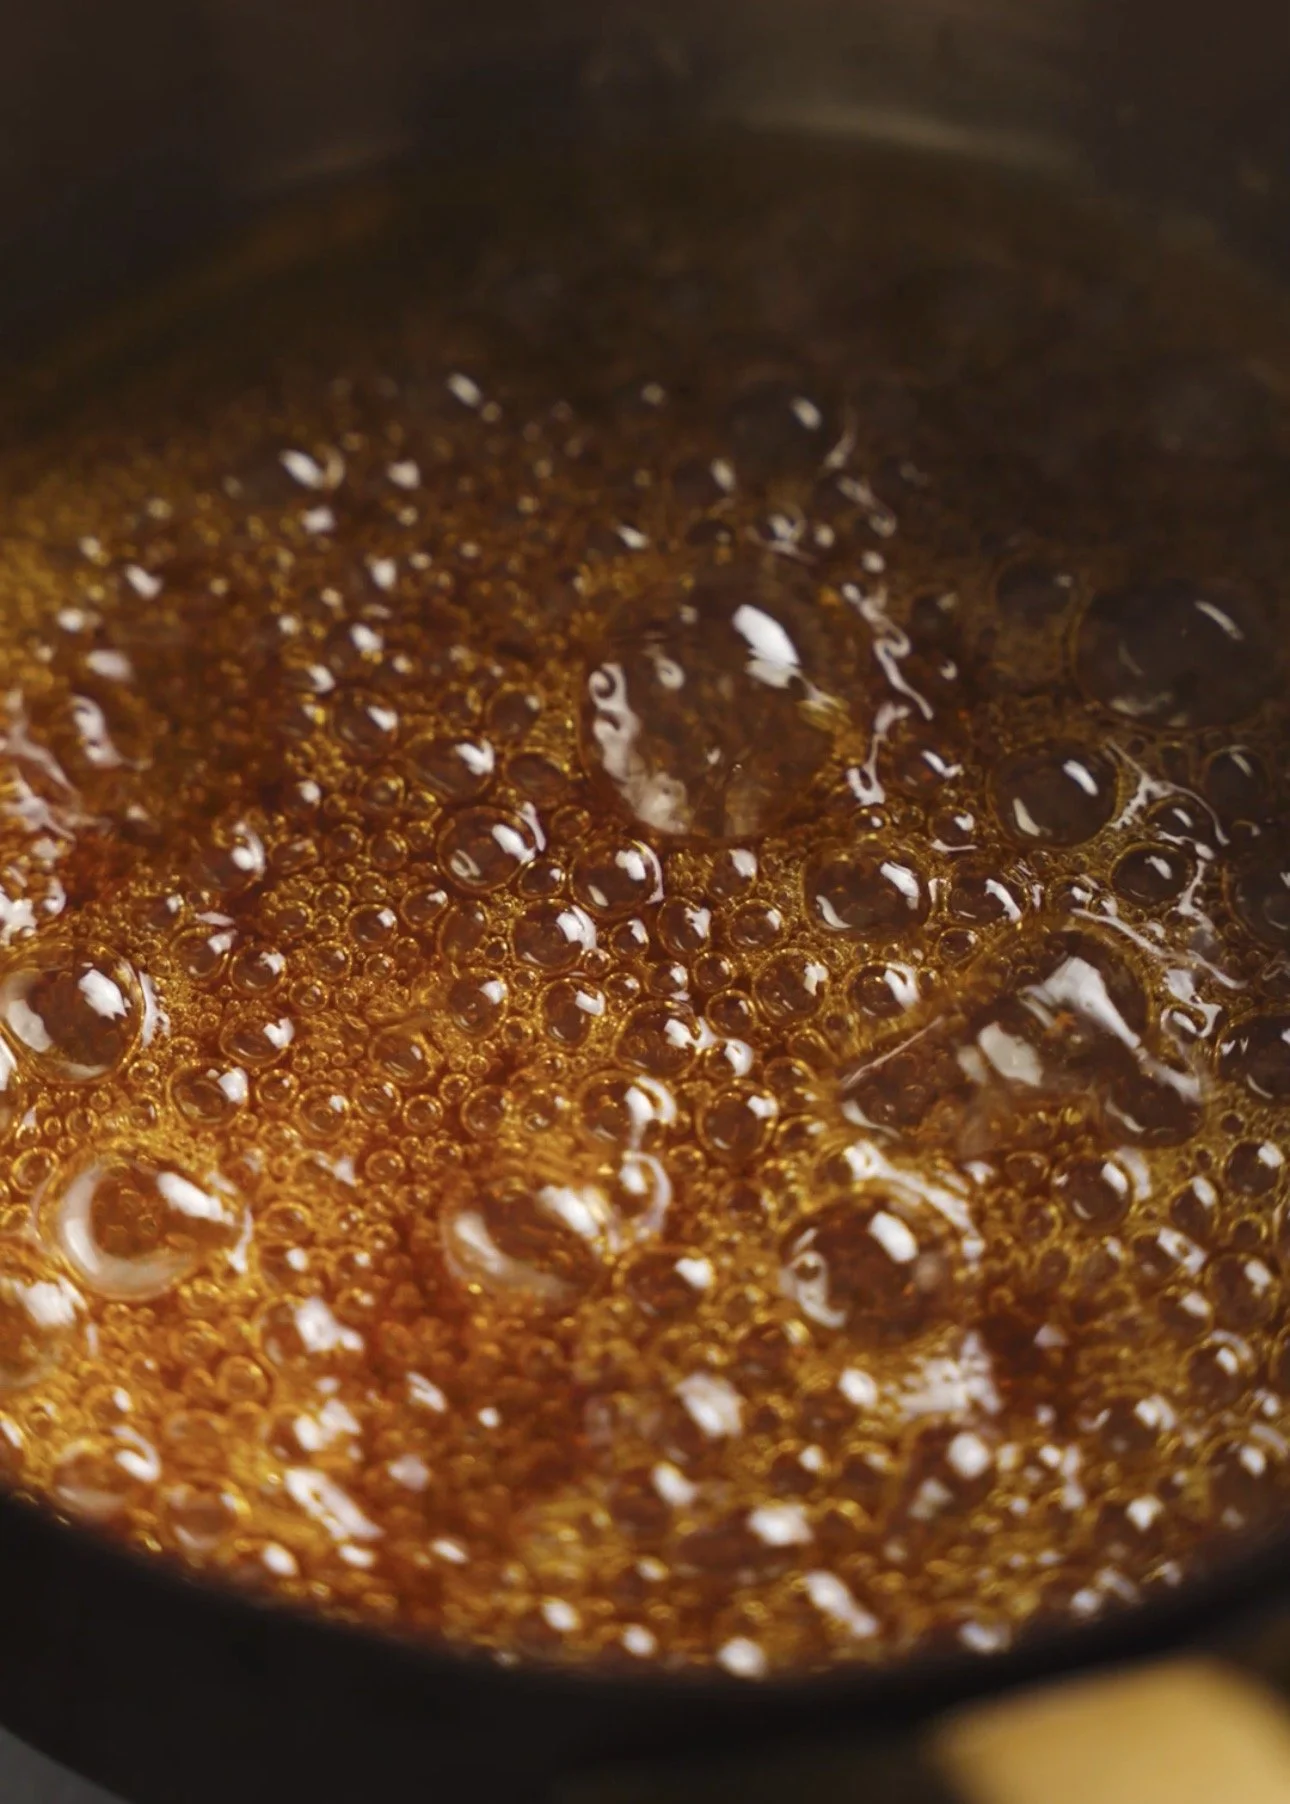
To a small sauce-pot, add the sugar and corn syrup. Place it over medium-low heat. Without stirring, allow the sugar to melt and bubble. Eventually it will begin to caramelize. Swirl the pot to help it caramelize evenly. Once it reaches an amber colour, promptly remove it from the heat.
In a medium sauce-pot, add your heavy cream, milk, the caramel, the skim milk powder mixture, vanilla bean paste and salt.
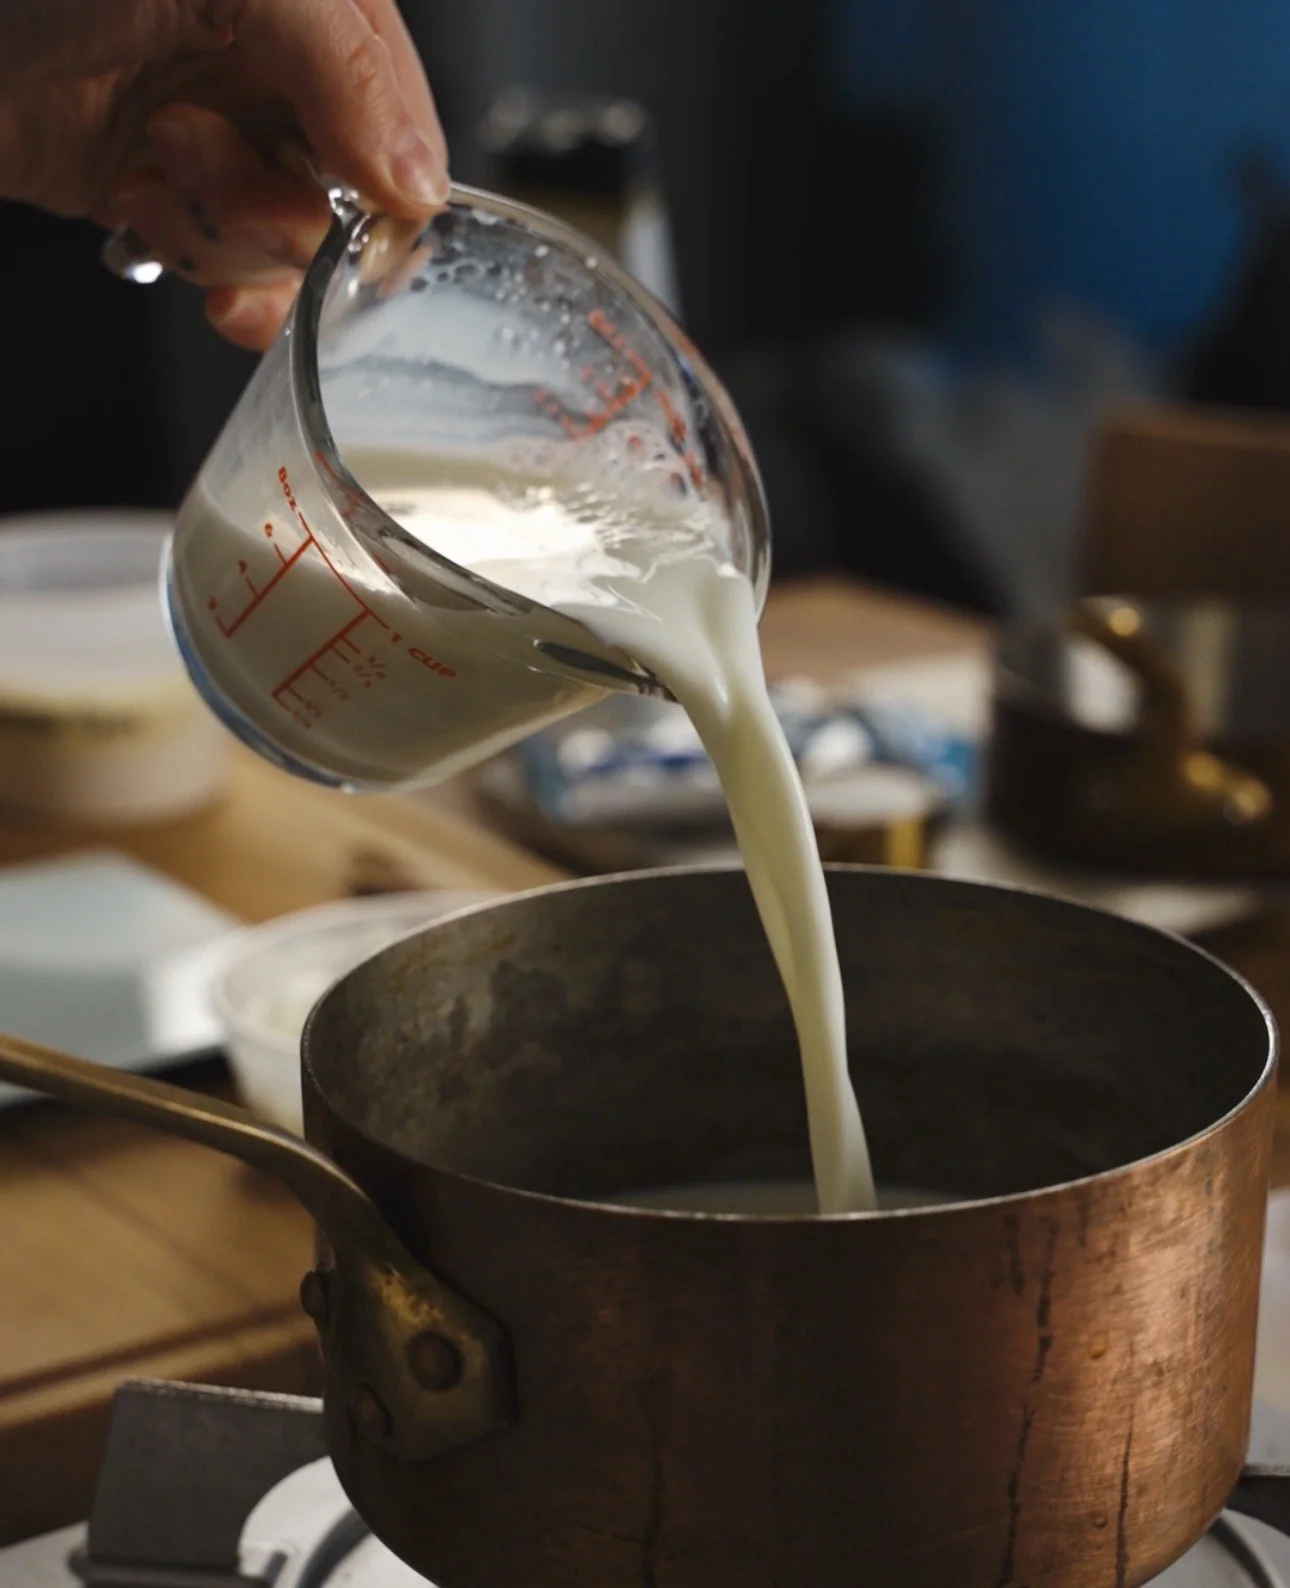
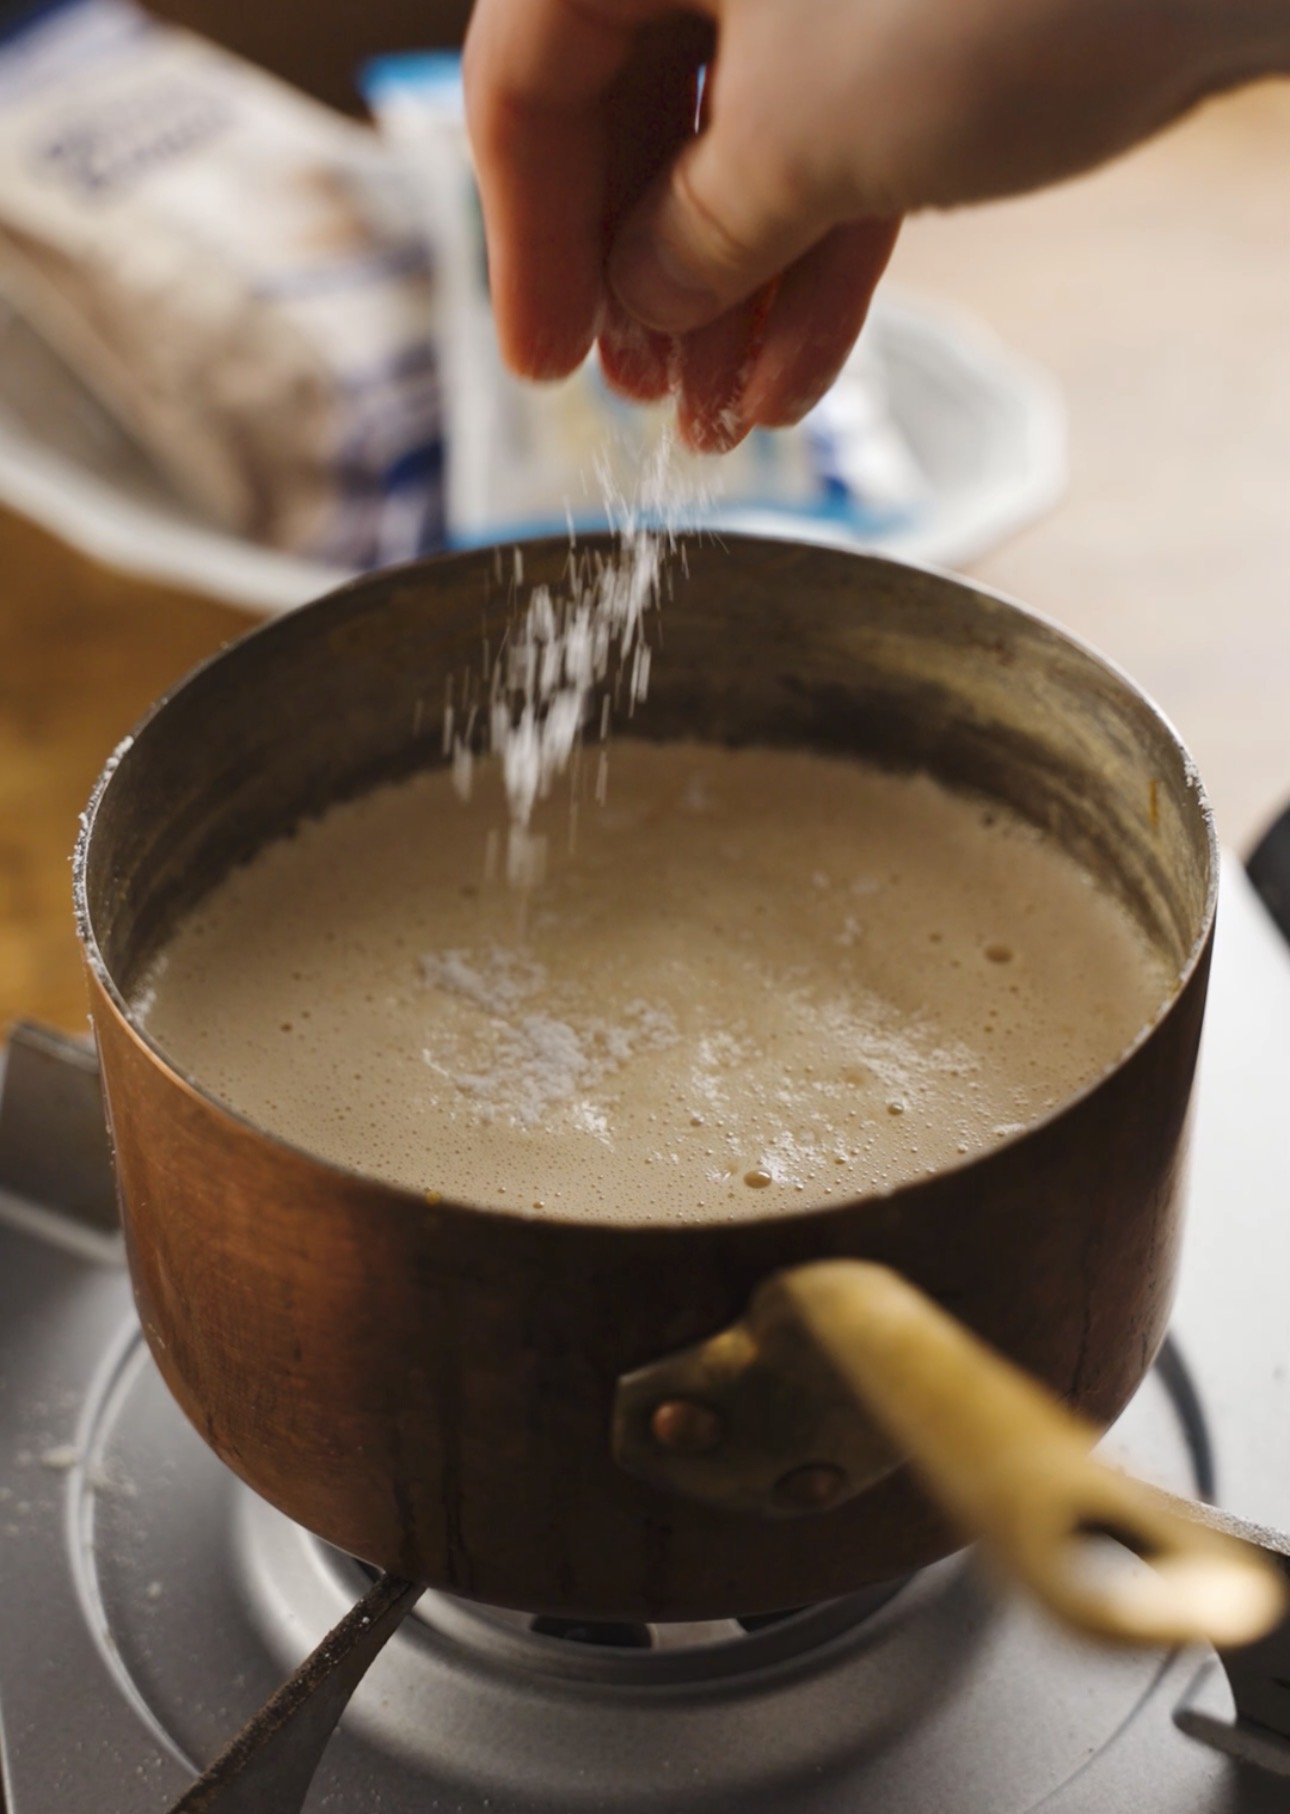
Bring the pot to a gentle simmer, whisk to dissolve the caramel (it will likely harden once added to the pot, don’t worry! Just keep stirring). About 8 minutes.
Pass the ice cream base through a sieve and into a large bowl. Discard what might remain in the sieve. Allow the ice cream base to cool.
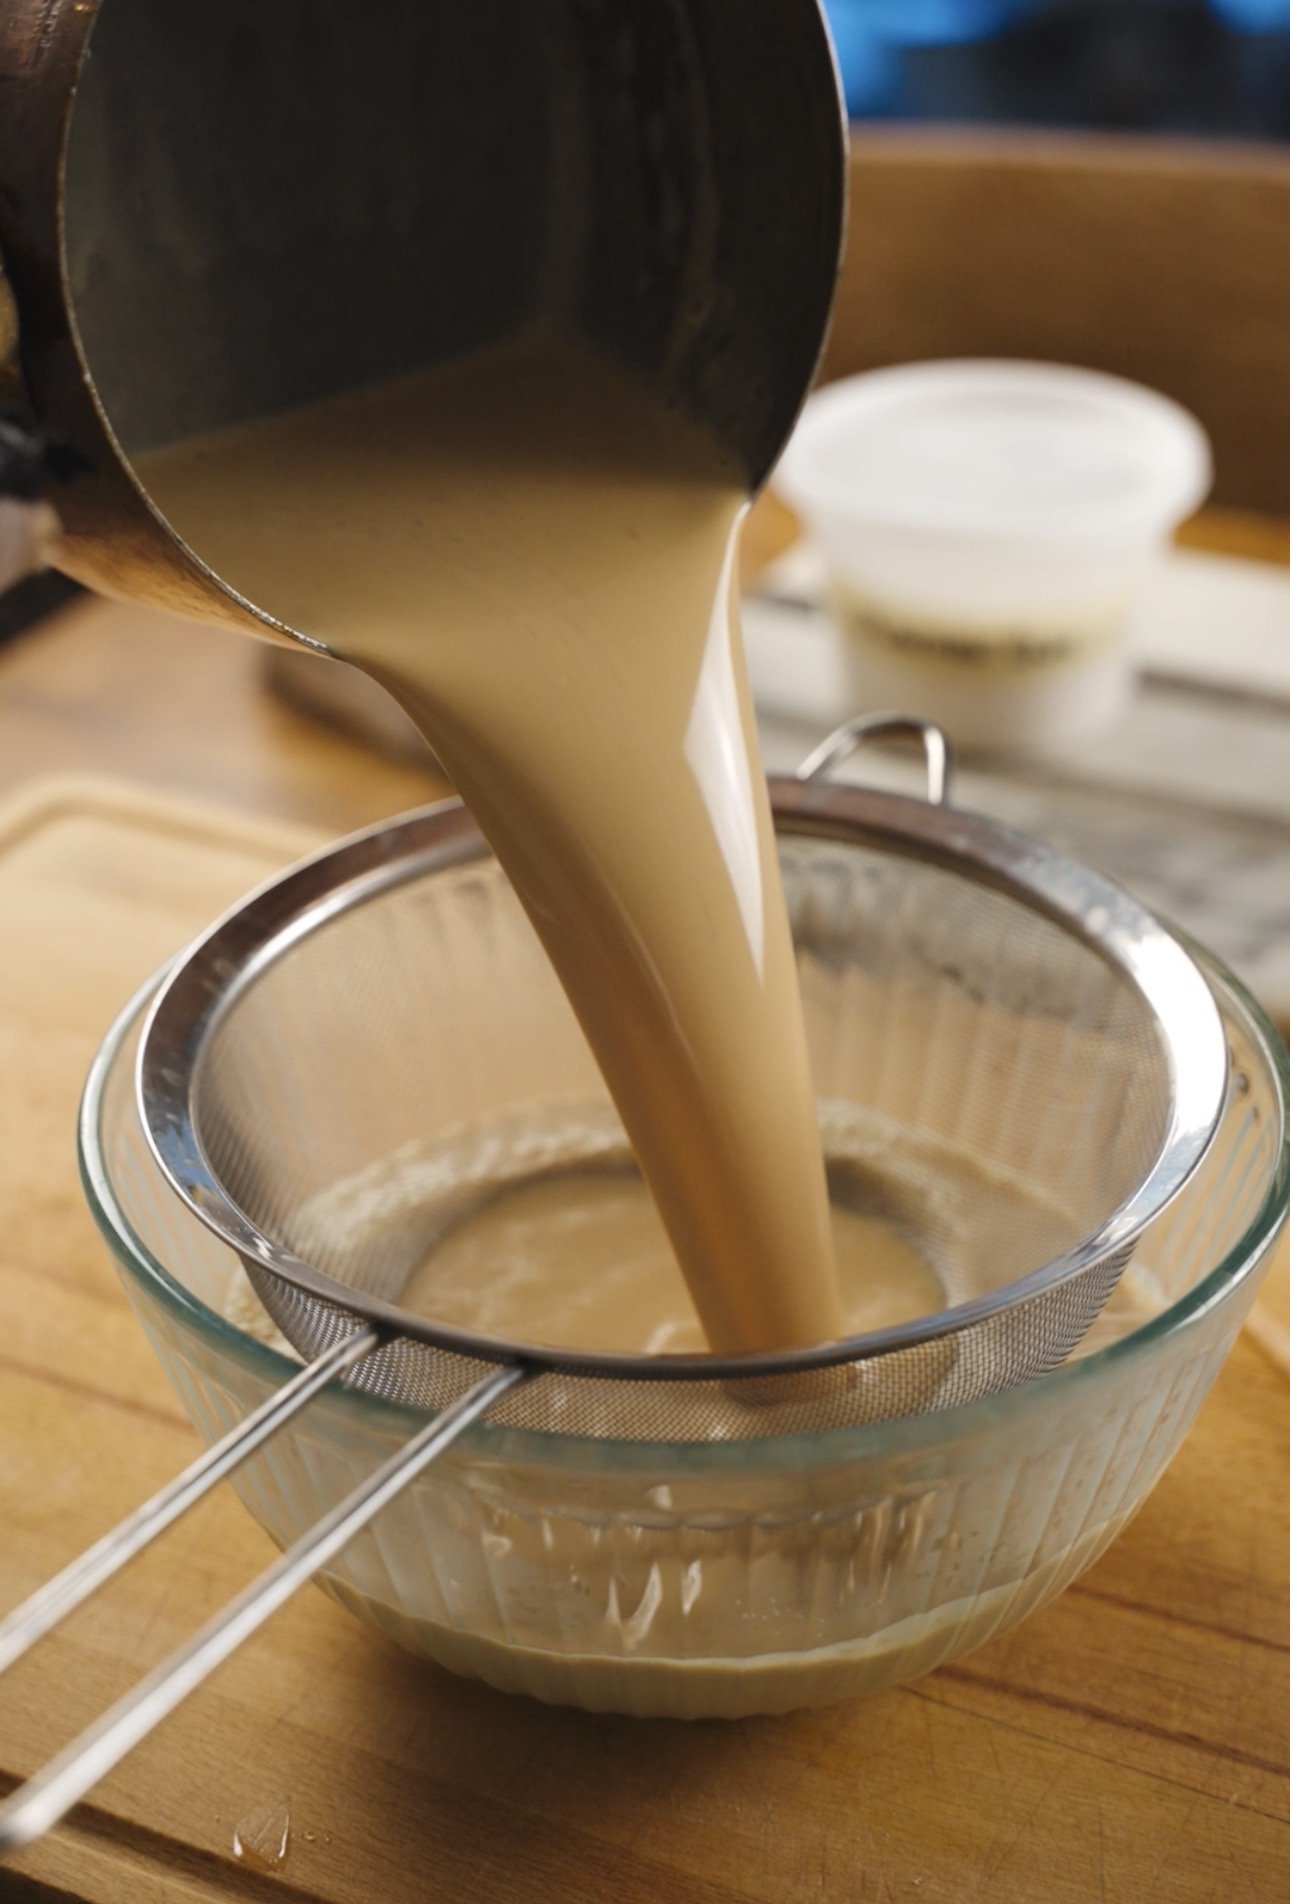
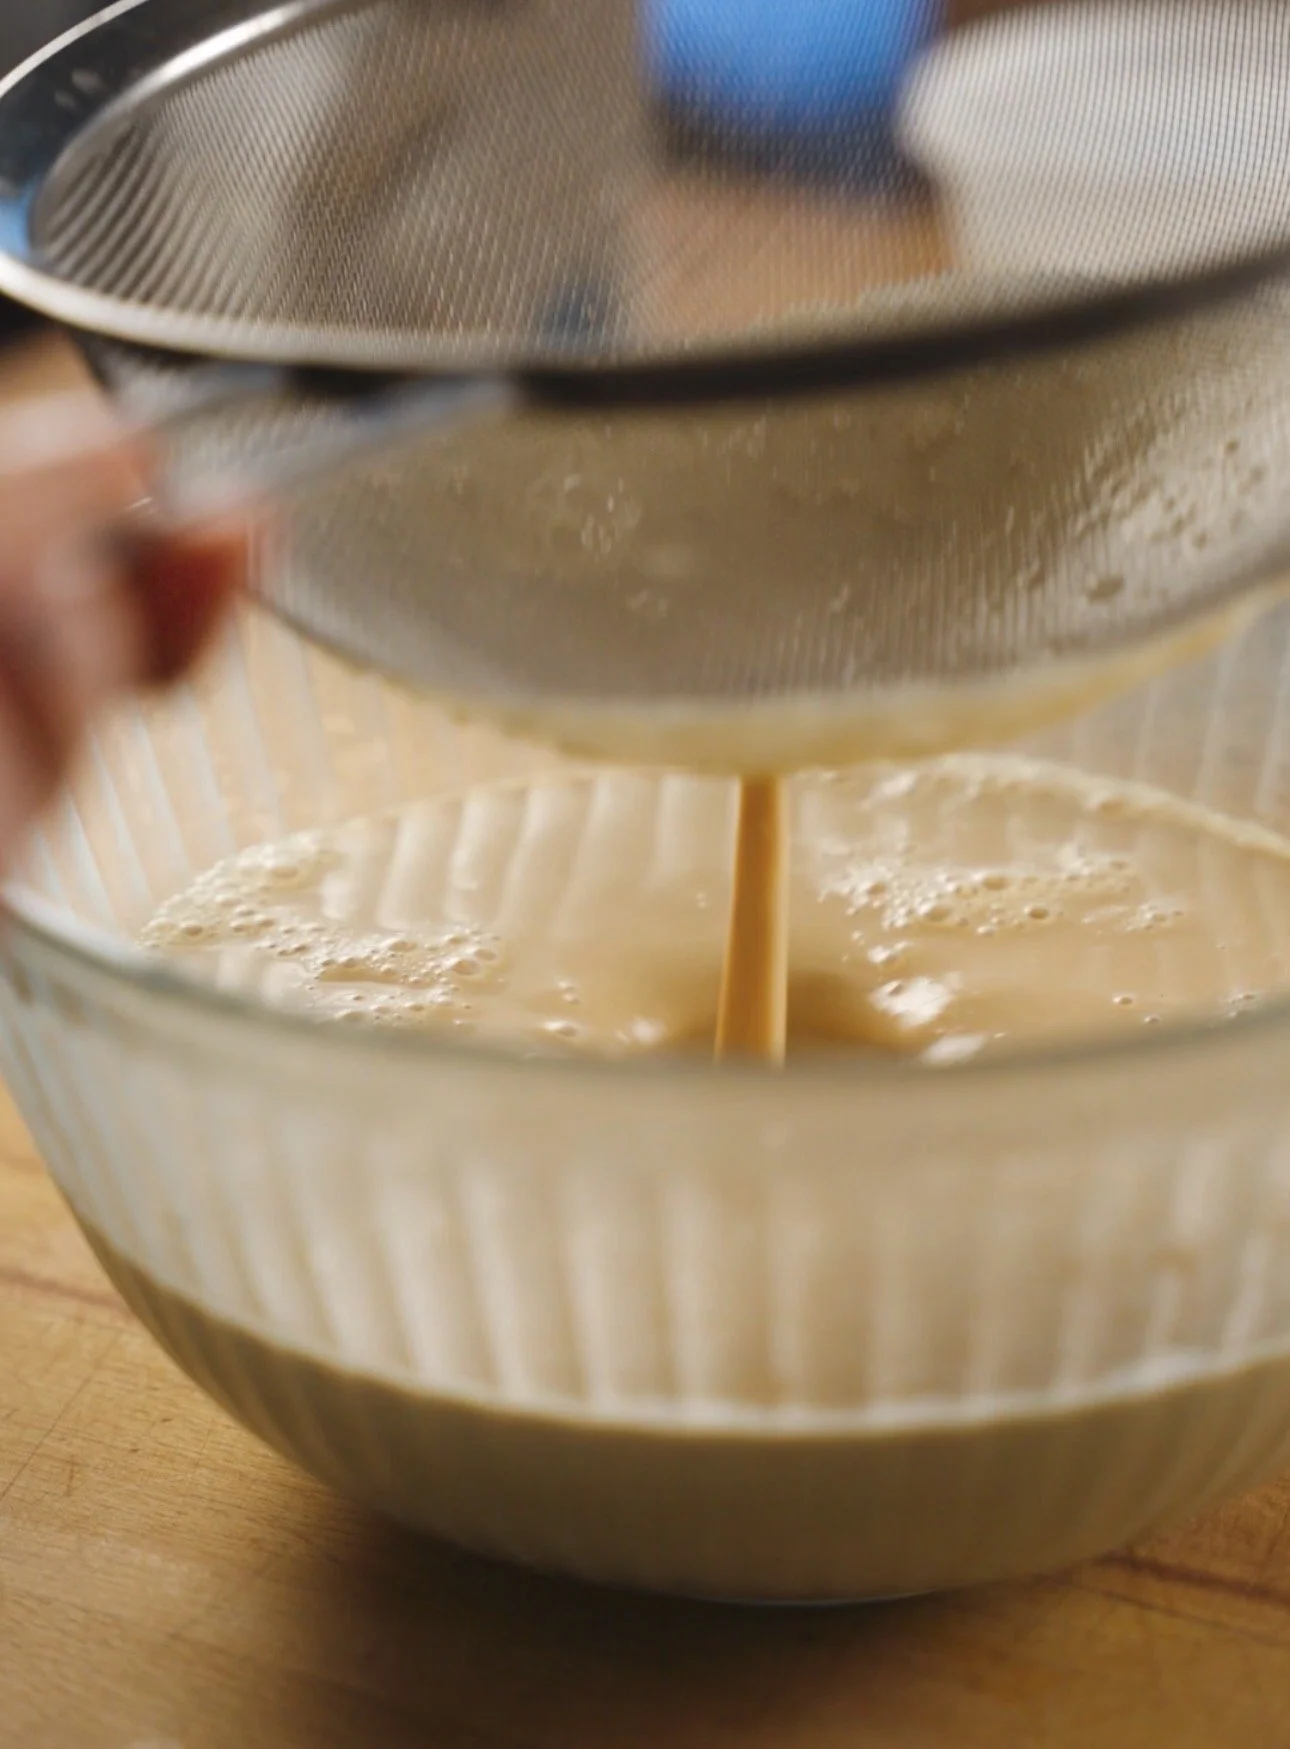
Cover the bowl with plastic wrap so that it is touching the surface of the custard (this is so it doesn’t form a skin/film).
Chill for 5-6 hours in the fridge, or better yet, overnight.
Caramel Sauce:
50g sugar
25g corn syrup
35g cream, room temperature
12g butter, cold
pinch salt
To a small, heavy bottomed pot, add your sugar and corn syrup.
Place it over medium-low heat. Without stirring, allow the sugar to melt and bubble. Eventually it will begin to caramelize. Swirl the pot to help it caramelize evenly.
Once it reaches an amber colour, promptly remove it from the heat.
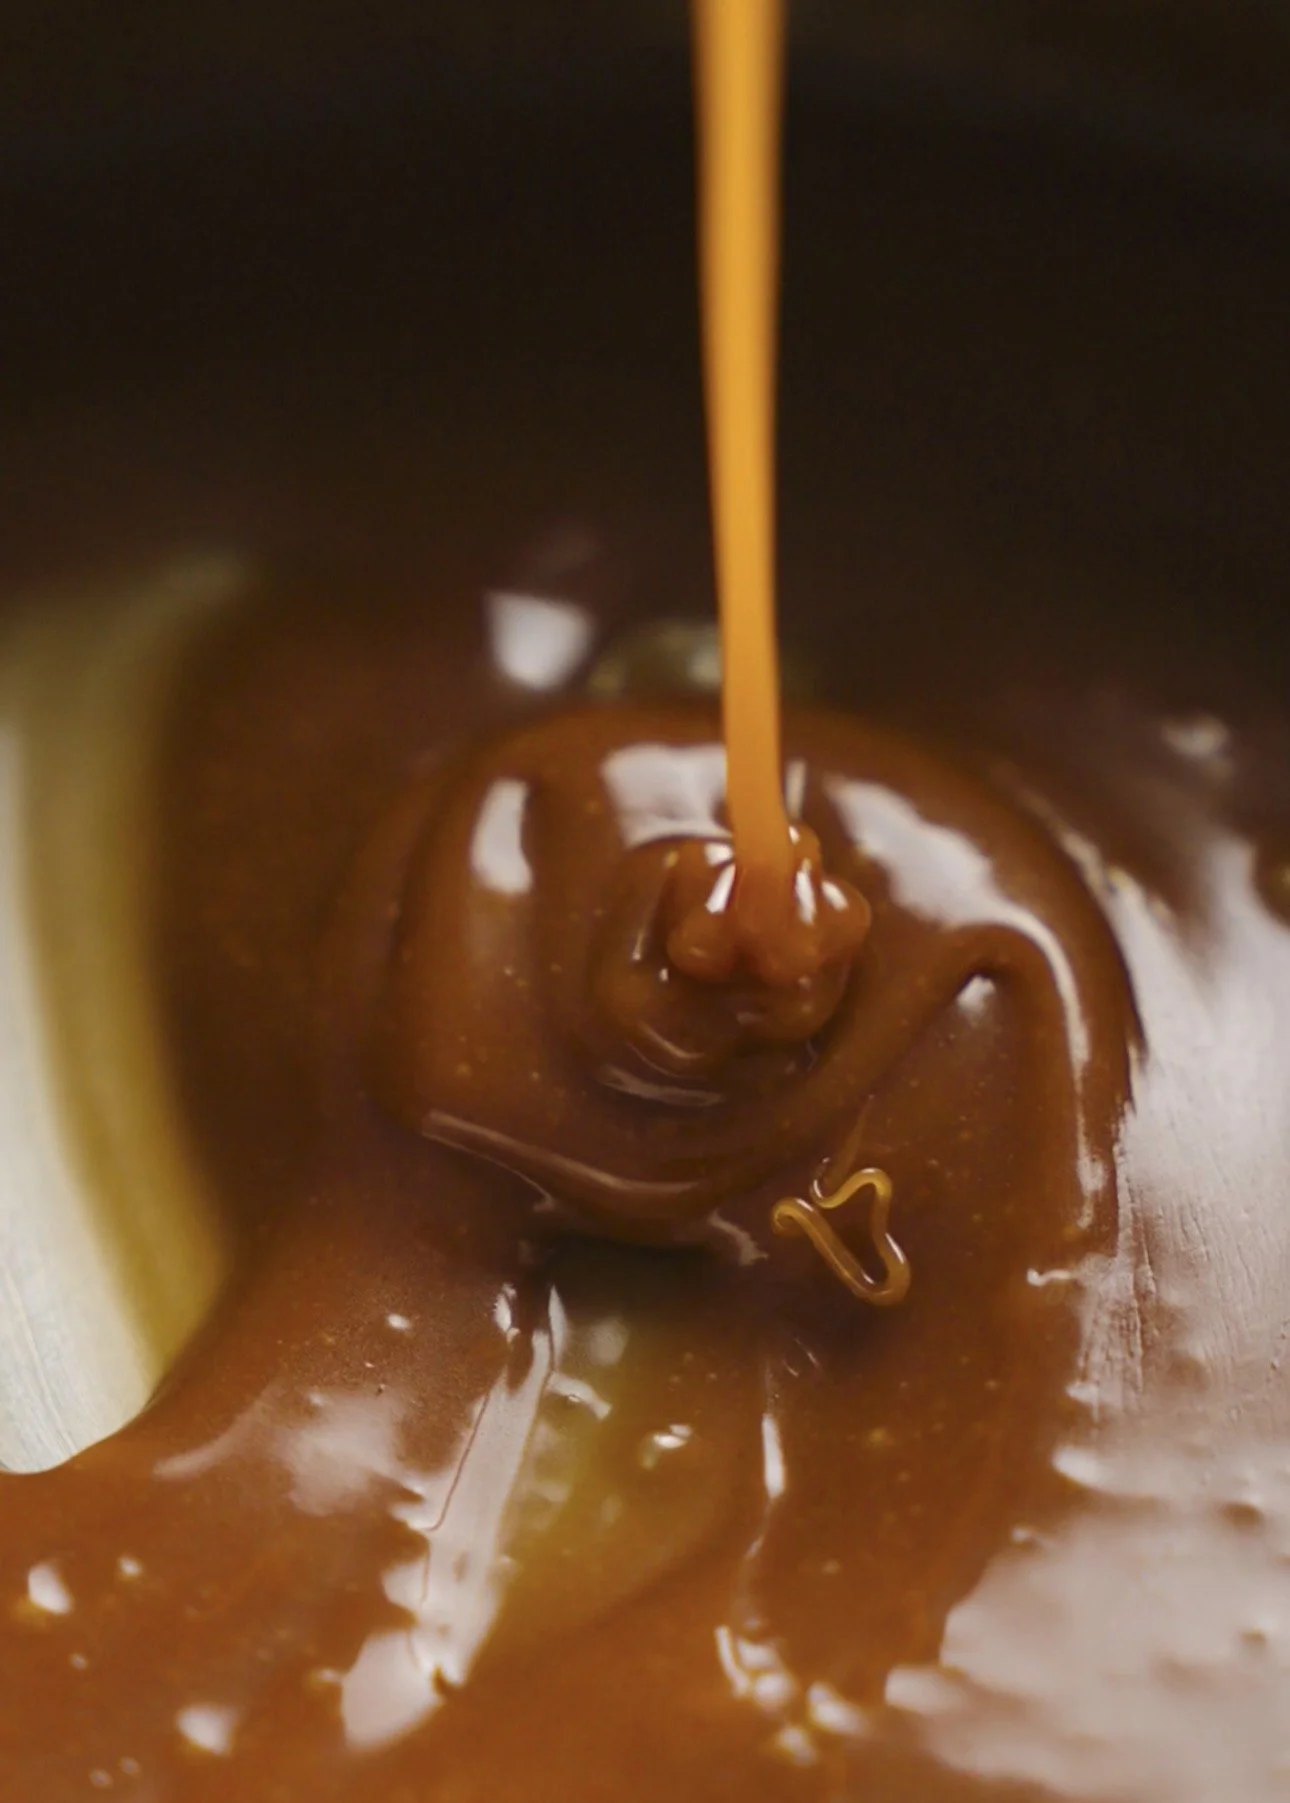
While whisking, add your cream—careful as it will begin to bubble and foam. Keep whisking to incorporate.
Once it has settled and is starting to look glossy, add the butter and salt. Whisk to combine.
Set it aside to cool.
To churn:
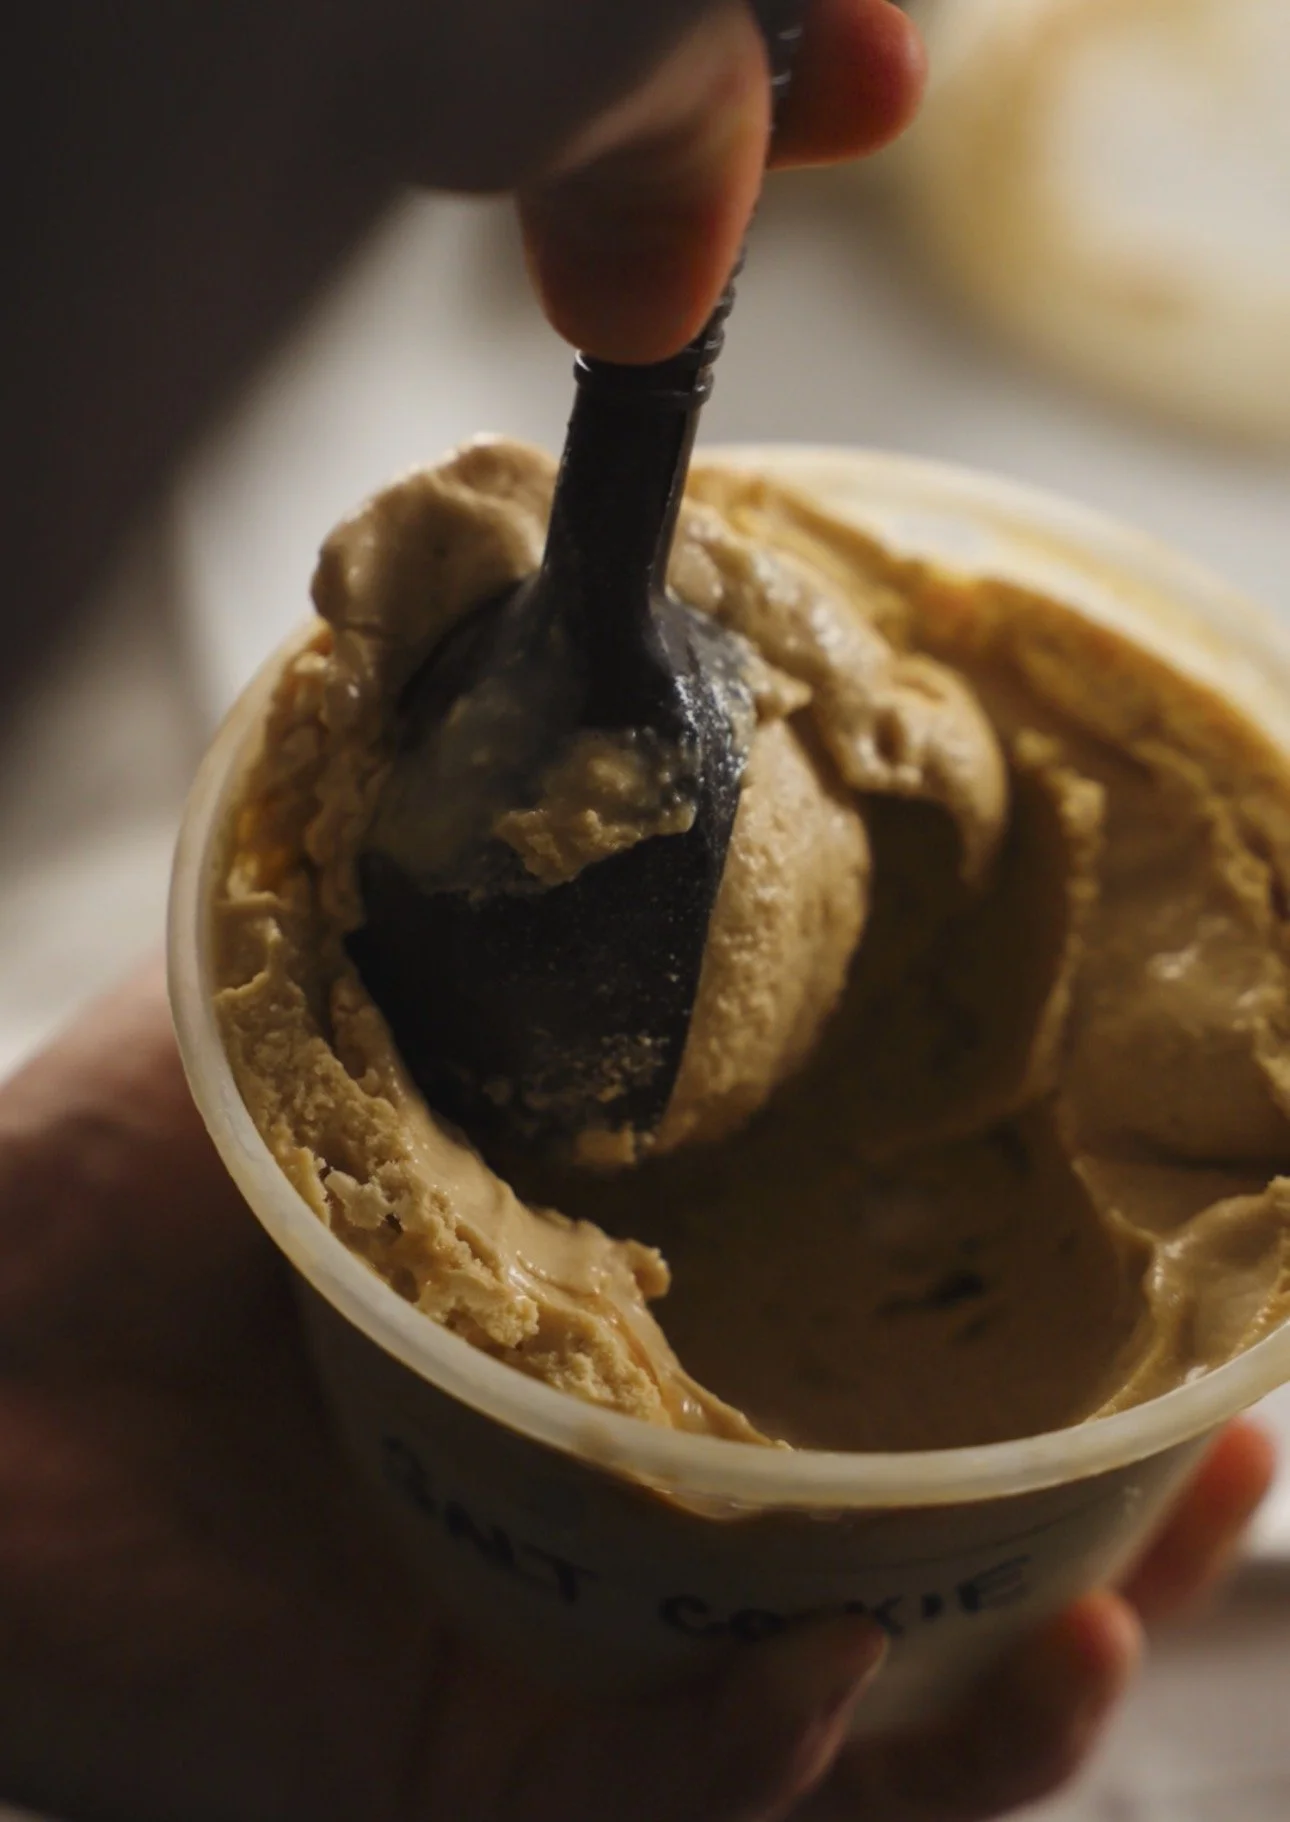
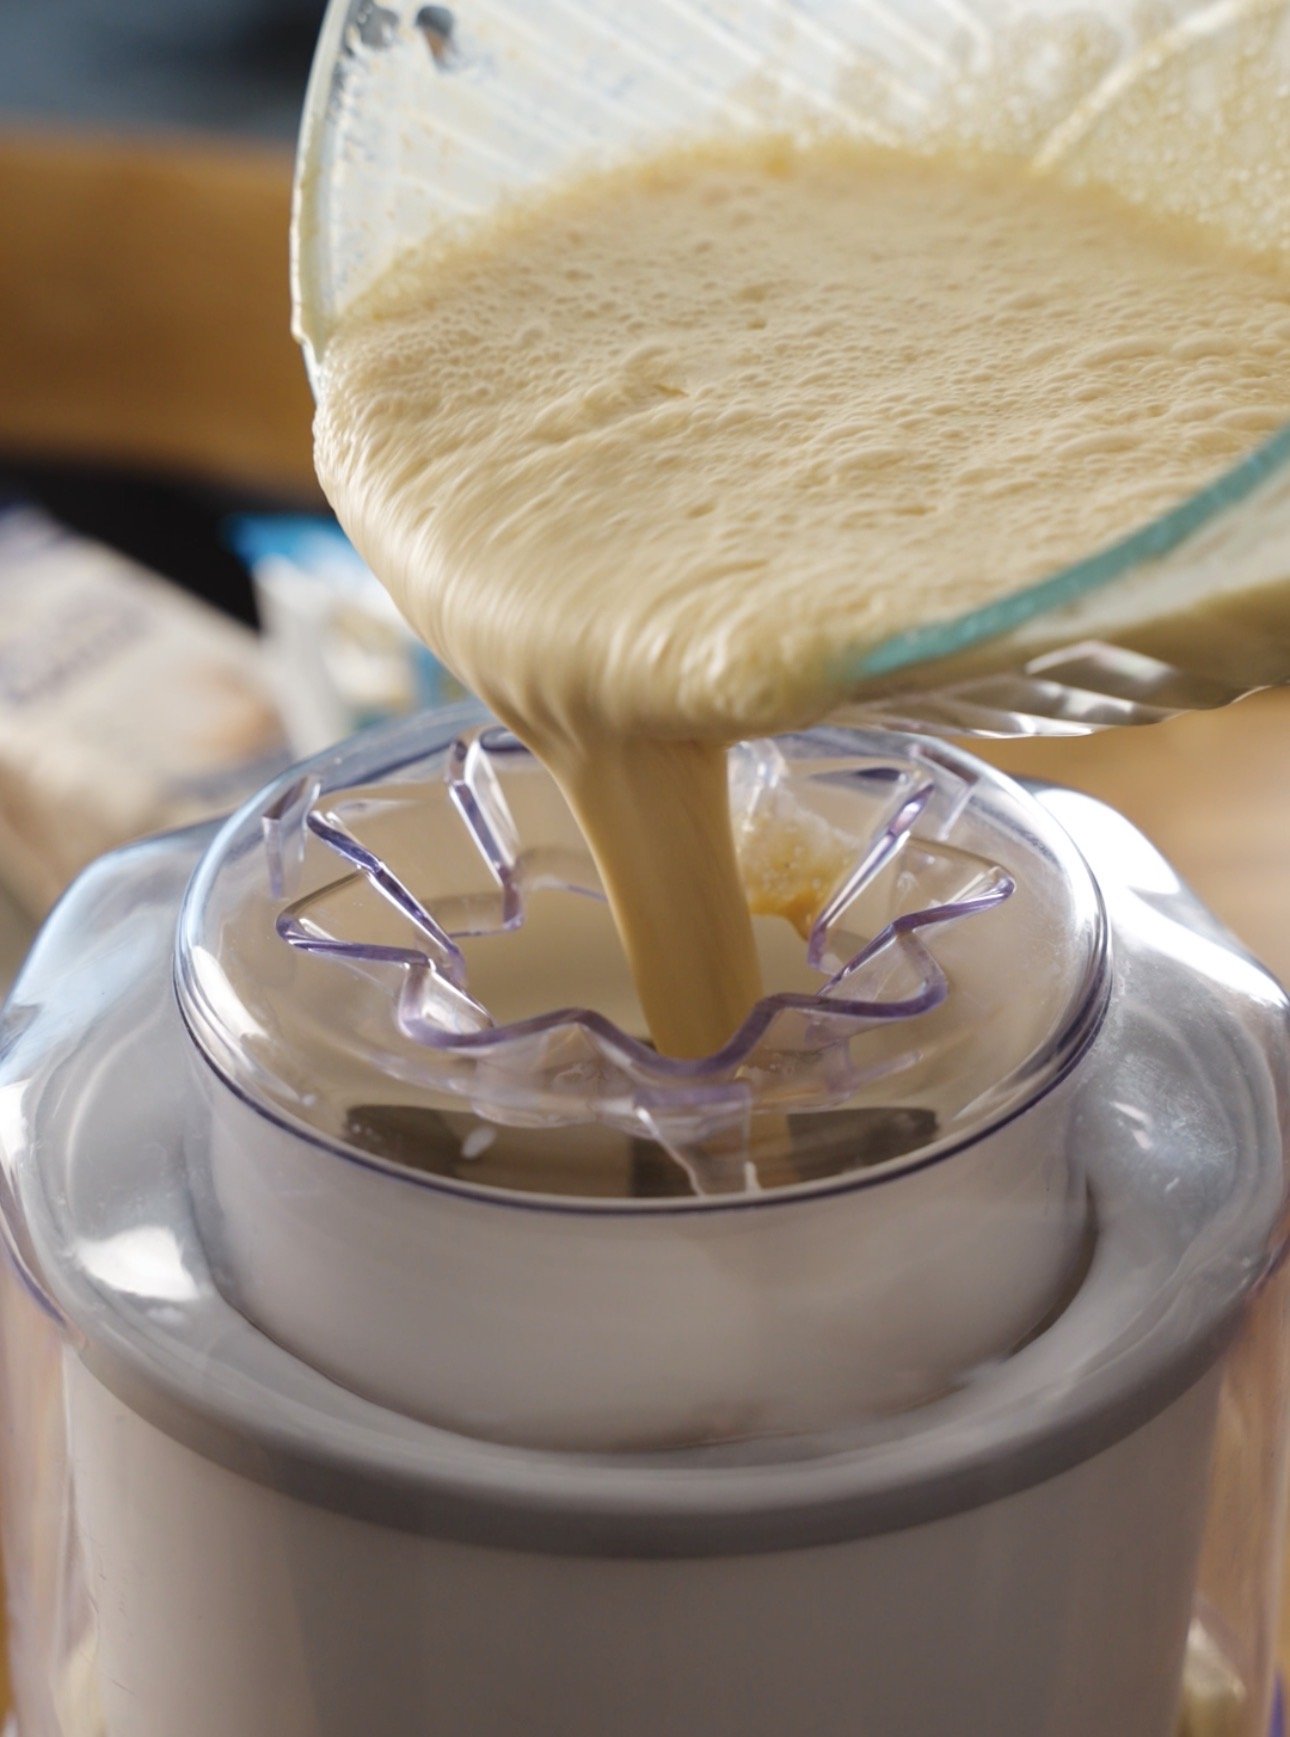
Once the custard is cold you can churn it with your prepared ice cream maker basin.
Pour the base into the ice cream drum and churn according to your ice cream makers instructions.
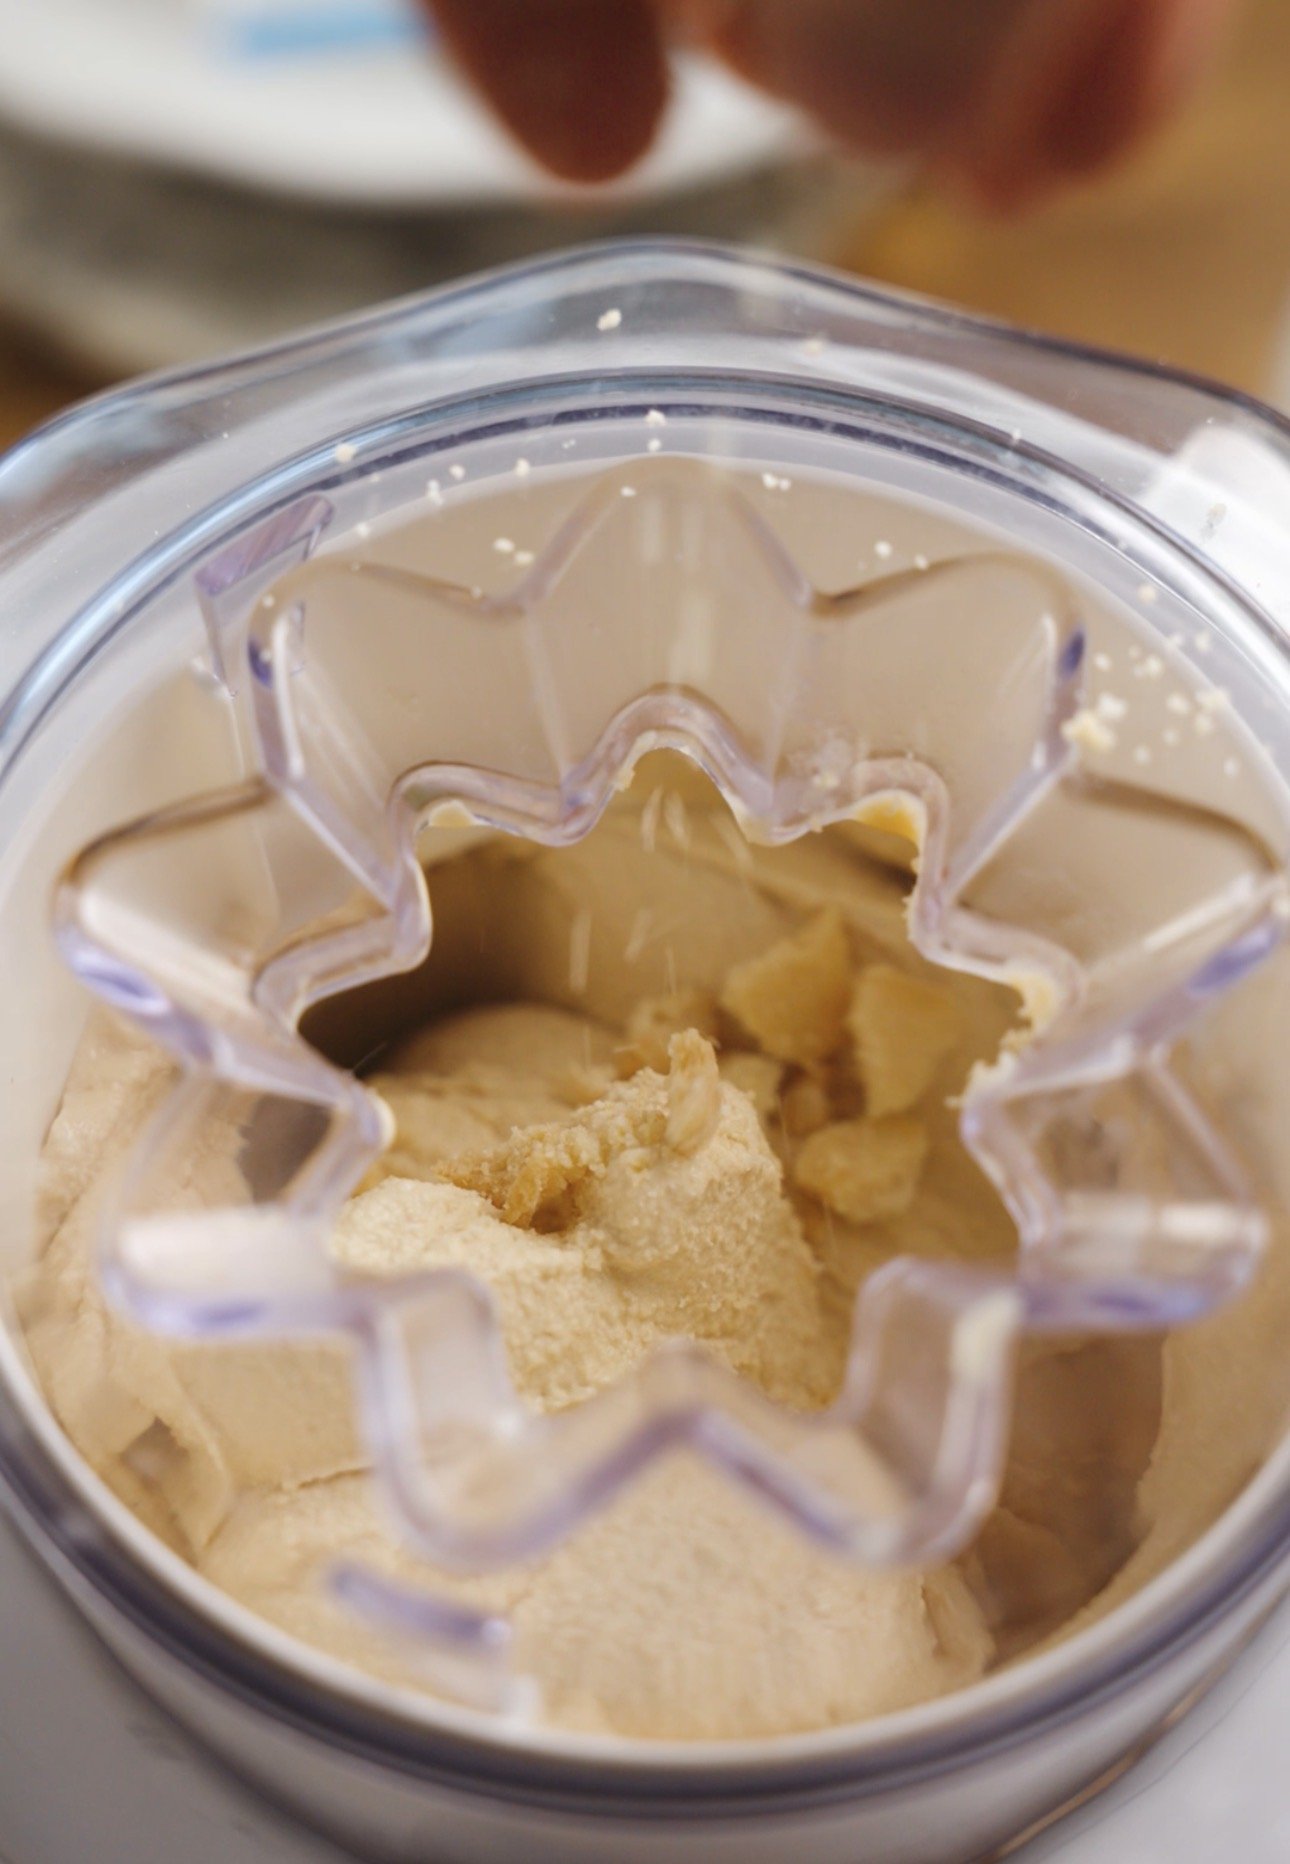
At the 16 minute mark, I added 1/2 of the crushed Chinsuko (salted shortbread) cookies.
I churned my ice cream for a total of 20 minutes, until it was thick and smooth.
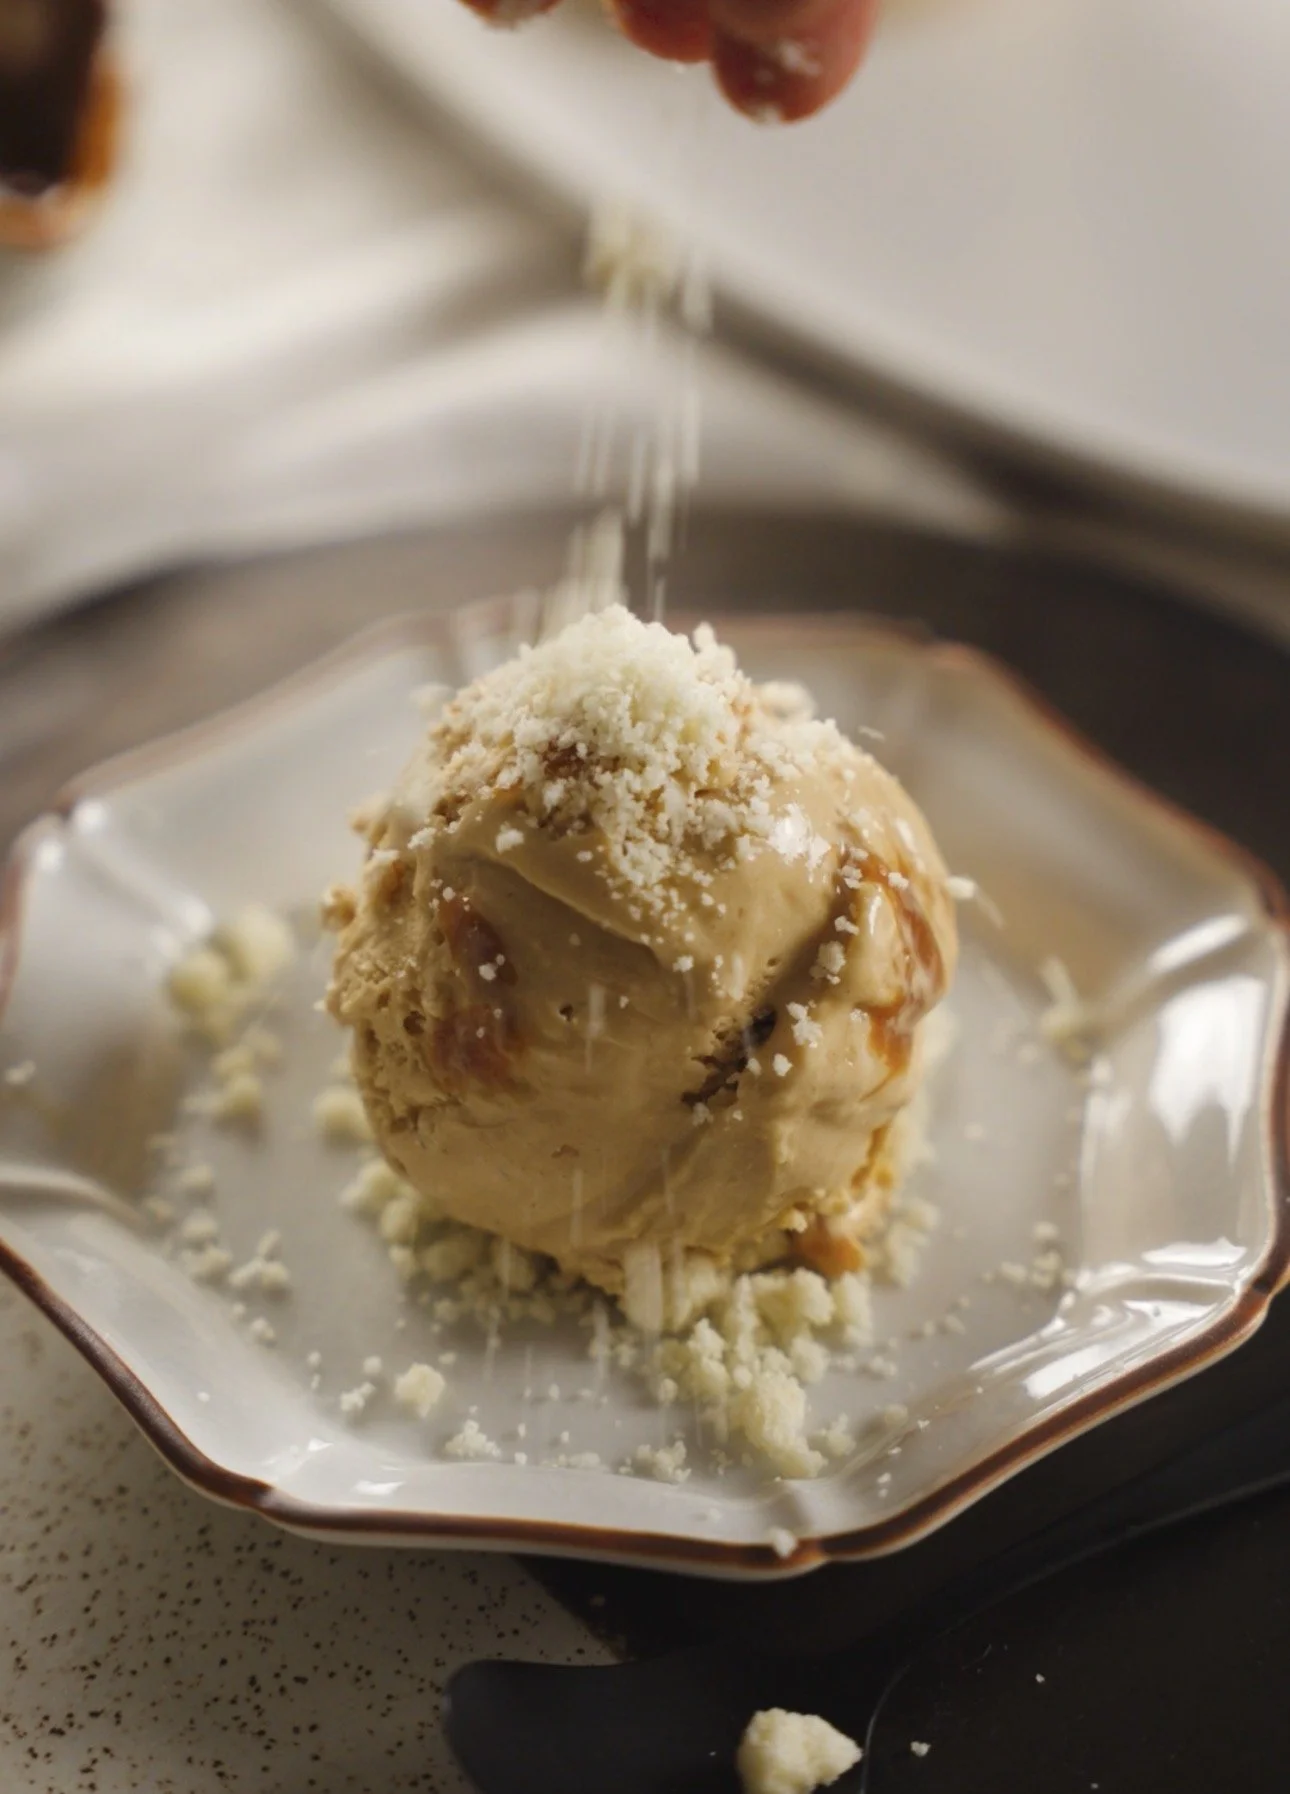
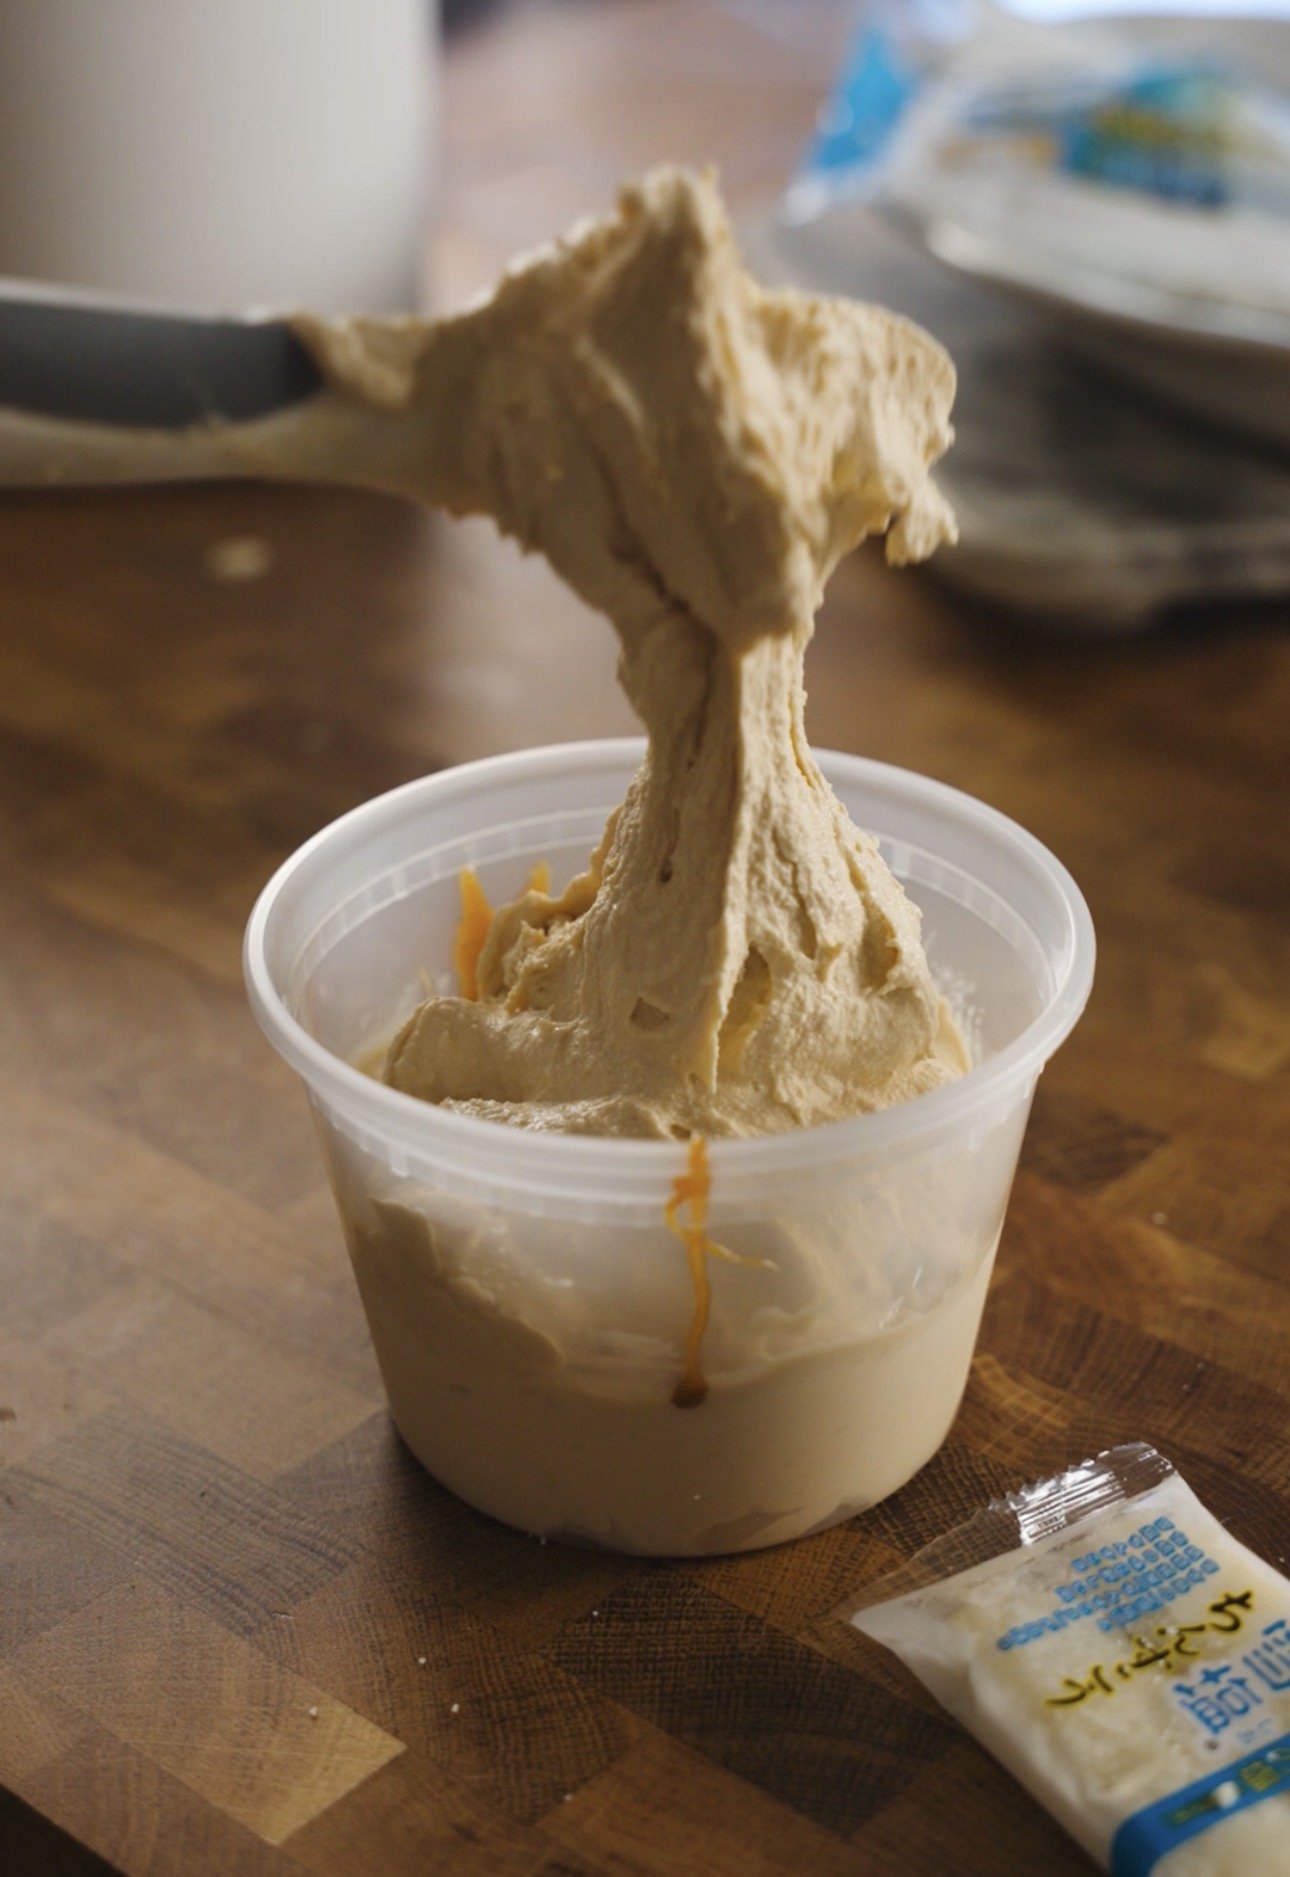
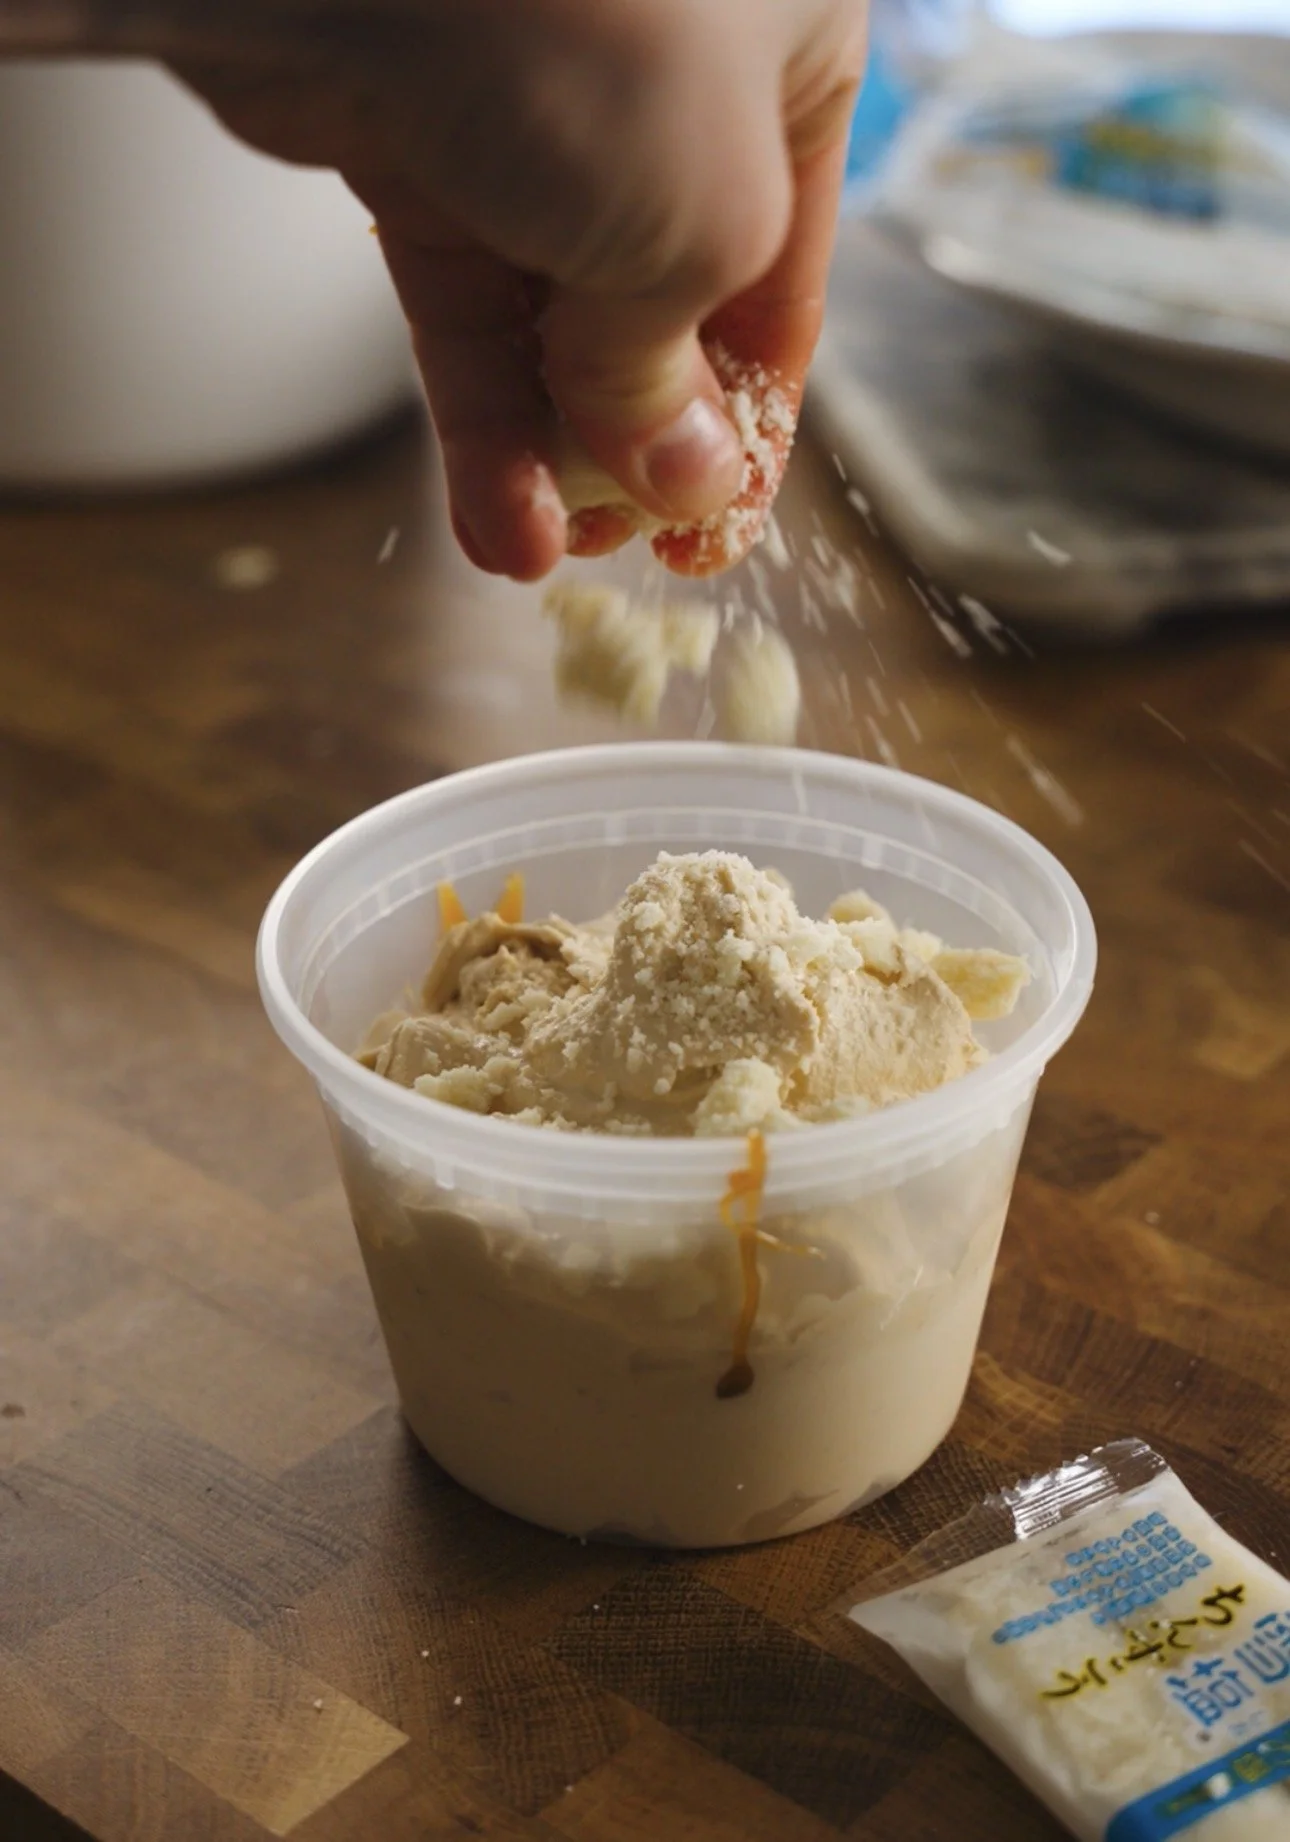
Transfer the ice cream to a containers for freezing: layer the pint with the remaining crushed Chinsuko cookies and swirls of your (cooled) caramel sauce. (There should be enough ice cream to make two pints)

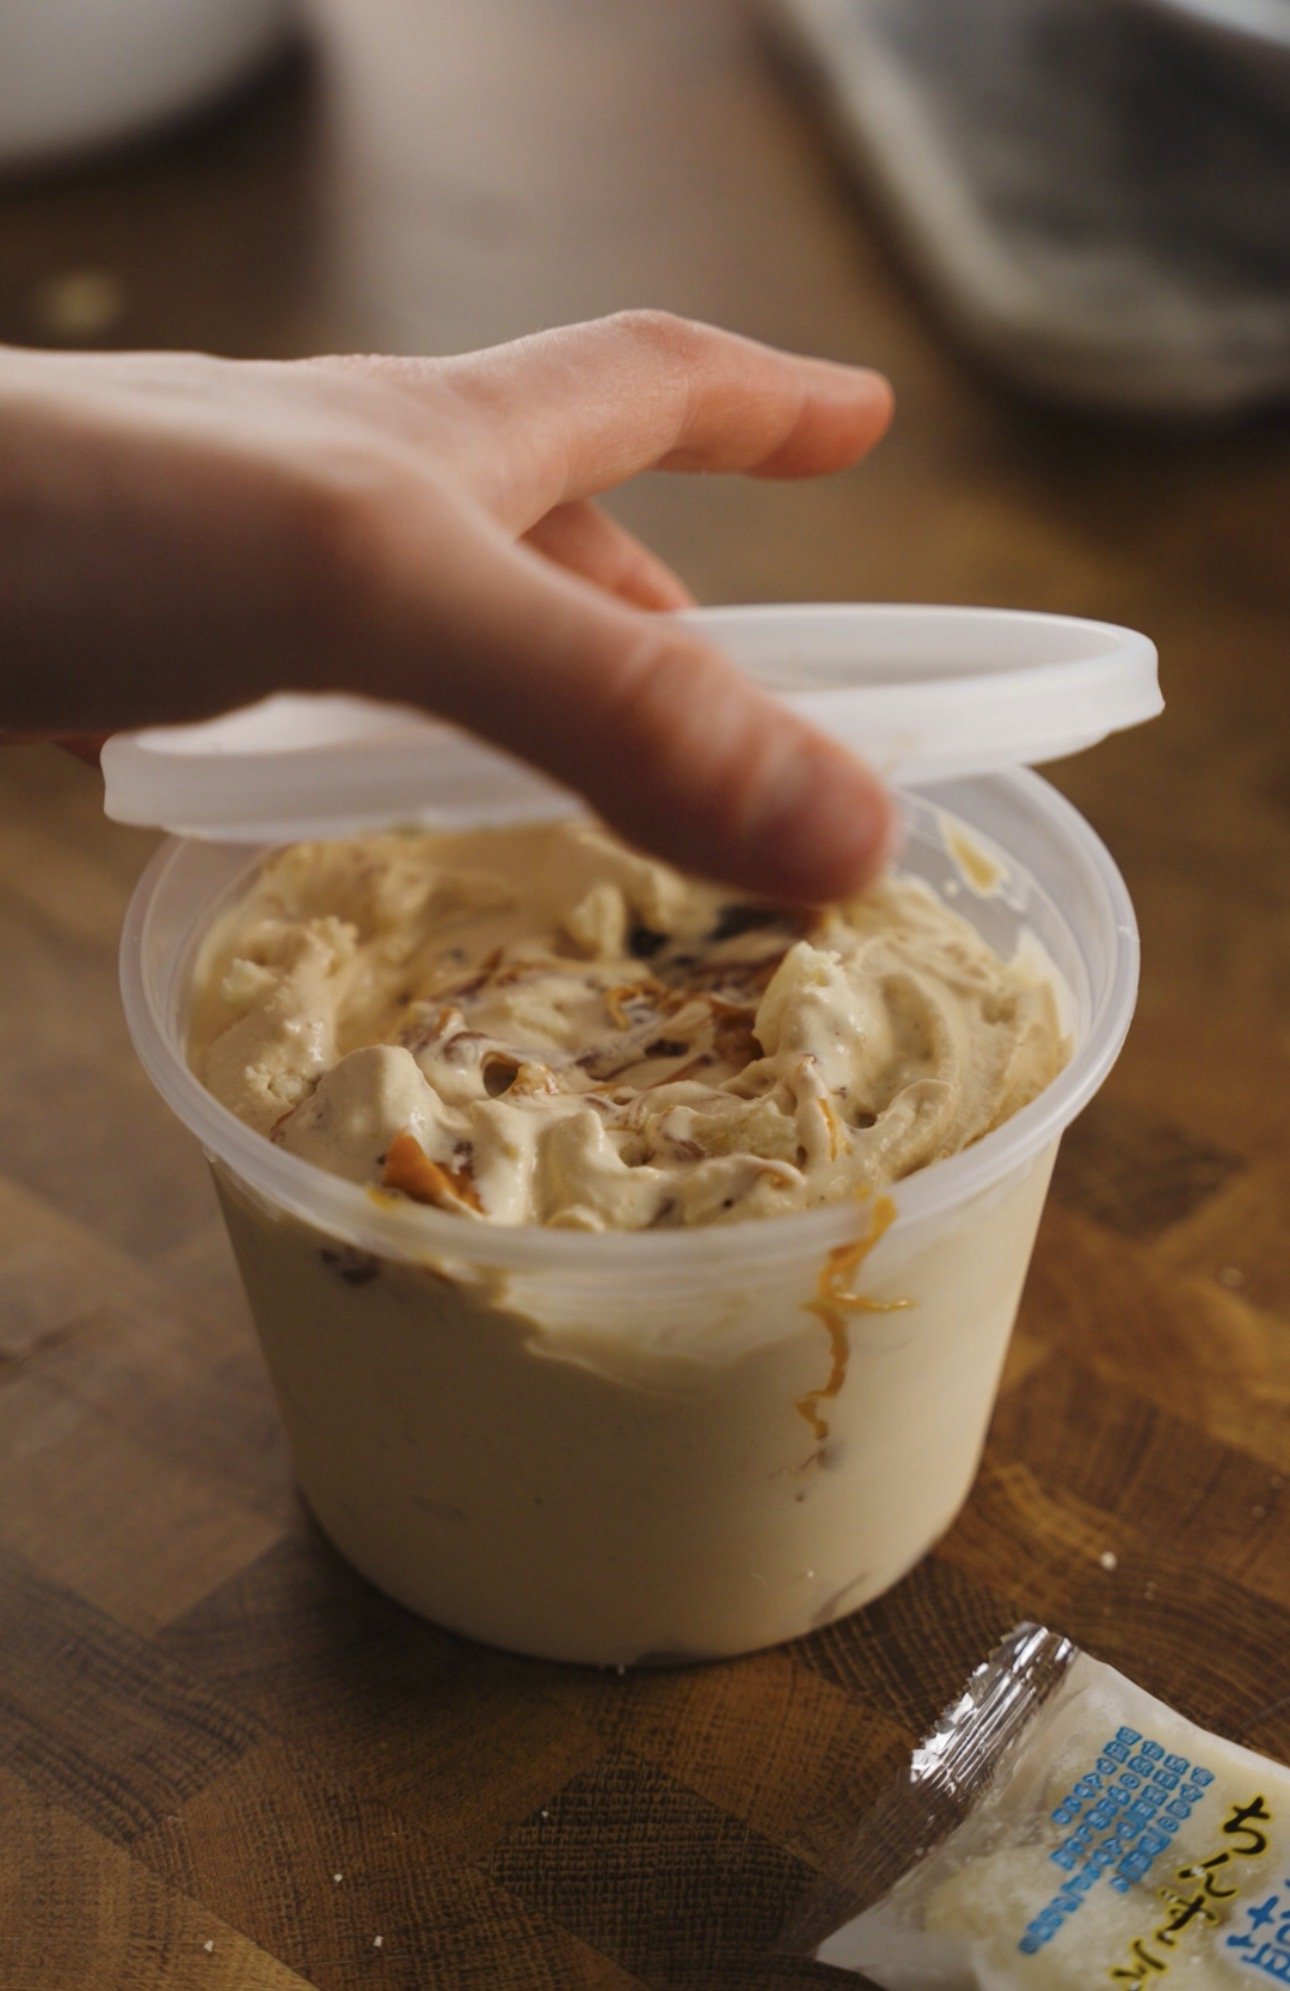
Once kept in the freezer— to enjoy at original consistency—put out at room temperature 5-10 minutes before serving.
Enjoy!