
Matcha & Hojicha Rice-Cream

I have unknowingly been on a checkerboard ice cream hiatus for the past…. 15 years.Checkerboard ice cream was my CHILDHOOD!
For all my friends from the USA: I’m so sorry this isn’t a thing you can relate to.
To all my CANADIAN friends: what happened to checkerboard ice cream?!
To everyone: Here is my attempt at a homemade checkerboard ice cream.
This is going to be even better than what I grew up with because it’s Matcha and Hojicha flavour. Chapman’s has nothing on this.
I decided to make it a little fancier by adding some toasted jasmine rice to amplify that roasted flavour. So yeah, this is another “rice cream”. Sue mE!!!
But, not before you try it.


Notes before you start:
Yes, this can be made in a Ninja Creami. But I used a Cuisinart 1.5 Quart Ice Cream Maker.
I don’t recommend this as a no-churn recipe!
This recipe is eggless, but it involves xanthan gum. This is the thickening agent and stabilizer which prevents it from getting too hard once stored in the freezer. Use a precise scale as a little goes a long way! I don’t recommend omitting.
Recipe:
Special Equipment:
Ice Cream Maker
Coffee Grinder
Strainer
0.1g Kitchen Scale
Rectangular silicon molds (for checkerboard ice cream)
Matcha Rice-Cream:
250g Heavy Cream
400g 2% Milk
60g skim milk powder
50g granulated sugar
75g corn syrup
0.8g xanthan gum
1g salt
20g Jasmine Rice, toasted & ground
25g matcha powder
Hojicha Rice-Cream:
250g Heavy Cream
400g 2% Milk
60g skim milk powder
50g granulated sugar
75g corn syrup
0.8g xanthan gum
1g salt
20g Jasmine Rice, toasted & ground
25g hojicha powder
The matcha and hojicha base are the exact same recipe and process besides the type of tea. If you can make both bases simultaneously, that is ideal!
Prepare your ice cream maker by freezing the double insulated freezer bowl for 24 hours. If using a Ninja Creami, skip ahead.

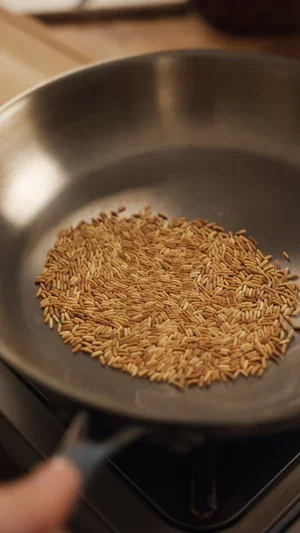
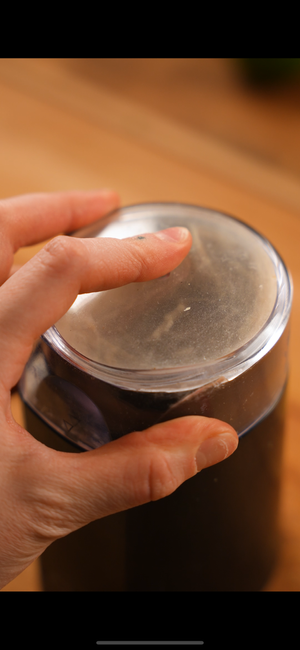
In a pan, add your dry Jasmine rice. Place the pan over medium heat and toast for 5-8 minutes or until golden and fragrant. Shake the pan often to prevent it from burning. Once toasted, remove from the heat and pour the rice into a coffee grinder. Blitz until a powder forms. Transfer to a small bowl and set aside. If you don’t have a coffee grinder, a mortar and pestle can be used!


In a small bowl, add your skim milk powder, sugar, and xanthan gum (make sure it is measured out precisely) stir to disperse the xanthan gum into the powder. This prevents clumping when we add it to the liquid!


In a medium sauce-pot, add your heavy cream, milk, the ground toasted rice, the skim milk powder mixture and the corn syrup.
Bring the pot to a gentle simmer, whisk to dissolve the skim milk powder and sugar. About 8 minutes.


Measure out your matcha (or hojicha) and place it in a small bowl. In order to prevent lumps of tea forming, we will add some of the hot milk mixture to matcha/hojicha powder before adding it to the pot.
Add about 1 cup of your hot milk mixture to the tea powder and whisk the two together until no lumps remain.


Transfer the matcha (or hojicha) mixture to the pot and add the remaining salt. Stir to combine.


Pass the ice cream base through a sieve and into a large bowl. Discard what might remain in the sieve. Allow the ice cream base to cool. (Repeat the entire process once more to make the other ice cream base!)


If using an ice cream maker: Cover the bowl with plastic wrap so that it is touching the surface of the custard (this is so it doesn’t form a skin/film).
Let the flavours infuse for 5-6 hours in the fridge.
If using Ninja Creami: Transfer the sieved custard to your respective pint containers. This recipe should make enough for two pints.
Freeze them for 24 hours before spinning!
Once the base has had time to cool, you can churn it!


If using an Ice Cream Maker: Once the custard is cold you can churn it with your prepared ice cream basin. Pour the base into the ice cream drum and churn according to your ice cream makers instructions. I churned mine for 20 minutes, until it was thick and smooth.
If using a Ninja Creami: Spin the ice cream 2-3 times on the Ice Cream setting. When done, it should be thick and smooth.
Transfer ice creams to a container for freezing.
To make a swirled pint: while the second ice cream churns make sure you store the first ice cream in the freezer. When both flavours are ready, alternate between the two flavours and swirl them to combine in one container. This recipe makes about 2 pints of ice cream!
Once kept in the freezer— to enjoy at original consistency—remove from the freezer 5-10 minutes before serving.


To make a checkerboard block:
Transfer the churned ice cream to small silicon rectangular molds. You will need to fill about 9 rectangles for each flavour. (Any leftover ice cream can be placed in containers and stored in freezer)


Smooth out the tops and make sure there are no air-pockets in the molds. Store the rectangles in the freezer for 2 hours or until hard.
When ready to assemble: Place down a piece of plastic wrap on your work surface. Pop the matcha and hojicha rectangles out of the molds. Keep in the freezer when not using!


Working quickly— layer and stack the rectangles to build a checkerboard patterned block. One block should look like this:
M H M
H M H
M H M
And the other block like this:
H M H
M H M
H M H
Cover the entire thing with plastic wrap and use your hand to press the sides together to kind of fuse it. Store in the freezer for 1 hour!
When ready to serve, unwrap from the plastic wrap and use a hot knife to slice into the checkerboard block!


Enjoy!
What flavours would you like to see checkerboard-ed? Leave me a comment below, or send me a DM on Instagram (@eboake)!