
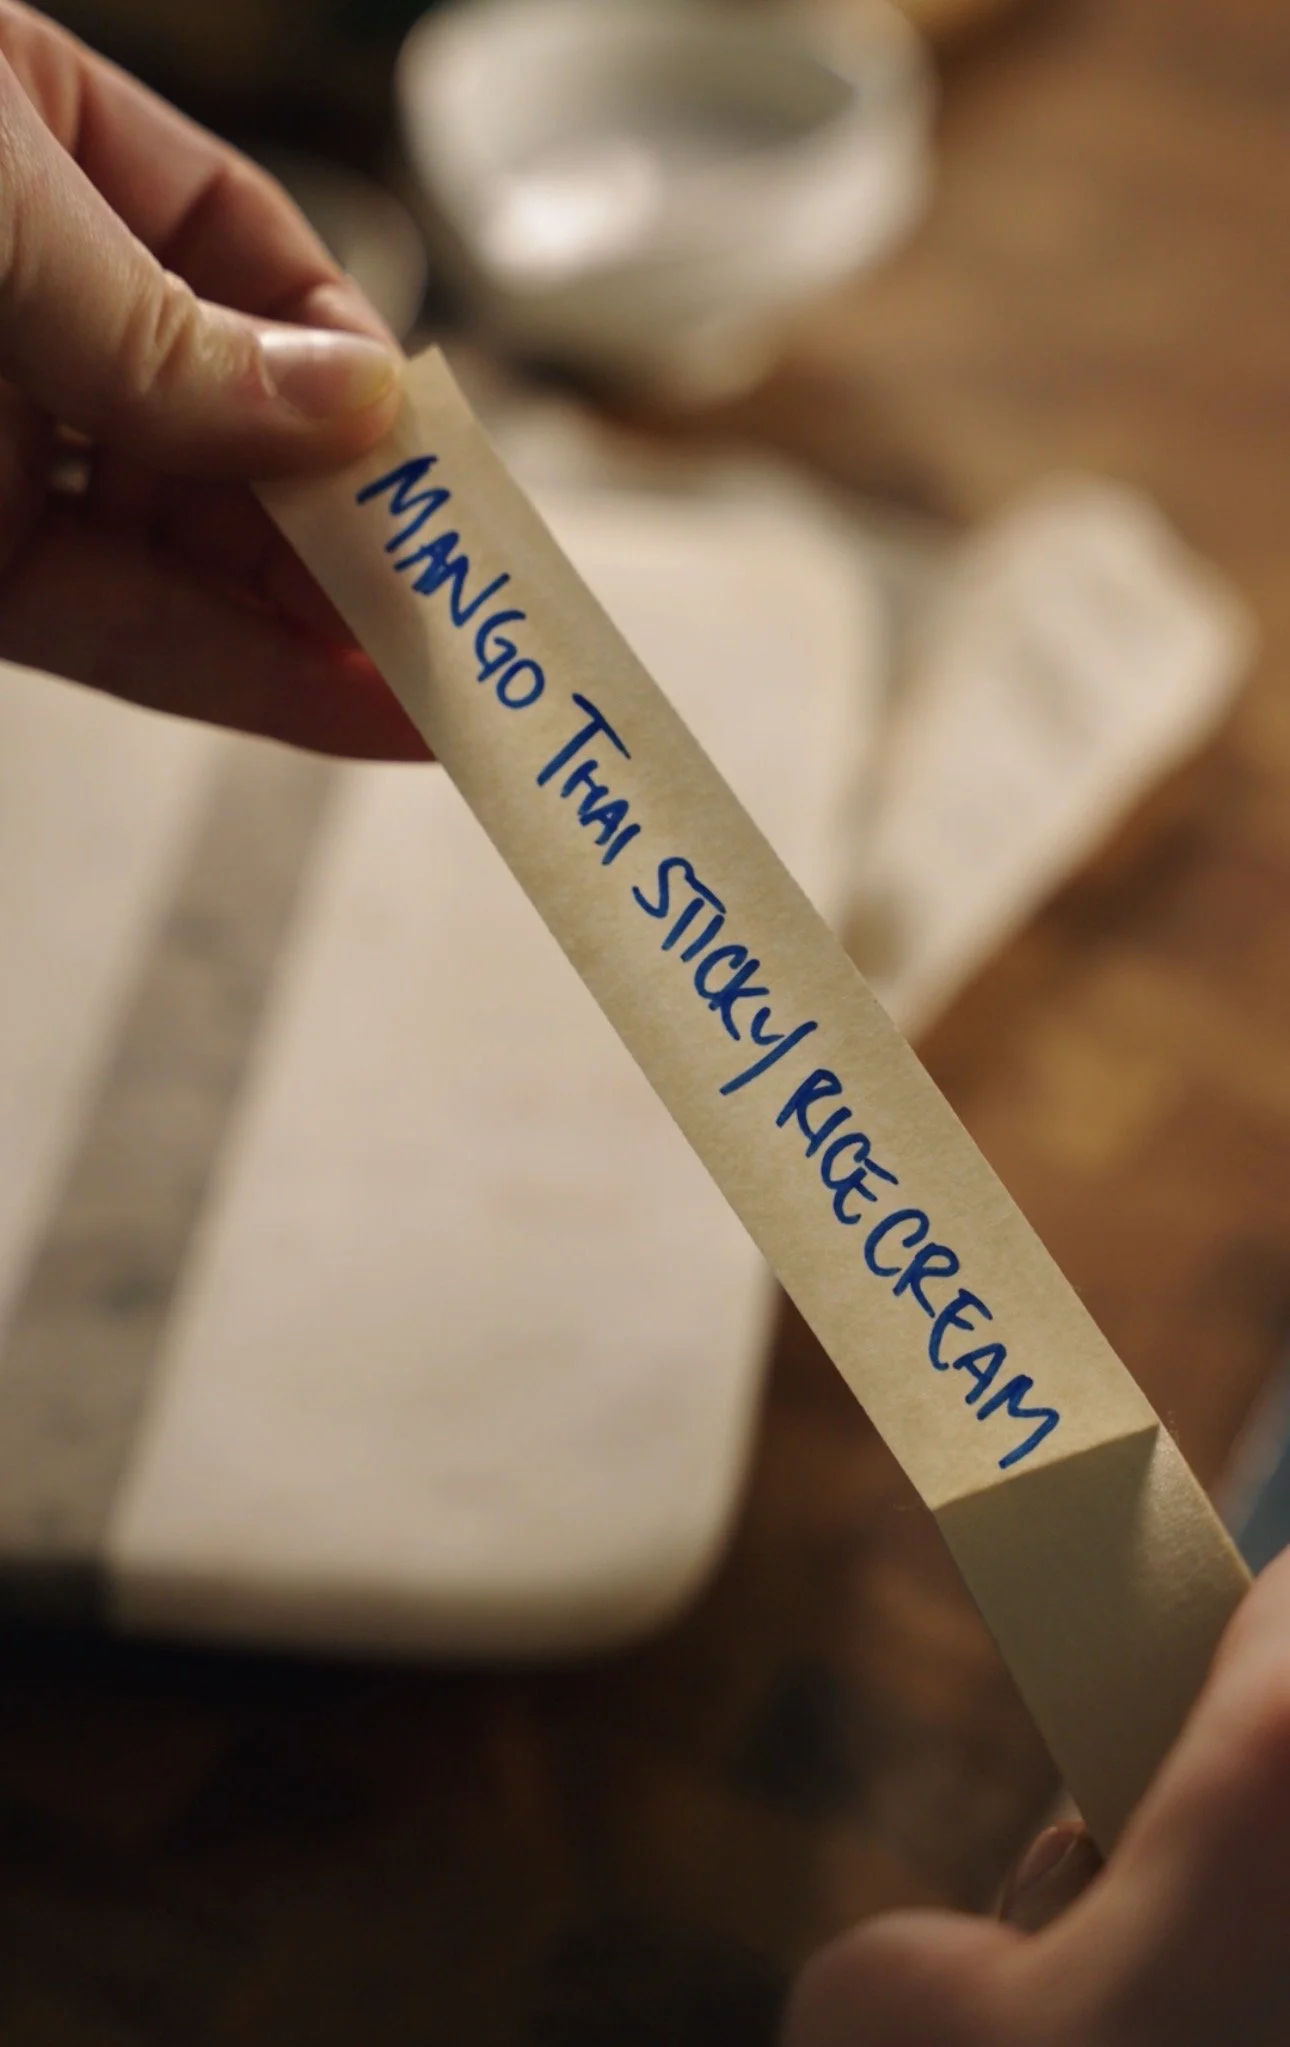
Mango Thai Sticky Rice-Cream
Watch the video!
I hope no one is tired of this flavour because I’m back with another version. MangoThai Sticky Rice-Cream 4.0
It really is a fun sweet treat, especially this time of year when mangos are plentiful.
The iconic, toasty and fragrant Thai rice flavour really comes through after incorporating the Rice in two different ways:
cooking rice in the coconut milk mixture
adding toasted rice for another level of nutty flavour
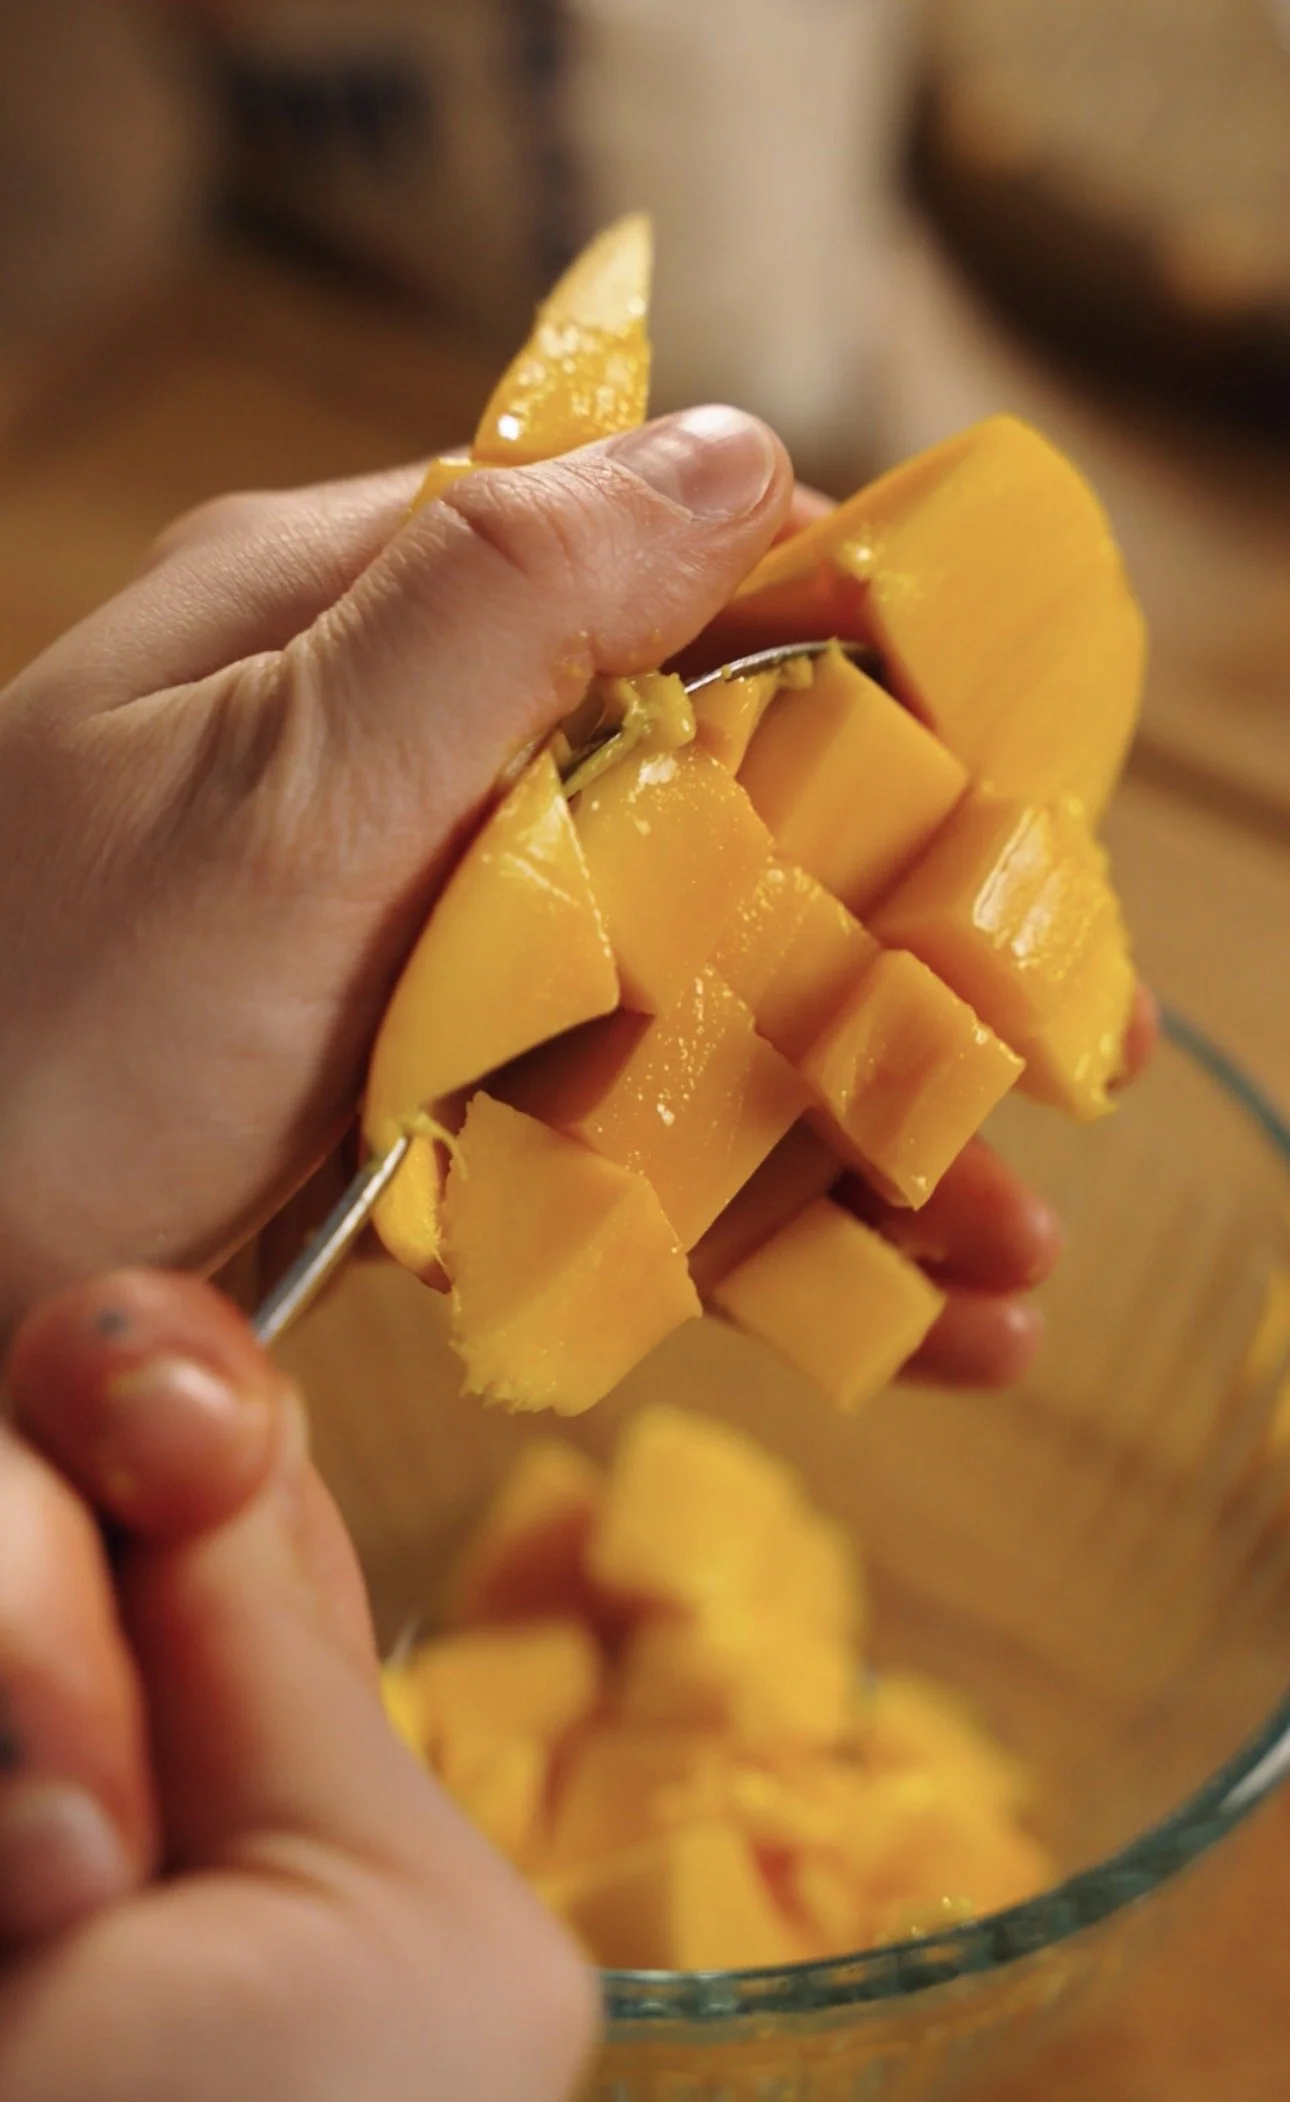
As well, this version blends chunks of ripe fresh mango into the ice cream base itself. Sweet, and tart, really gorgeous and captures the entire essence of the S-Tier dessert.

Notes before you start:
This creamy custard heavily relies on Thai glutinous rice to achieve the truest flavour. I chose to cook the pre-soaked rice directly in the coconut milk mixture, but you can add pre-cooked rice to save time.
Leave enough time for the Thai rice to soak: at least 2 hours, it is ready when it easily breaks when pinched between your fingers.
This version does not use egg yolks! Here’s what I did instead:
Substituted xanthan gum & skim milk powder
**Once stored in the freezer for long periods of time this rice-cream can get quite hard, and that is due to the water content from the coconut milk. The stabilizers added like skim milk powder and xanthan gum help prevent ice crystals but doesn’t eliminate the likelihood of them forming.
Yes, this can be made in a Ninja Creami. I used a Cuisinart ICE 21 (1.5 Quart Ice Cream Maker)
Let’s make it!
Recipe:
Special Equipment:
Ice Cream Maker
Strainer
Blender or Immersion Blender
Mango Thai Sticky Rice-Cream
40g glutinous Thai rice, divided
250ml heavy cream
400ml full fat coconut milk
85g yellow rock sugar
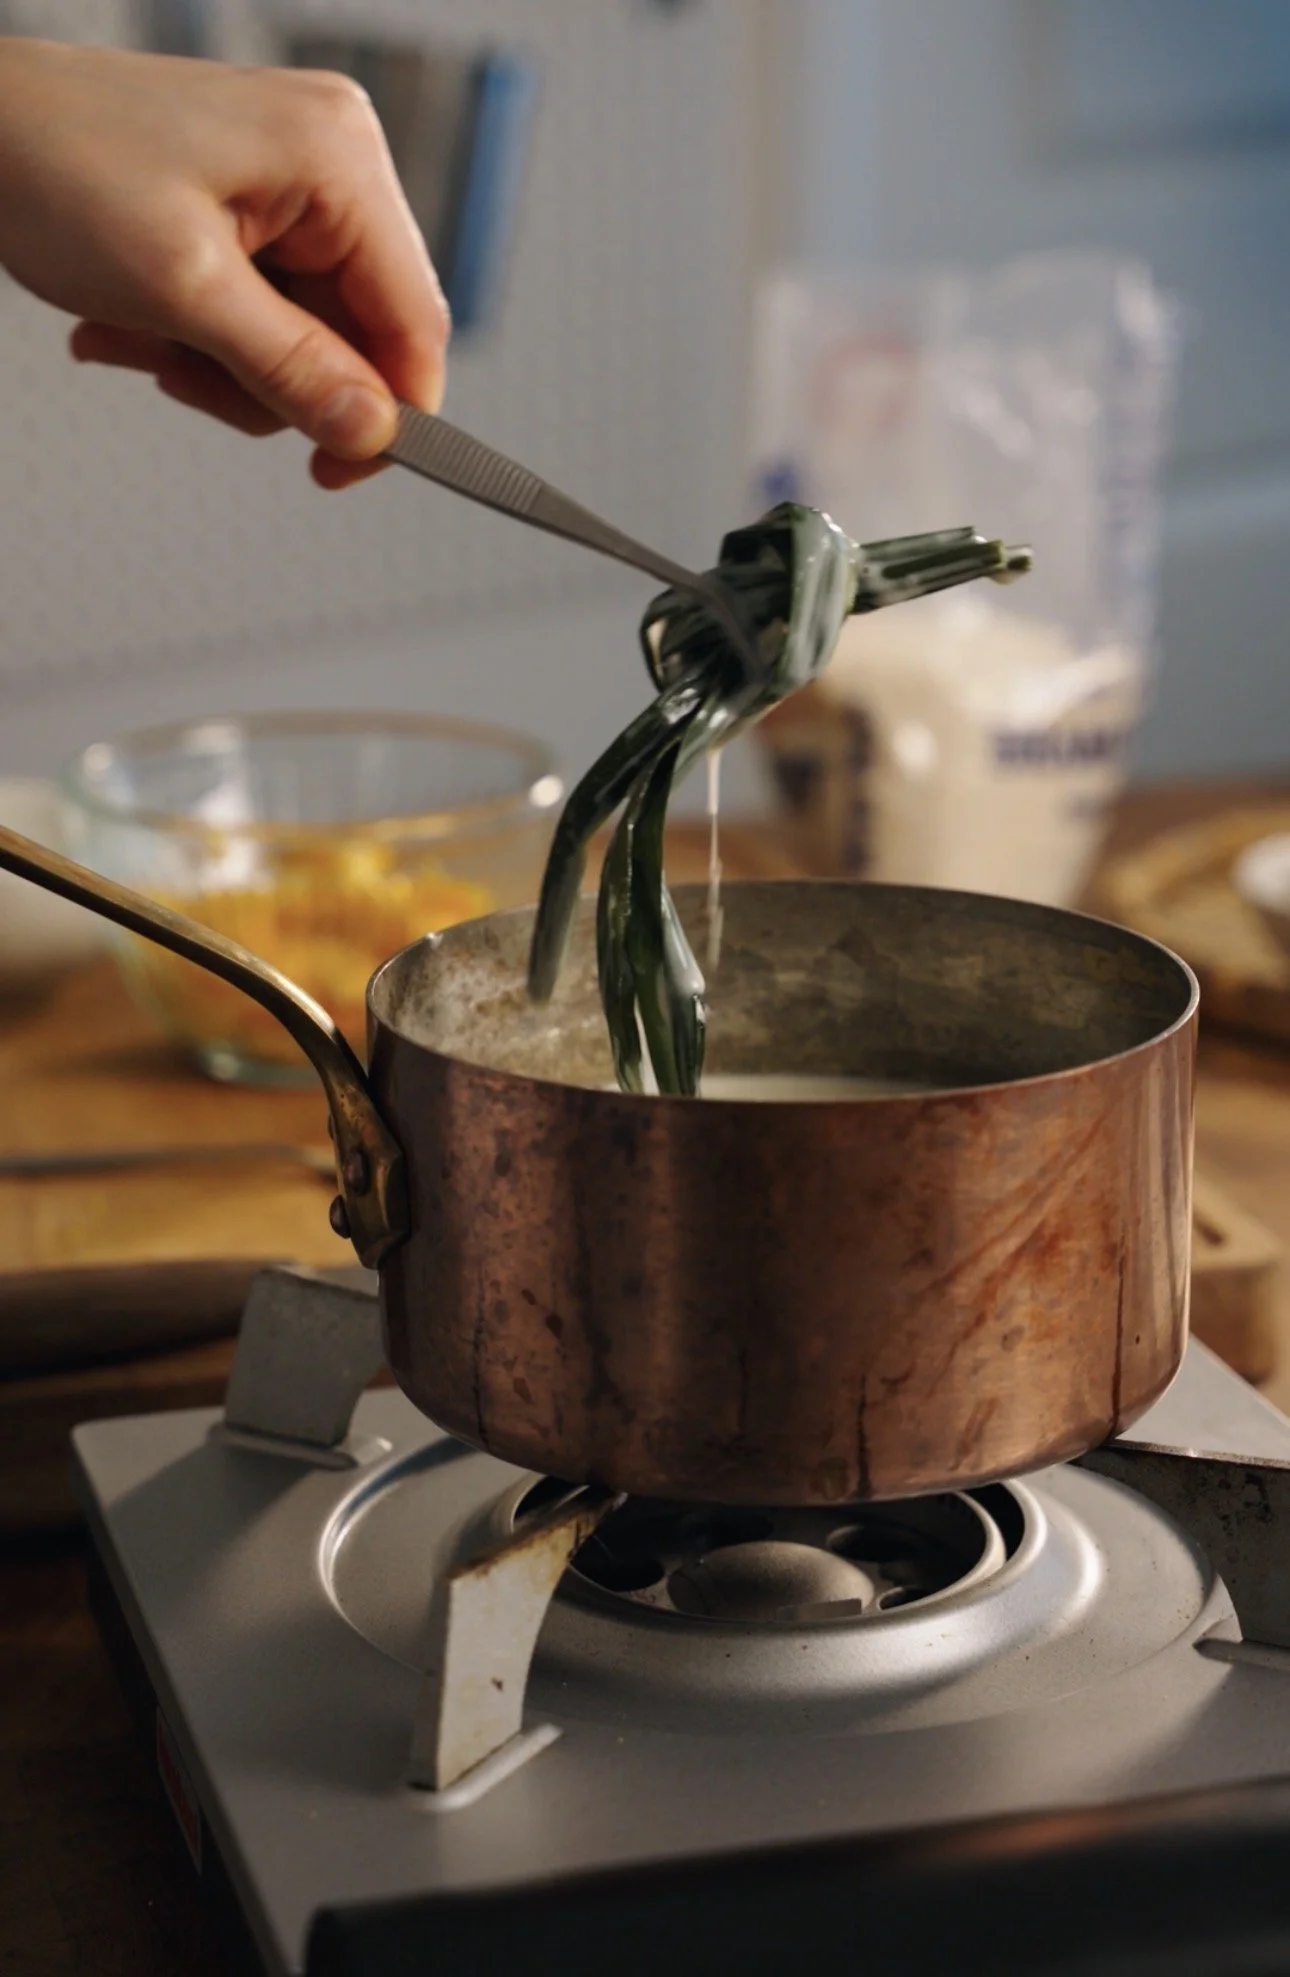
3 pandan leaves, tied in a knot
pinch salt
35g skim milk powder
0.8g xanthan gum
280g fresh mango chunks
100g fresh mango, diced (optional mix-in)
0.5g citric acid
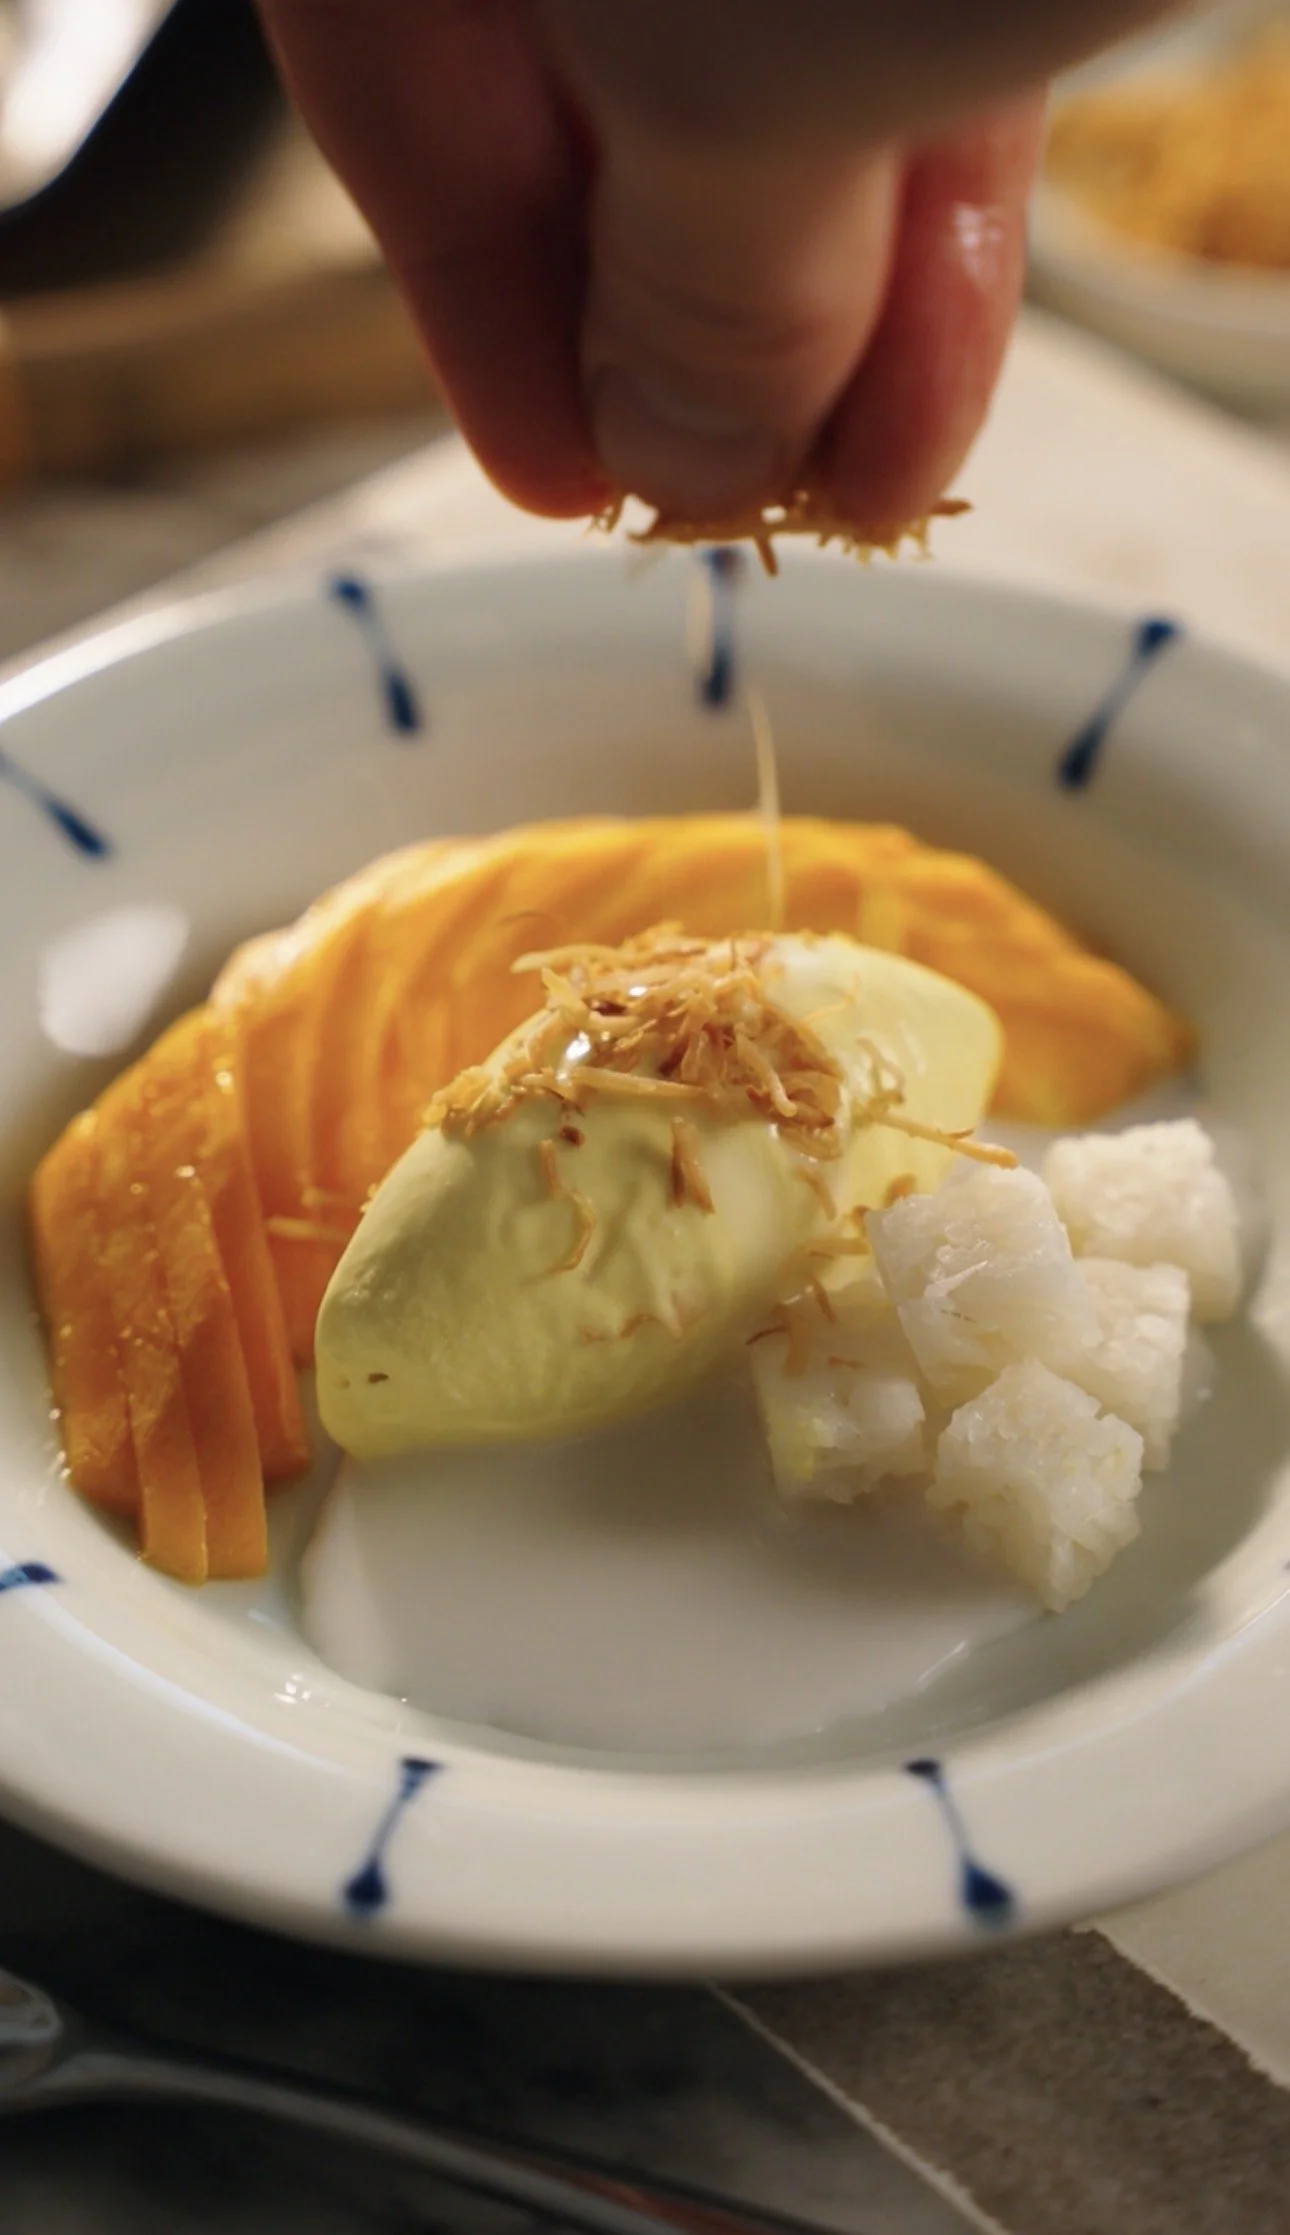
toasted shredded coconut (optional topping)
Prepare your ice cream maker by freezing the double insulated freezer bowl for 24 hours. (If using a Ninja Creami, skip ahead to 2.)

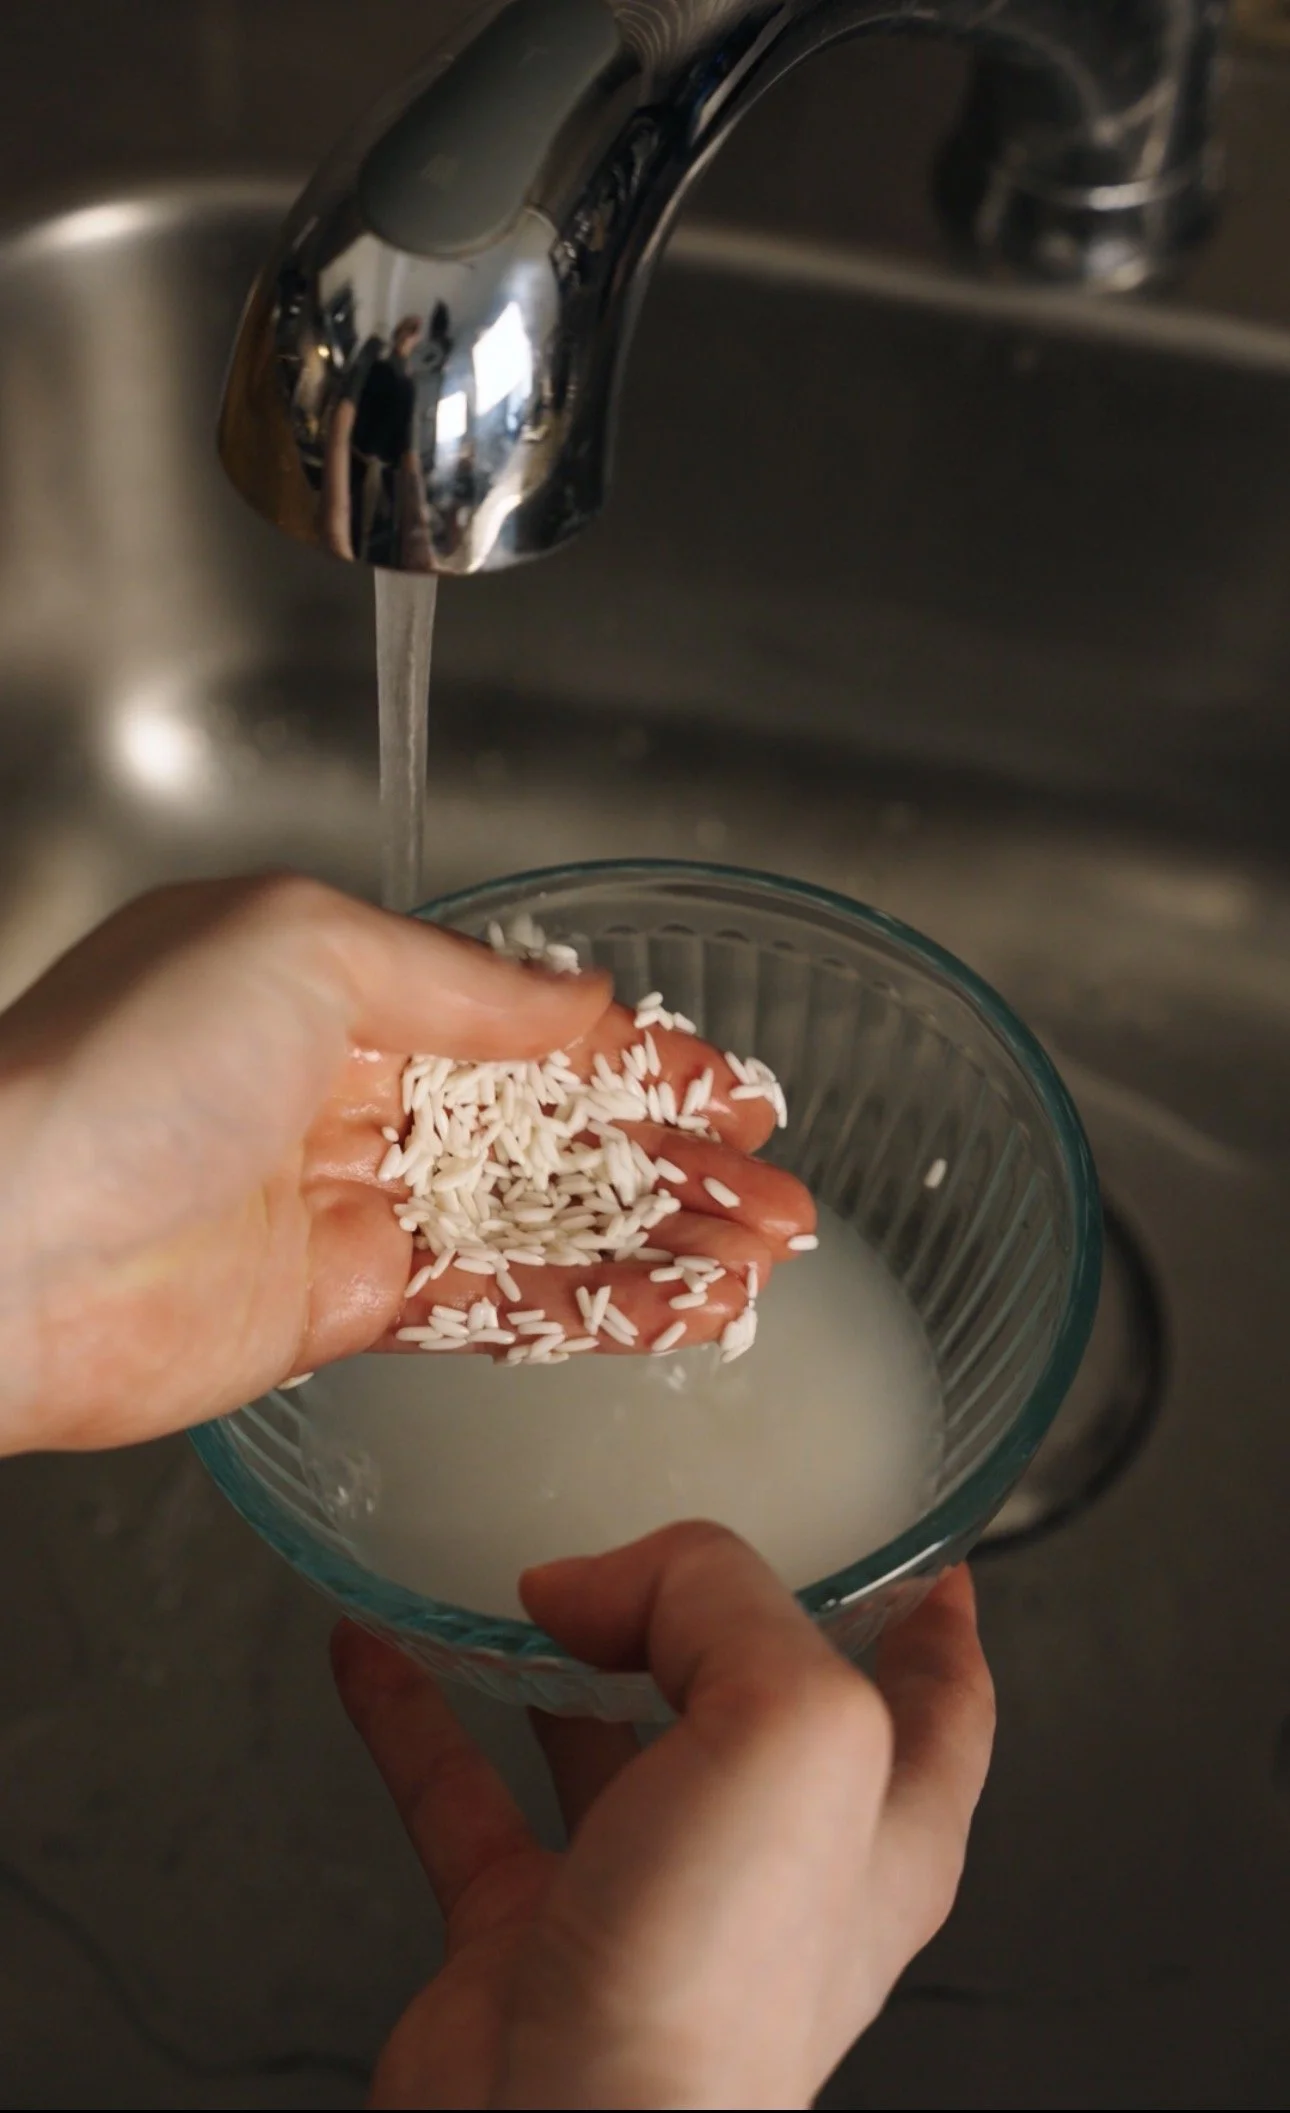
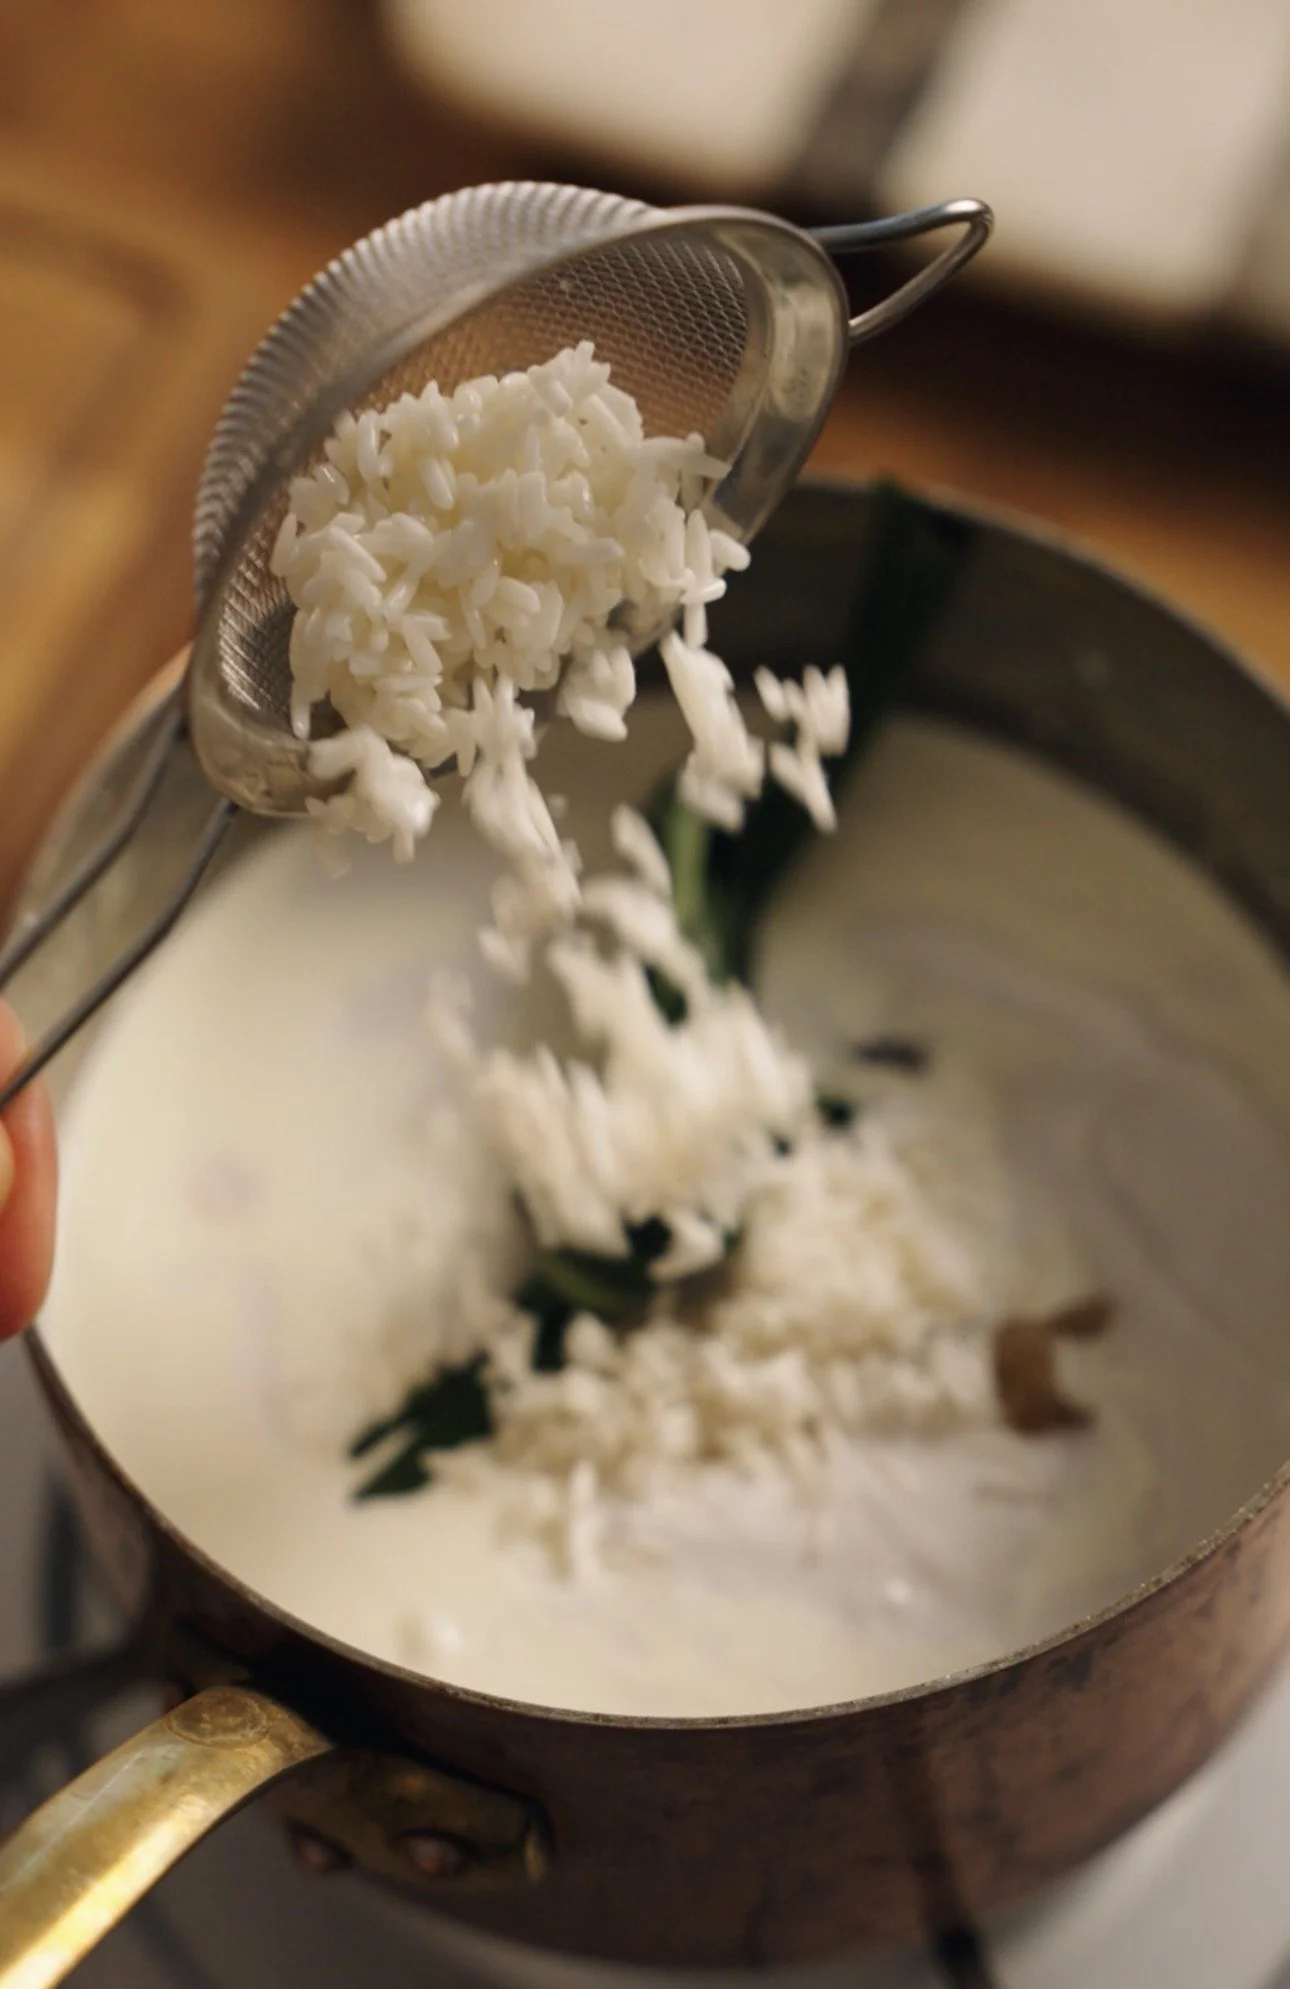
Measure out 20g of glutinous Thai rice and pour into a small bowl. Rinse the rice with water until it runs clear. Add fresh water to the bowl and allow the rice to soak for at least 2 hours or better, overnight. The rice is ready when it easily breaks when pinched between your fingers.
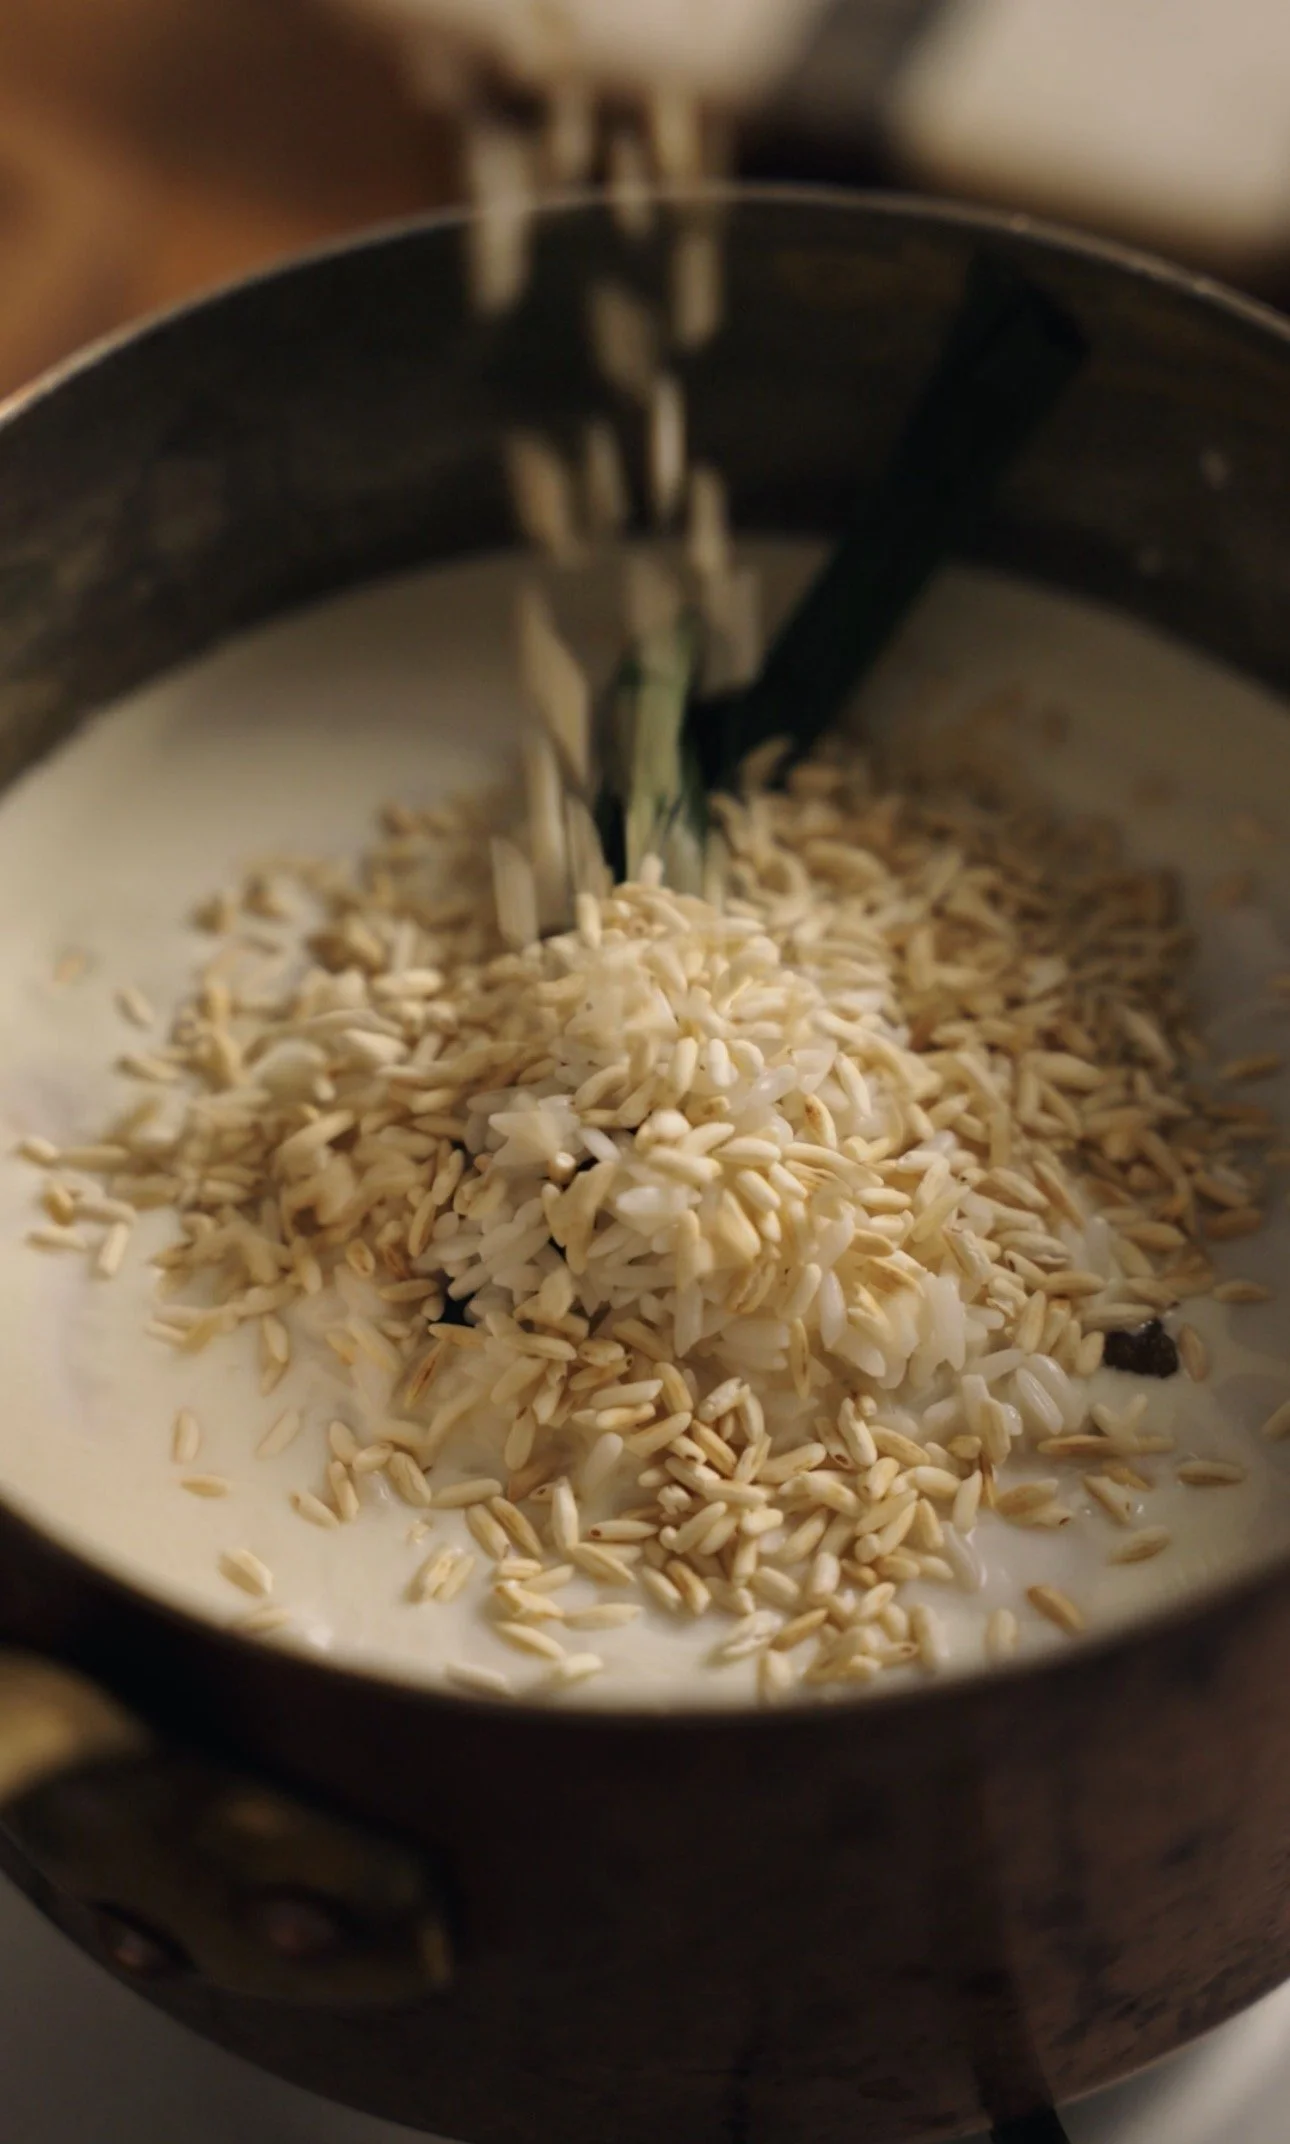
Measure out the remaining 20g of glutinous Thai rice and add it to a small pan. Place it over medium heat. Toast the rice, shaking the pan so it evenly browns. About 5 minutes. Once it smells nutty/fragrant, and starts popping slightly— remove it from the pan.
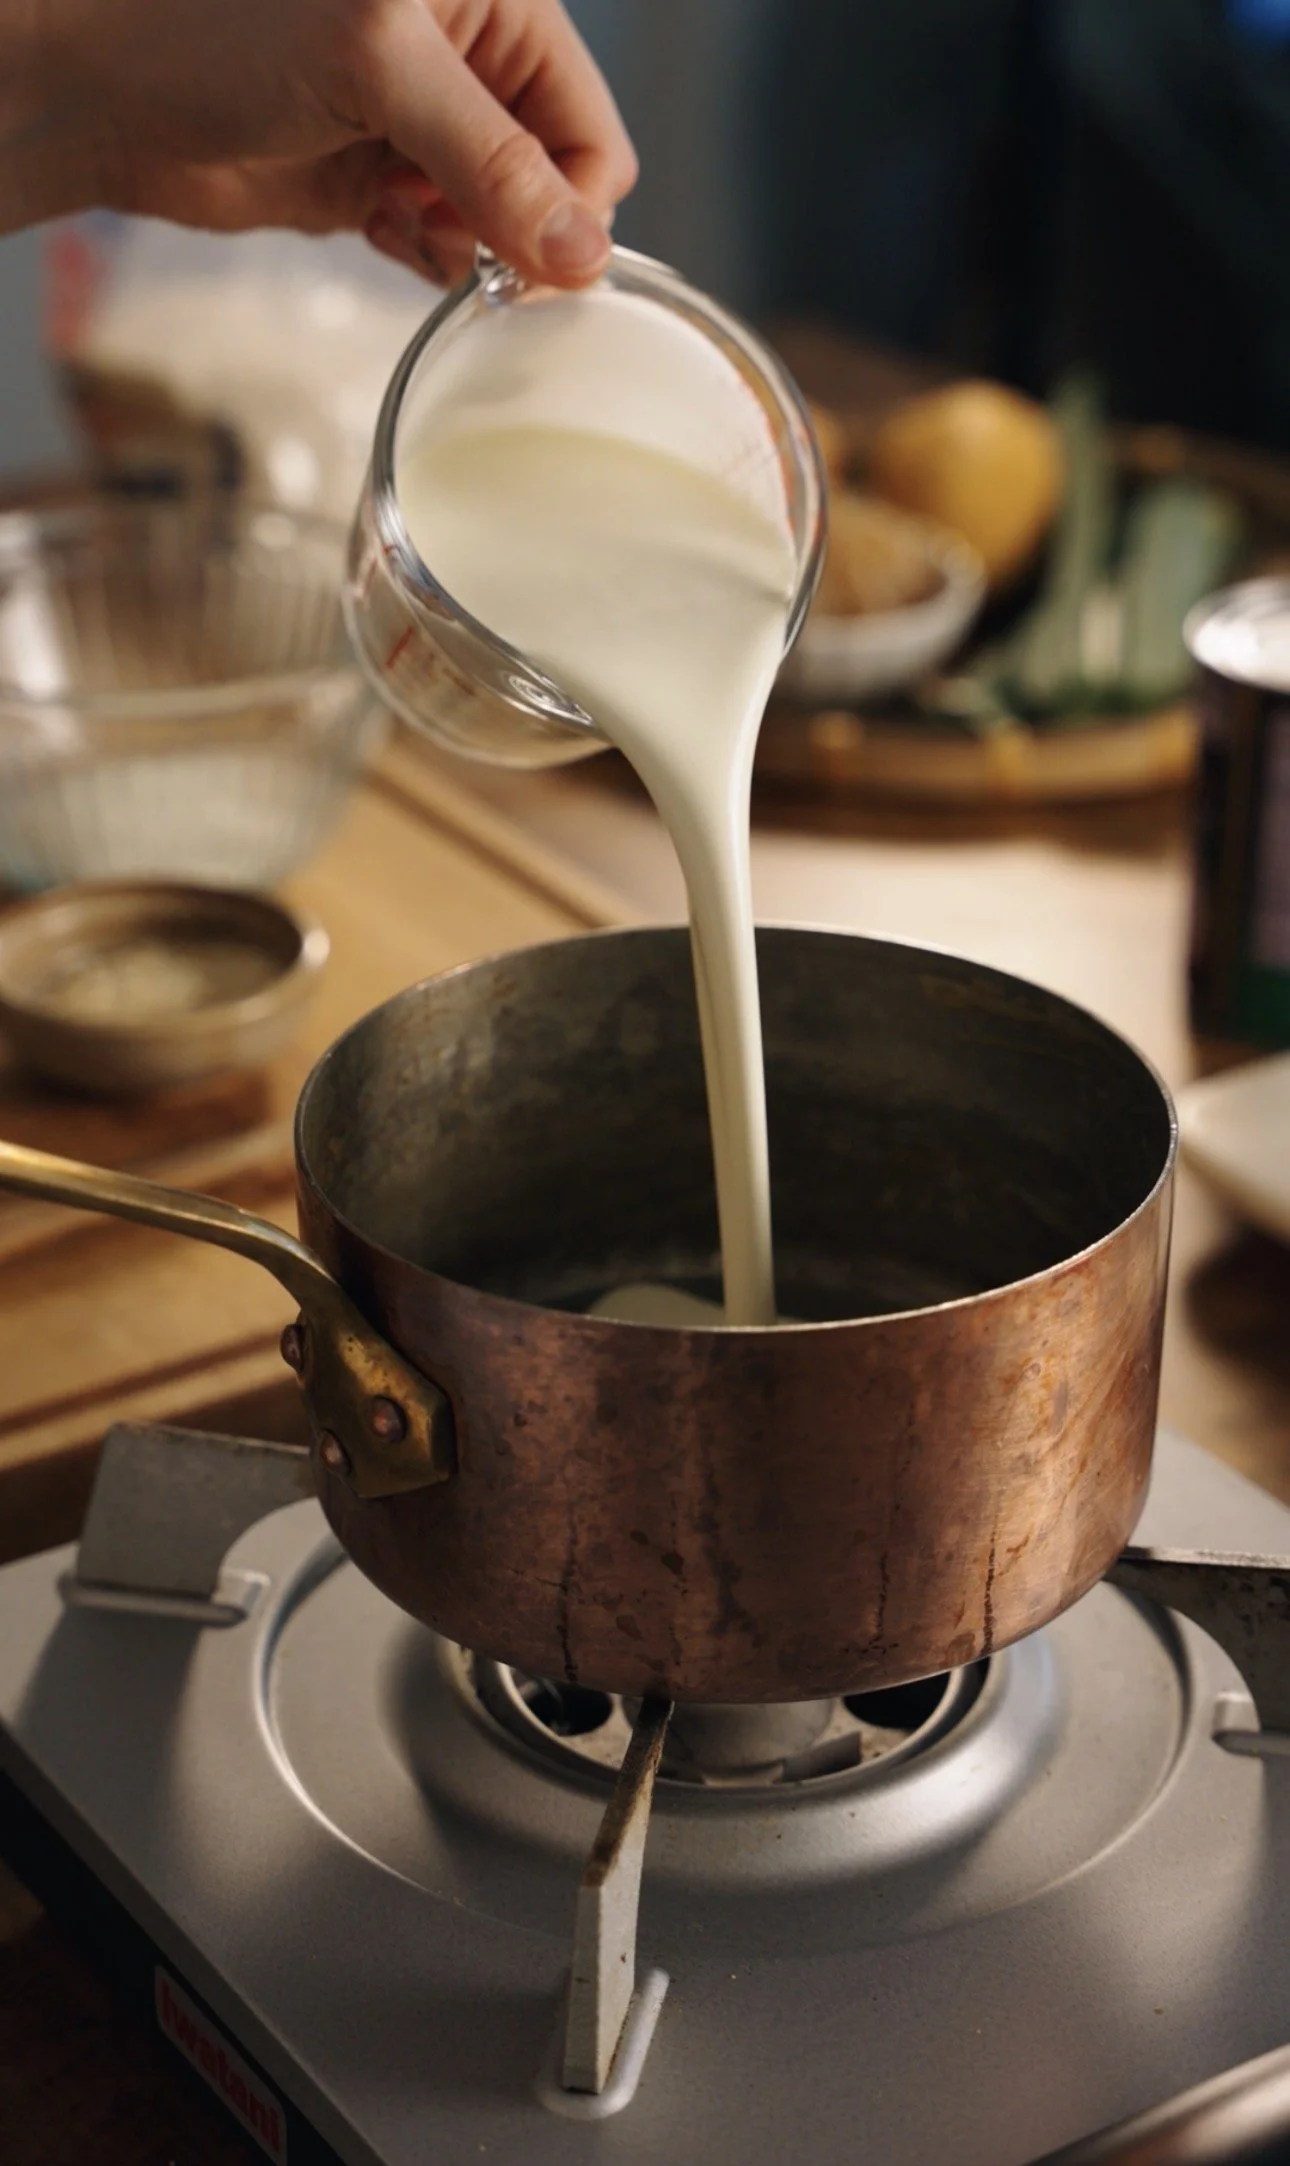
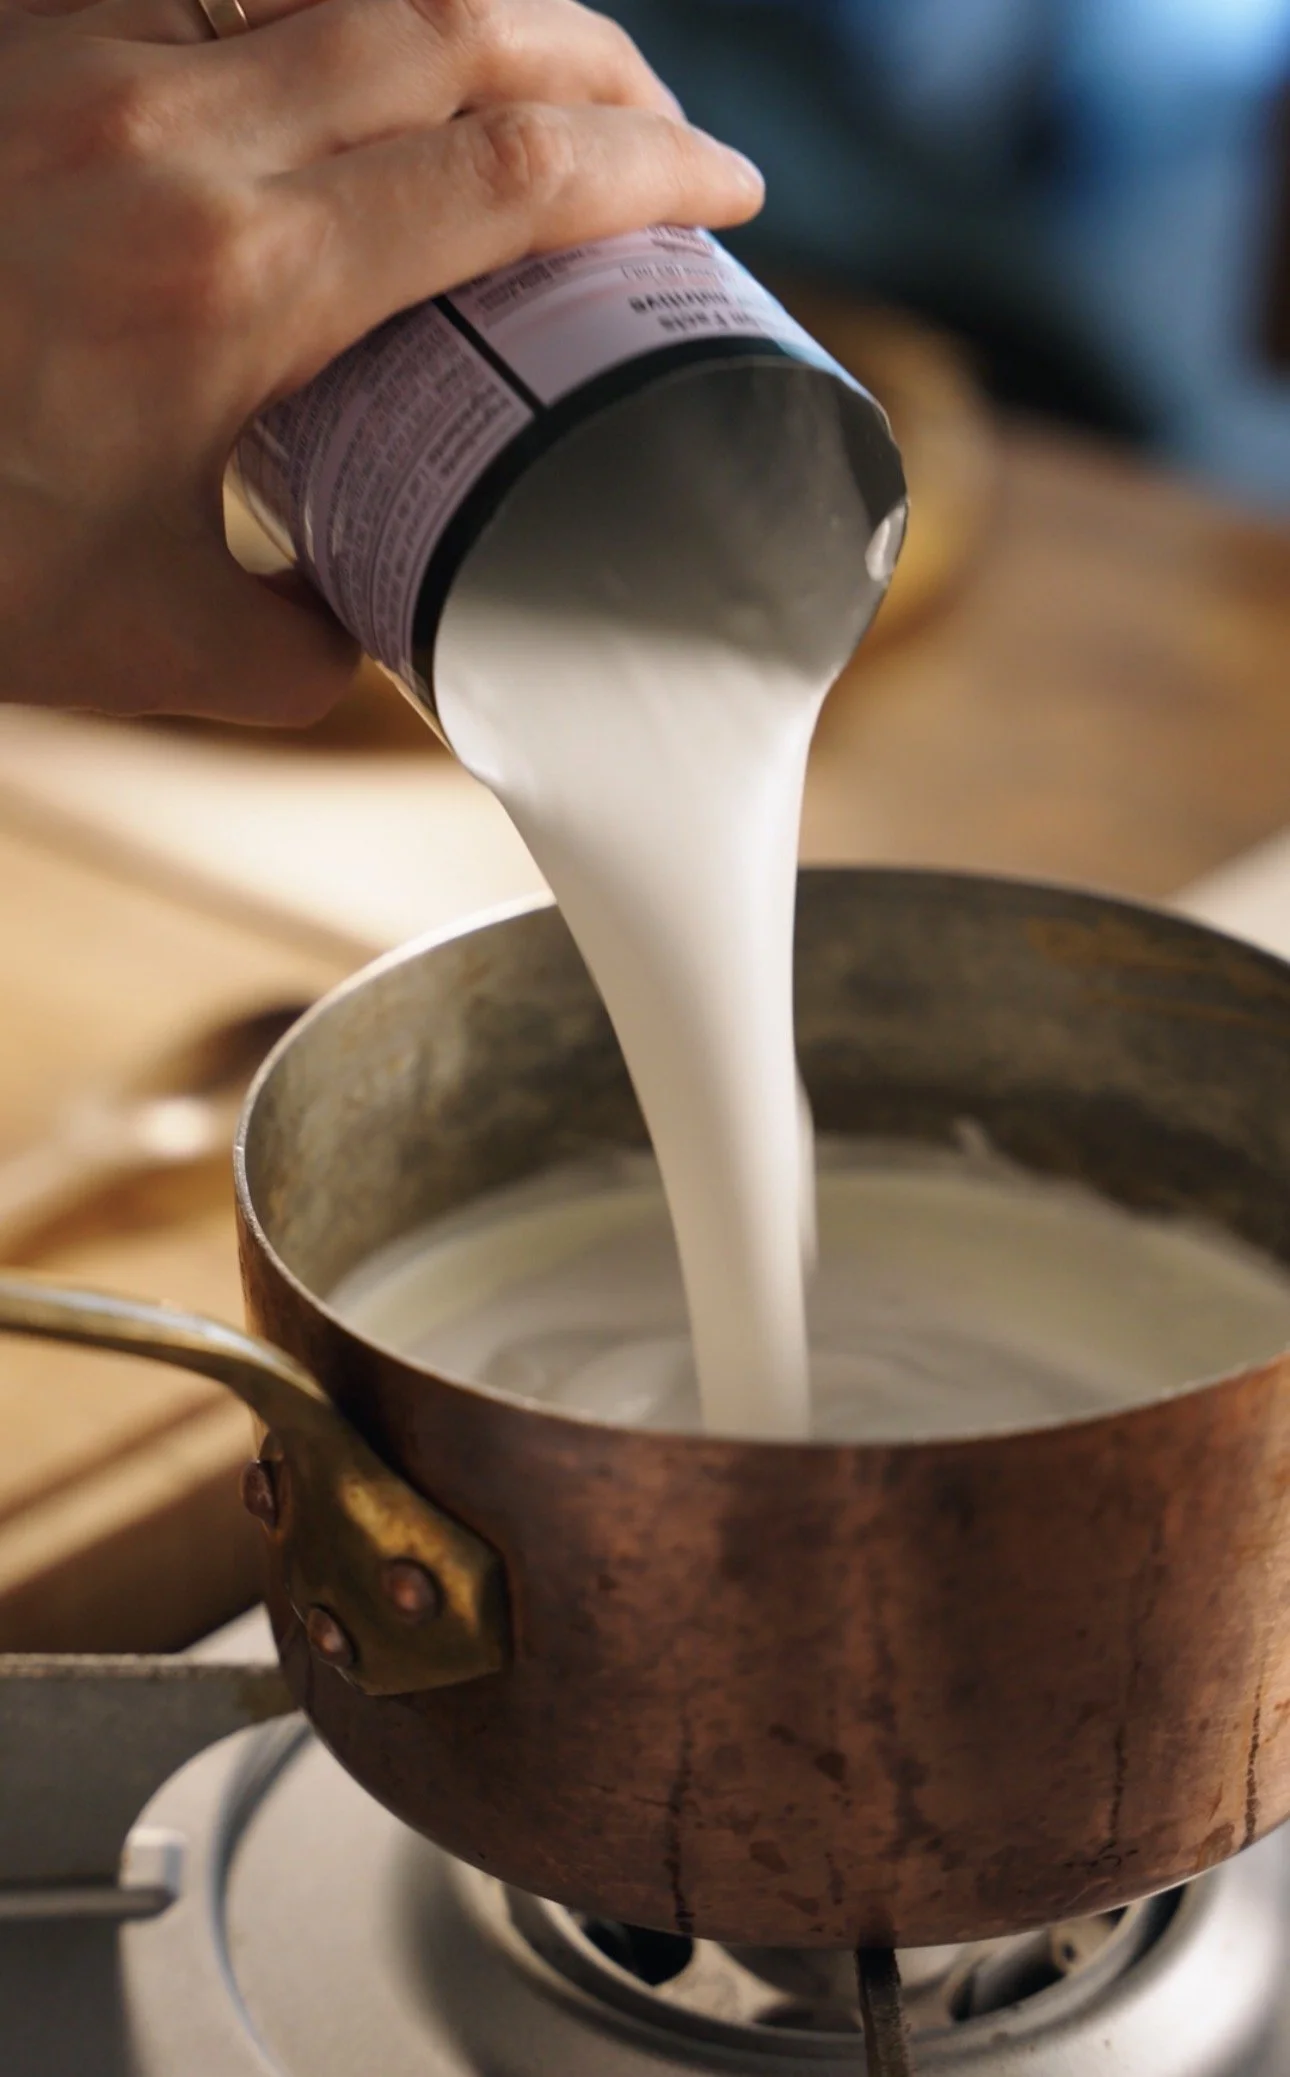
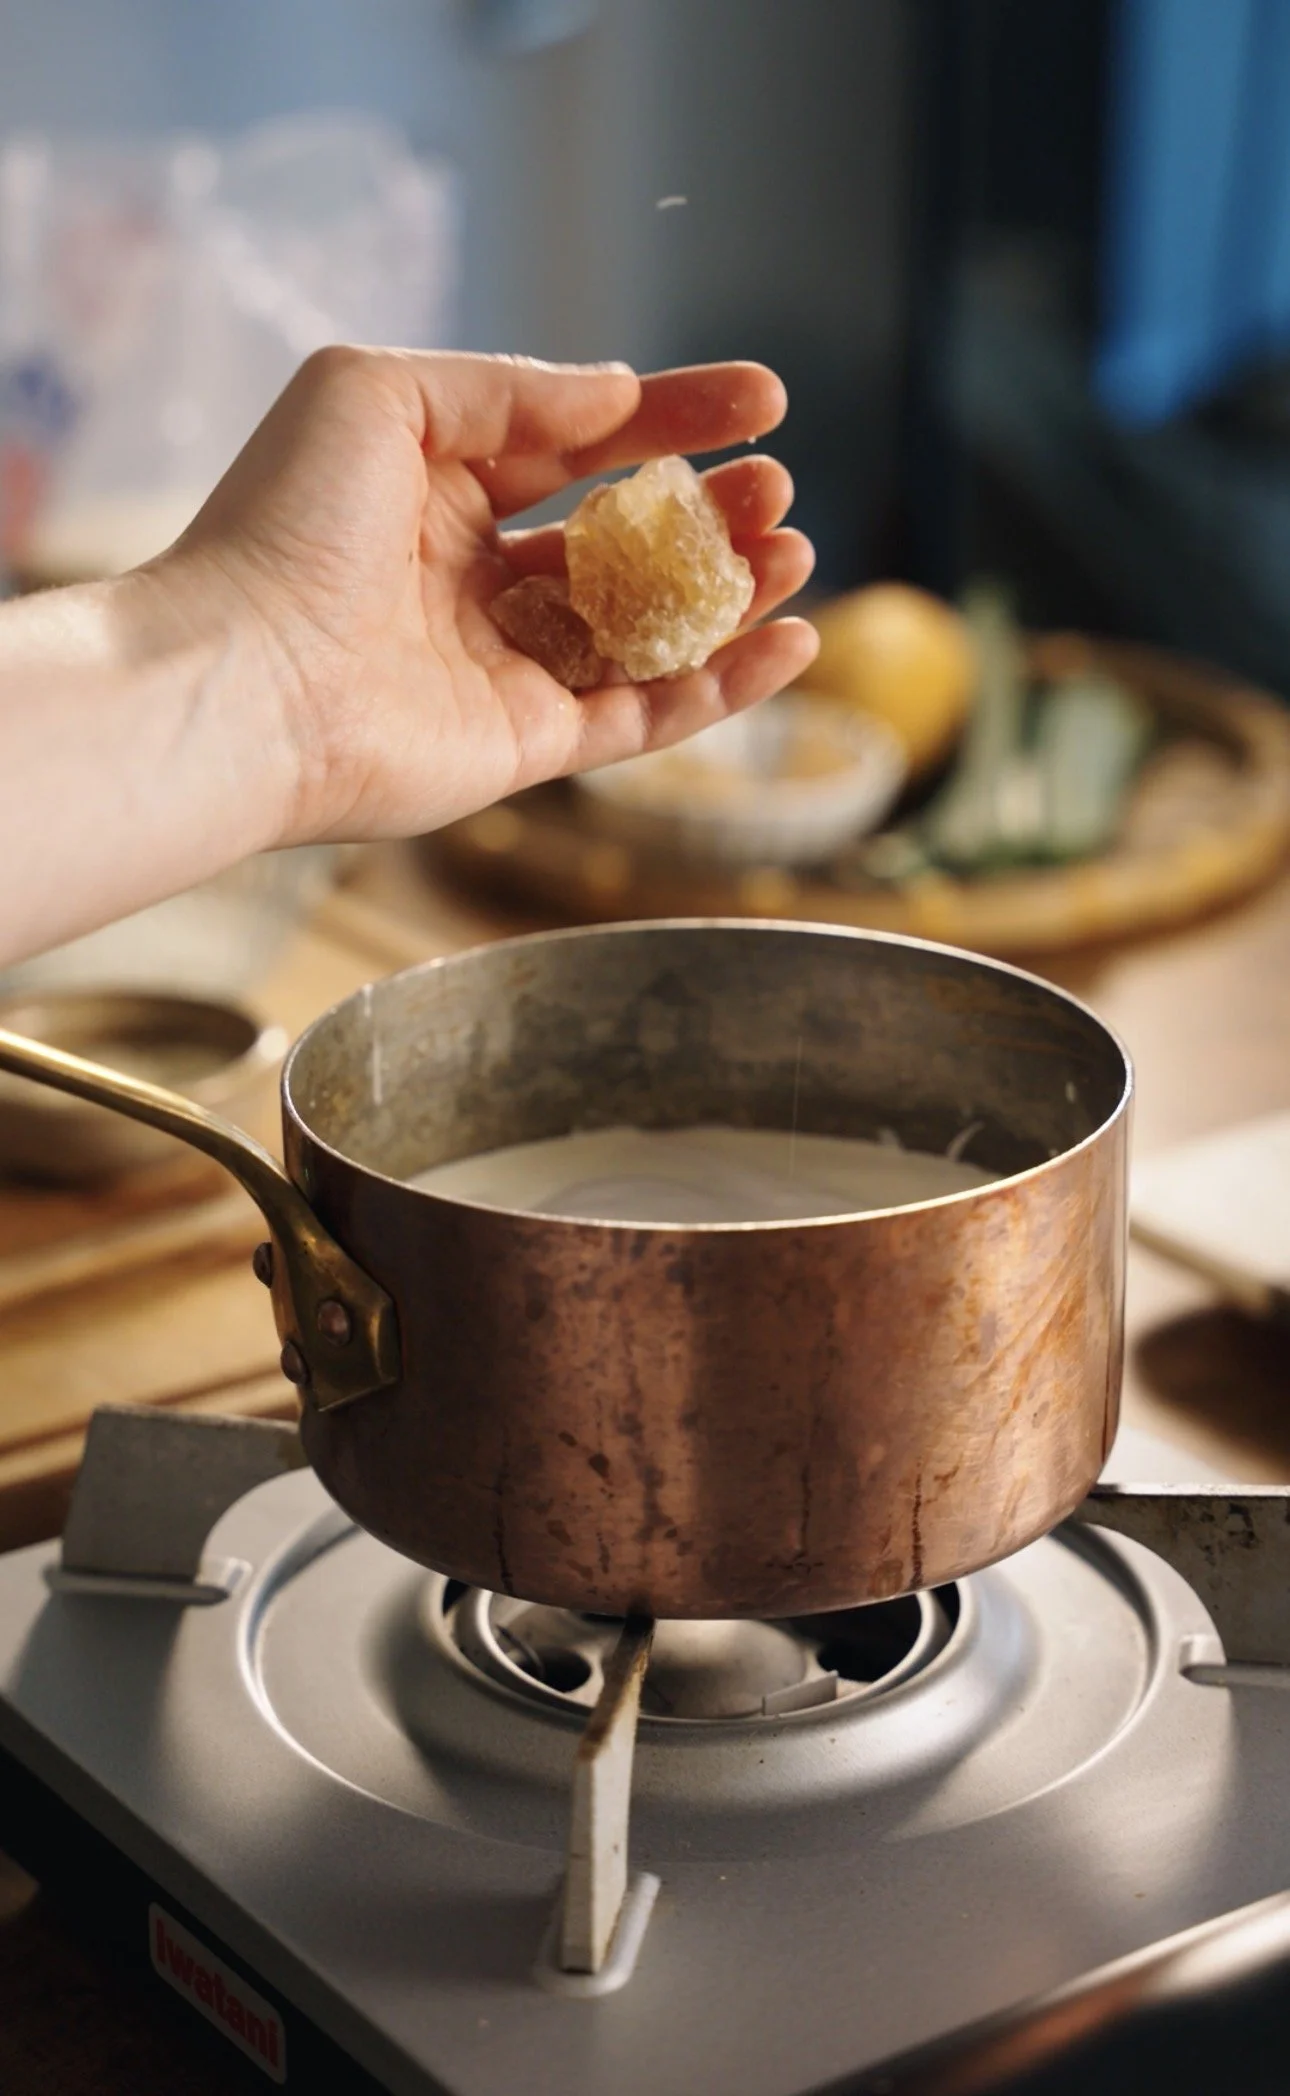
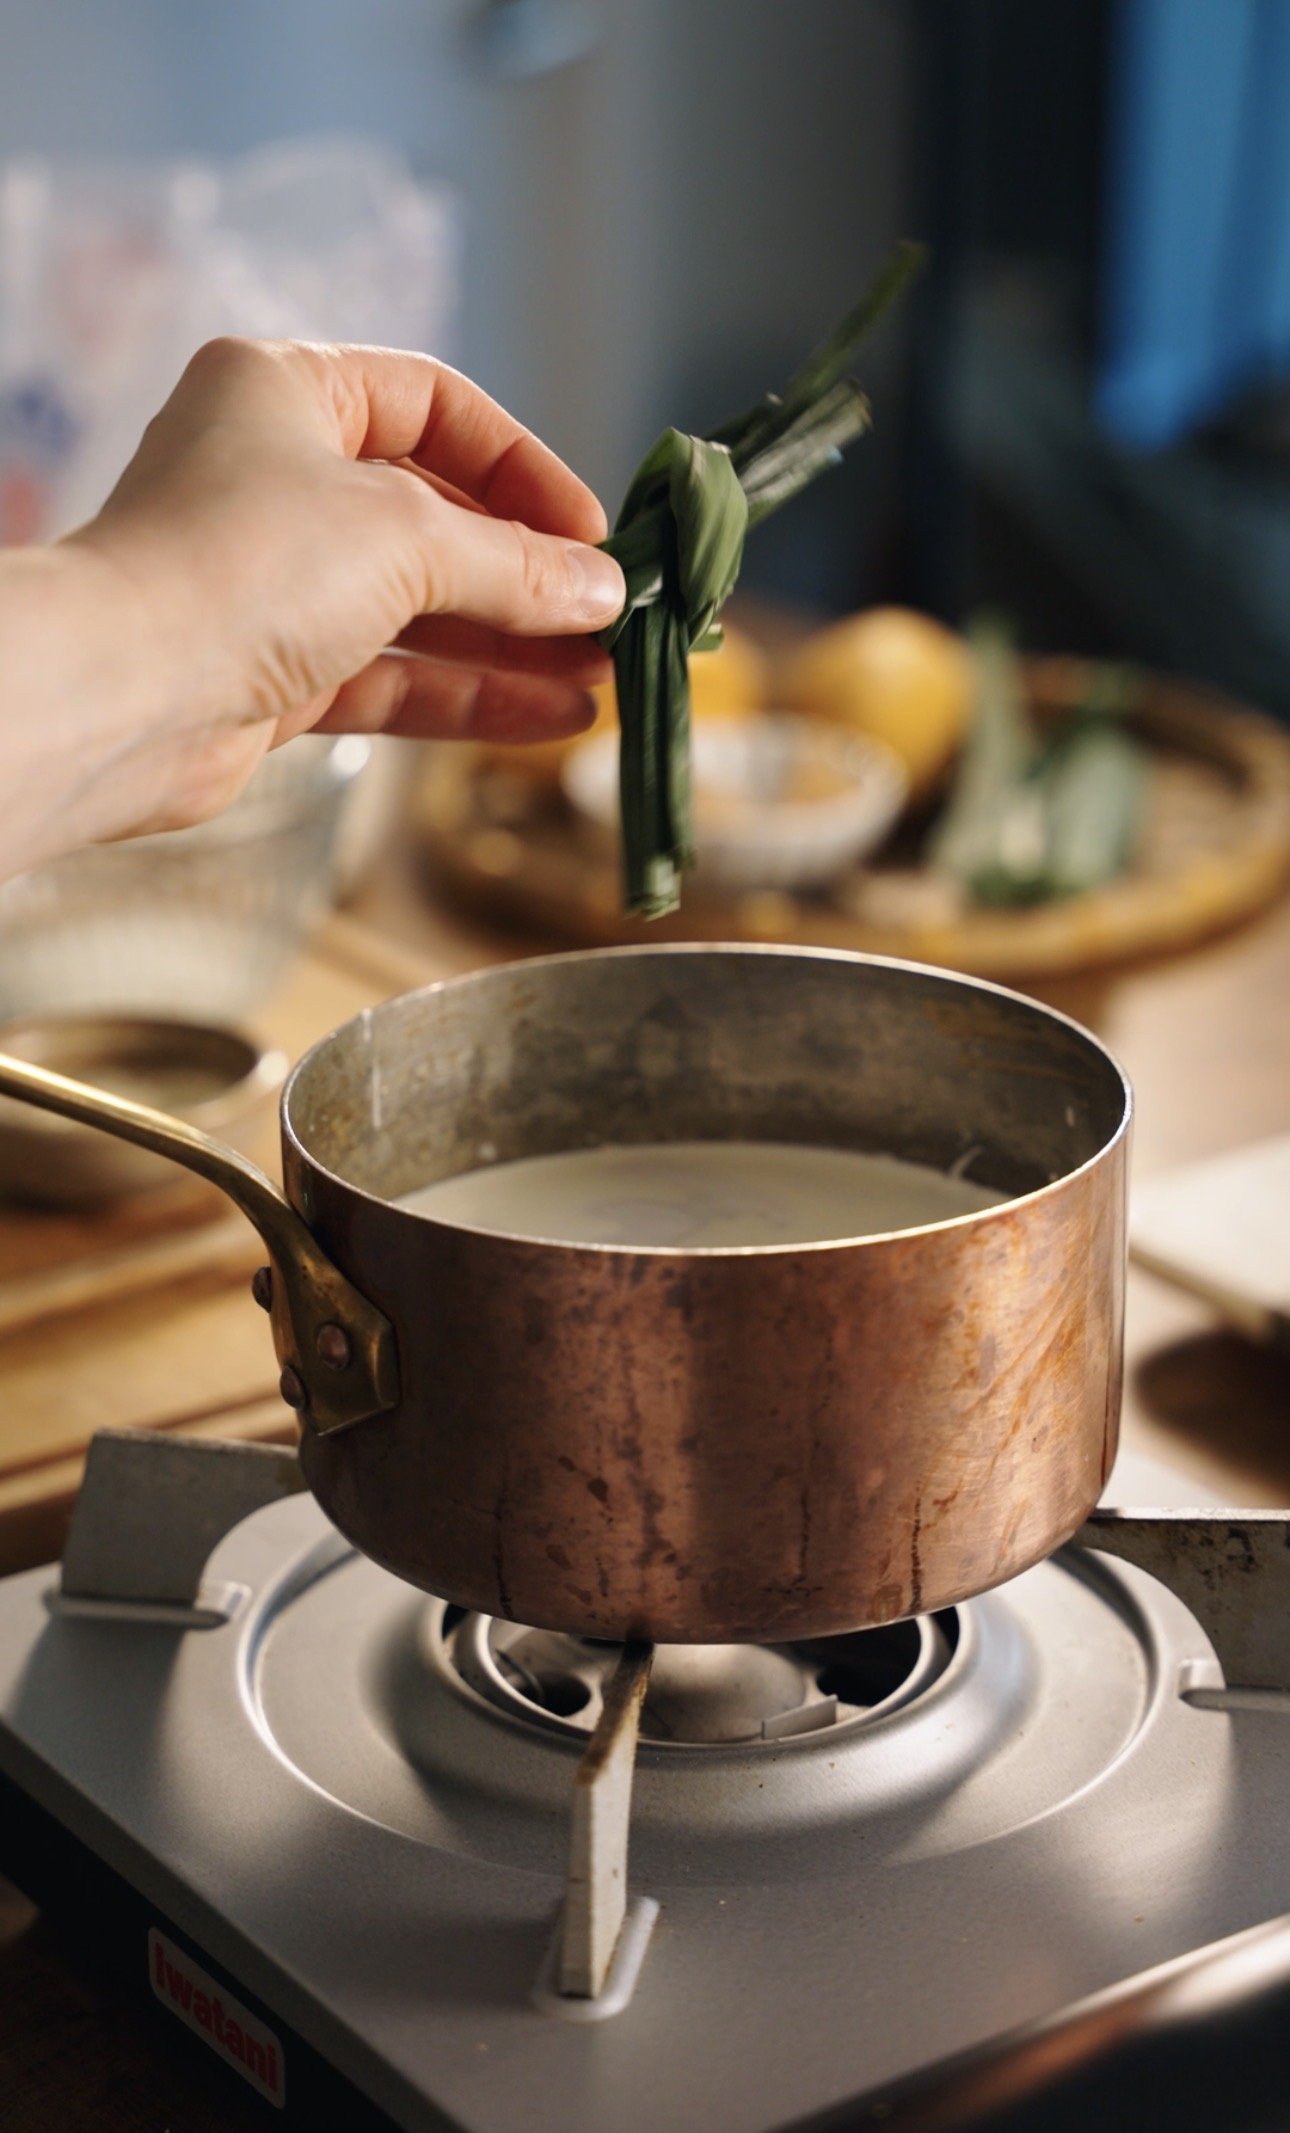
In a medium sauce pot, add the heavy cream, full fat coconut milk, rock sugar, pandan leaves, the soaked rice and the toasted rice.
Bring it to a gentle simmer and stir to fully dissolve the rock sugar. Simmer the mixture over low heat for 15 minutes and then turn off the heat.
Let the coconut mixture cool in the pot for an additional 10 or until the rice is soft.
In a small bowl, add the skim milk powder and xanthan gum (please measure the xanthan gum! as a little goes a long way) stir both powders to combine— this will prevent lumps from forming once added to the liquid.
When the rice in the pot with coconut mixture is soft, remove the pandan leaves.
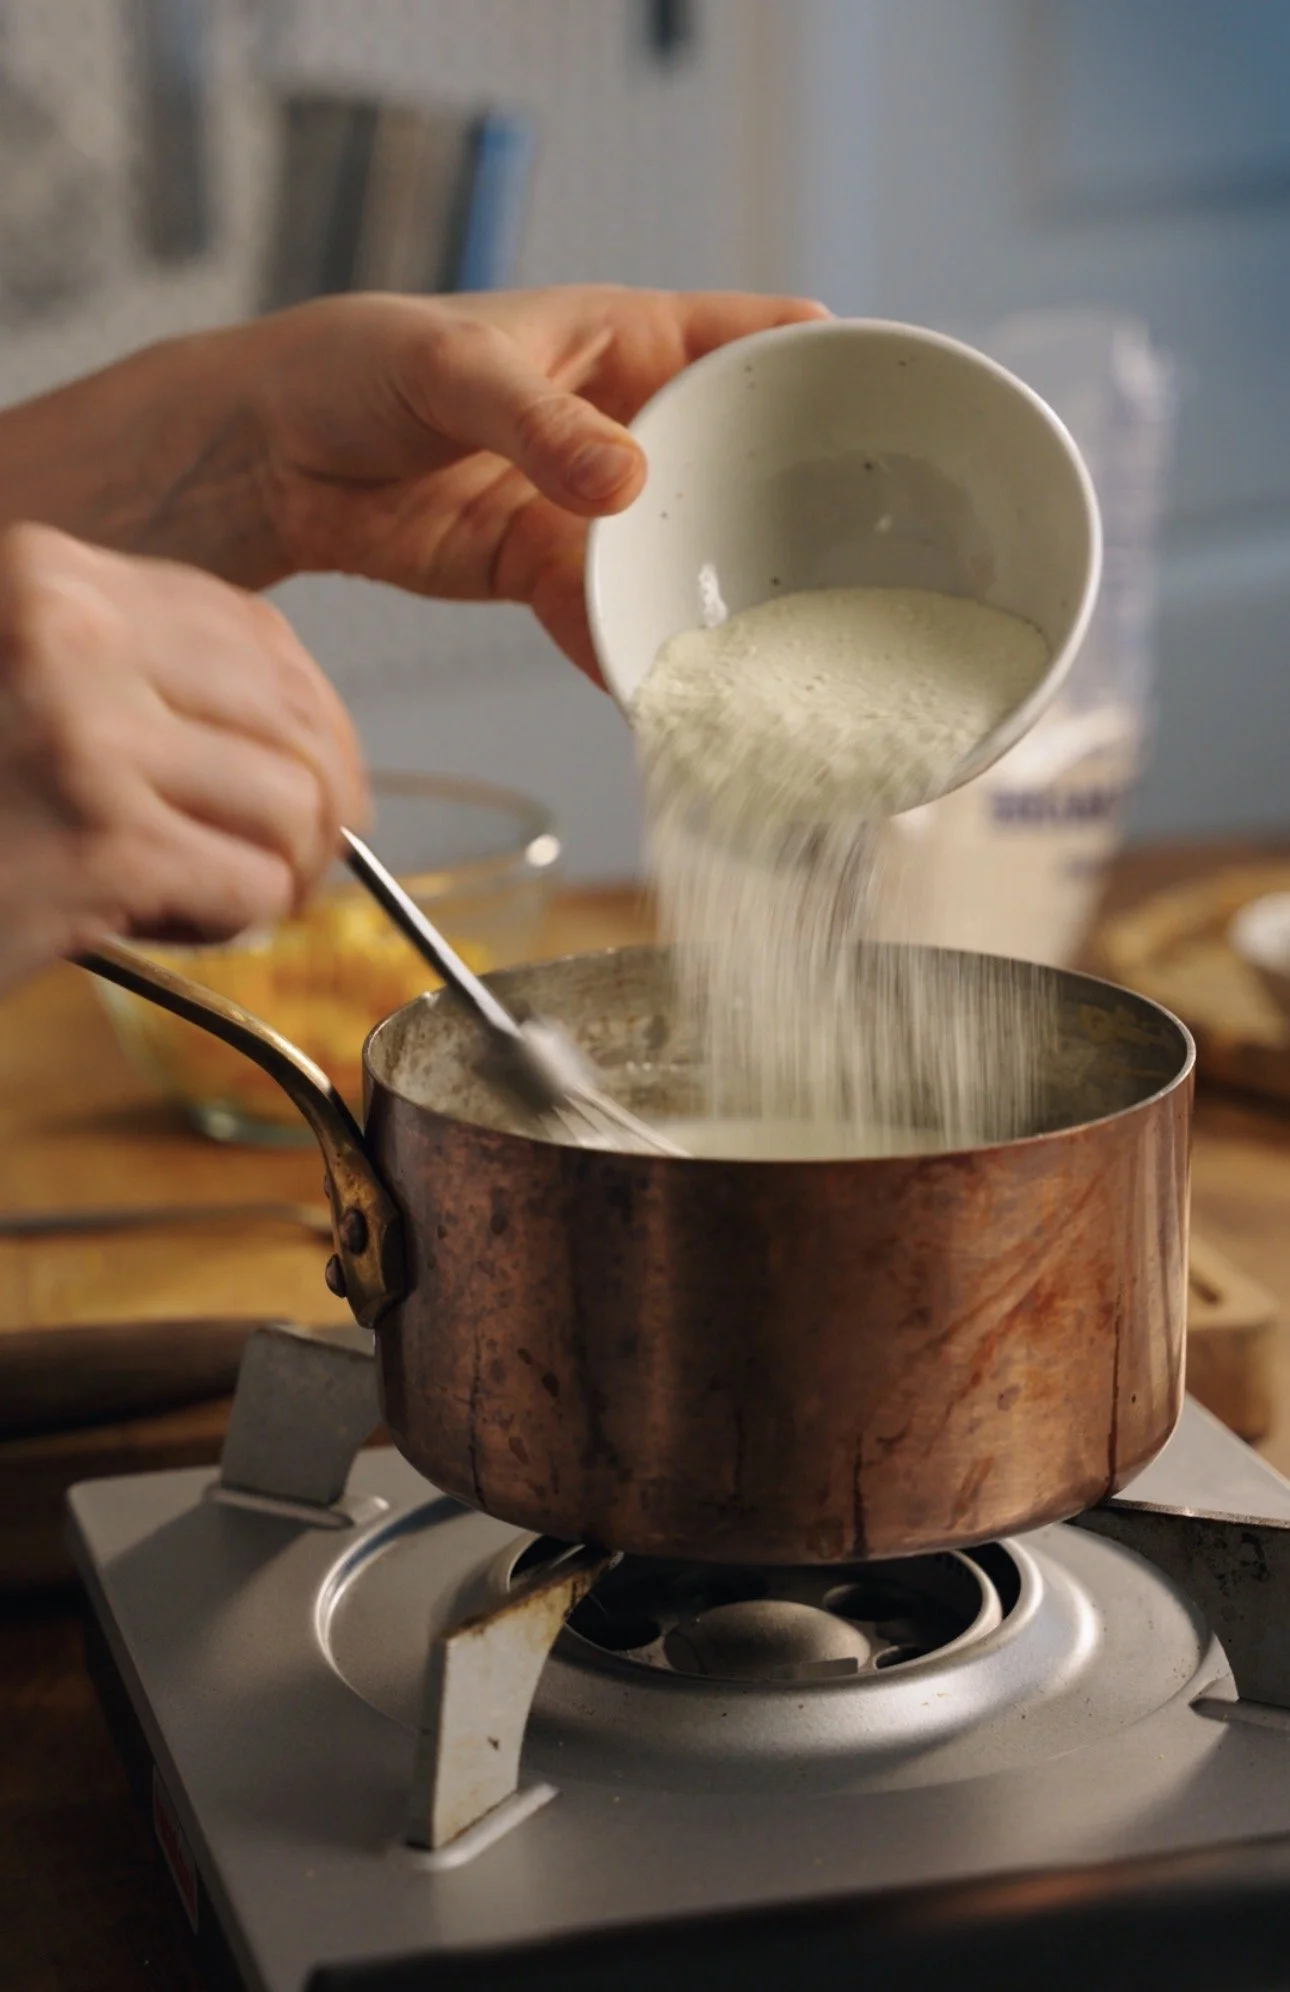
Add your skim milk powder — make sure to add while whisking, as to not form any lumps. Whisk to incorporate!
Lastly, to the pot add a generous pinch of salt, 280g mango chunks and citric acid. Taste to see if the sweetness/ tartness is to your liking. The addition of citric acid will depend on the sweetness of your mangoes!

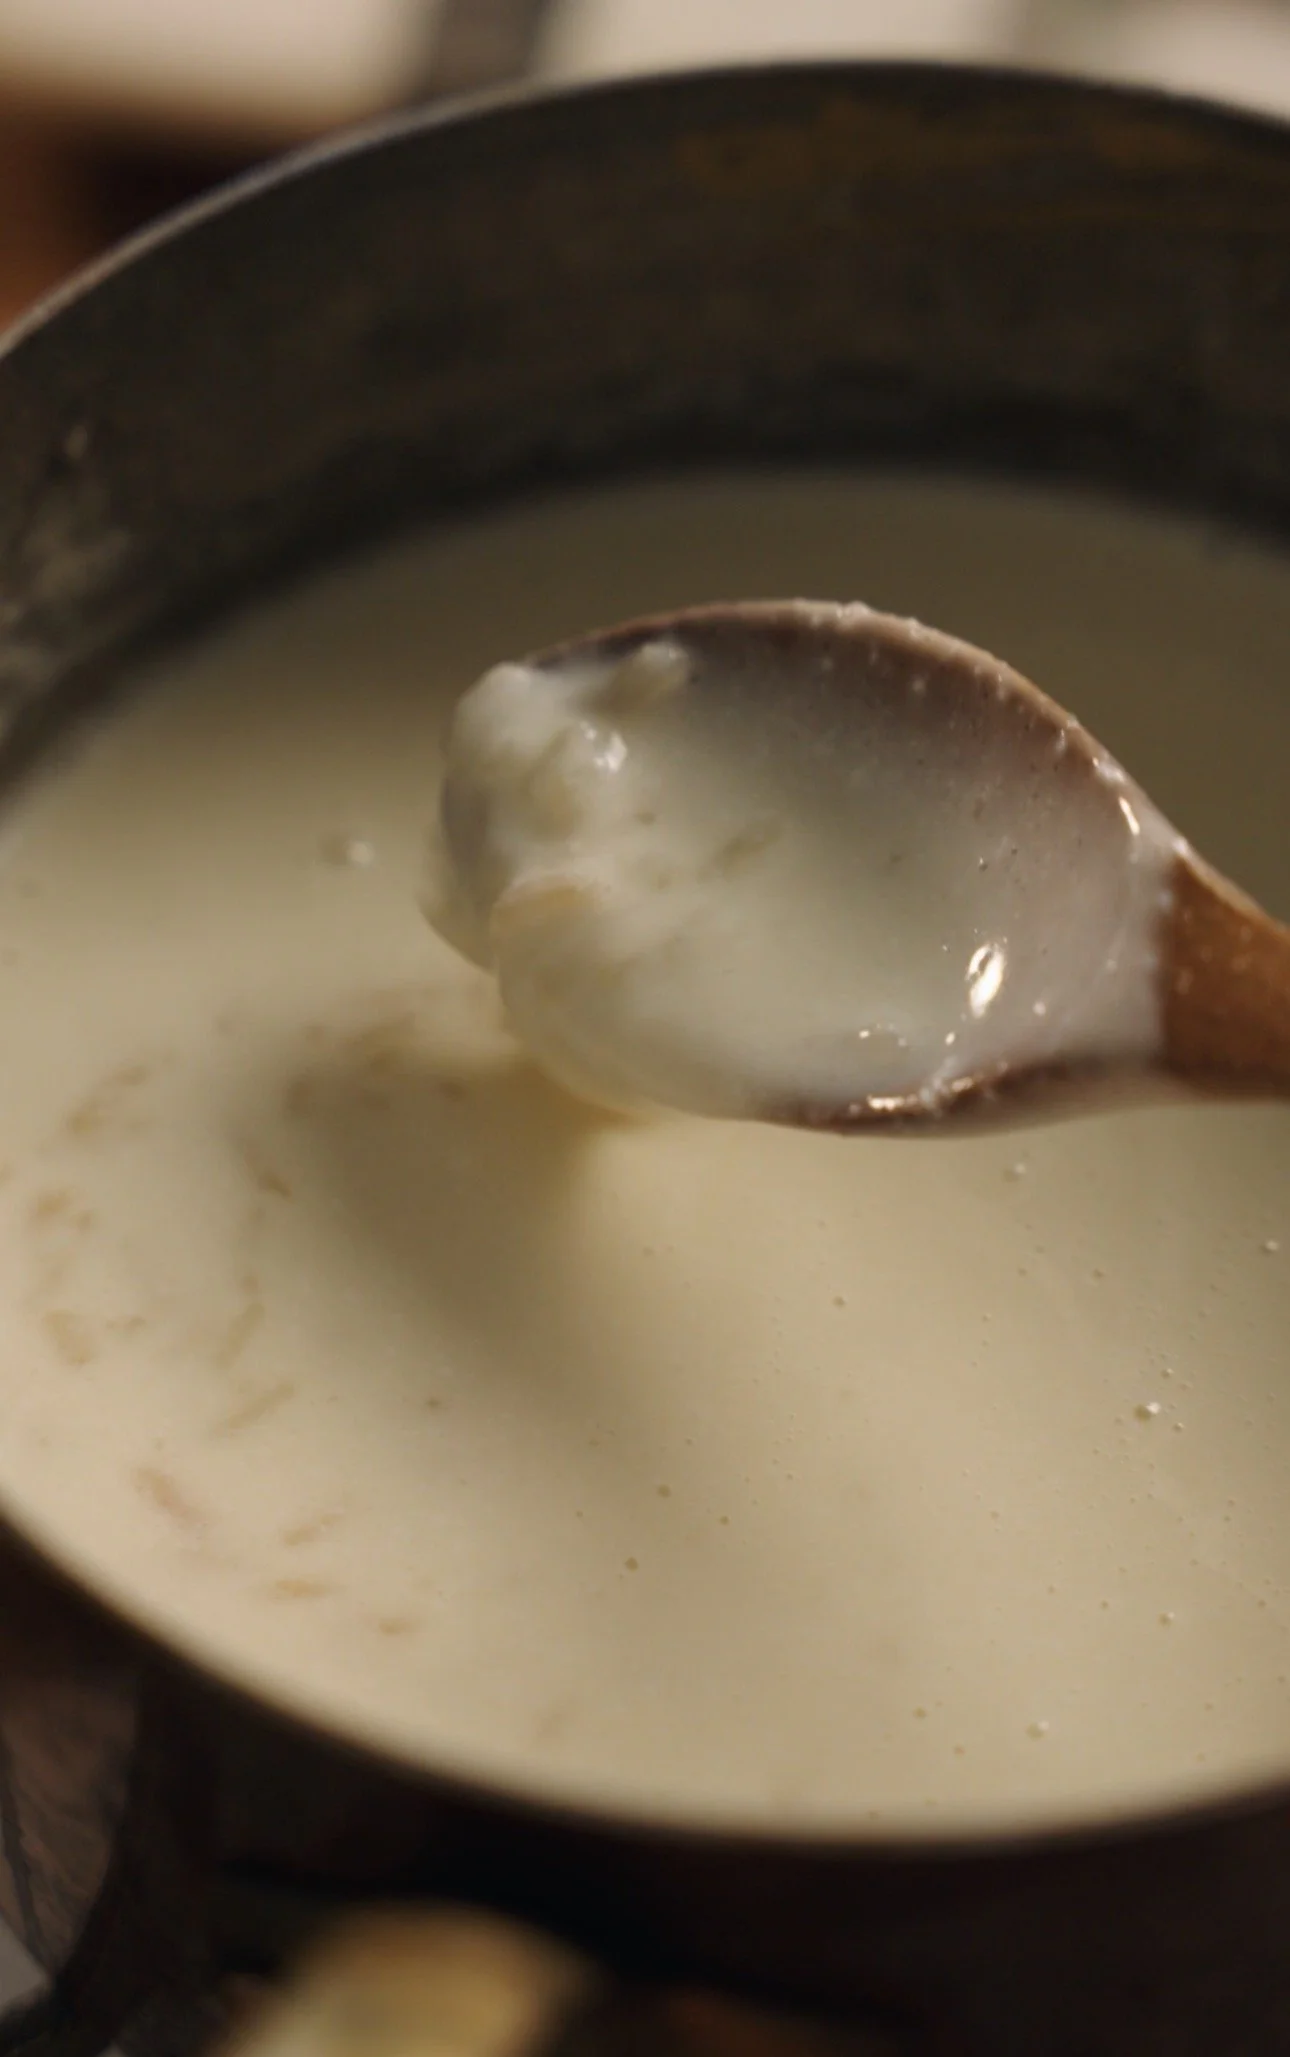

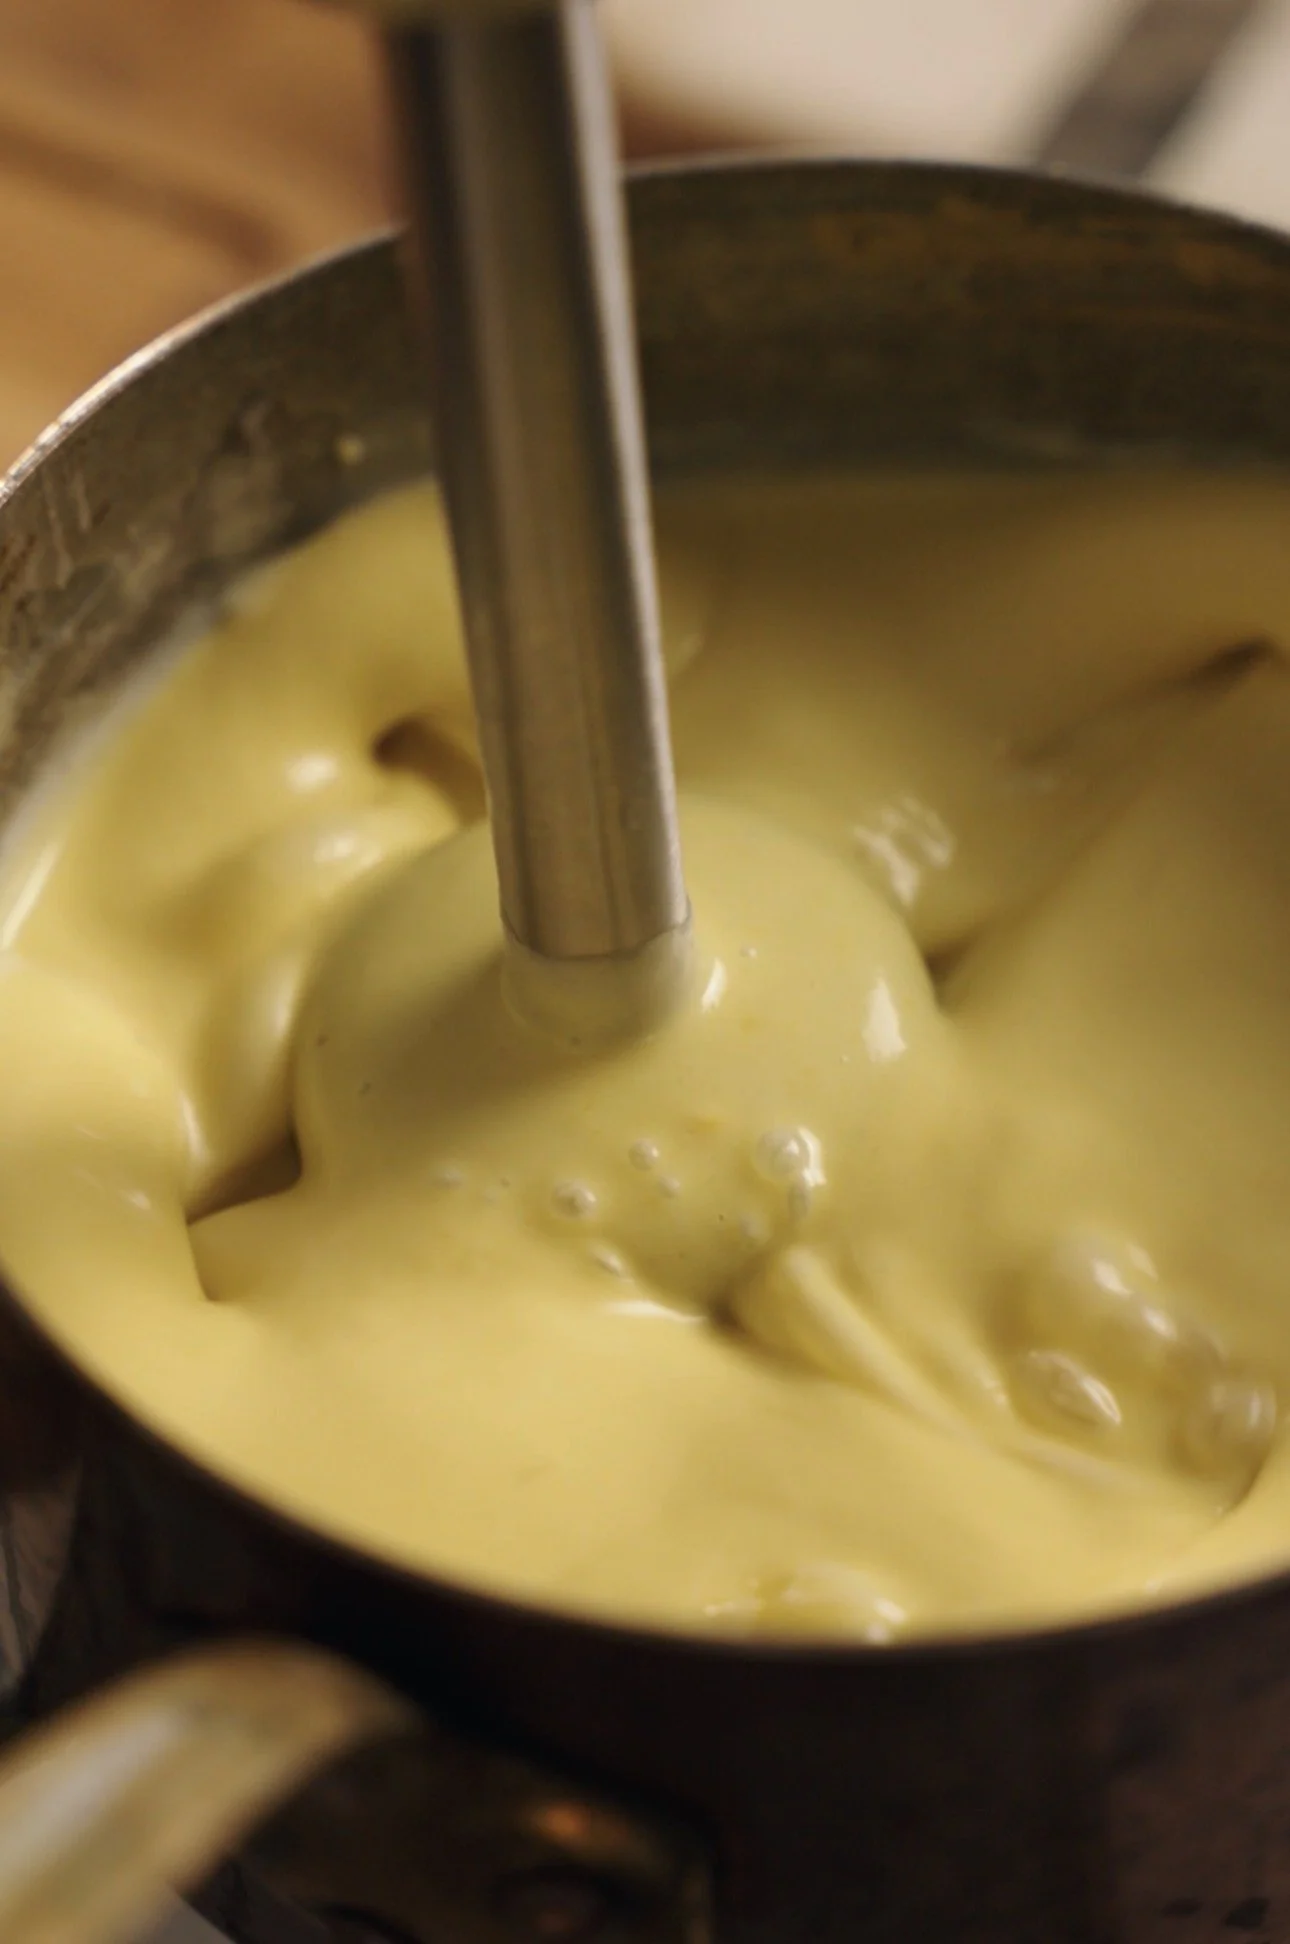
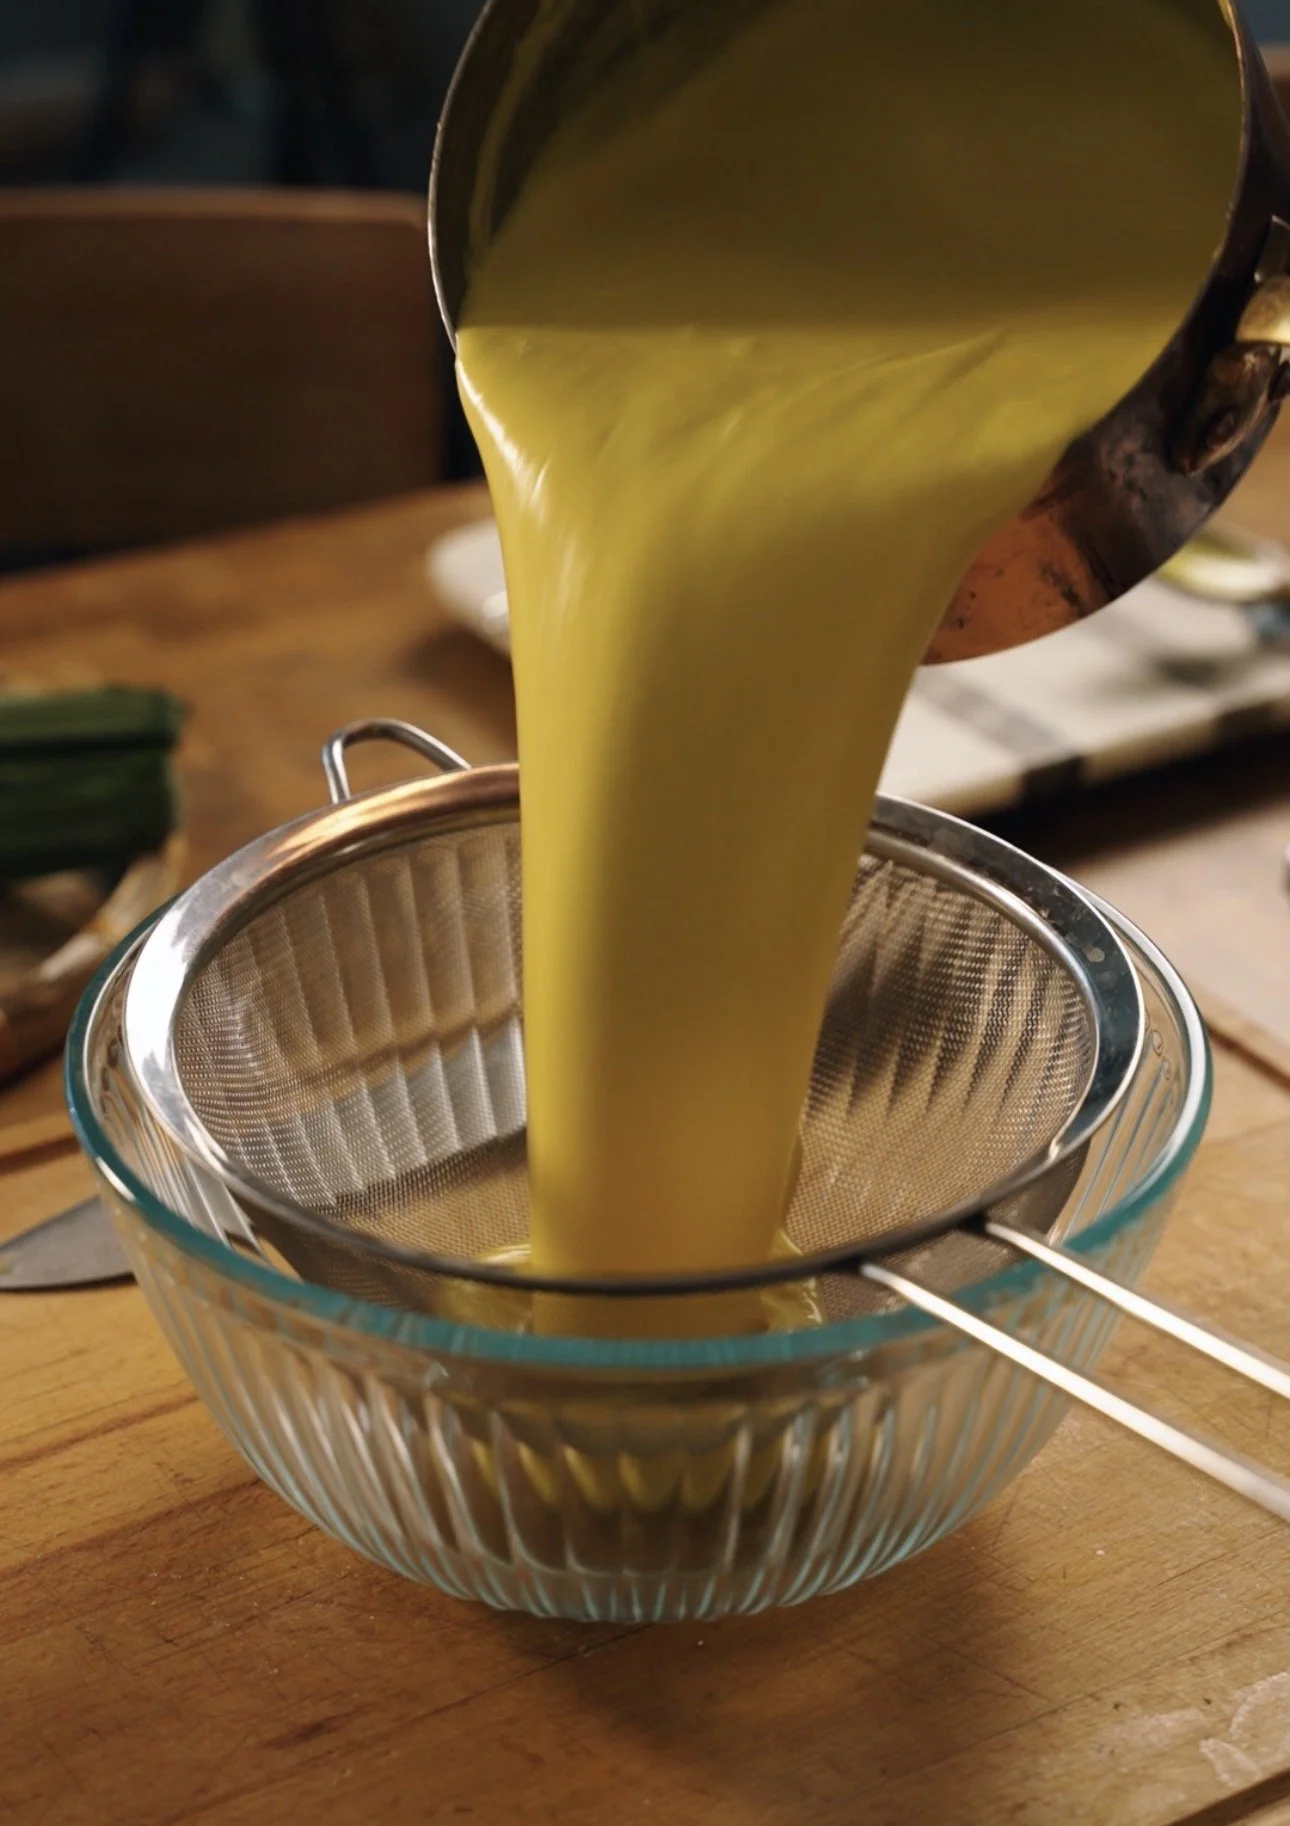
Either transfer the rice cream base mixture to a blender—or use a hand blender to blend until smooth. Careful for any splashes as the mixture will be quite warm.For a better texture, pour the custard through a sieve to get rid of any lumps of rice. Discard what remains in the sieve.
If using an ice cream maker: Cover the bowl with plastic wrap so that it is touching the surface of the custard (this is so it doesn’t form a skin/film).
Refrigerate for 6 hours or until cold.
If using Ninja Creami: Transfer the sieved custard to your respective pint containers. This recipe should make enough for almost two pints.
Freeze them for 24 hours before spinning!

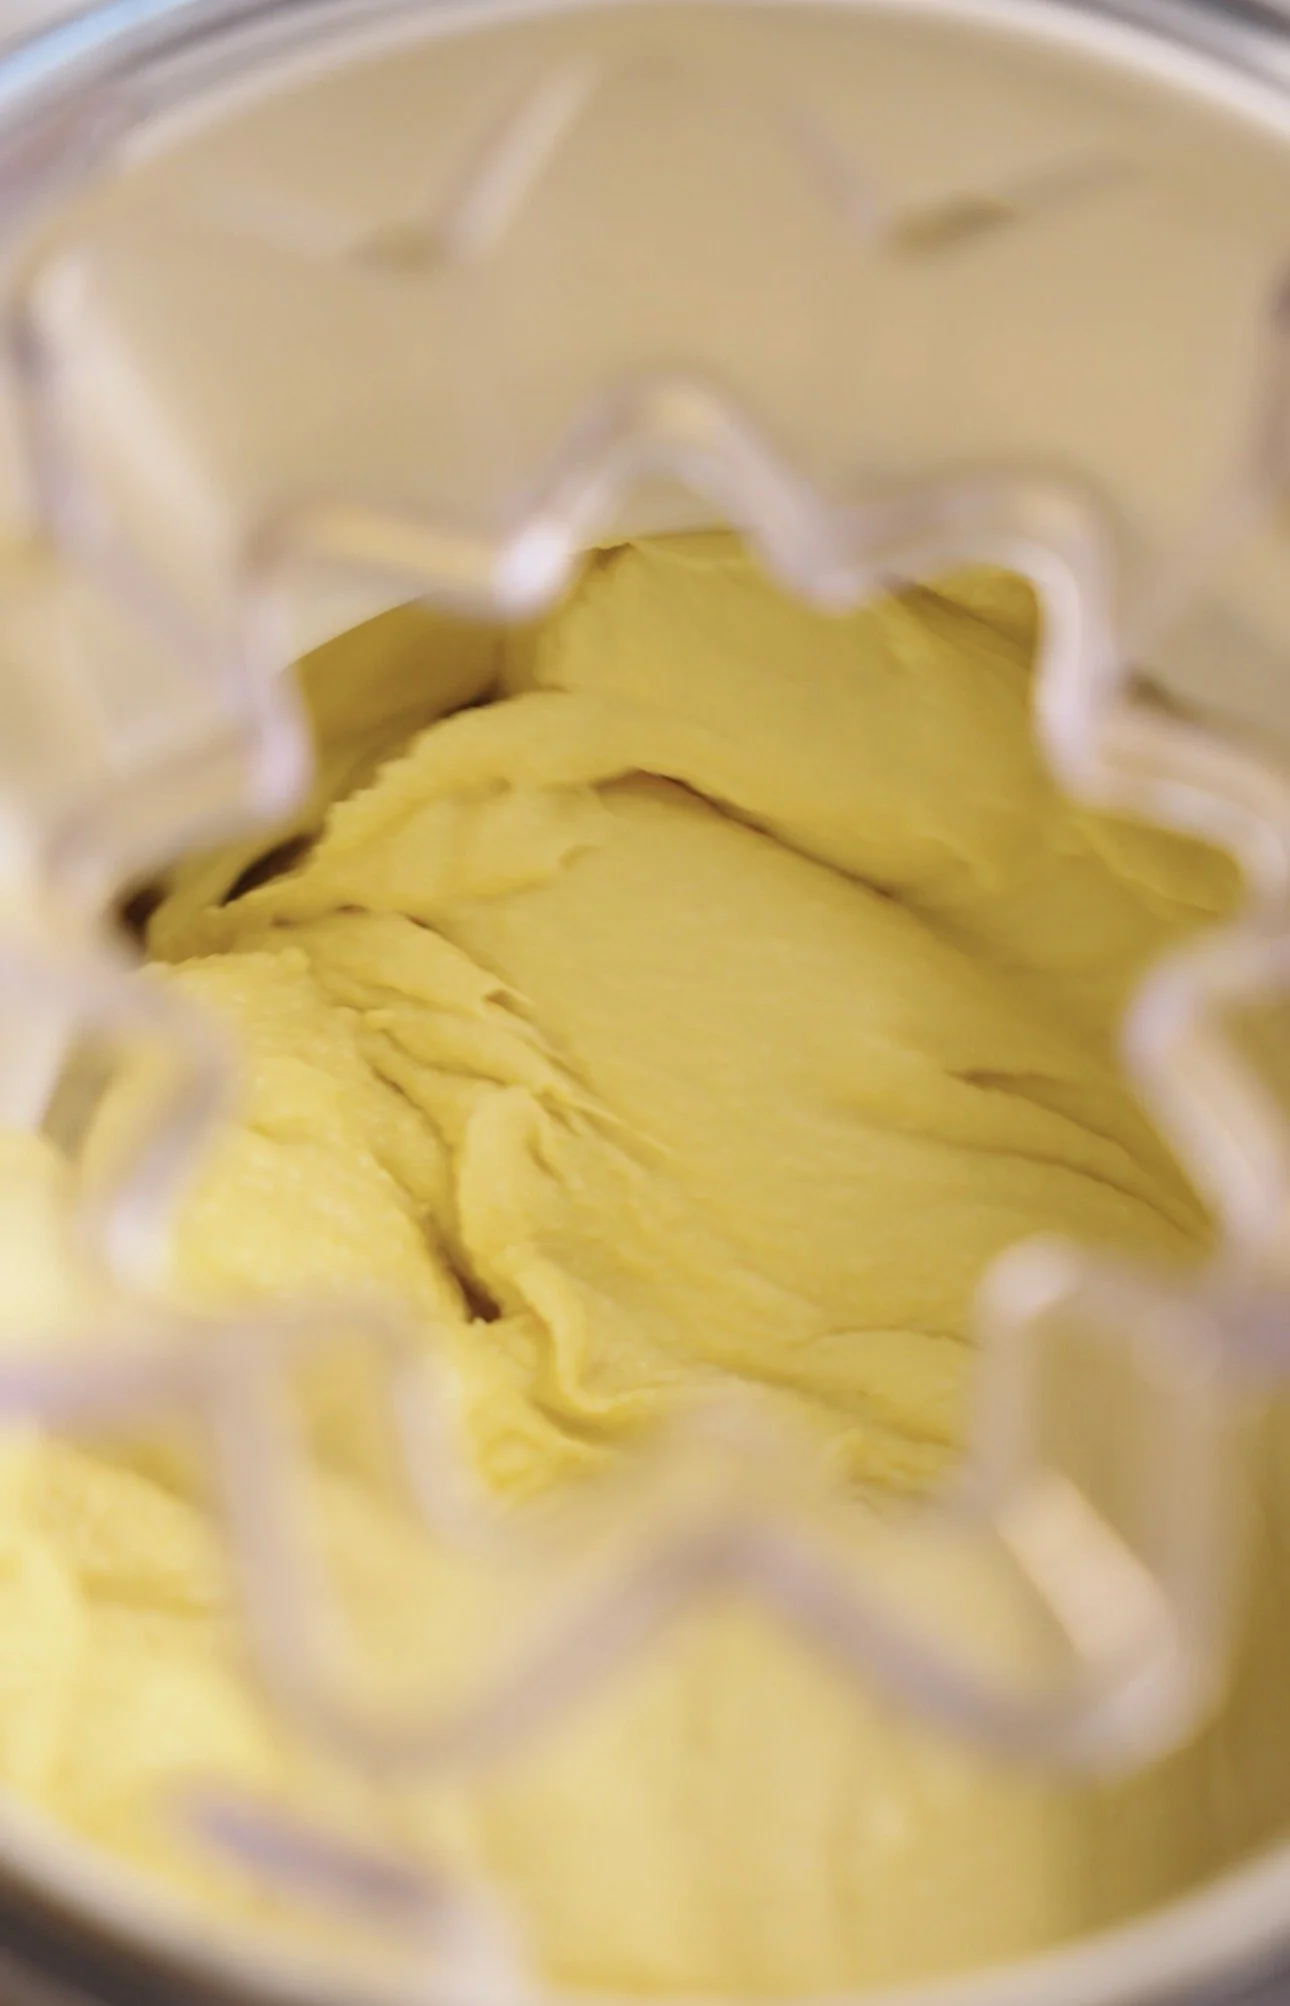
If using an Ice Cream Maker: Once the custard is cold you can churn it with your prepared ice cream basin. I spun mine for 15 minutes, it should be super thick!
If using a Ninja Creami: Spin the ice cream 3 times on the Ice Cream setting. When done, it should be thick and smooth.
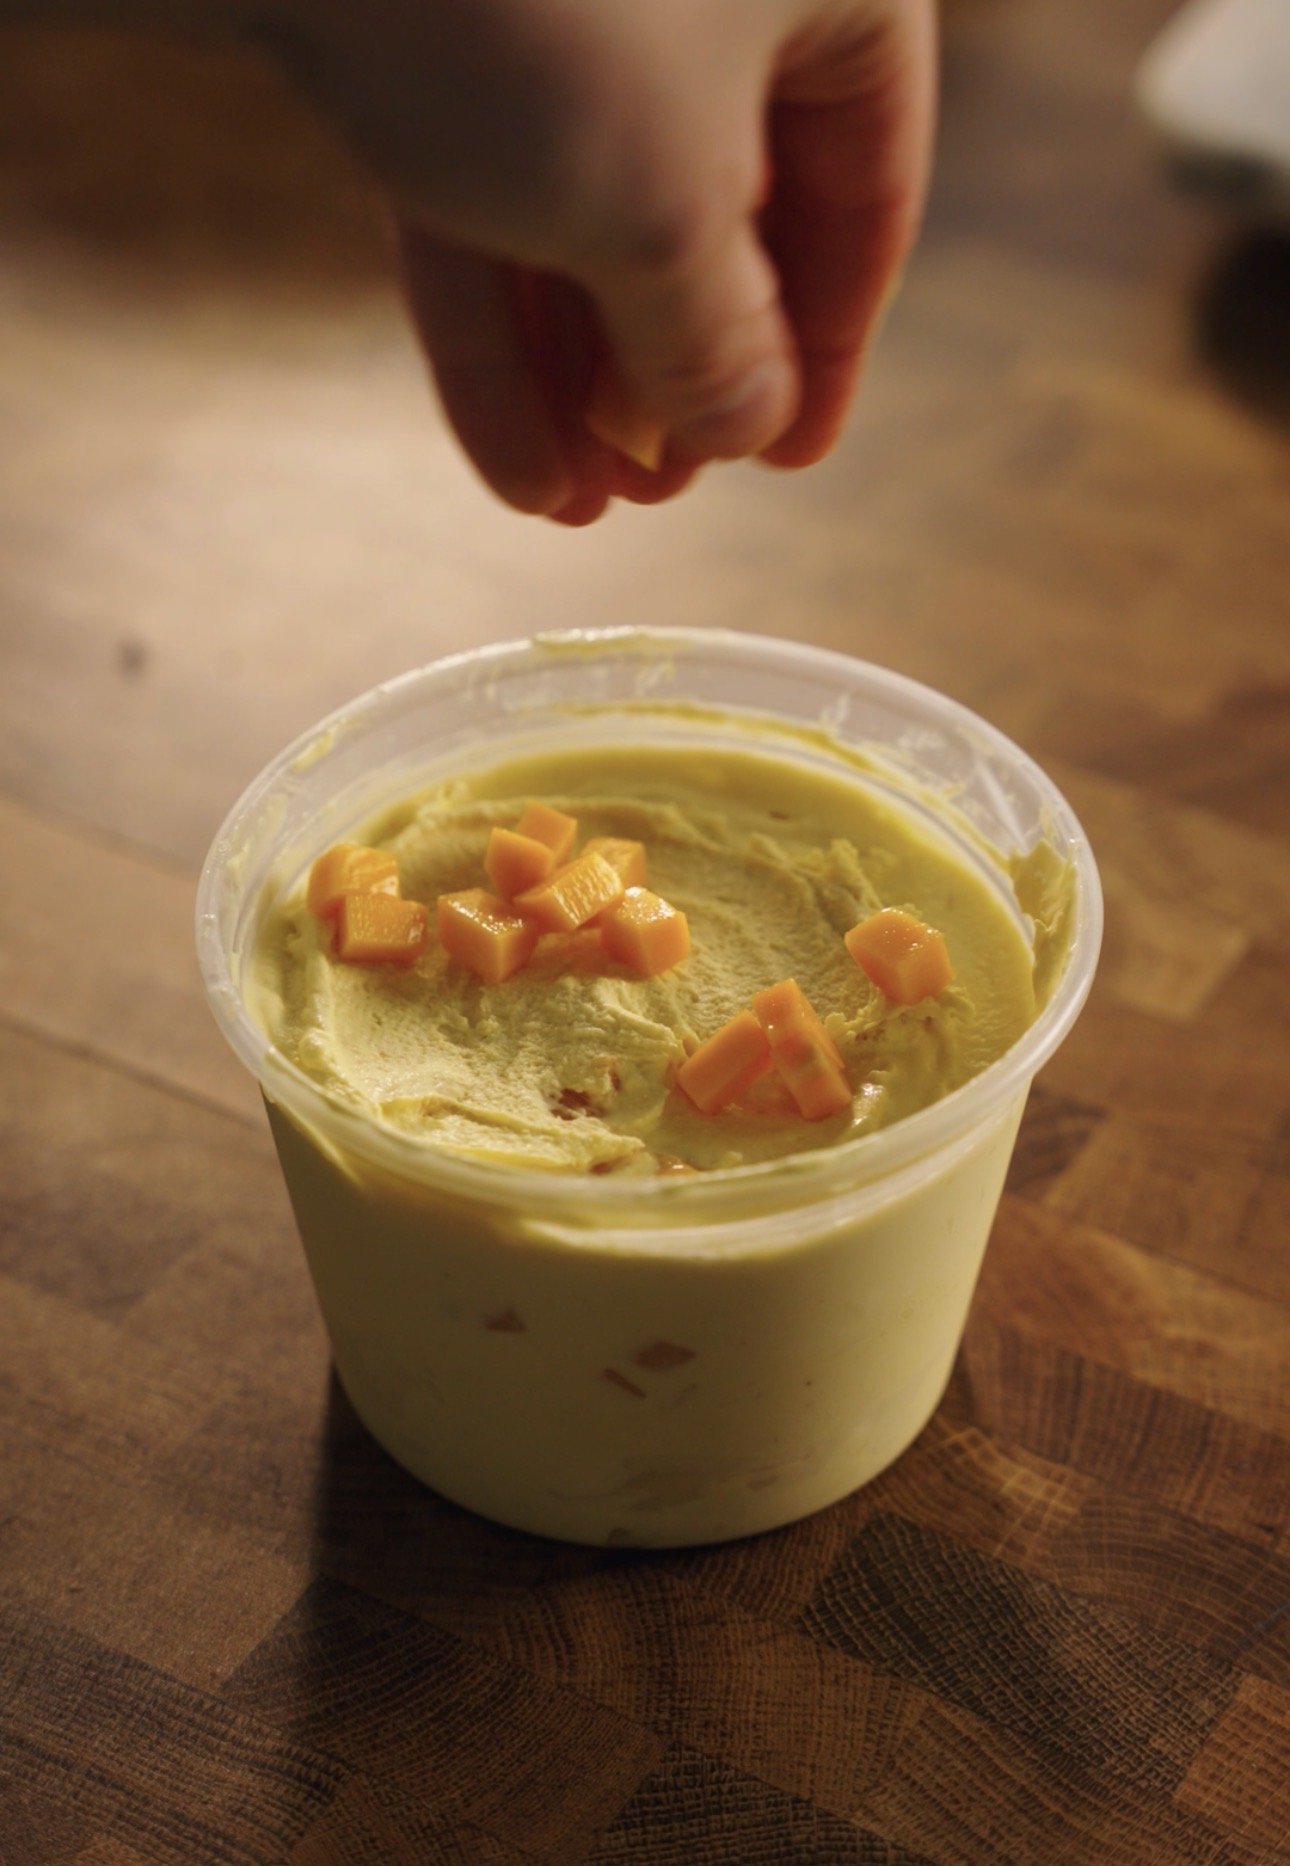
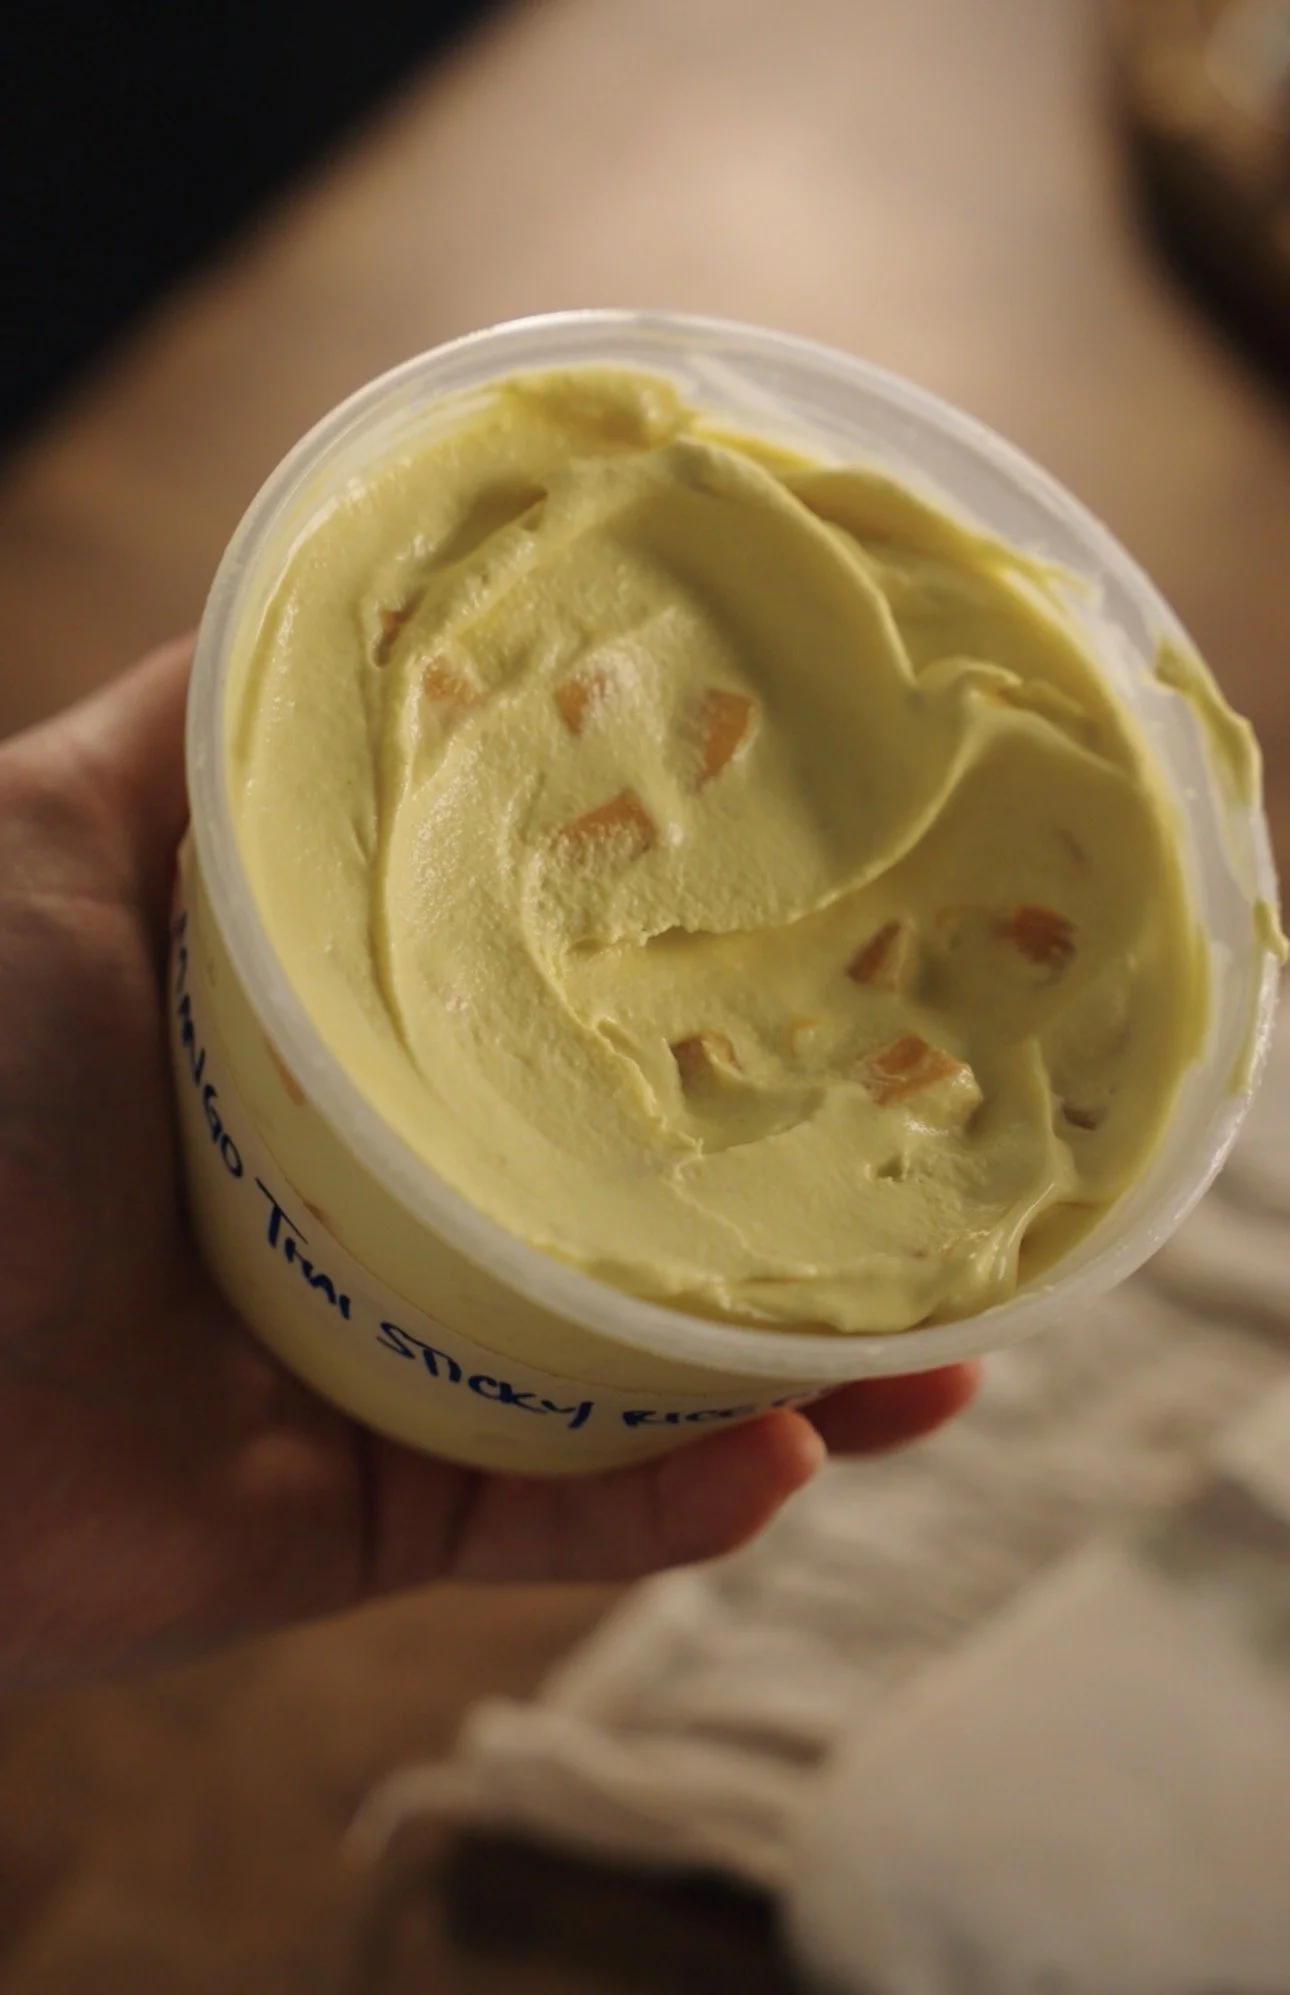

Transfer the ice cream to a container, adding the remaining 100g diced mango pieces to the pints.
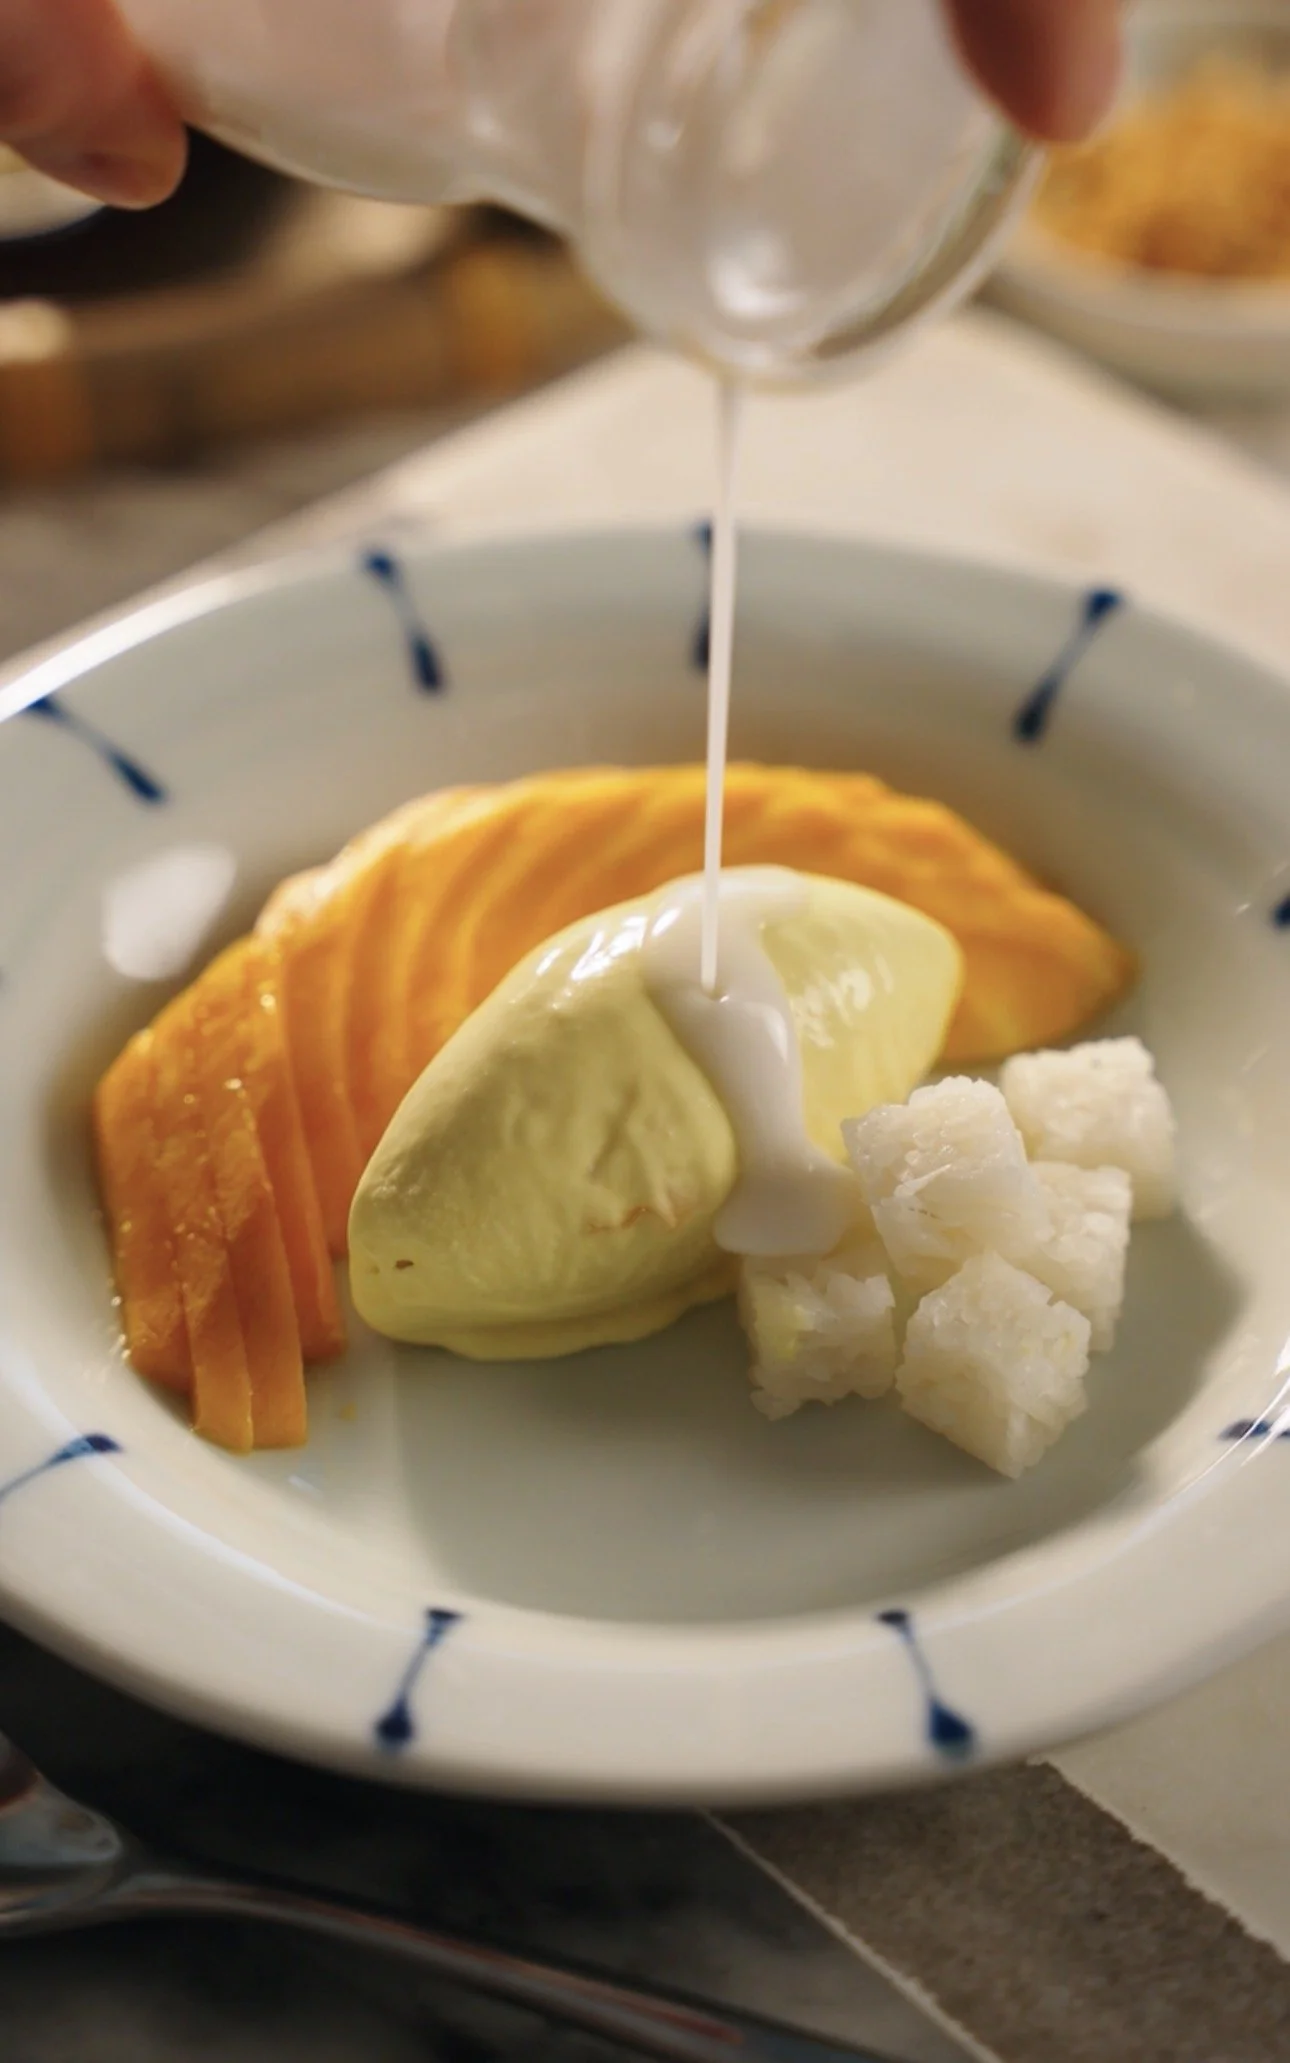

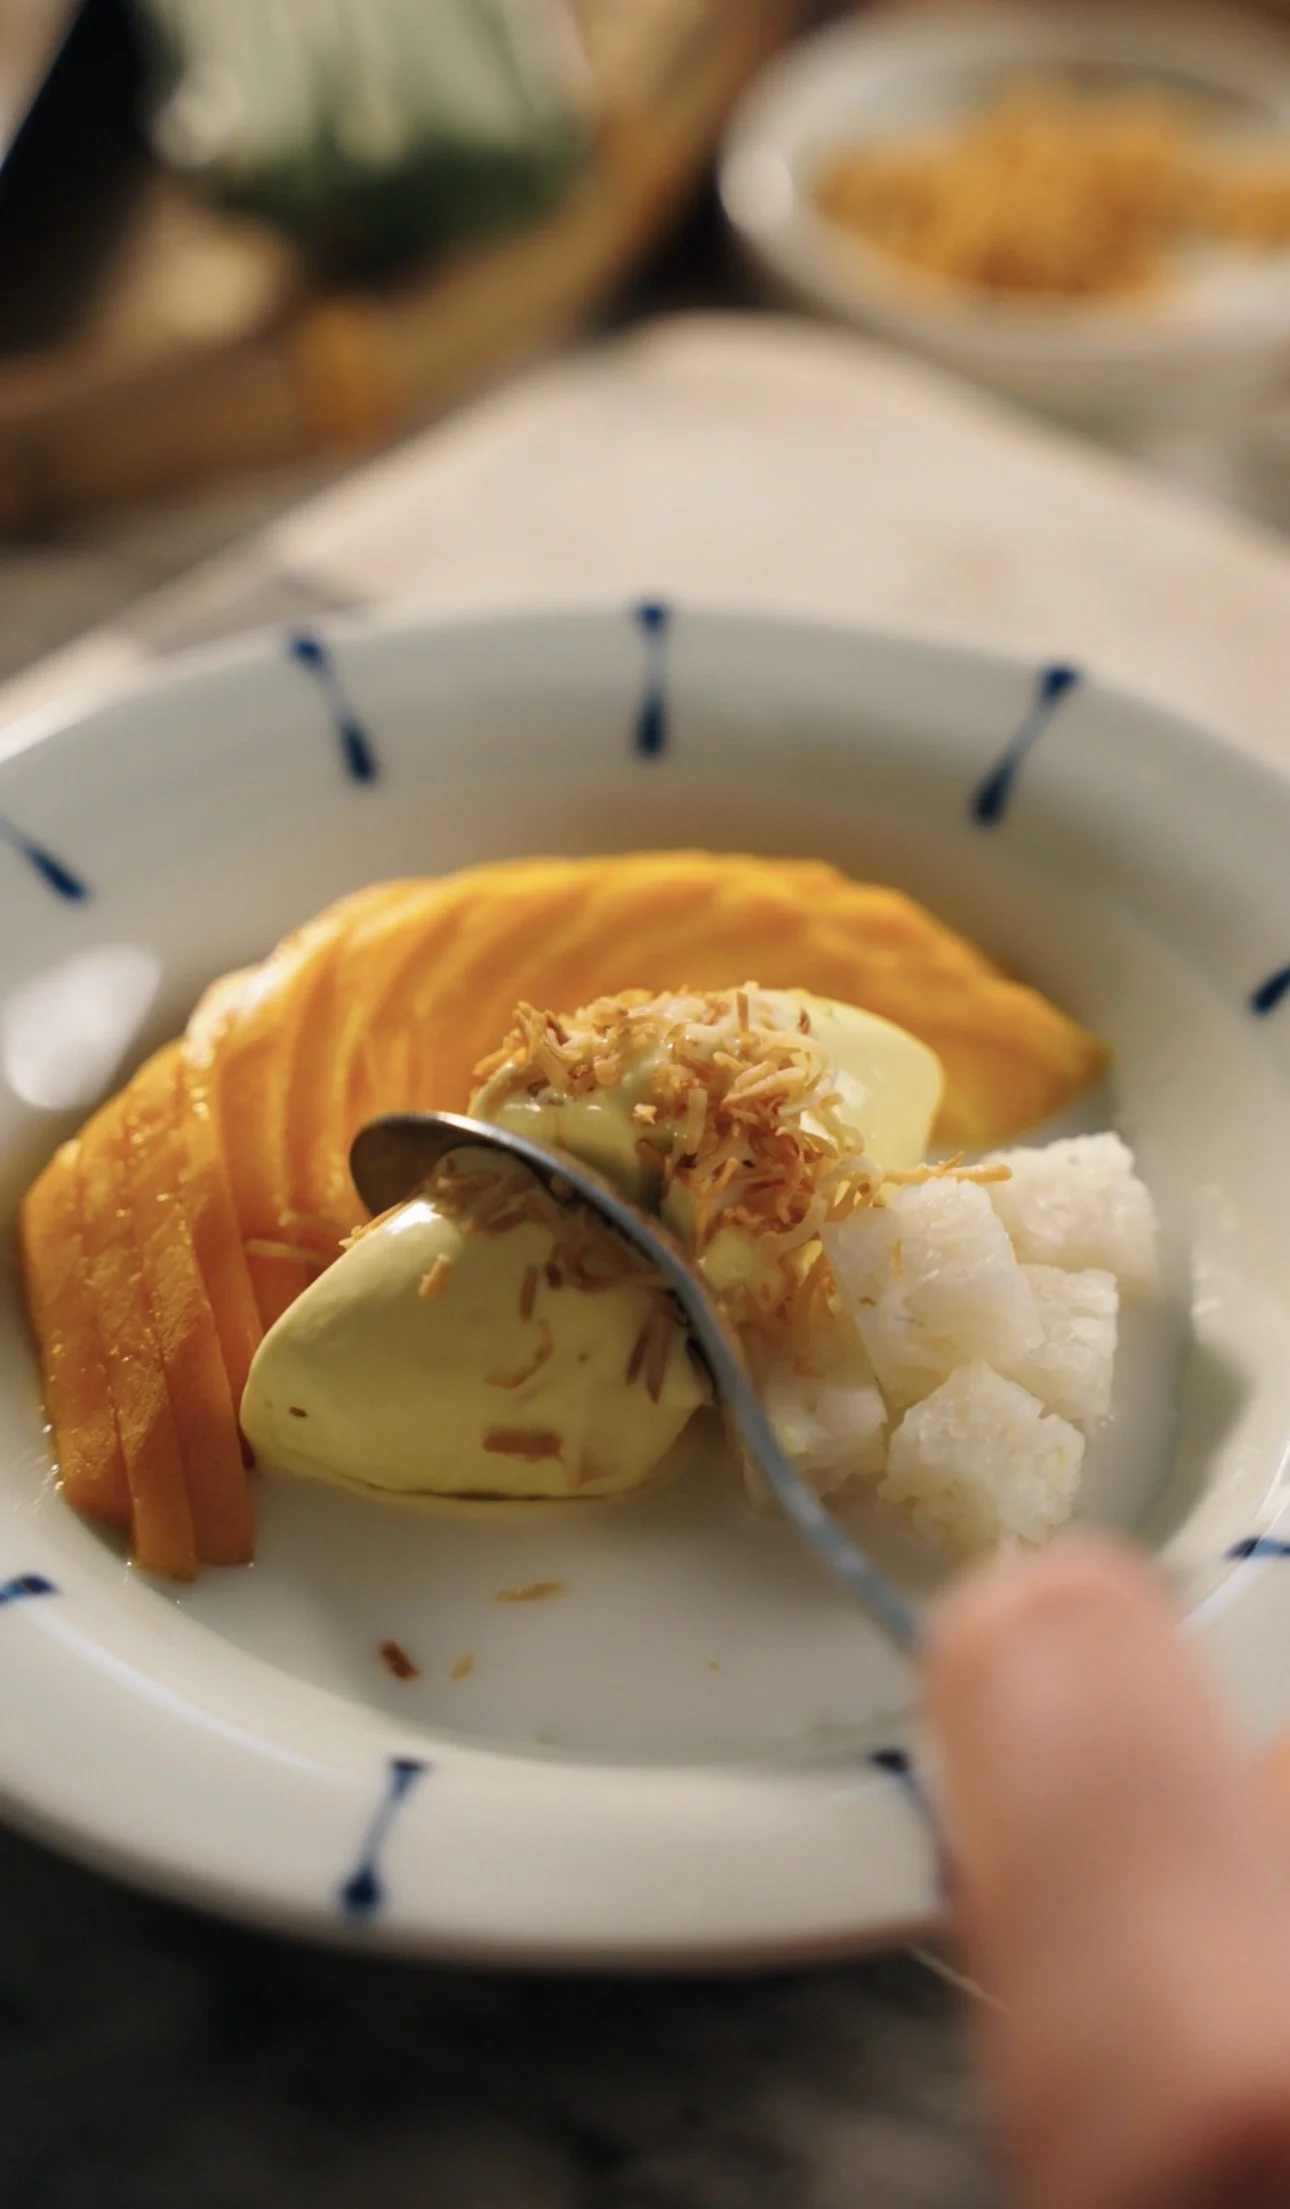
Store pints in the freezer. Or eat right away with sliced mango, sweetened coconut milk and toasted coconut.