Hojicha Blackberry Ice Cream
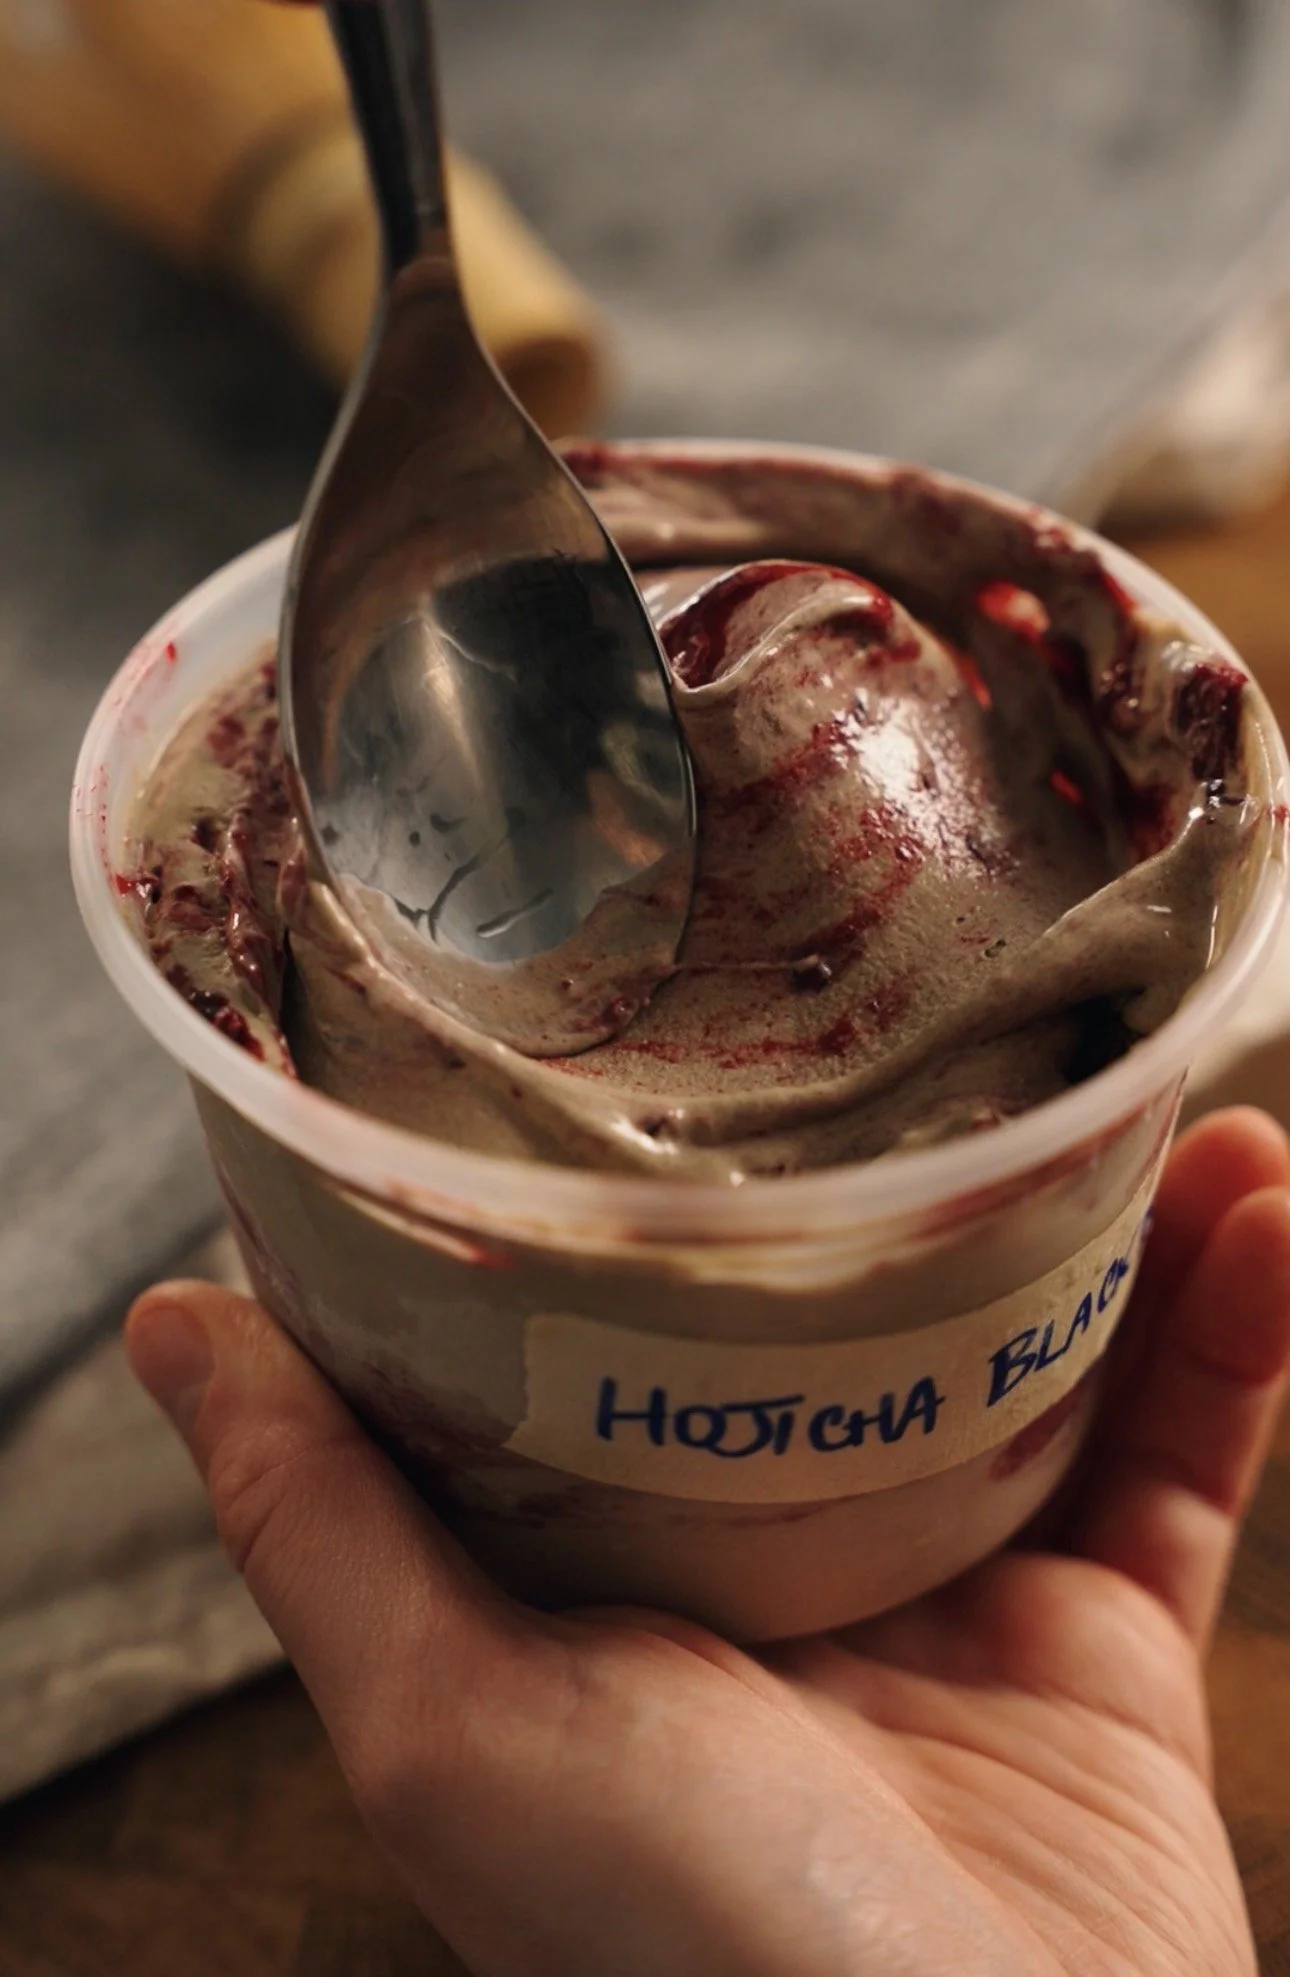
If you are a fan of matcha, coffee or anything caffeine, you will definitely be a fan of Hojicha!
Matcha and Hojicha both come from the same plant, but they have different manufacturing processes resulting in drastically different flavour profiles.
Matcha is iconic for its vibrant, grassy and naturally sweet aroma
Hojicha is those same leaves and stems, but roasted which creates that dark colour. It is earthy, nutty, almost chocolaty tasting.
With such a roast-y flavour profile it is SUPER good in desserts. I’m not sure how it’s still flying under the radar for the majority of the west, but hey! I’m not really complaining.
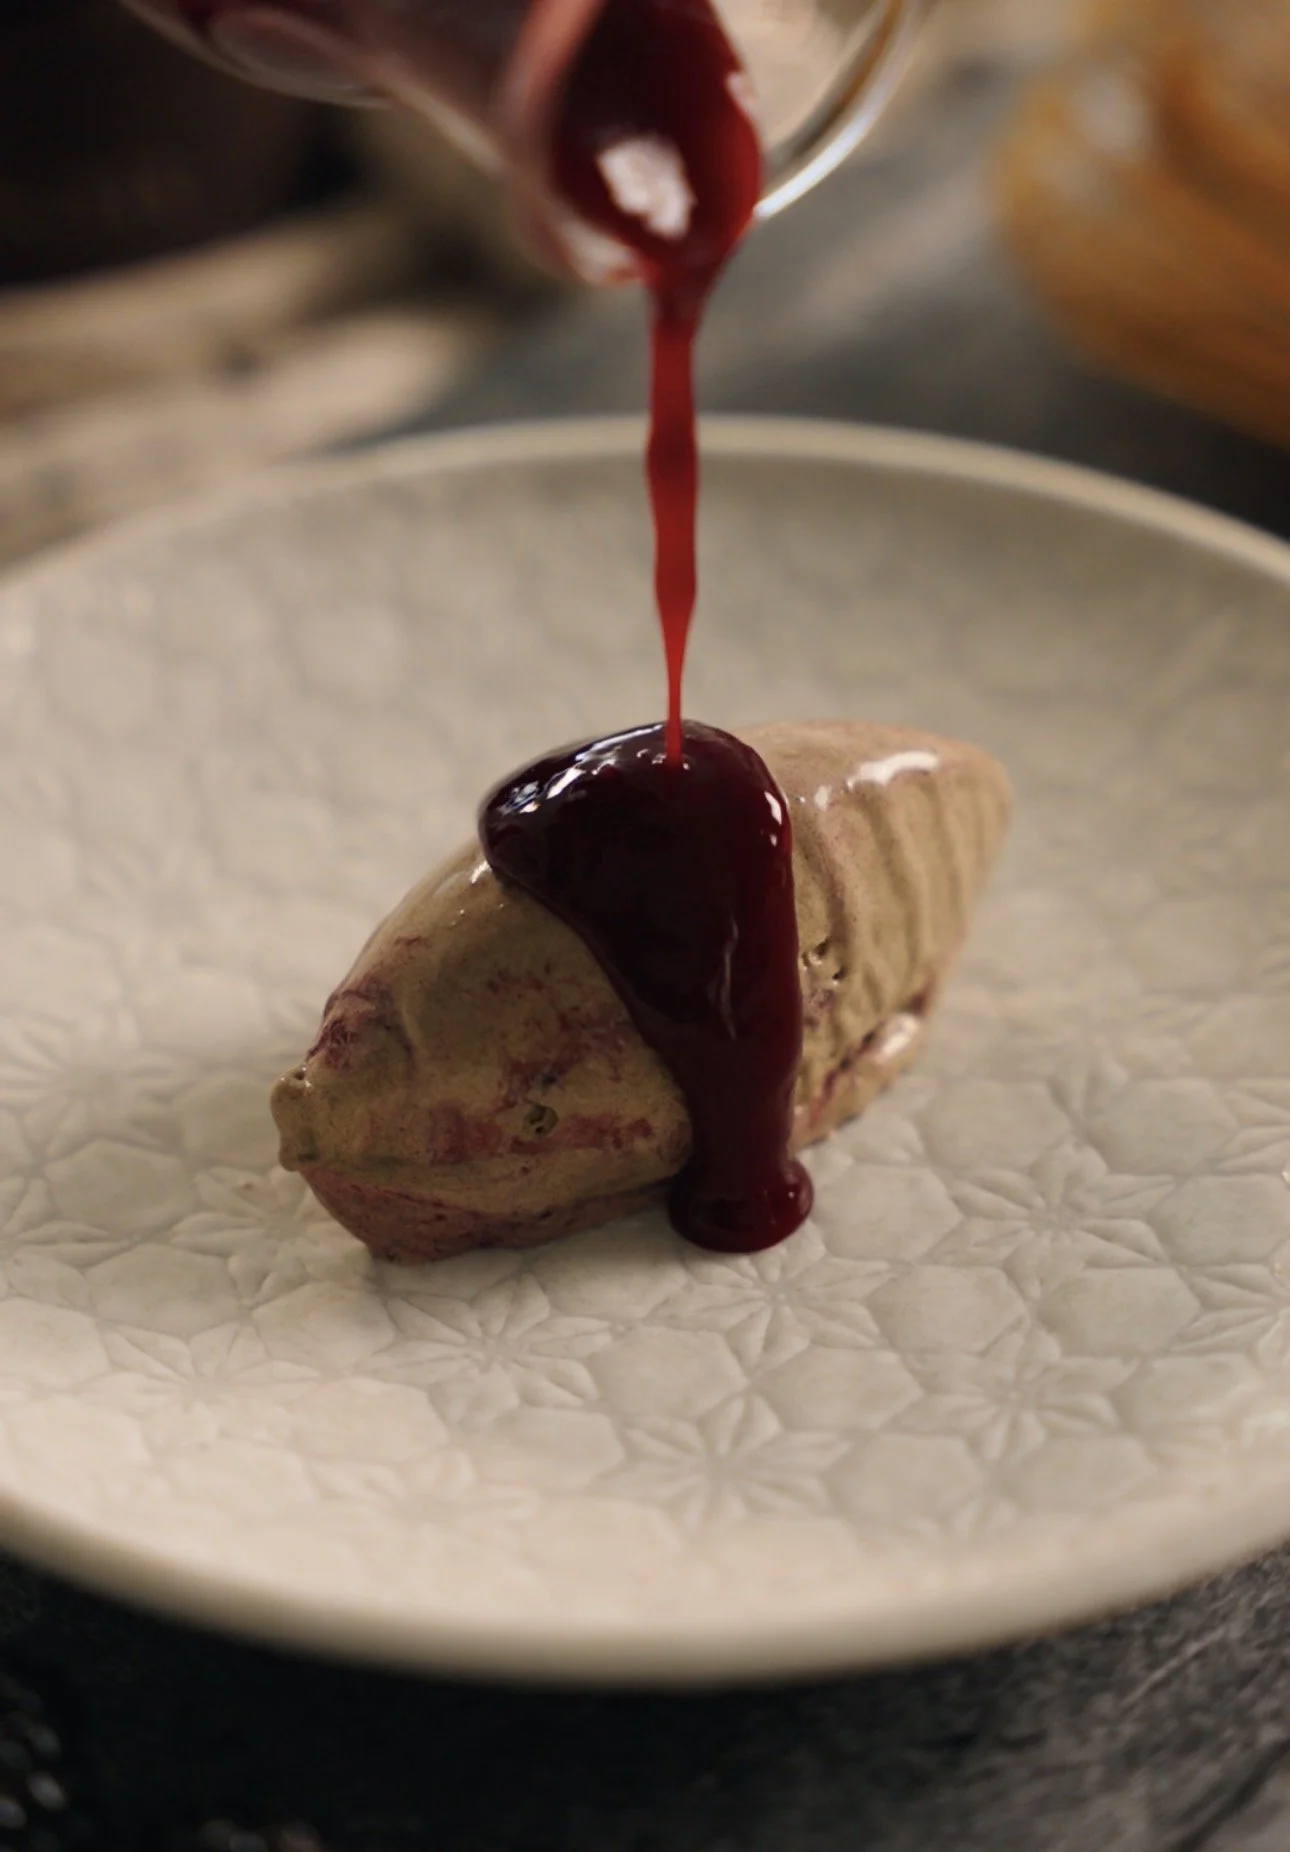
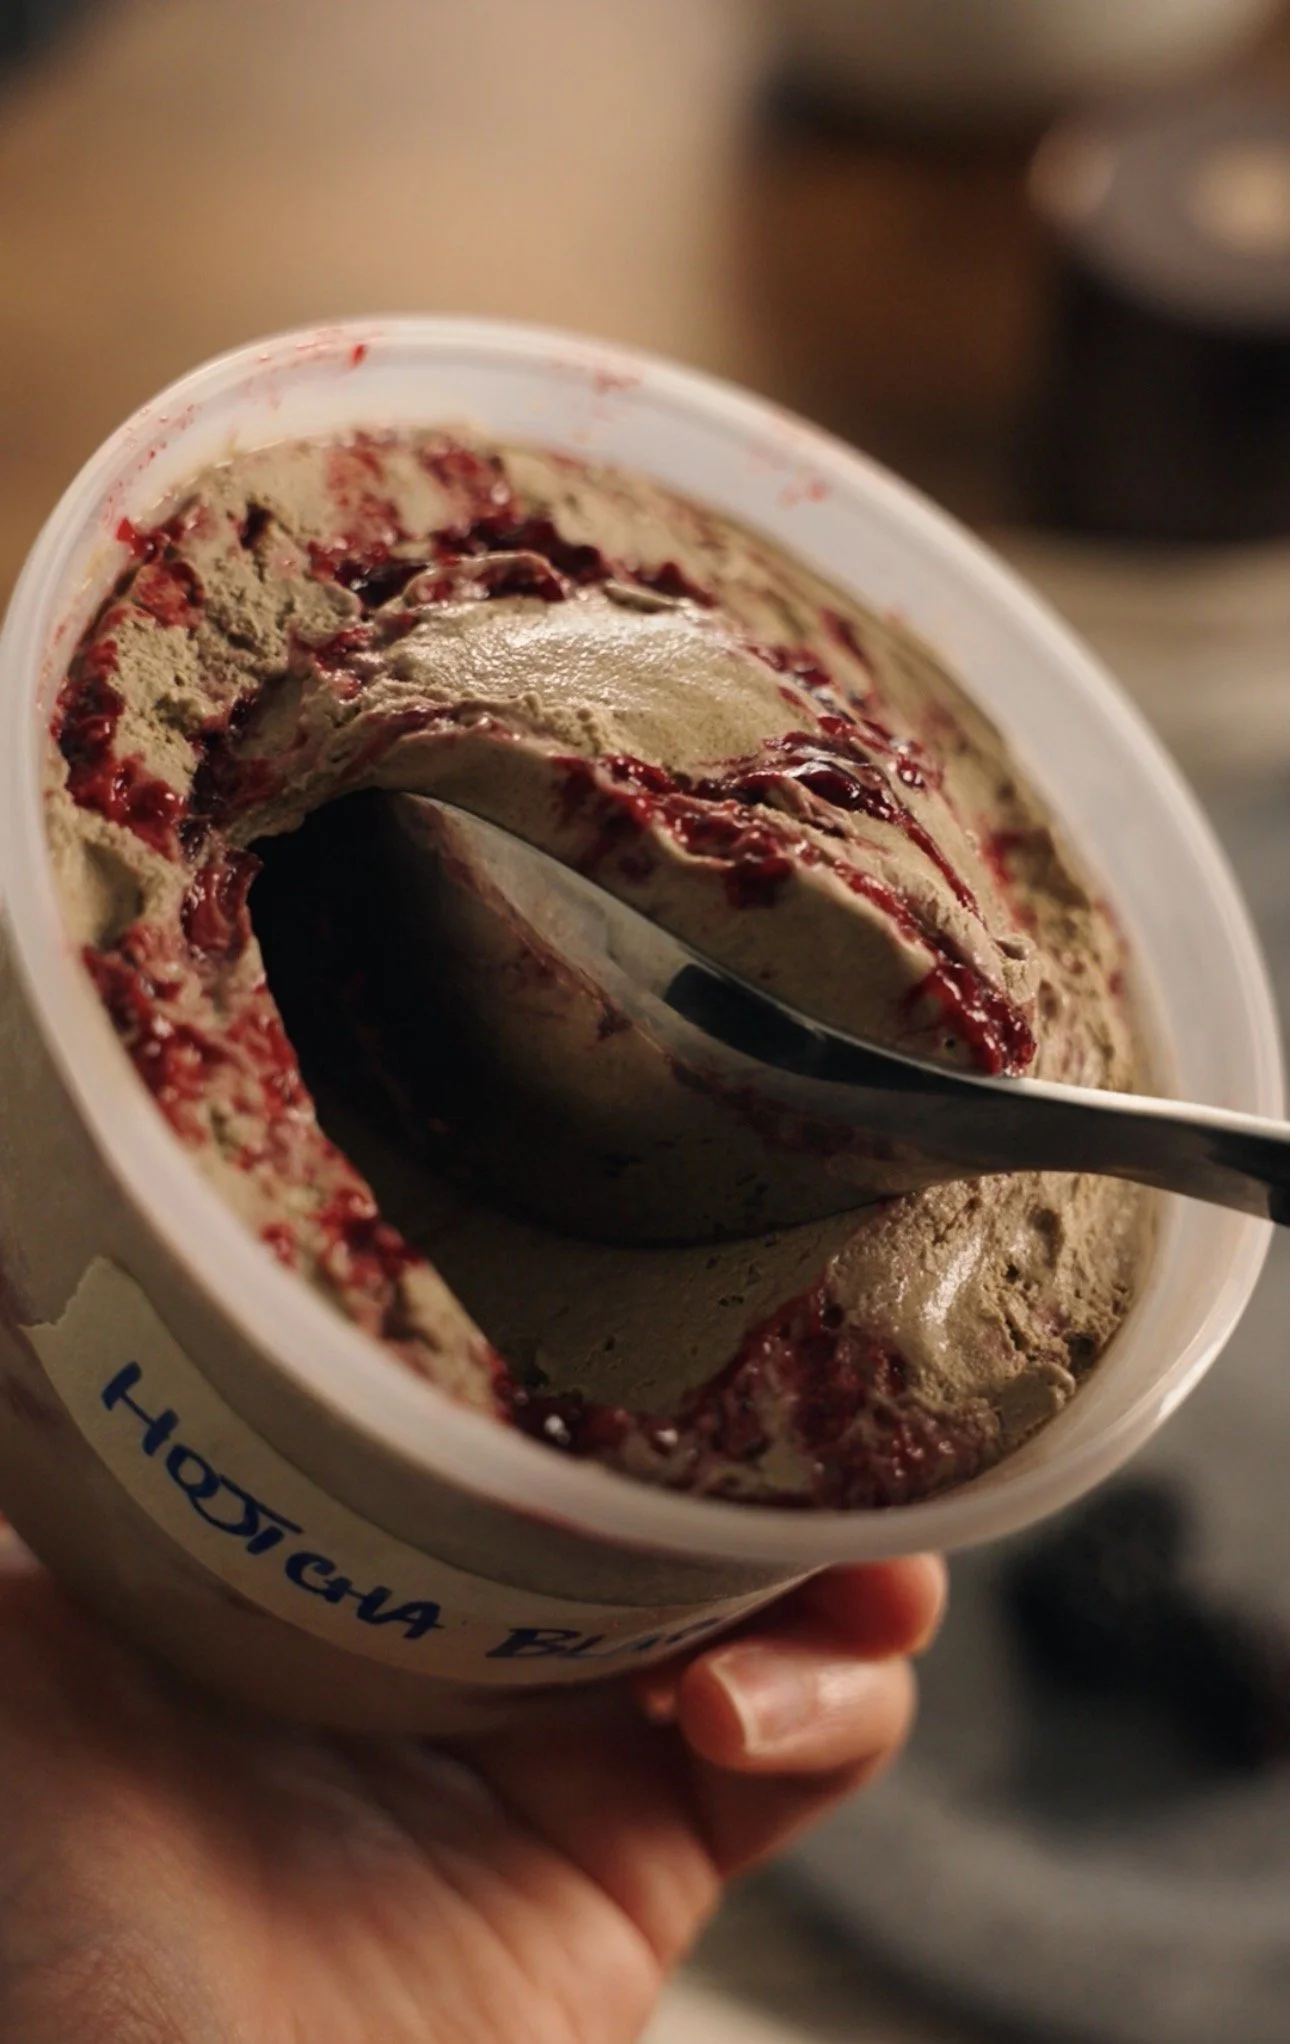
If you haven’t had it before I suggest you make it your new mission. Perhaps acquire a tin of Hojicha Powder and try out this recipe??? I vote yes.
Let’s make it!
Recipe:
Special Equipment:
ice cream machine
sieve
Blackberry Jam:
180g blackberries
60g sugar
40g corn syrup (or honey)
5g corn starch
10ml vodka
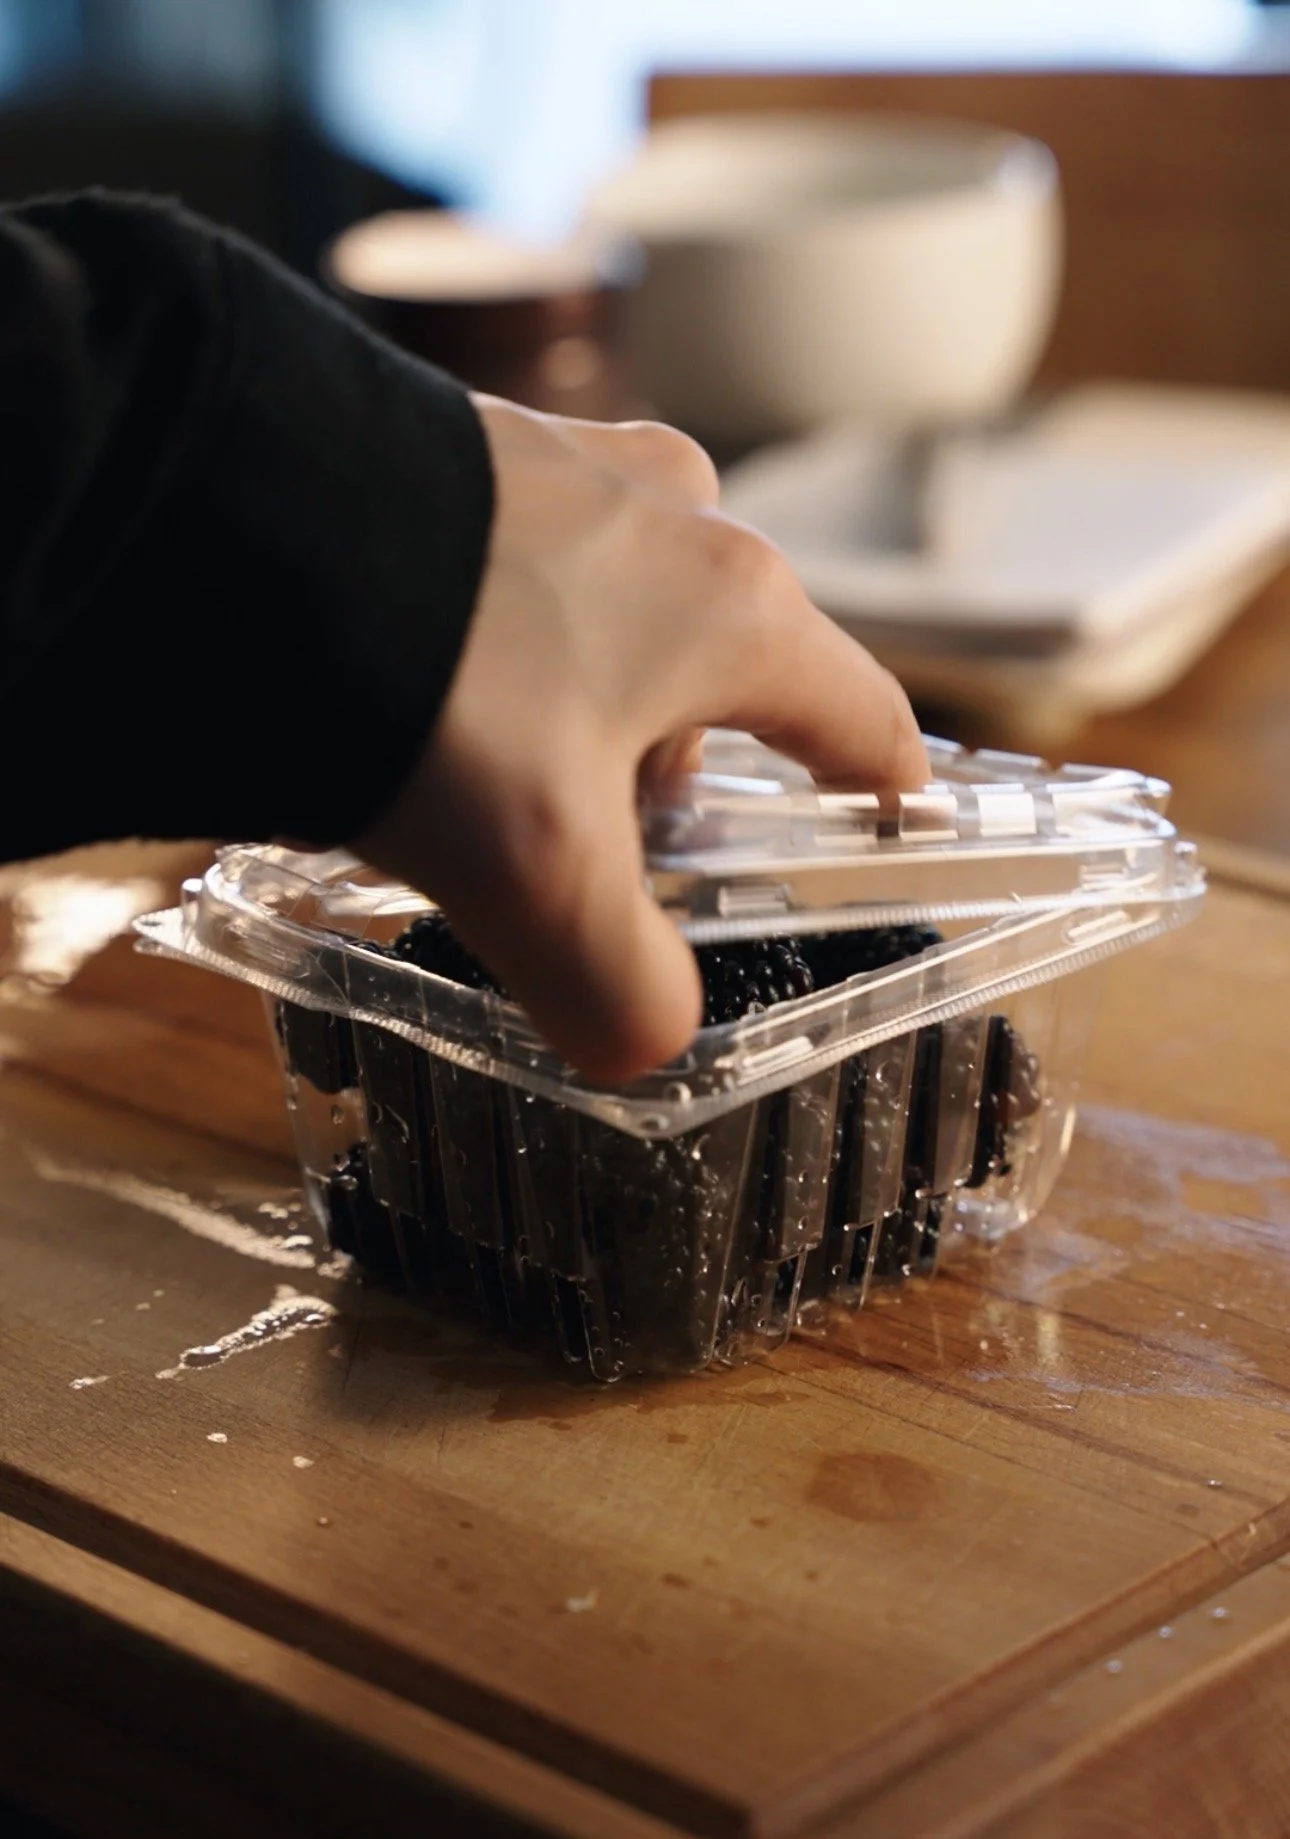
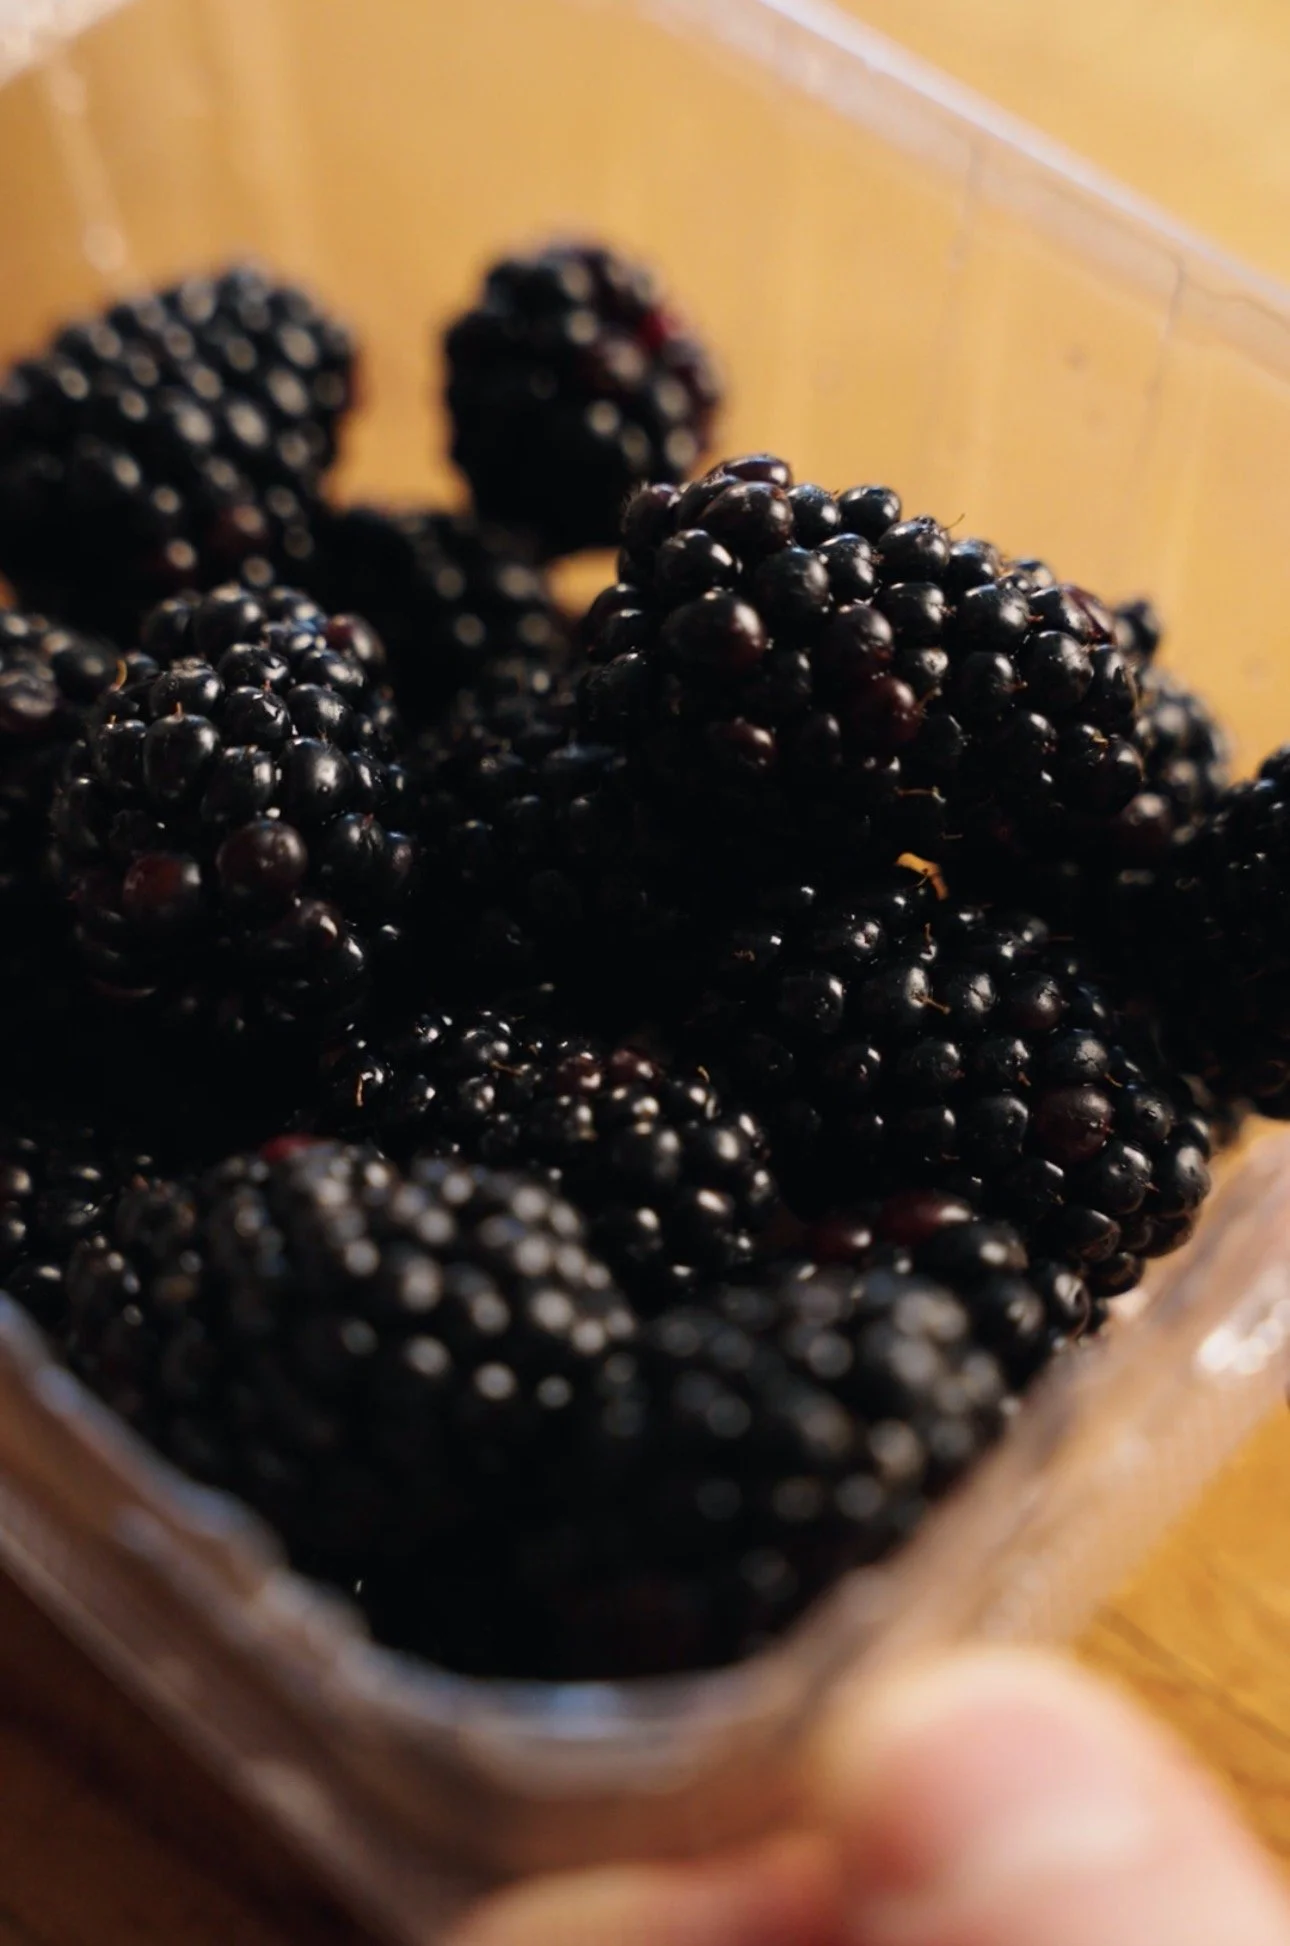
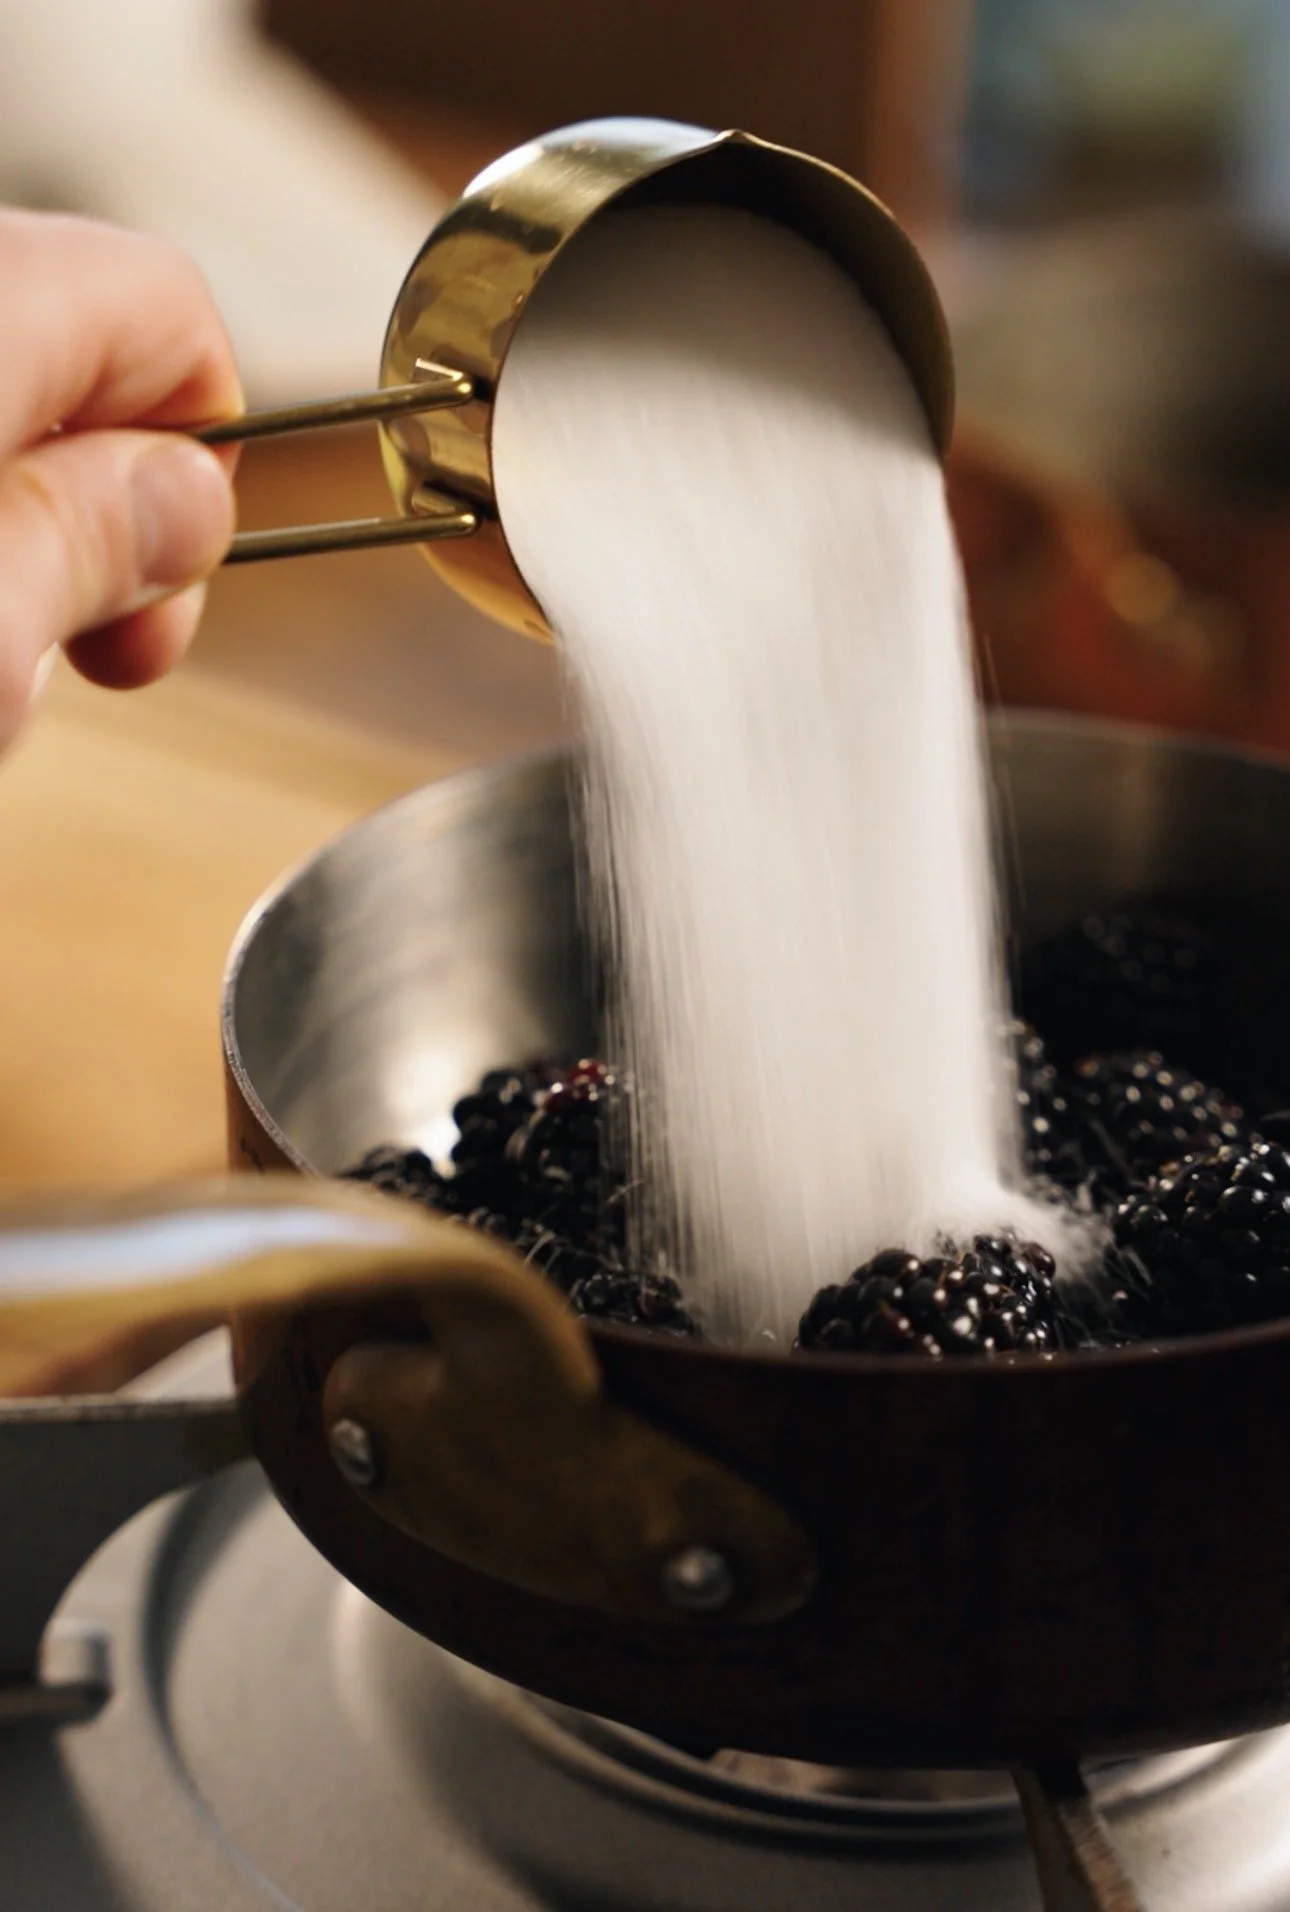
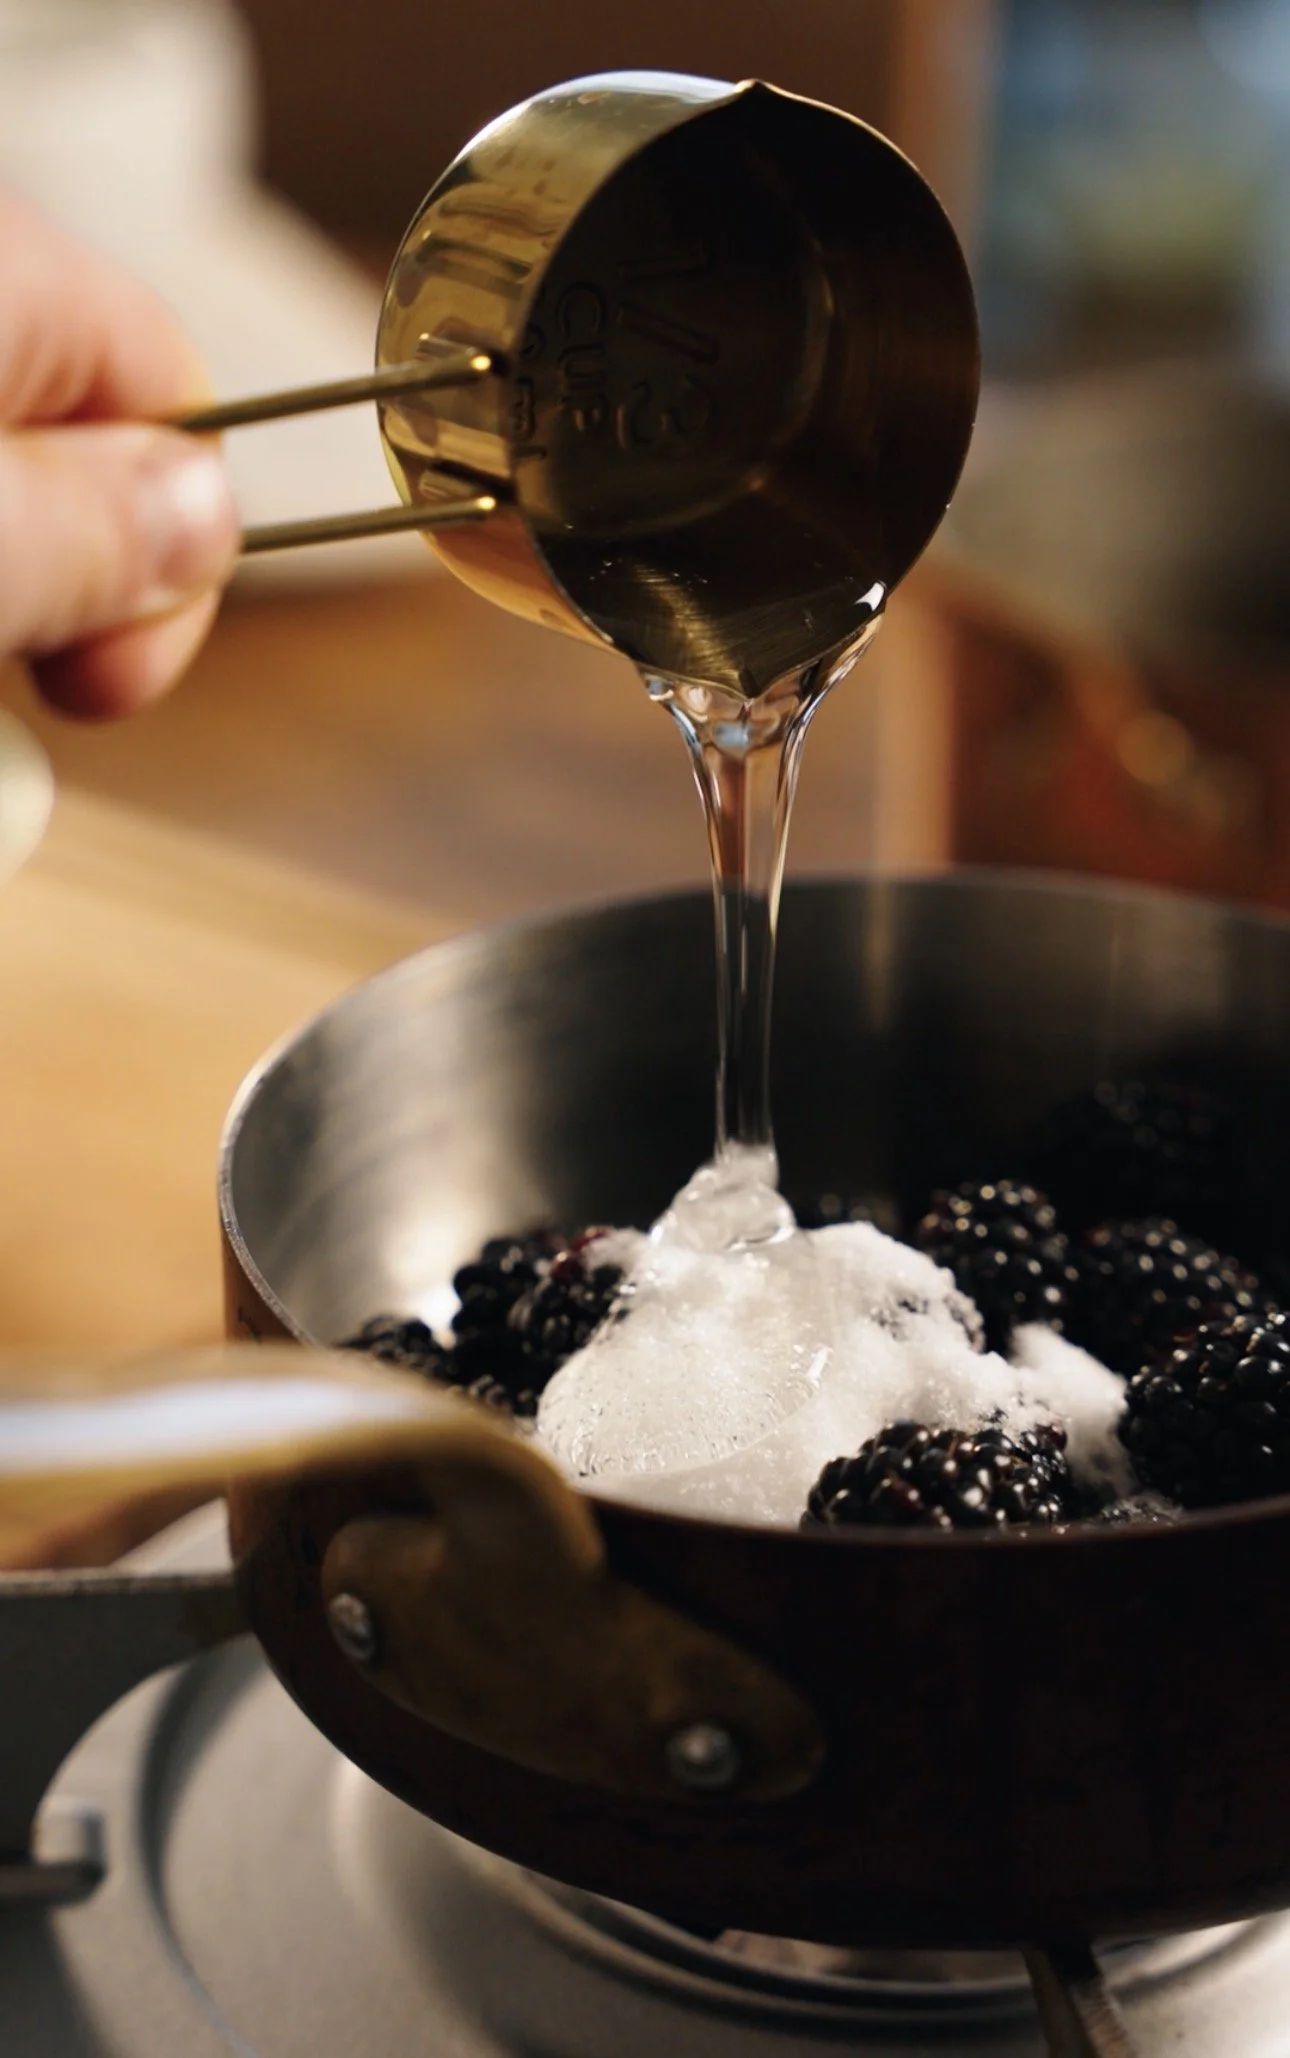
In a small saucepan, add the blackberries, sugar and corn syrup. Place over medium heat and bring the mixture to a gentle simmer.
Use the back of a spoon or a spatula to break down the fruit. Crush the berries, making a thick compote. Reduce the heat and cook on low for about 10 minutes.
In a small bowl, create a corn starch slurry using 5g of corn starch, combined with 10ml vodka**
**Vodka has a low freezing point, which is why we are using it instead of water. We want to lessen the amount of water content in the recipe because we are making this compote for ice cream. Less water = less icy once frozen!
Once most of the berries have broken down, add the corn starch slurry, whisking to combine. Cook for another minute to eliminate any starchy flavour.
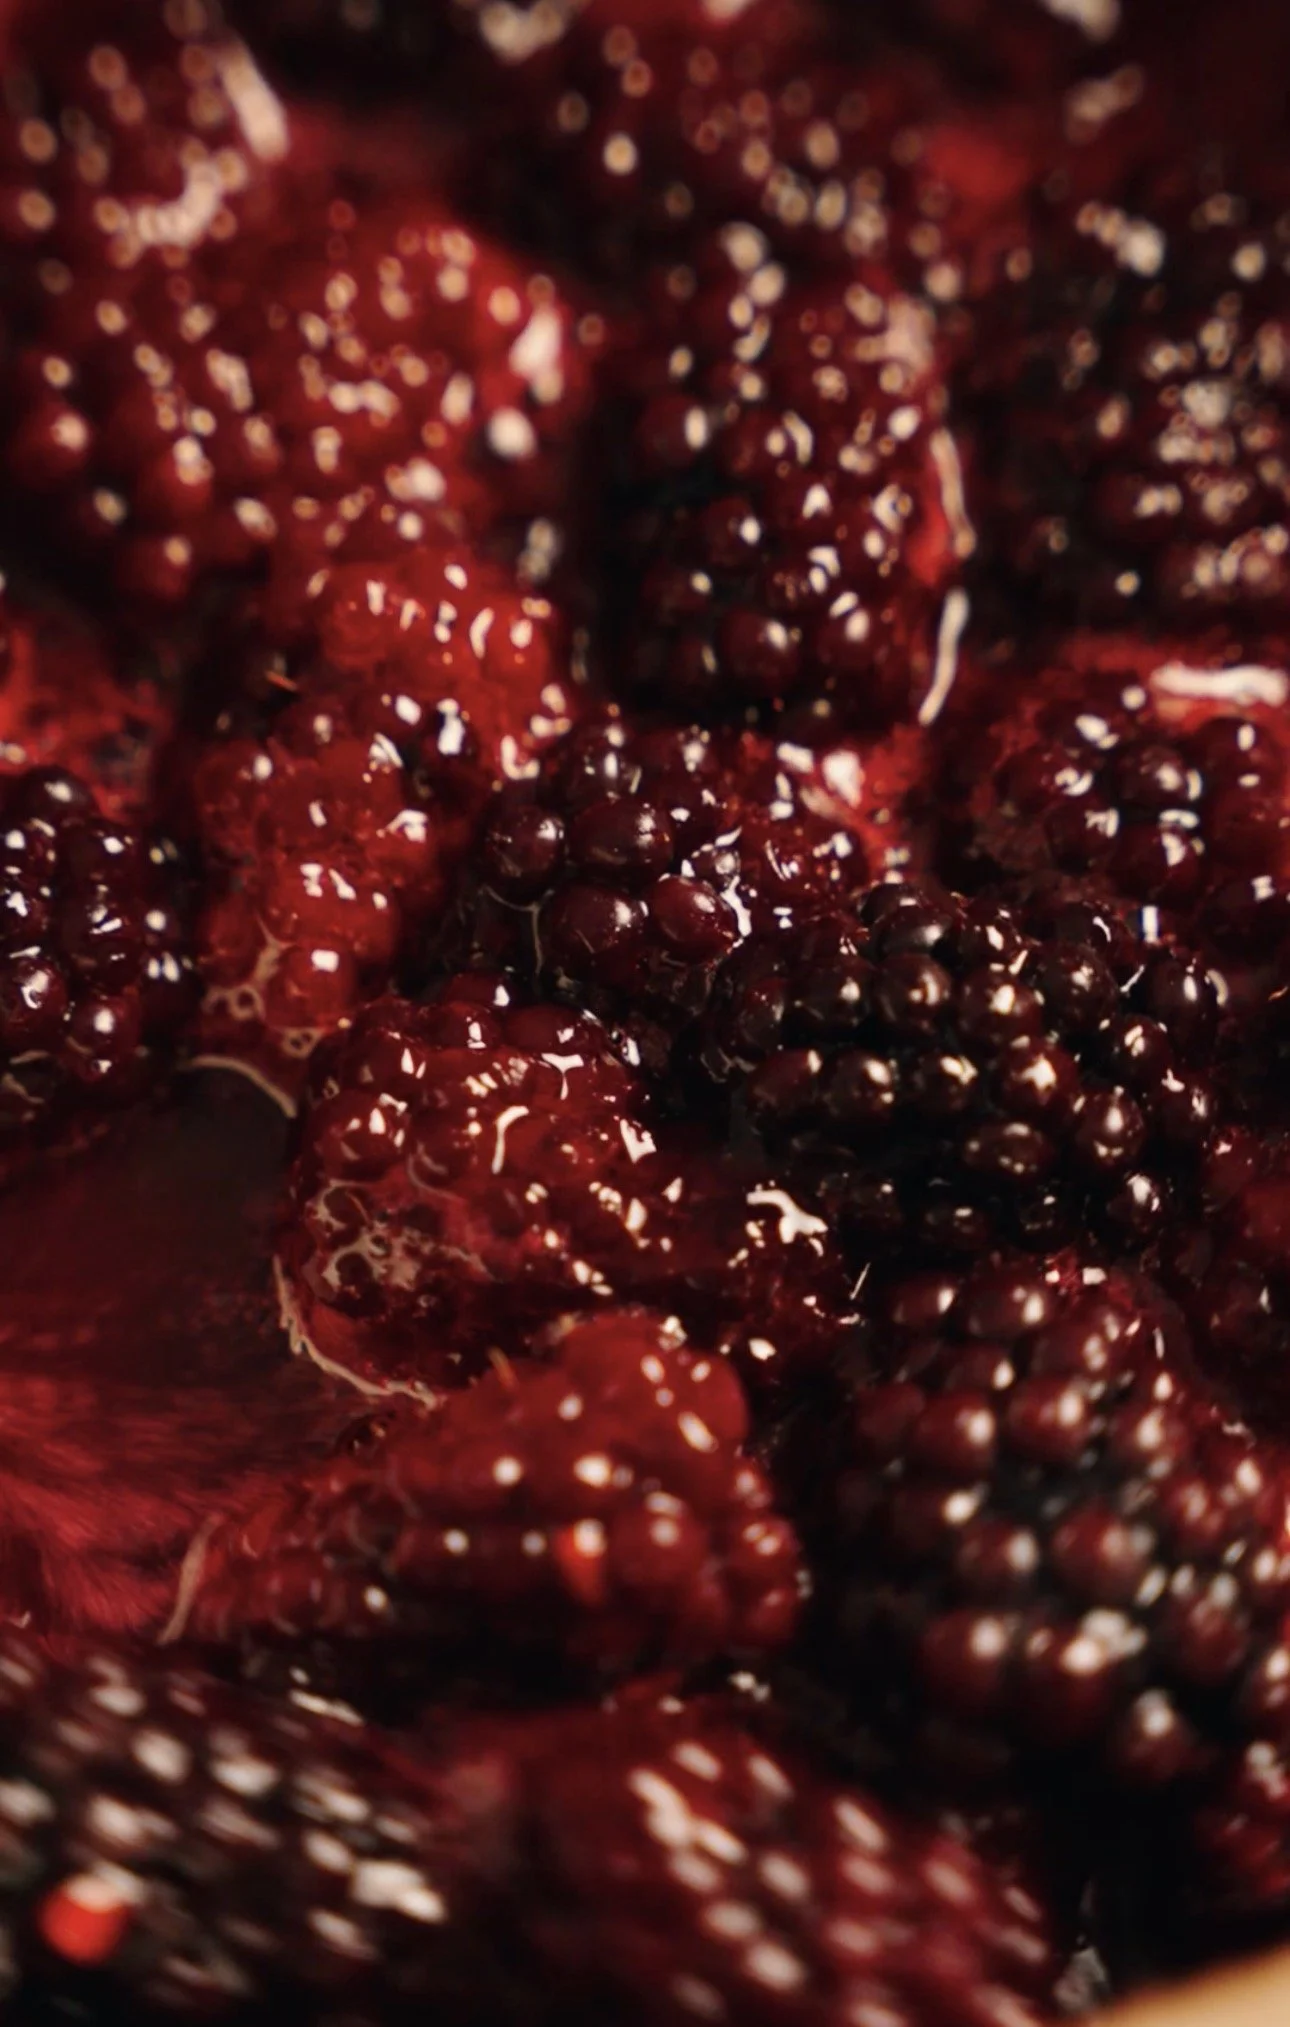
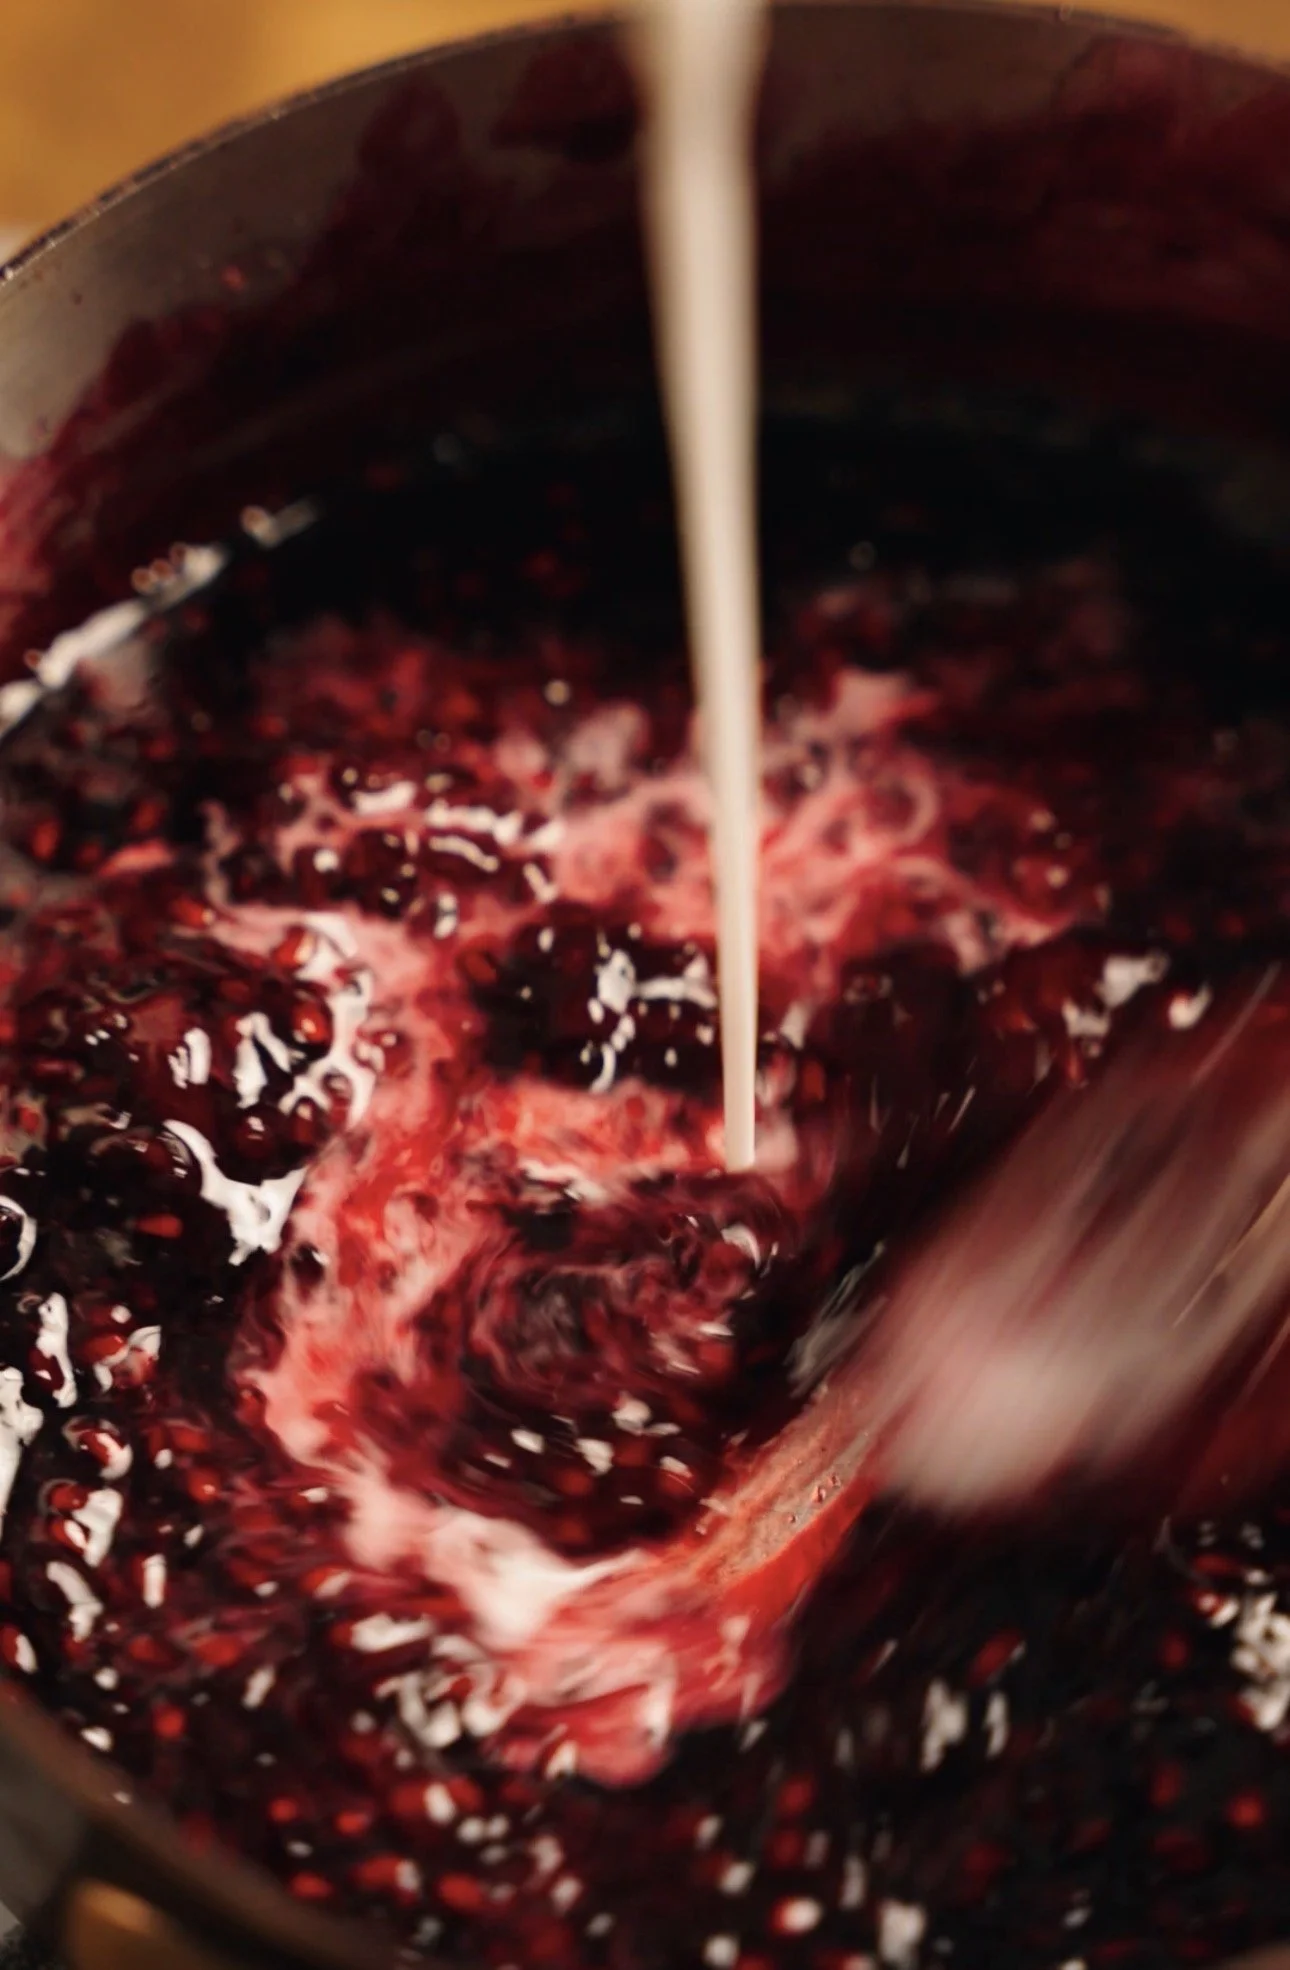
Remove the compote from the heat.
For better texture, pass the compote through a sieve, catching it in a small bowl underneath. Try to press as much of the fruit through the sieve as possible. Discard the seeds that remain, (or save a bit and add it back in— if you like the added texture! that’s what I did)
Cover and refrigerate for a few hours while you make your custard!
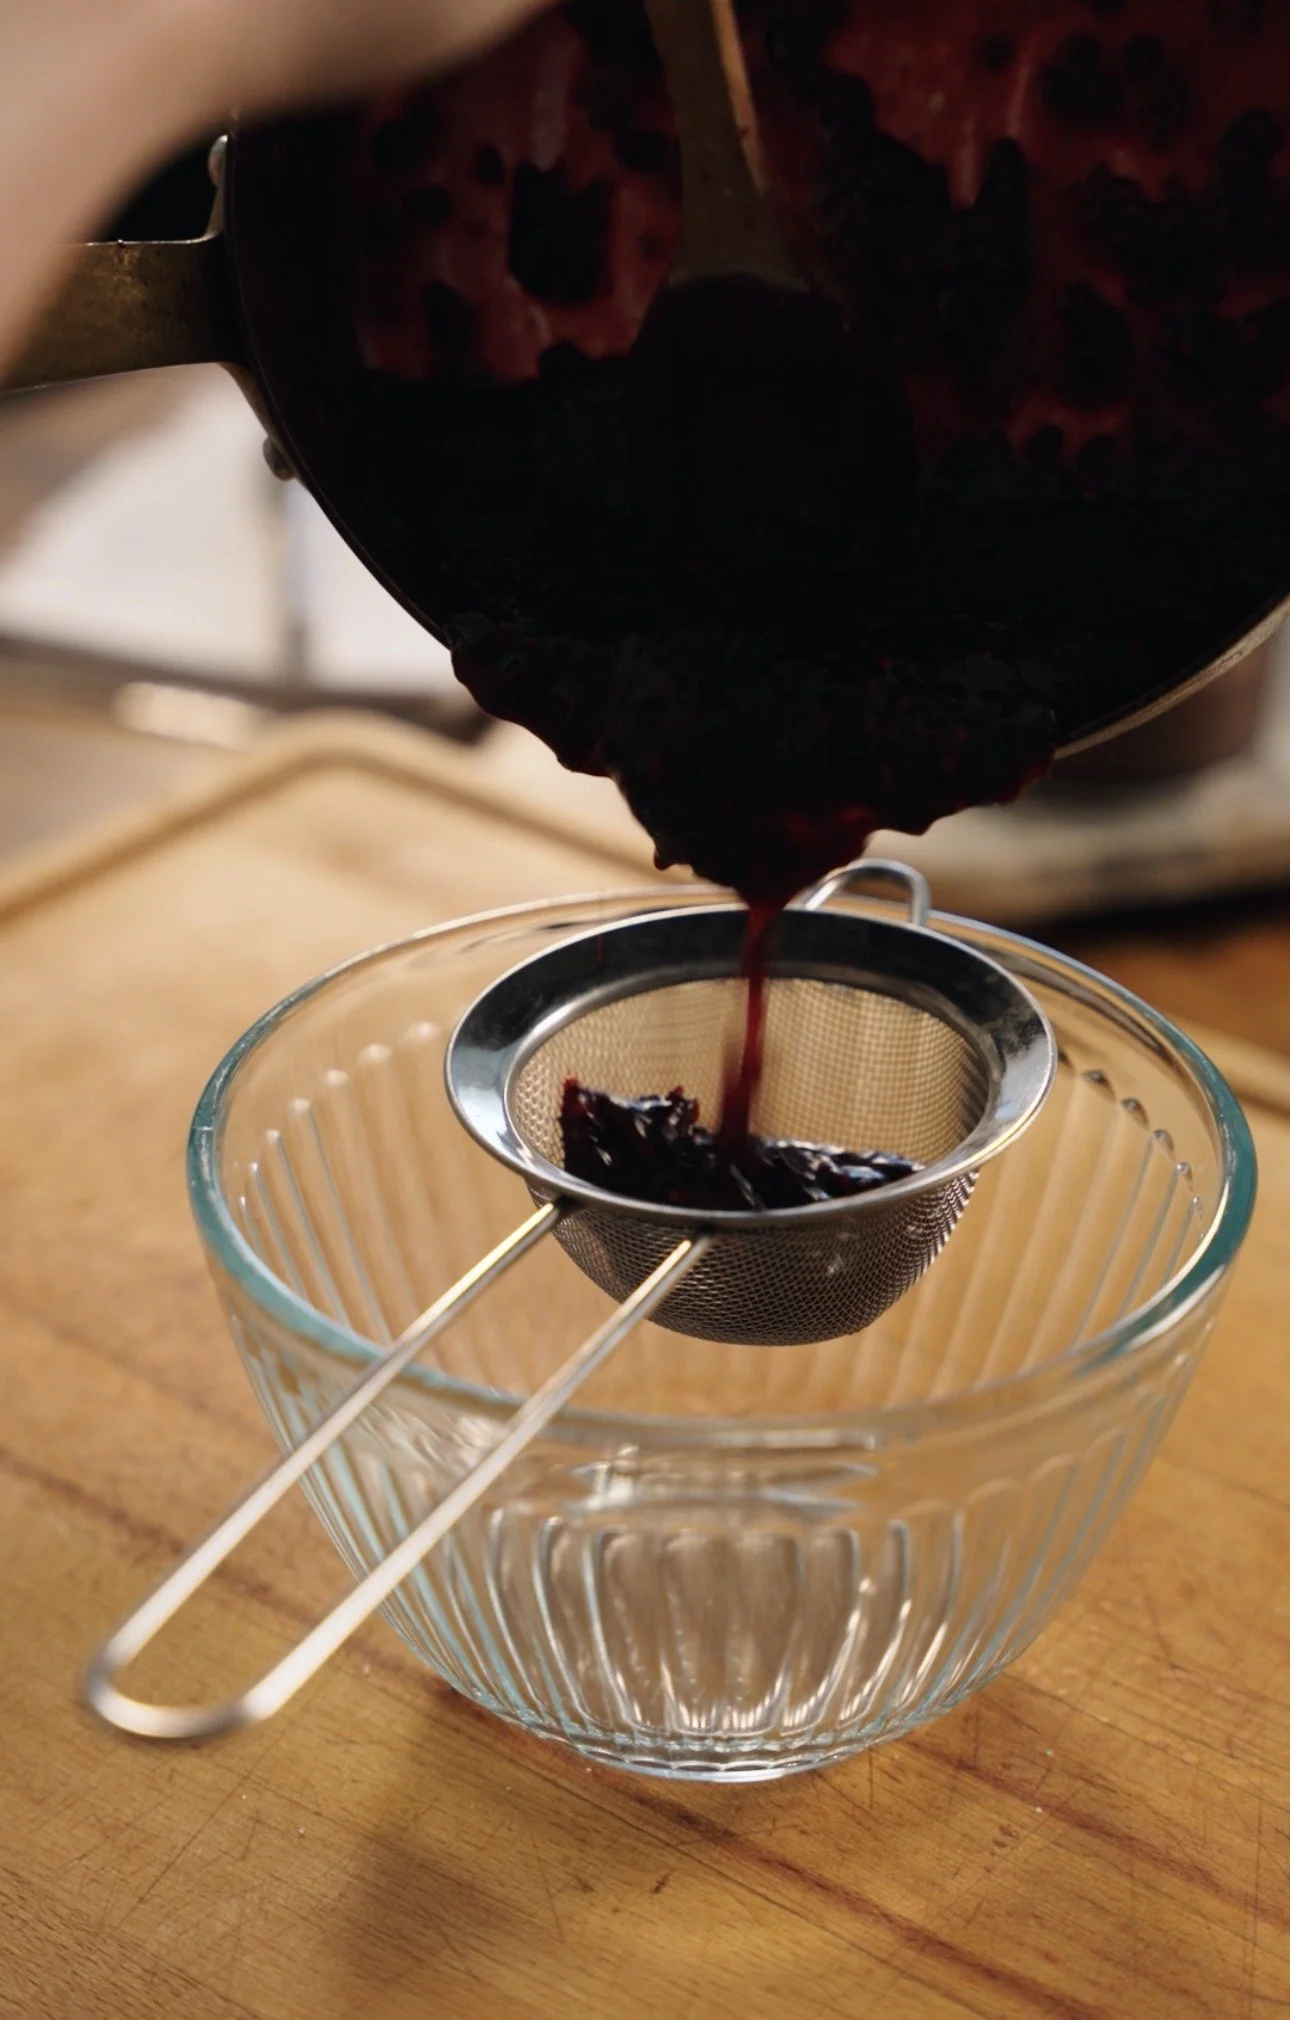
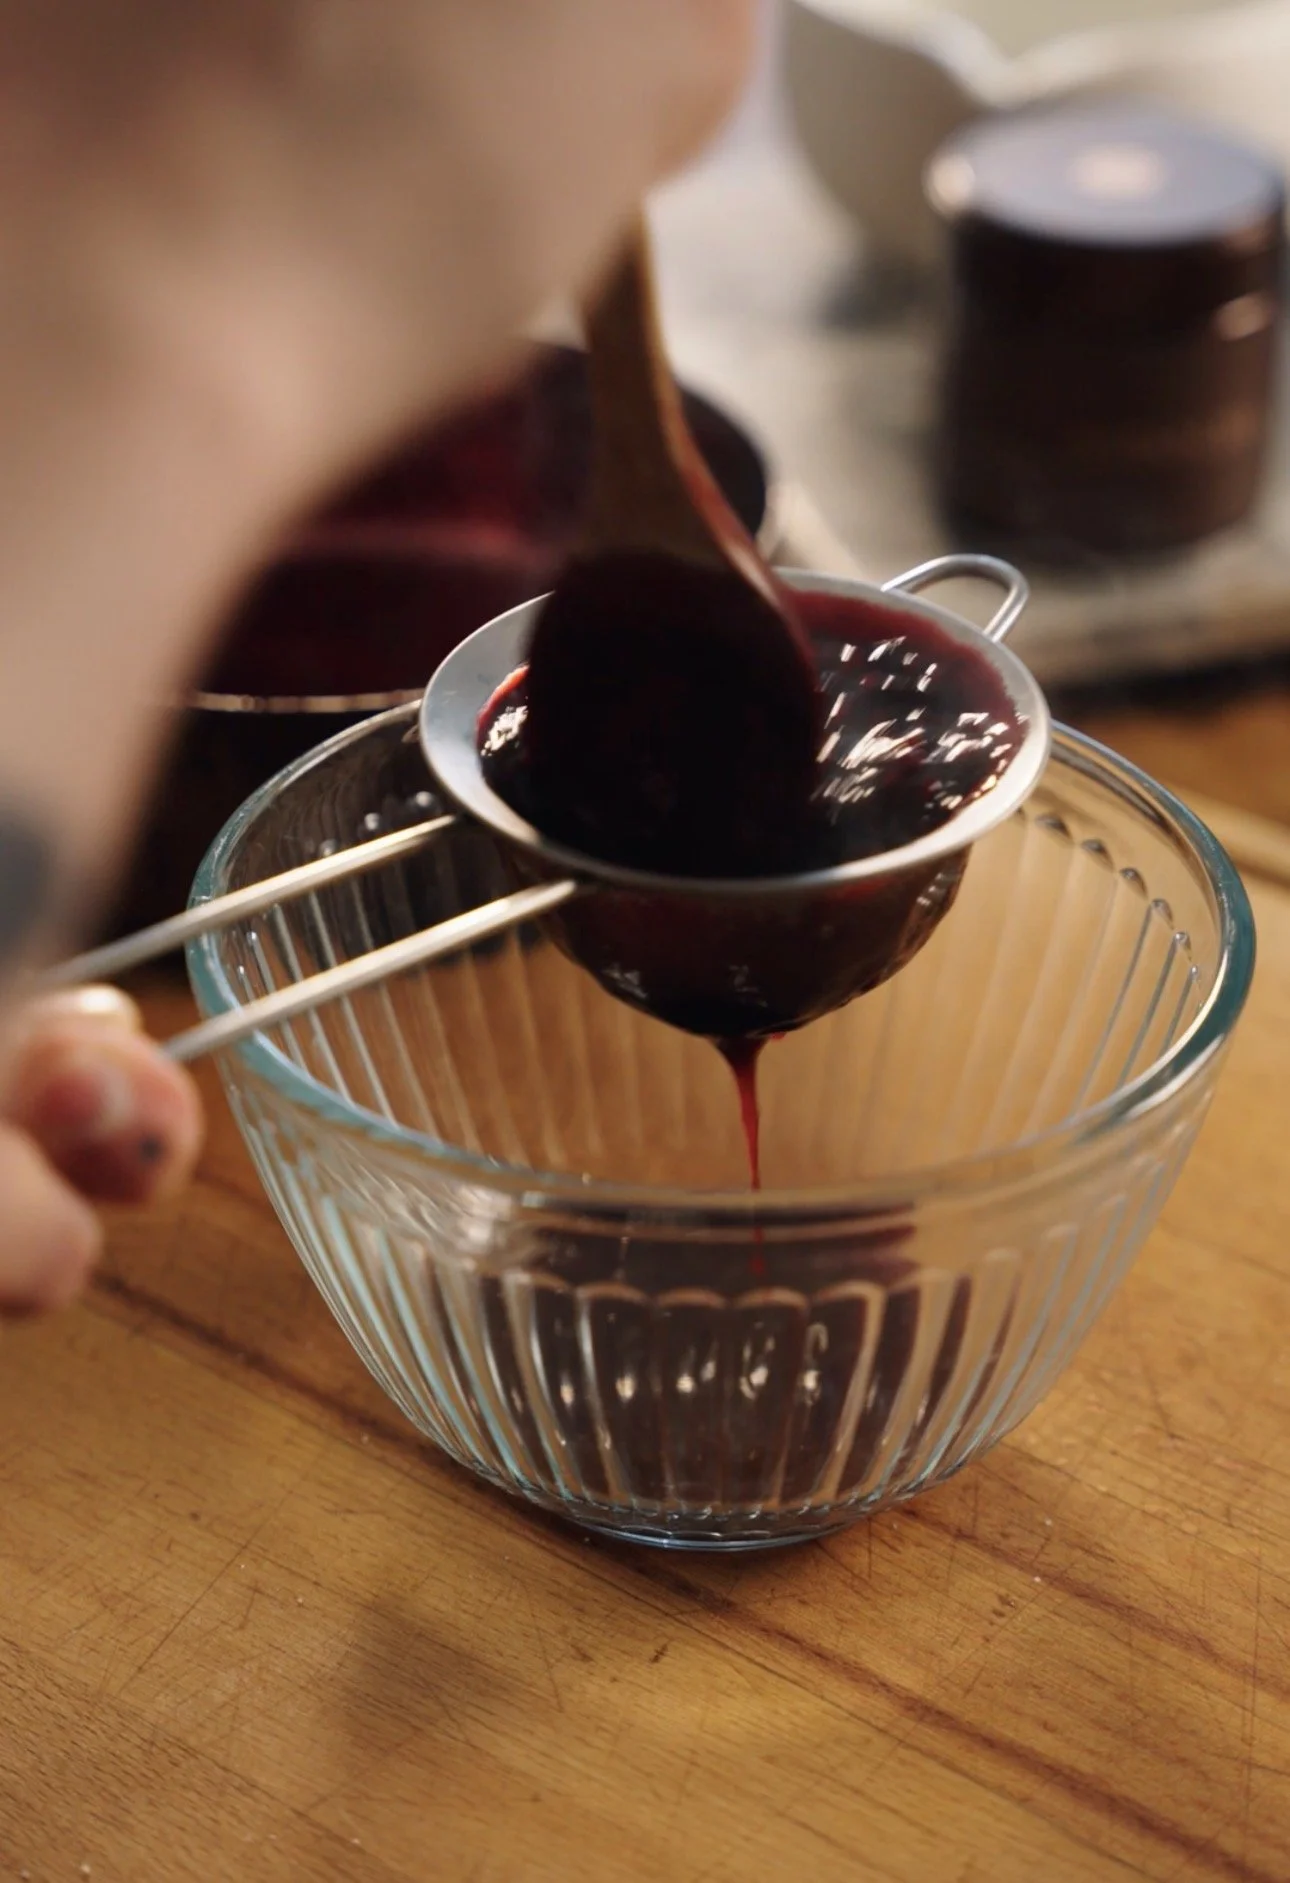
This jam can be kept stored in an airtight container in the fridge for up to 2 weeks.
Hojicha Ice Cream:
300ml 2% milk
300ml heavy cream
30g Hojicha powder
3 egg yolks
75g granulated sugar (divided)
70g corn syrup
35g skim milk powder
0.8g xanthan gum
1g salt
One day before making: Make sure to store your ice cream basin in the freezer for at least 24 hours. Or prepare your equipment according to the manufacturer’s instructions.
In a small bowl, combine 35g granulated sugar, skim milk powder and xanthan gum. Whisk to combine, in order to disperse the xanthan gum—this will prevent clumps from forming.
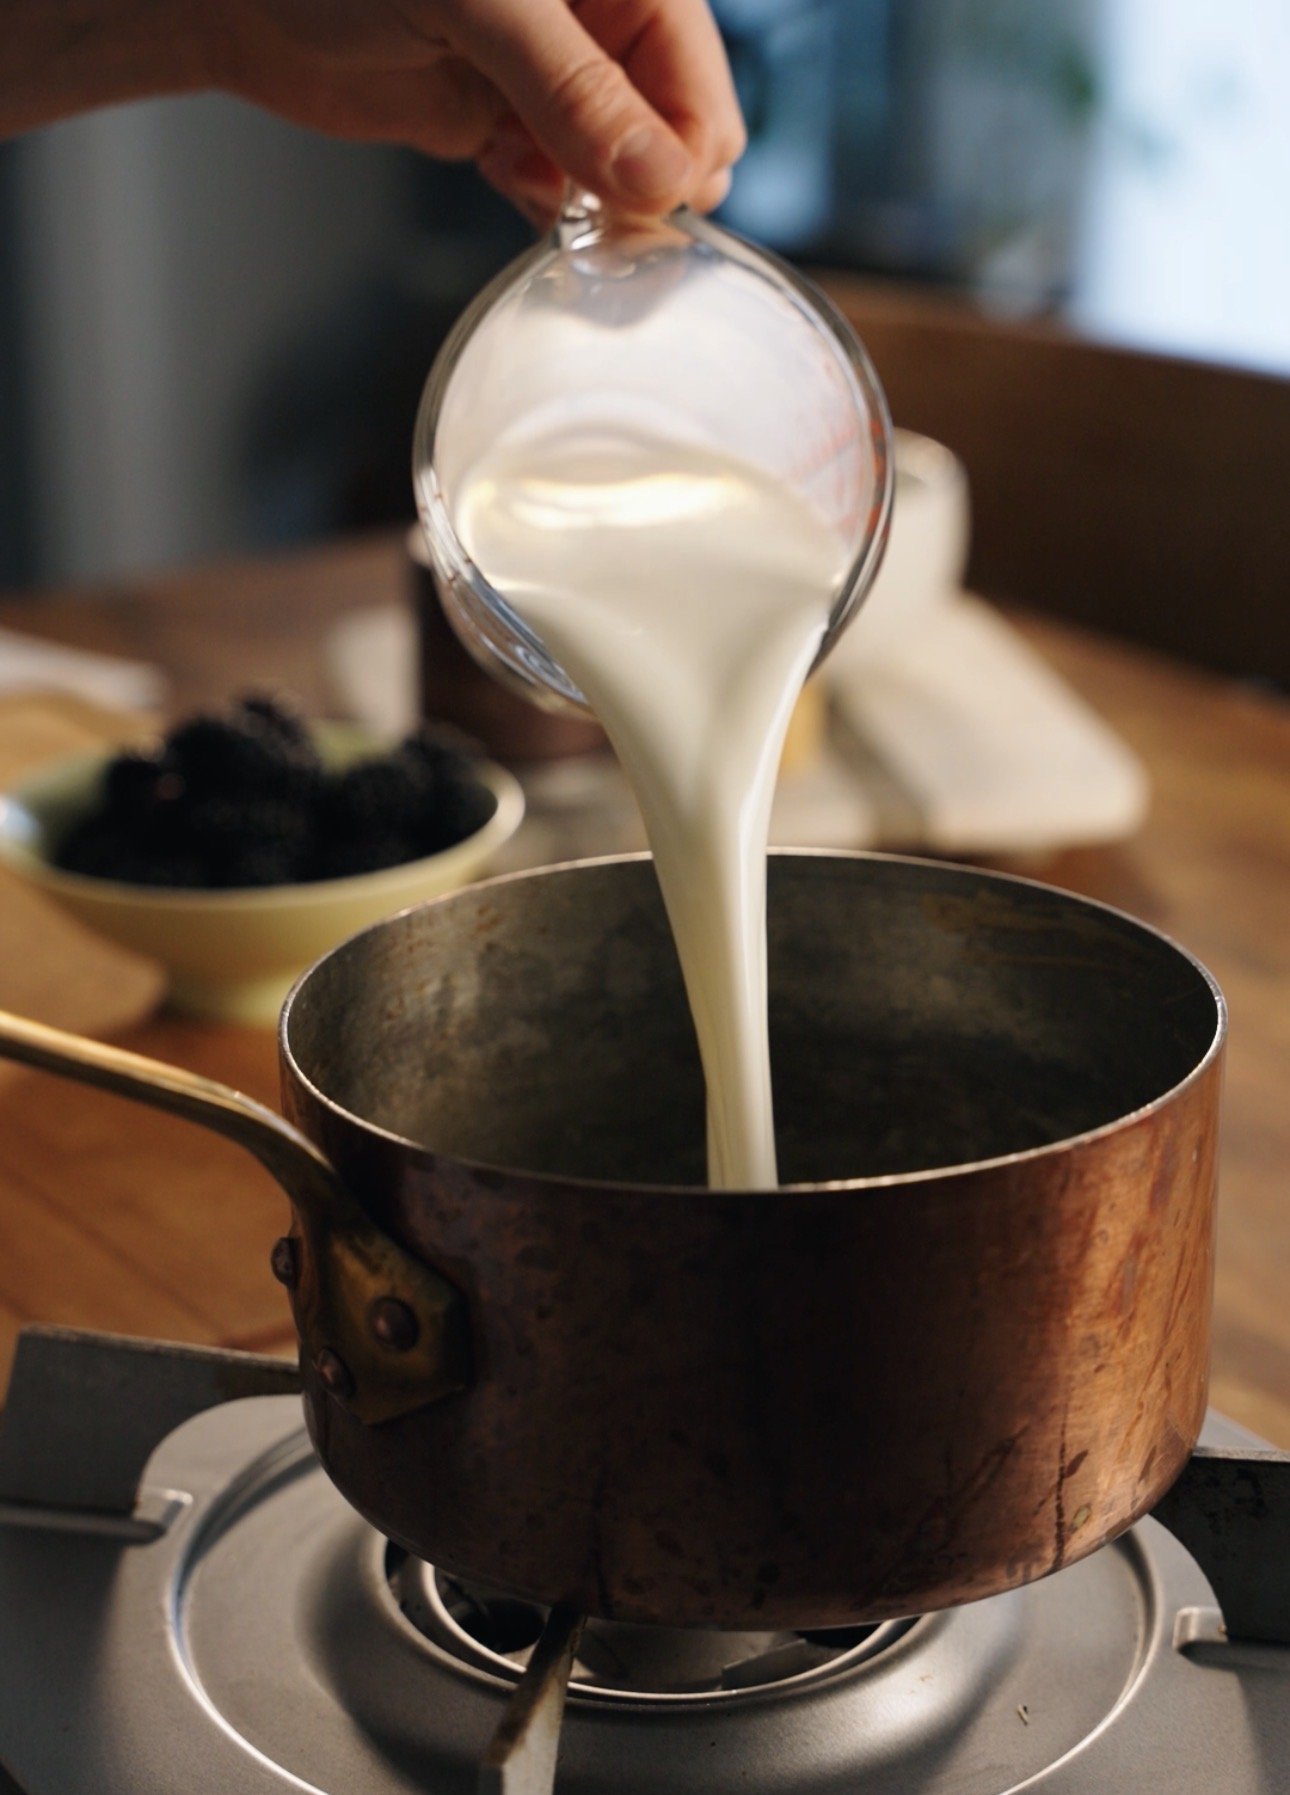
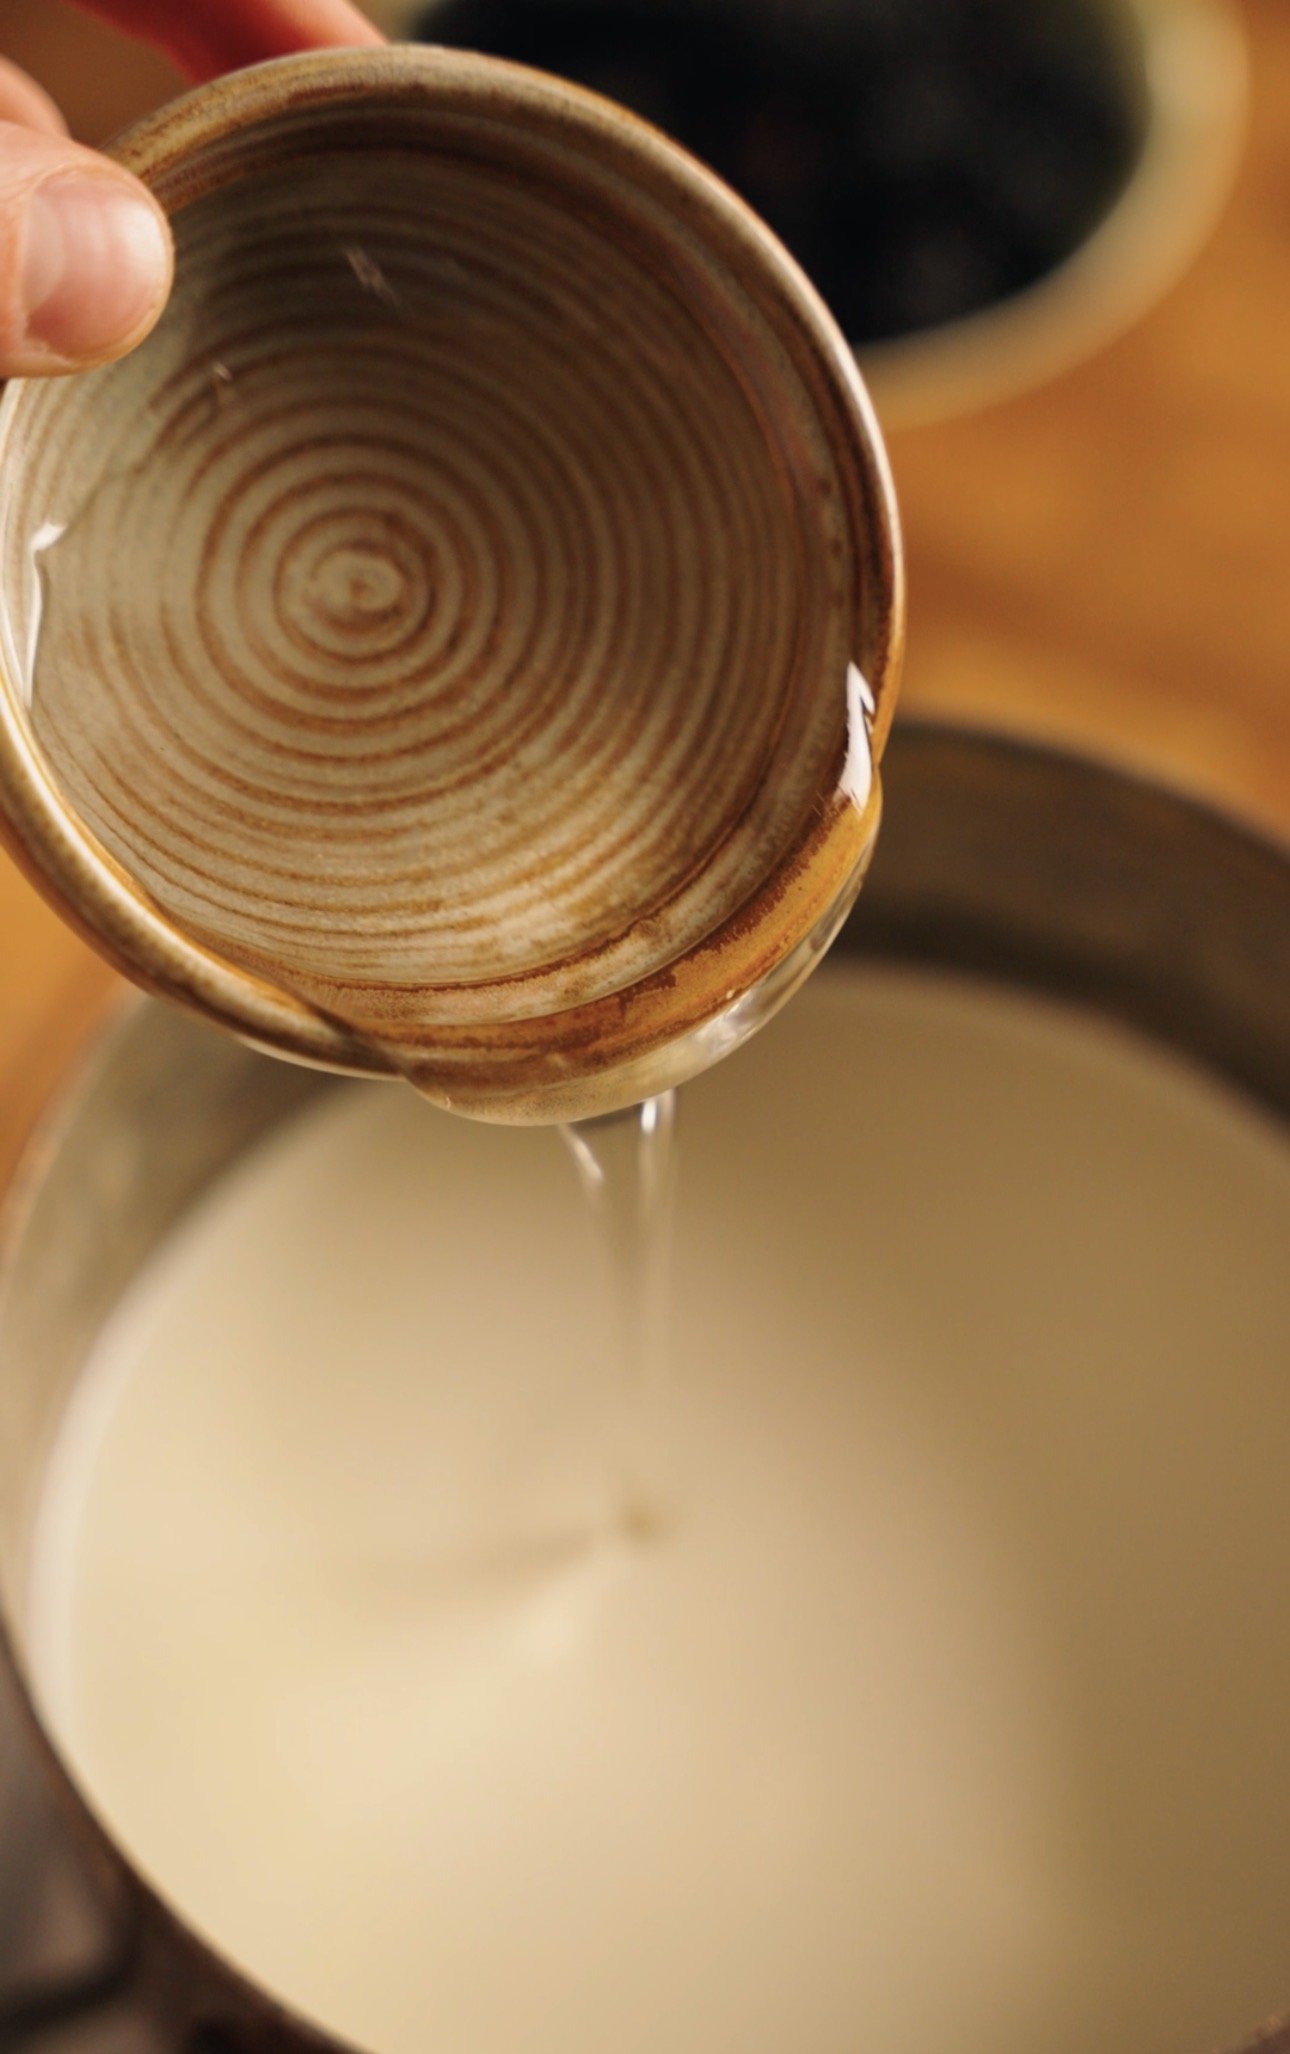
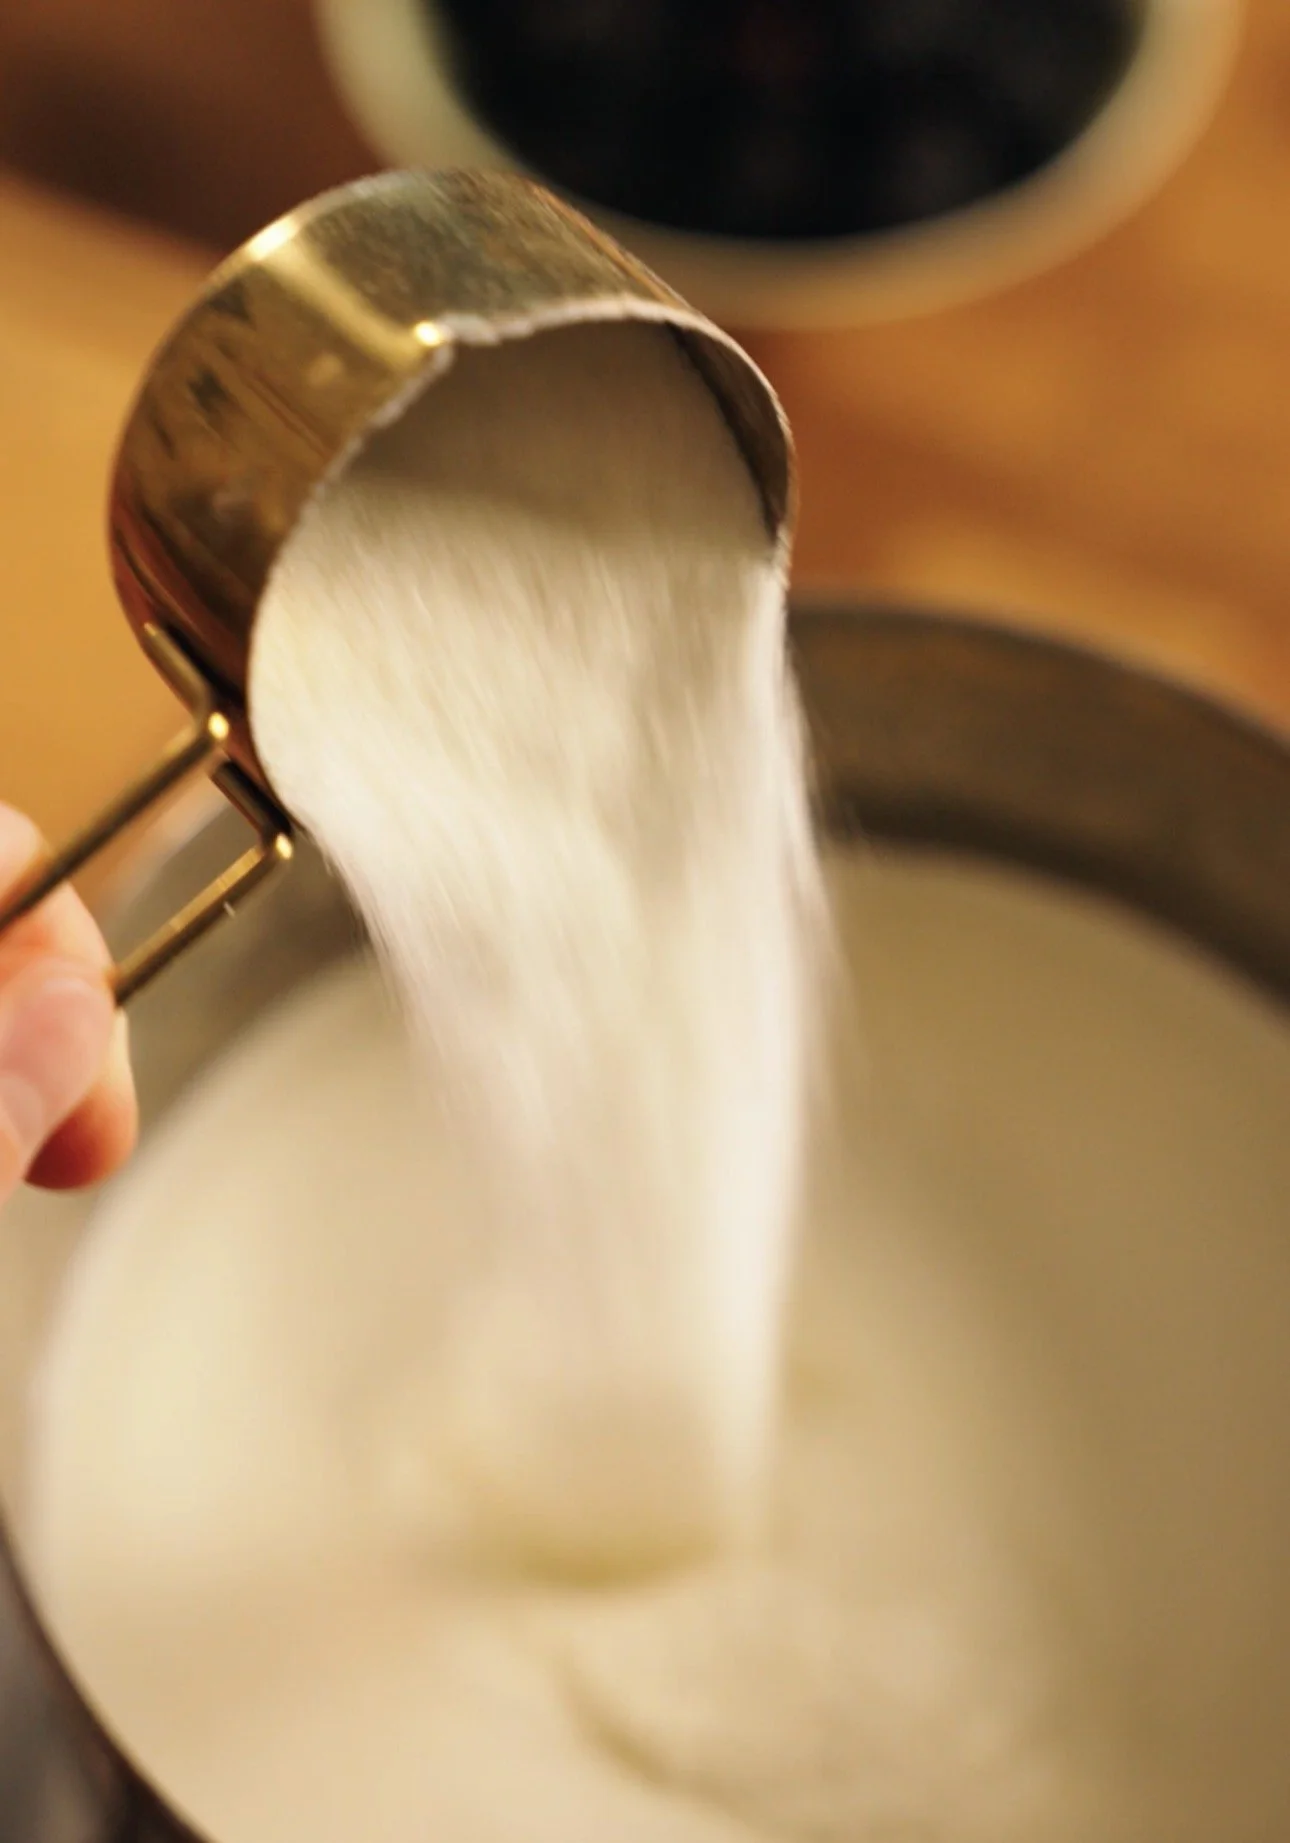
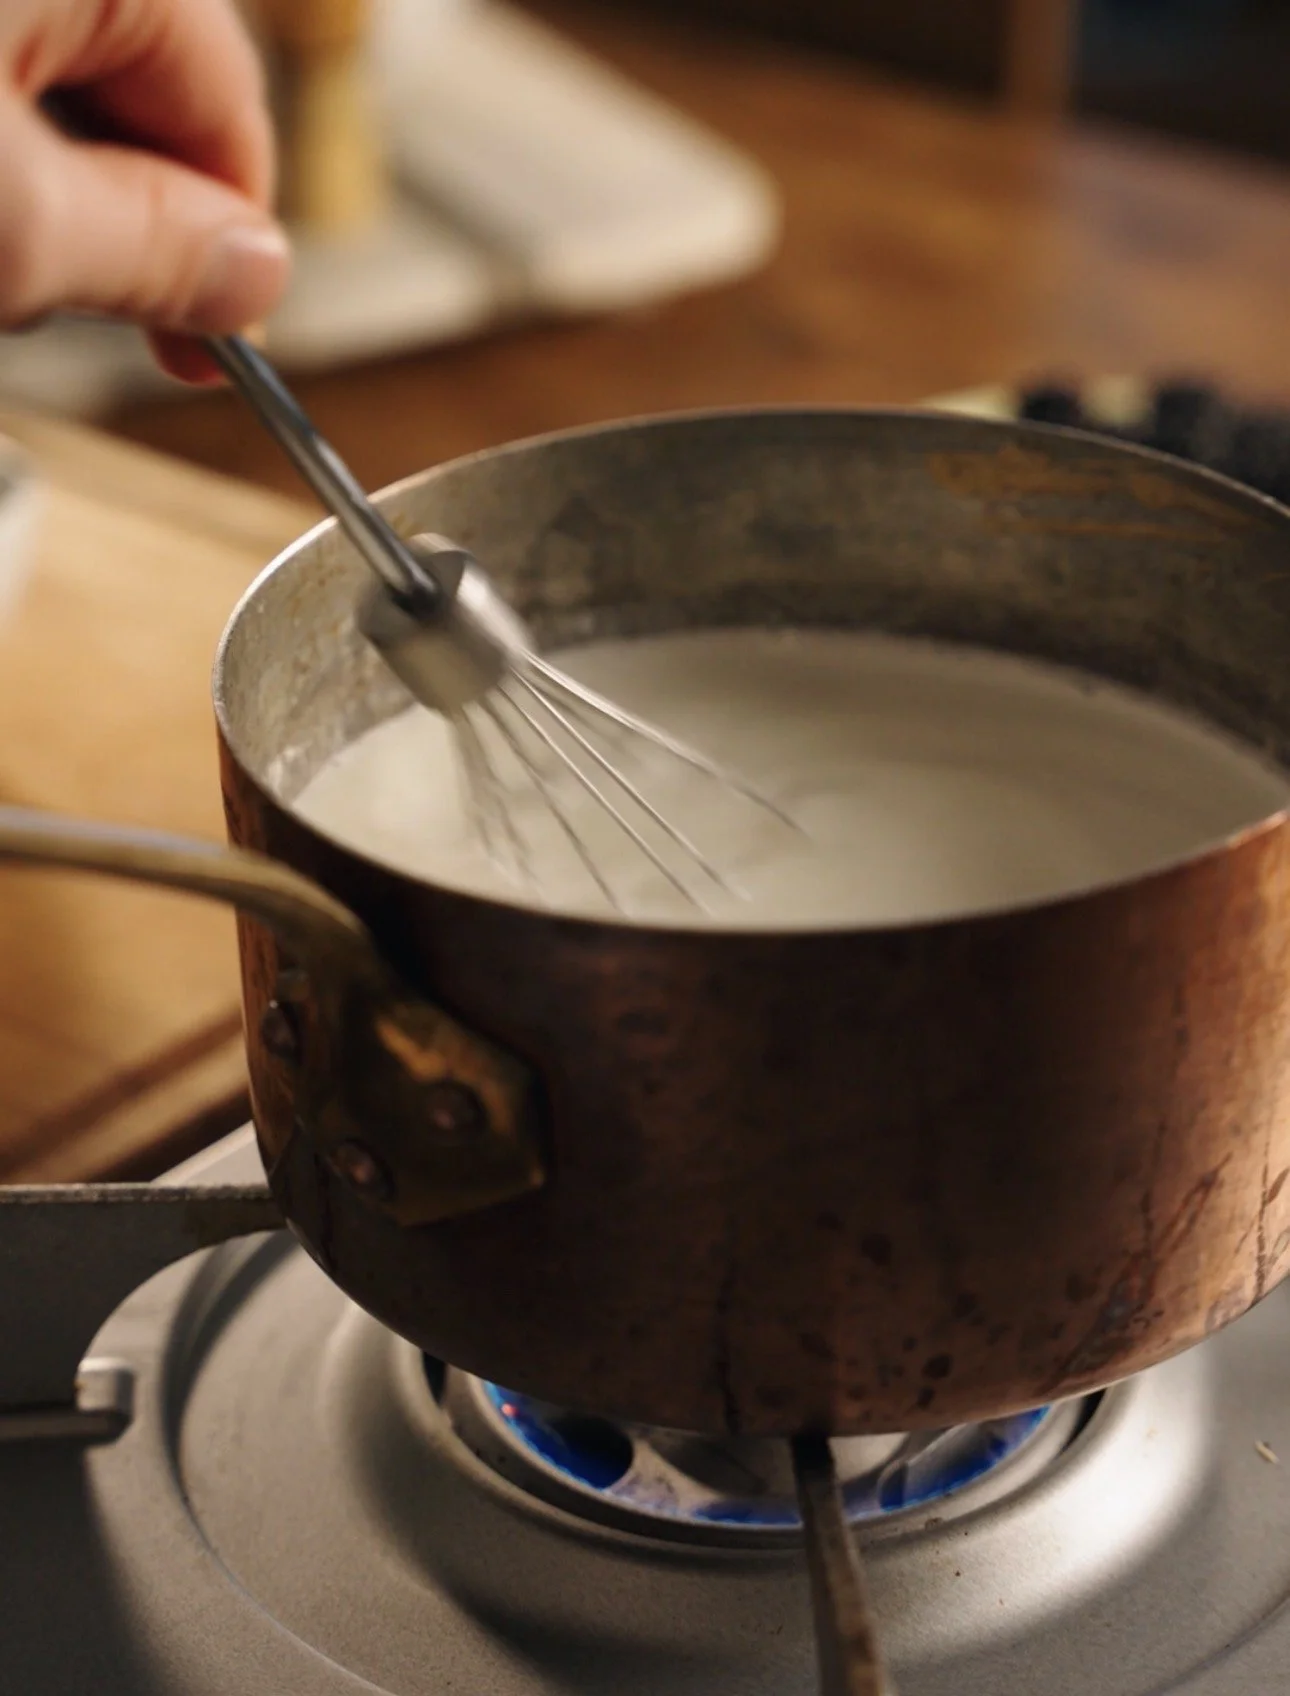
Place a medium pot on the stove top. Add your milk, heavy cream, the skim milk powder mixture, corn syrup, and salt. Set the heat (or flame) to the lowest setting. Bring it the point where the milk is steaming (but not simmering).
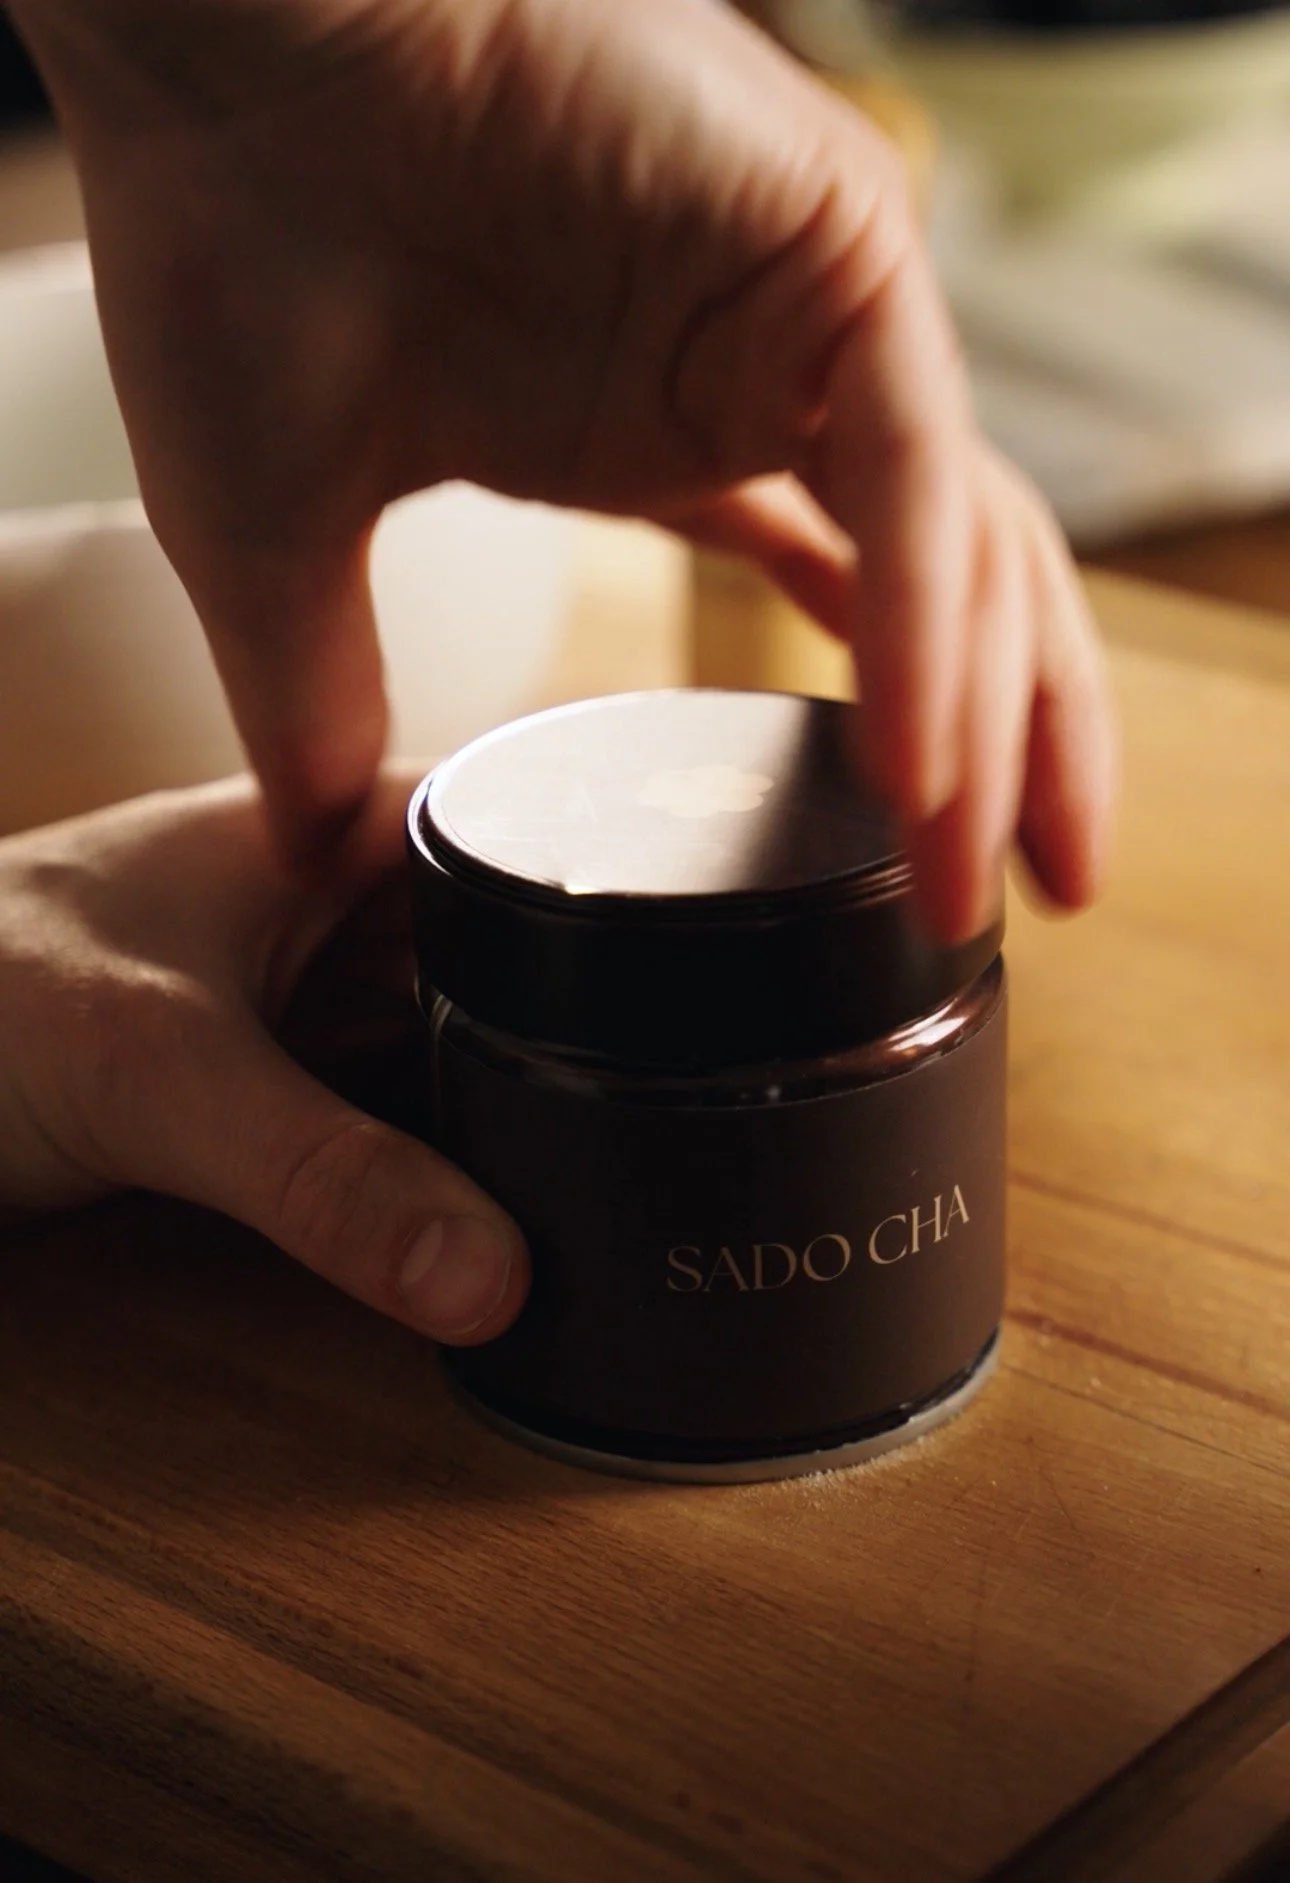
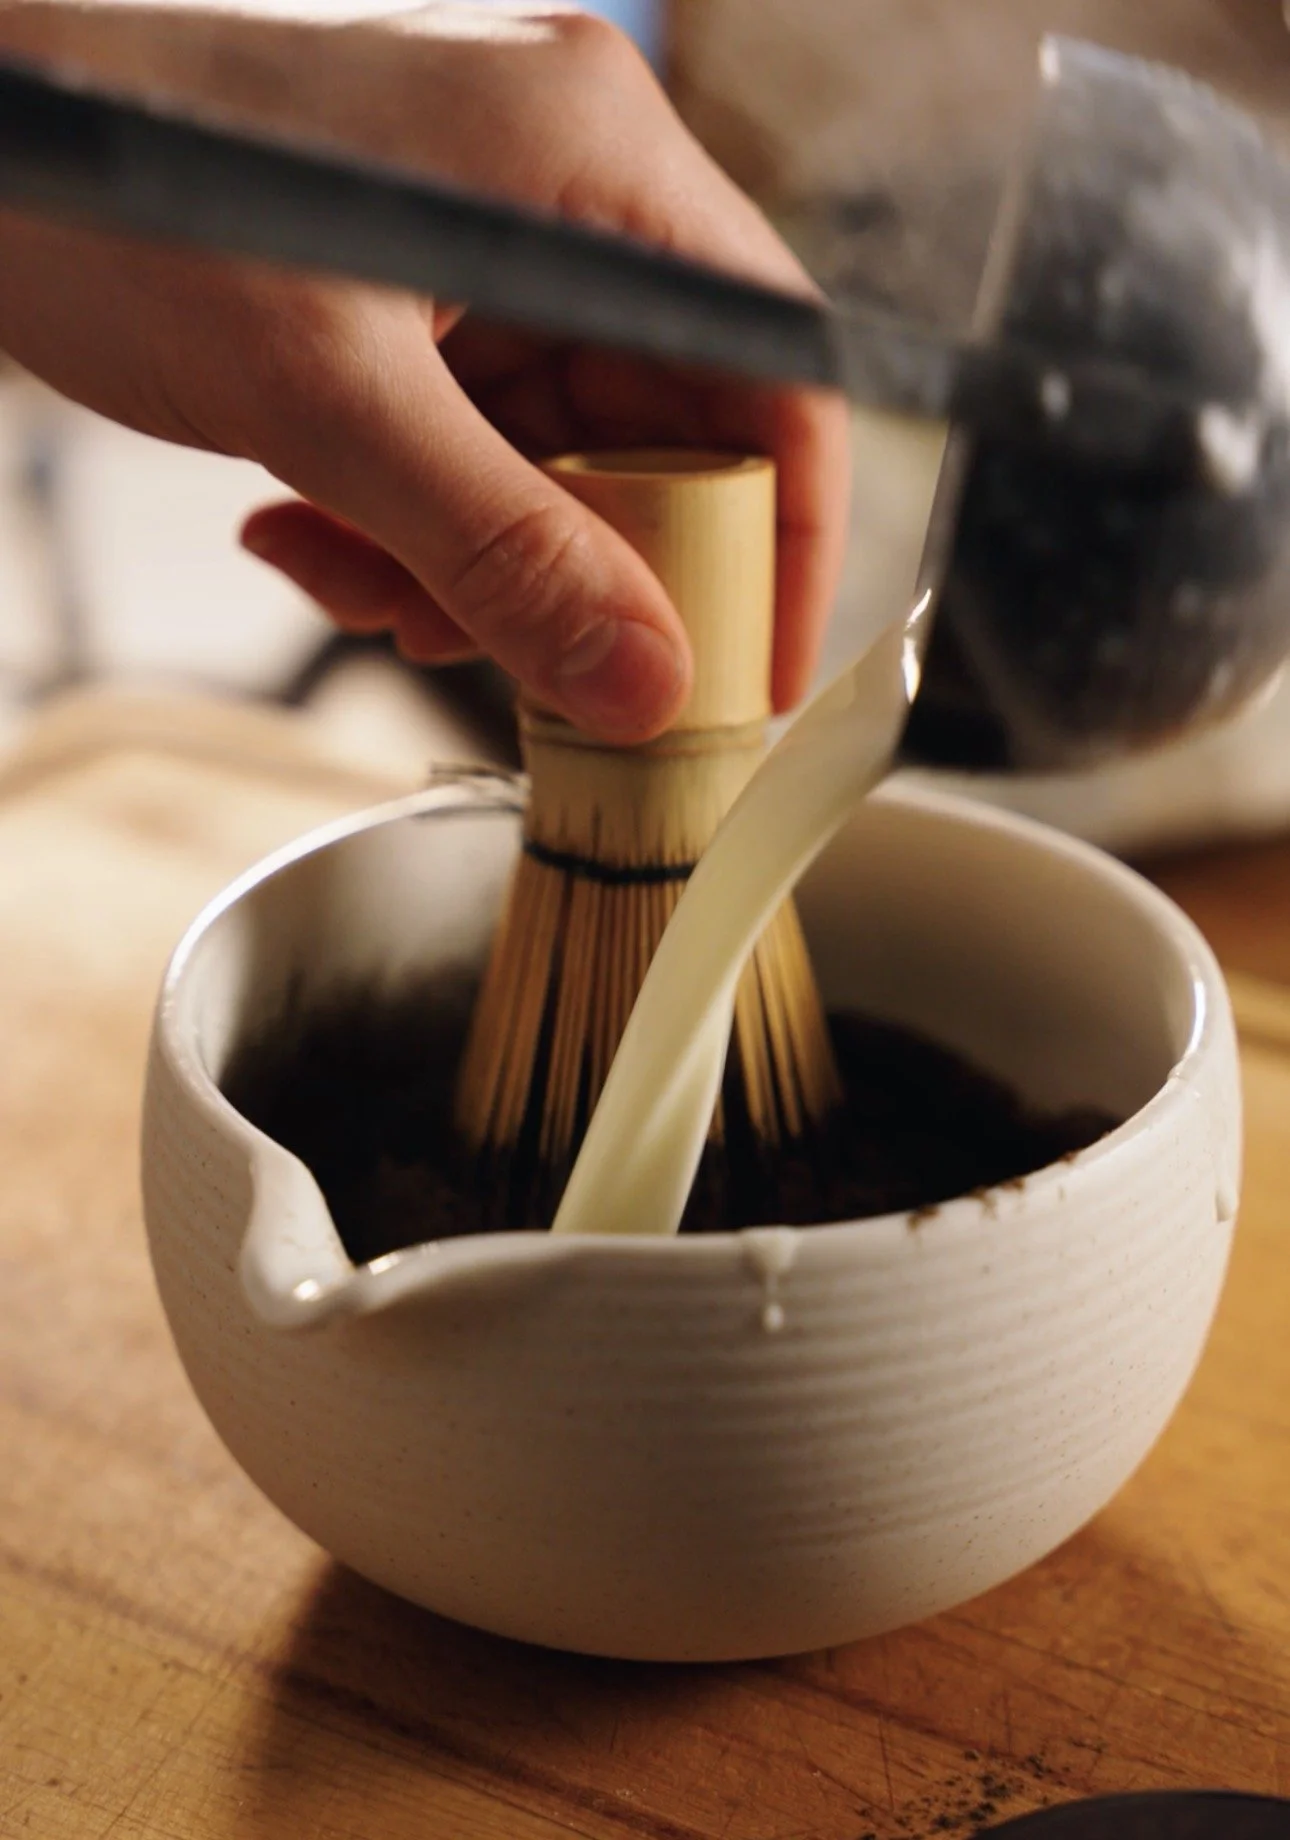
In a small, heatproof bowl, add the hojicha powder.
Add a small ladle of the hot milk mixture to the bowl. Whisking to combine, blooming/hydrating the tea powder. Add another ladle of milk, whisk to create a thick slurry. Set aside.
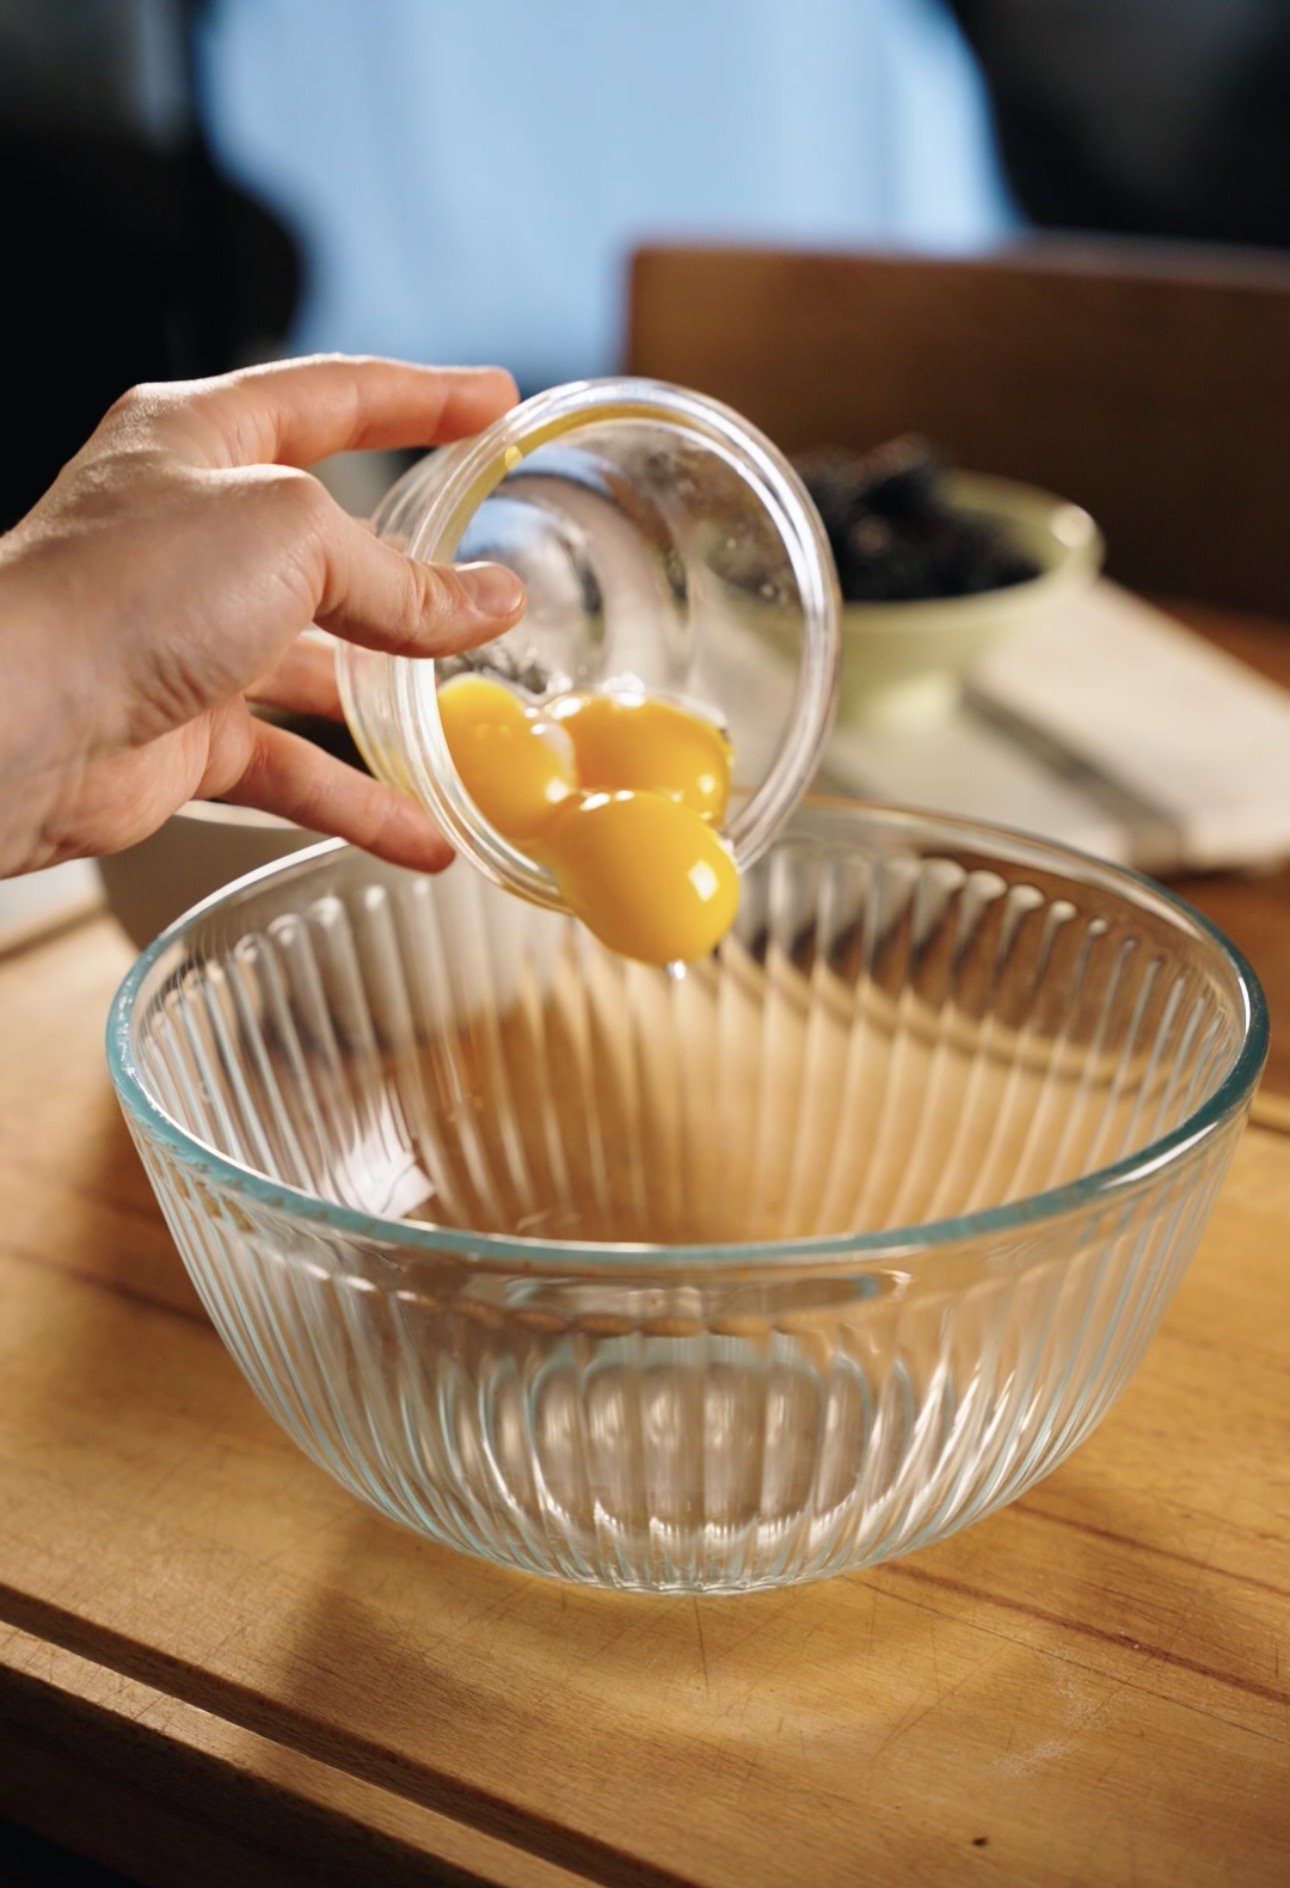
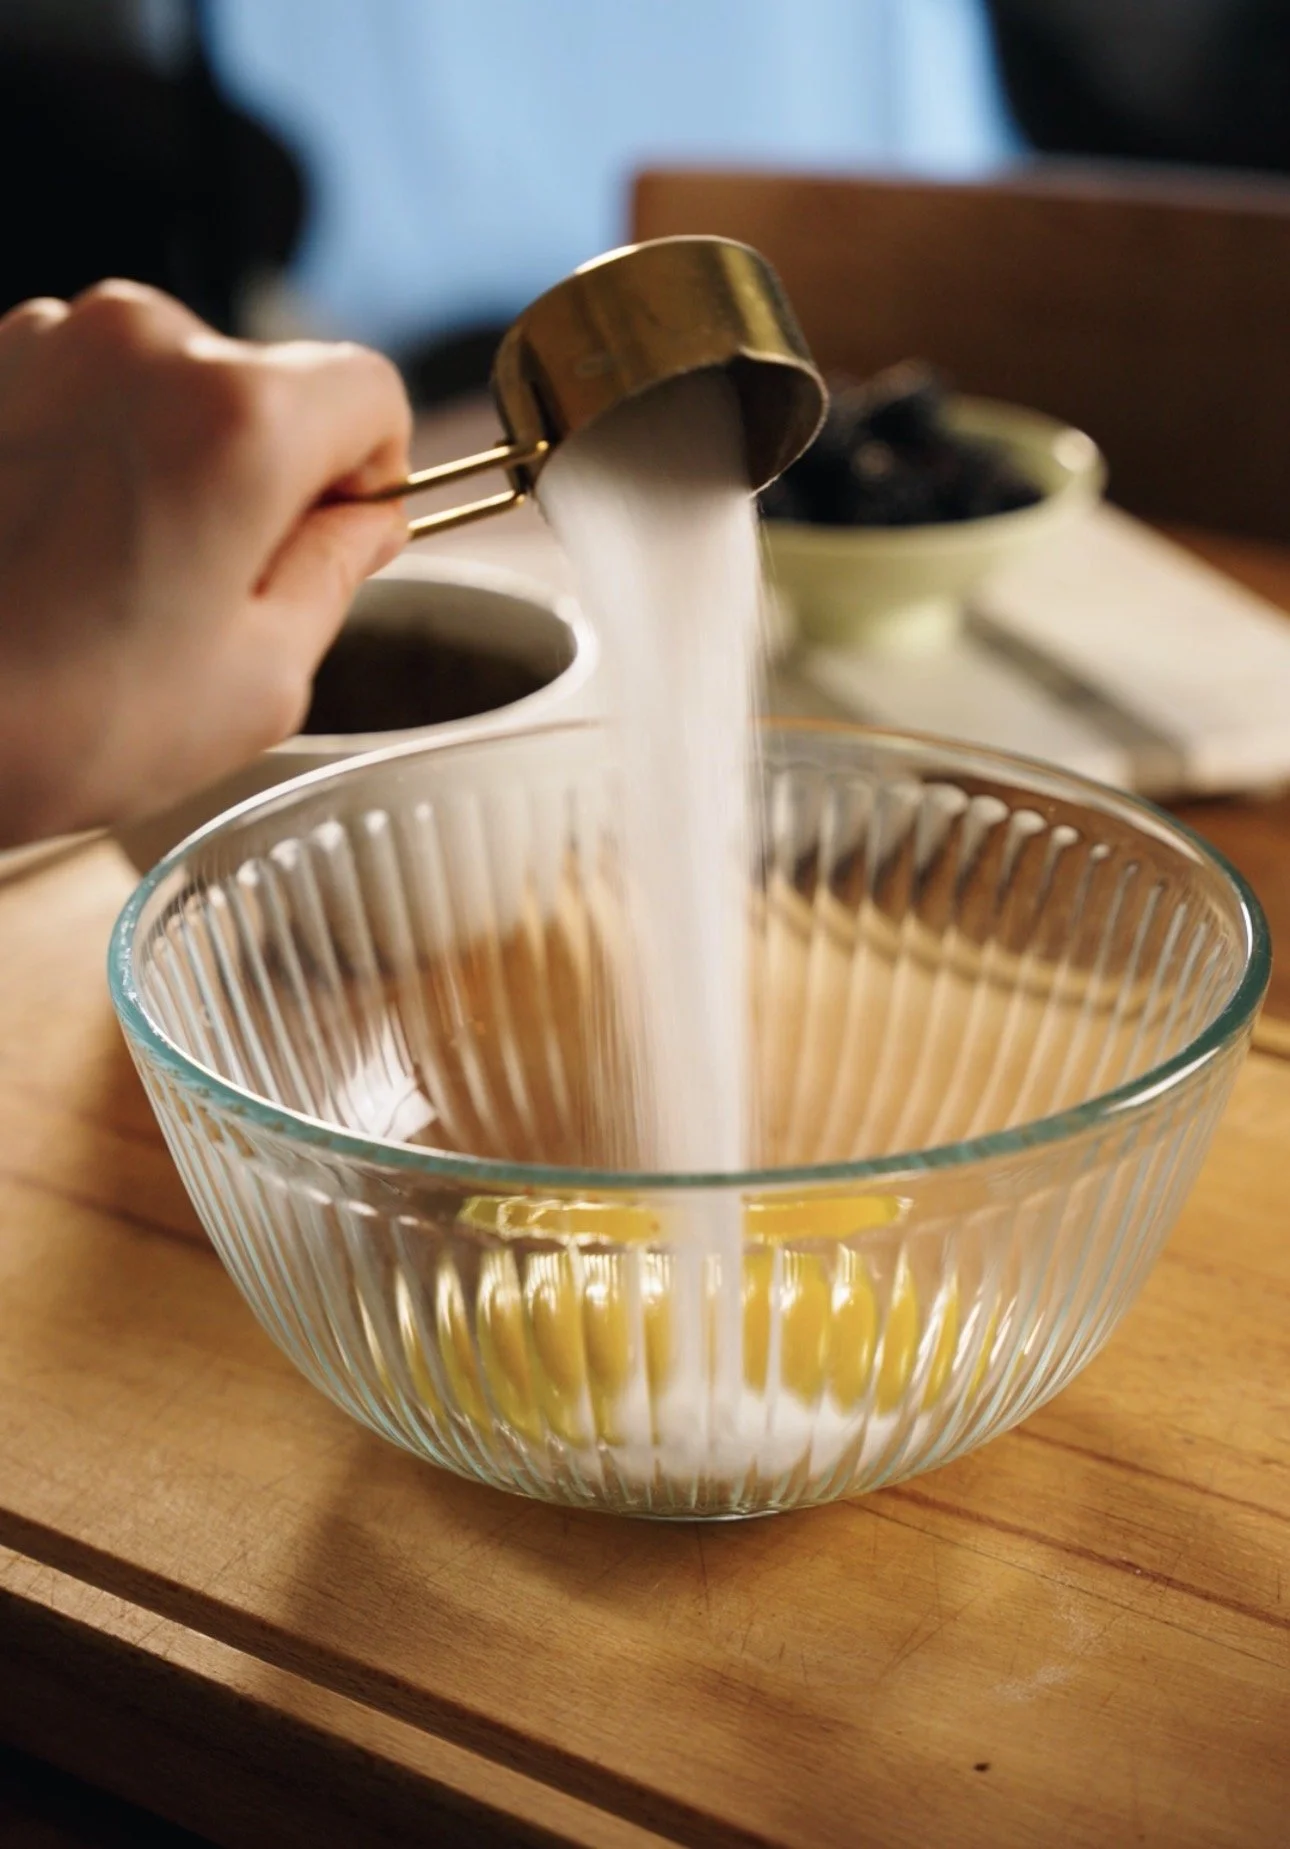
In a medium bowl, add the remaining 35g of sugar, and 3 egg yolks. Whisk together until pale and thick.
We are going to use the hot milk to temper the egg yolks.
While whisking the eggs, gradually pour the warm hojicha mixture into the bowl. Whisk until combined. Add a ladle full of the hot milk from the pot, and whisk together with egg yolks.
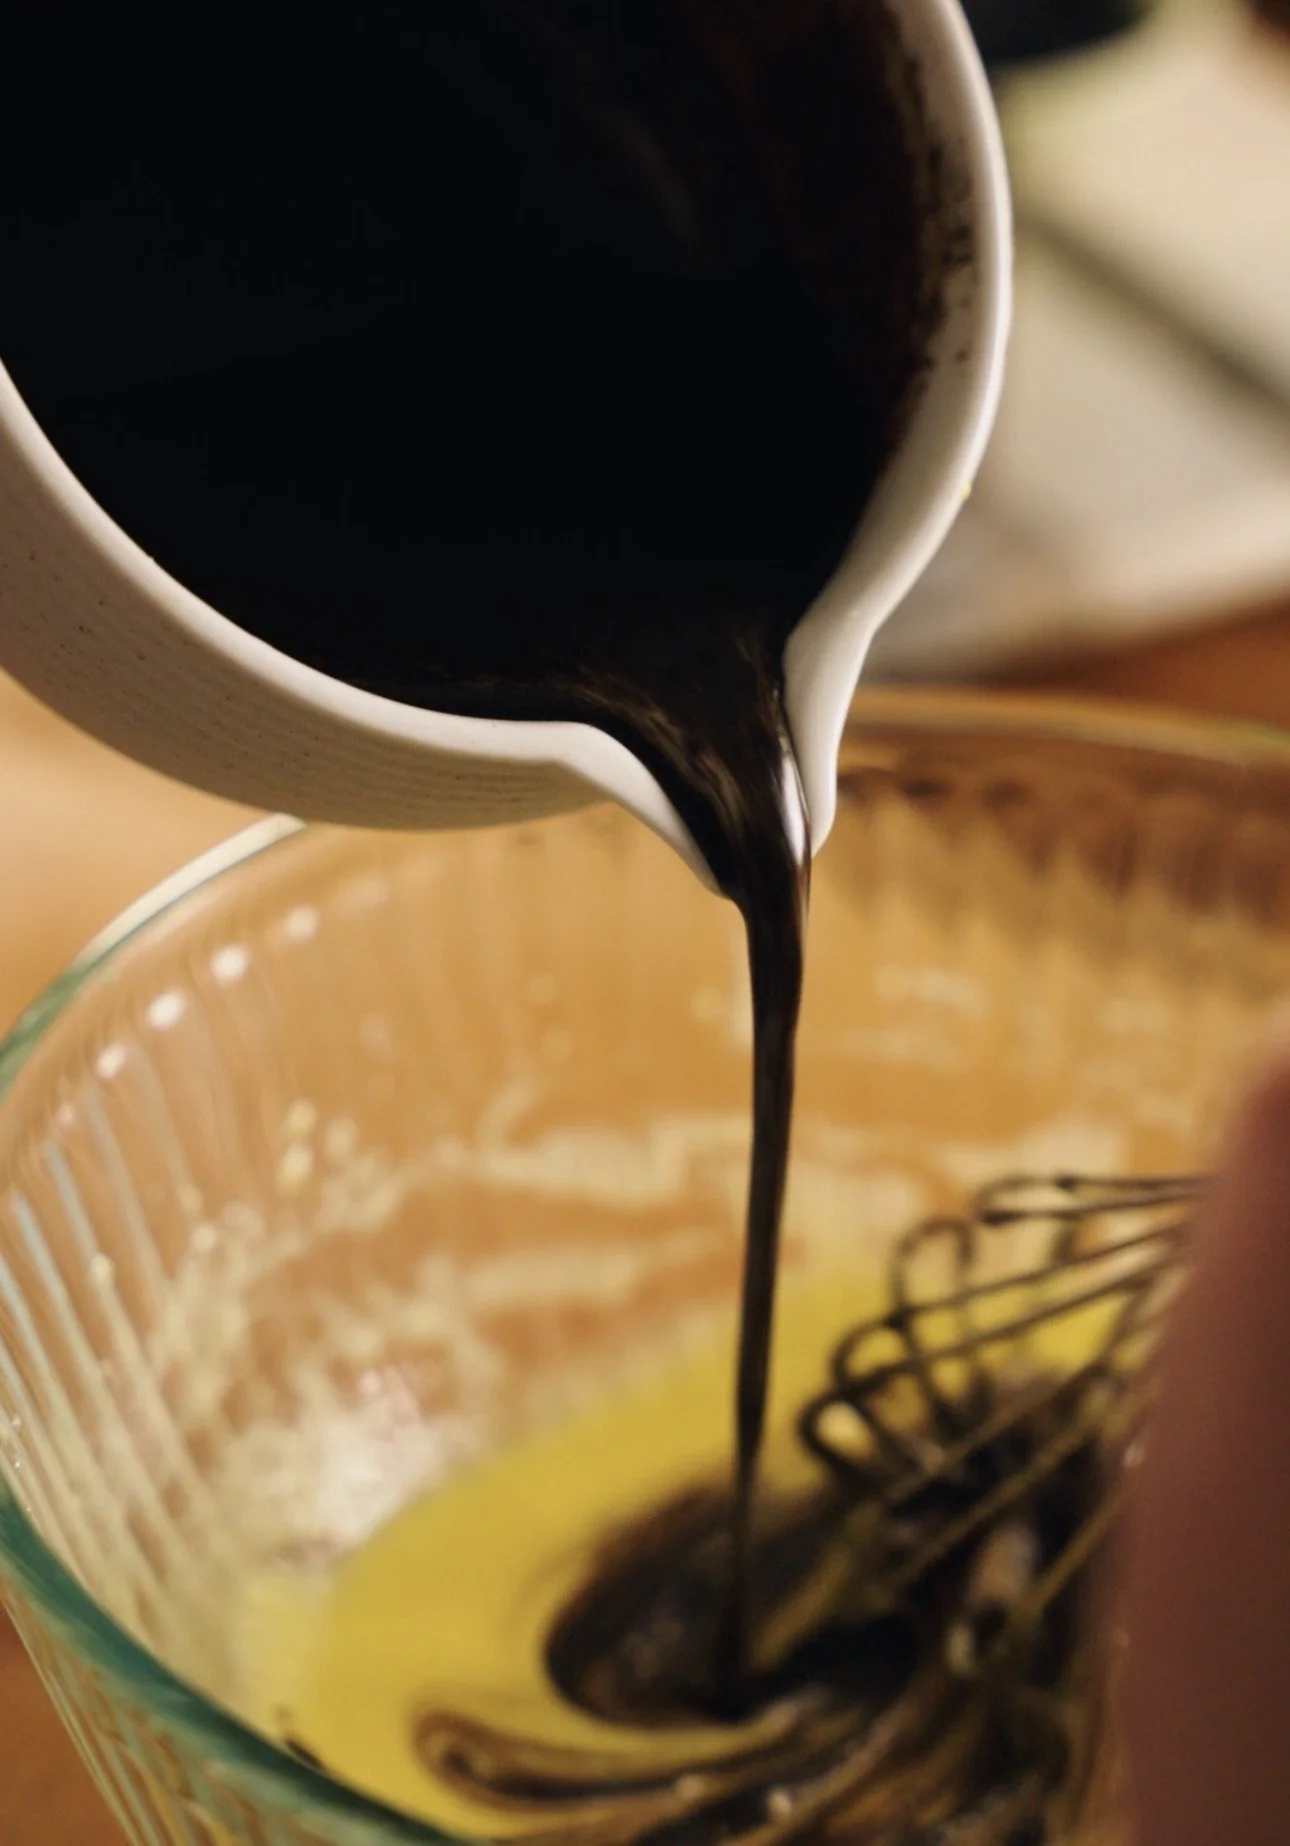
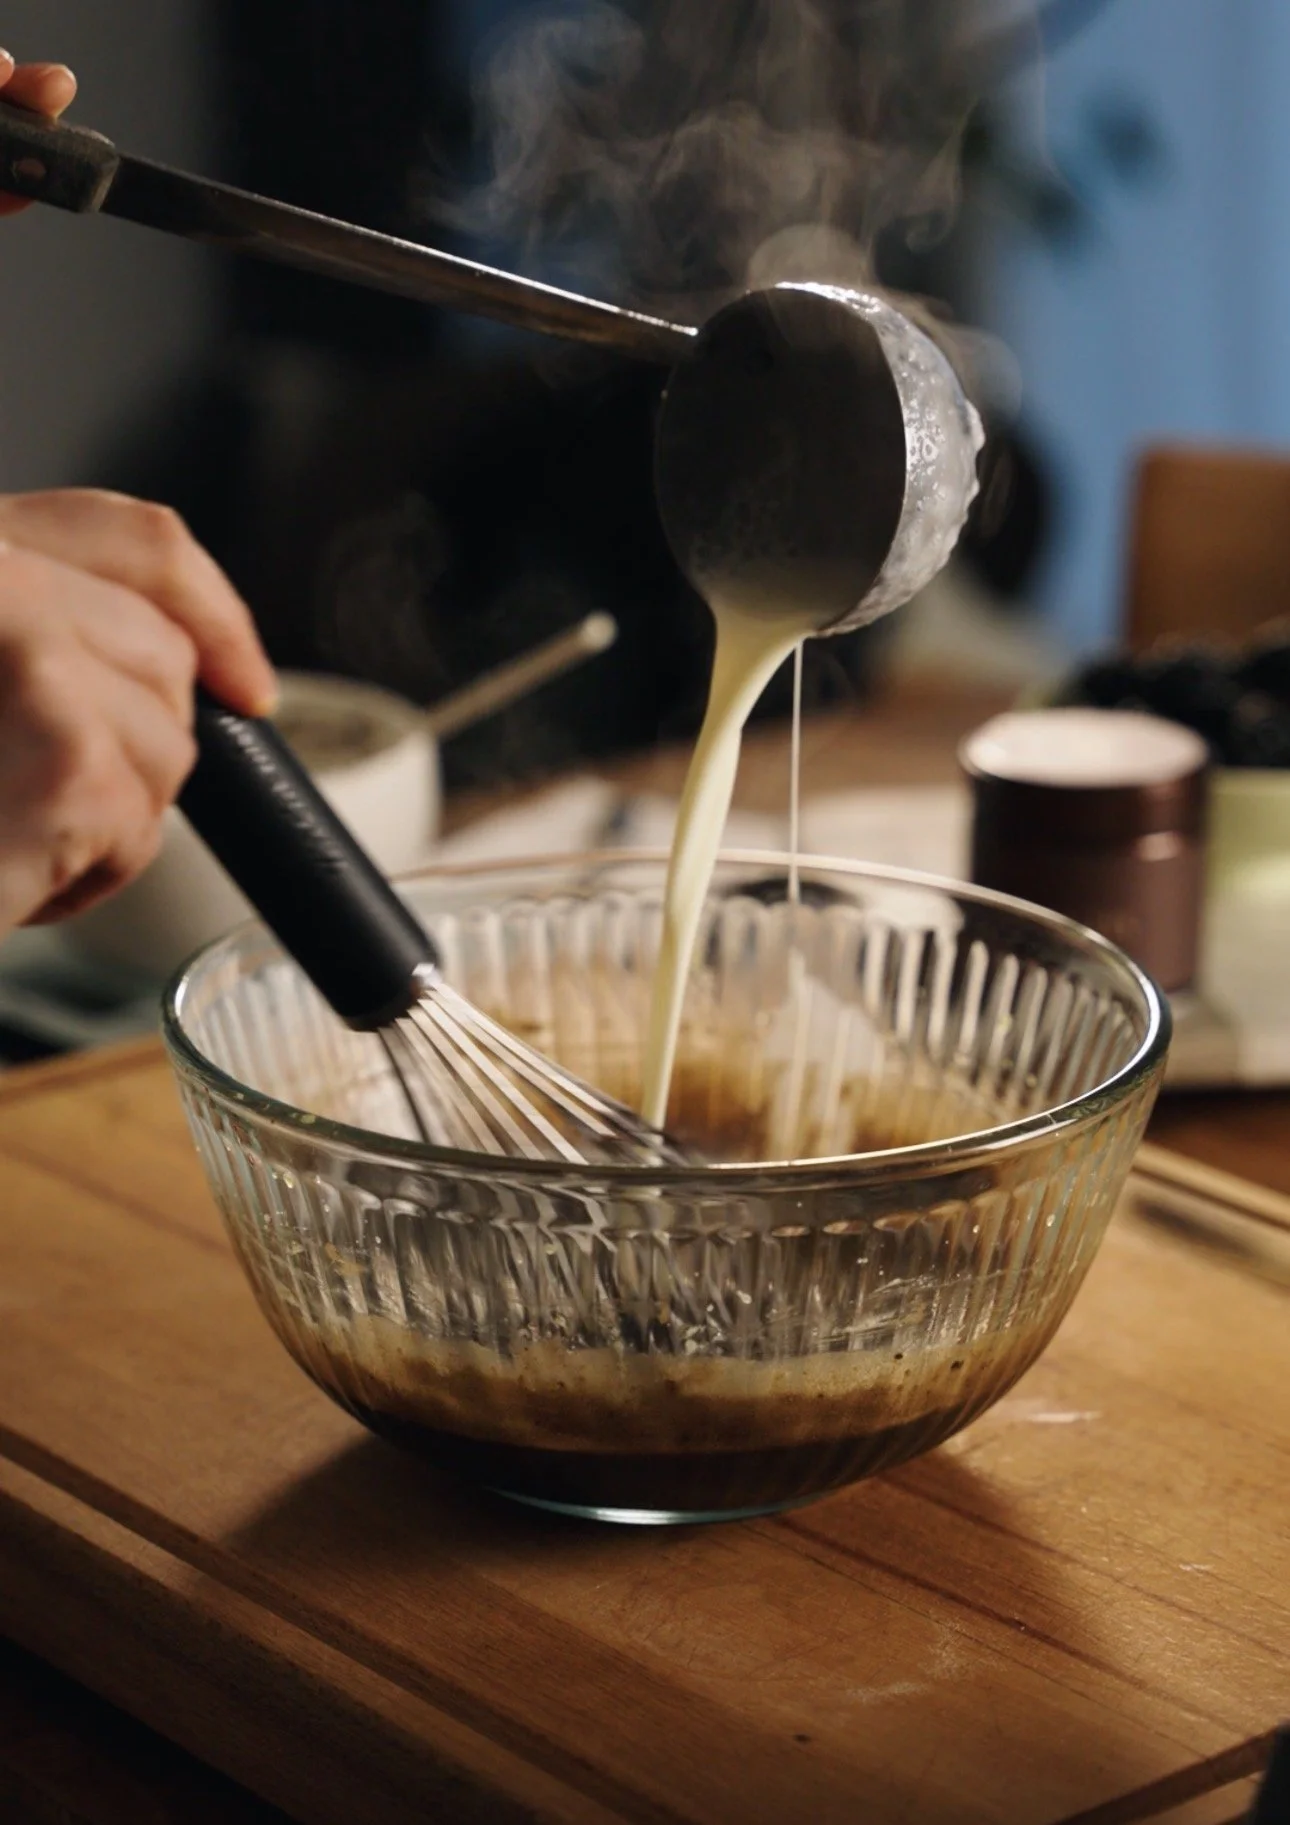
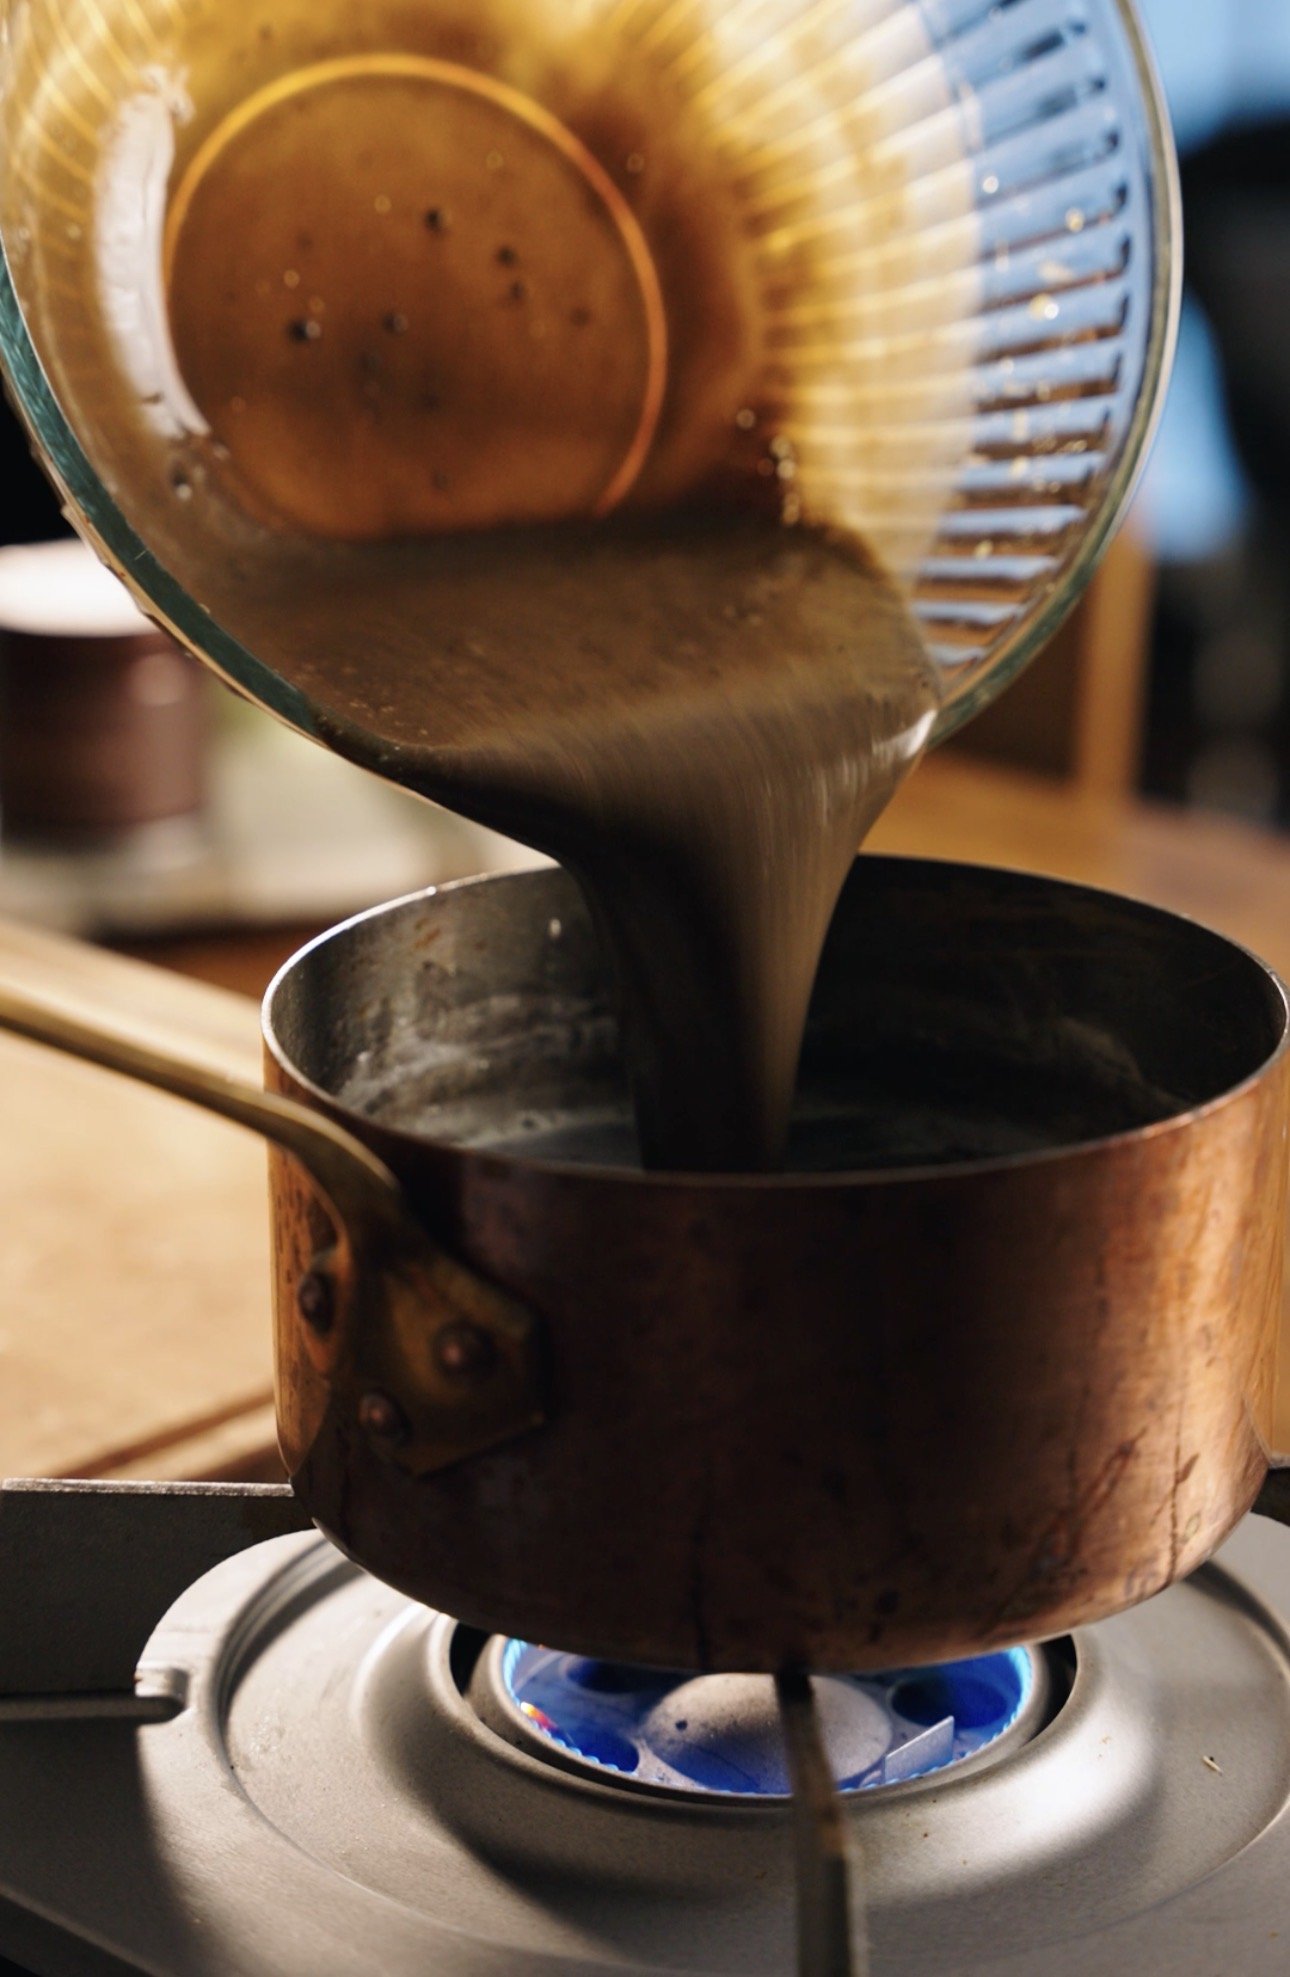
Transfer everything (the tempered eggs/hojicha mix) to the original pot and place over low heat on the stovetop.
Use a spatula and stir it constantly. Allow it to slightly thicken. This might take about 8 minutes.
When it’s ready, the custard should coat the back of the spatula and there will no longer be micro-bubbles floating in the custard. Promptly remove from the heat once the proper thickness is achieved— careful as overheating will cause the mixture to curdle!
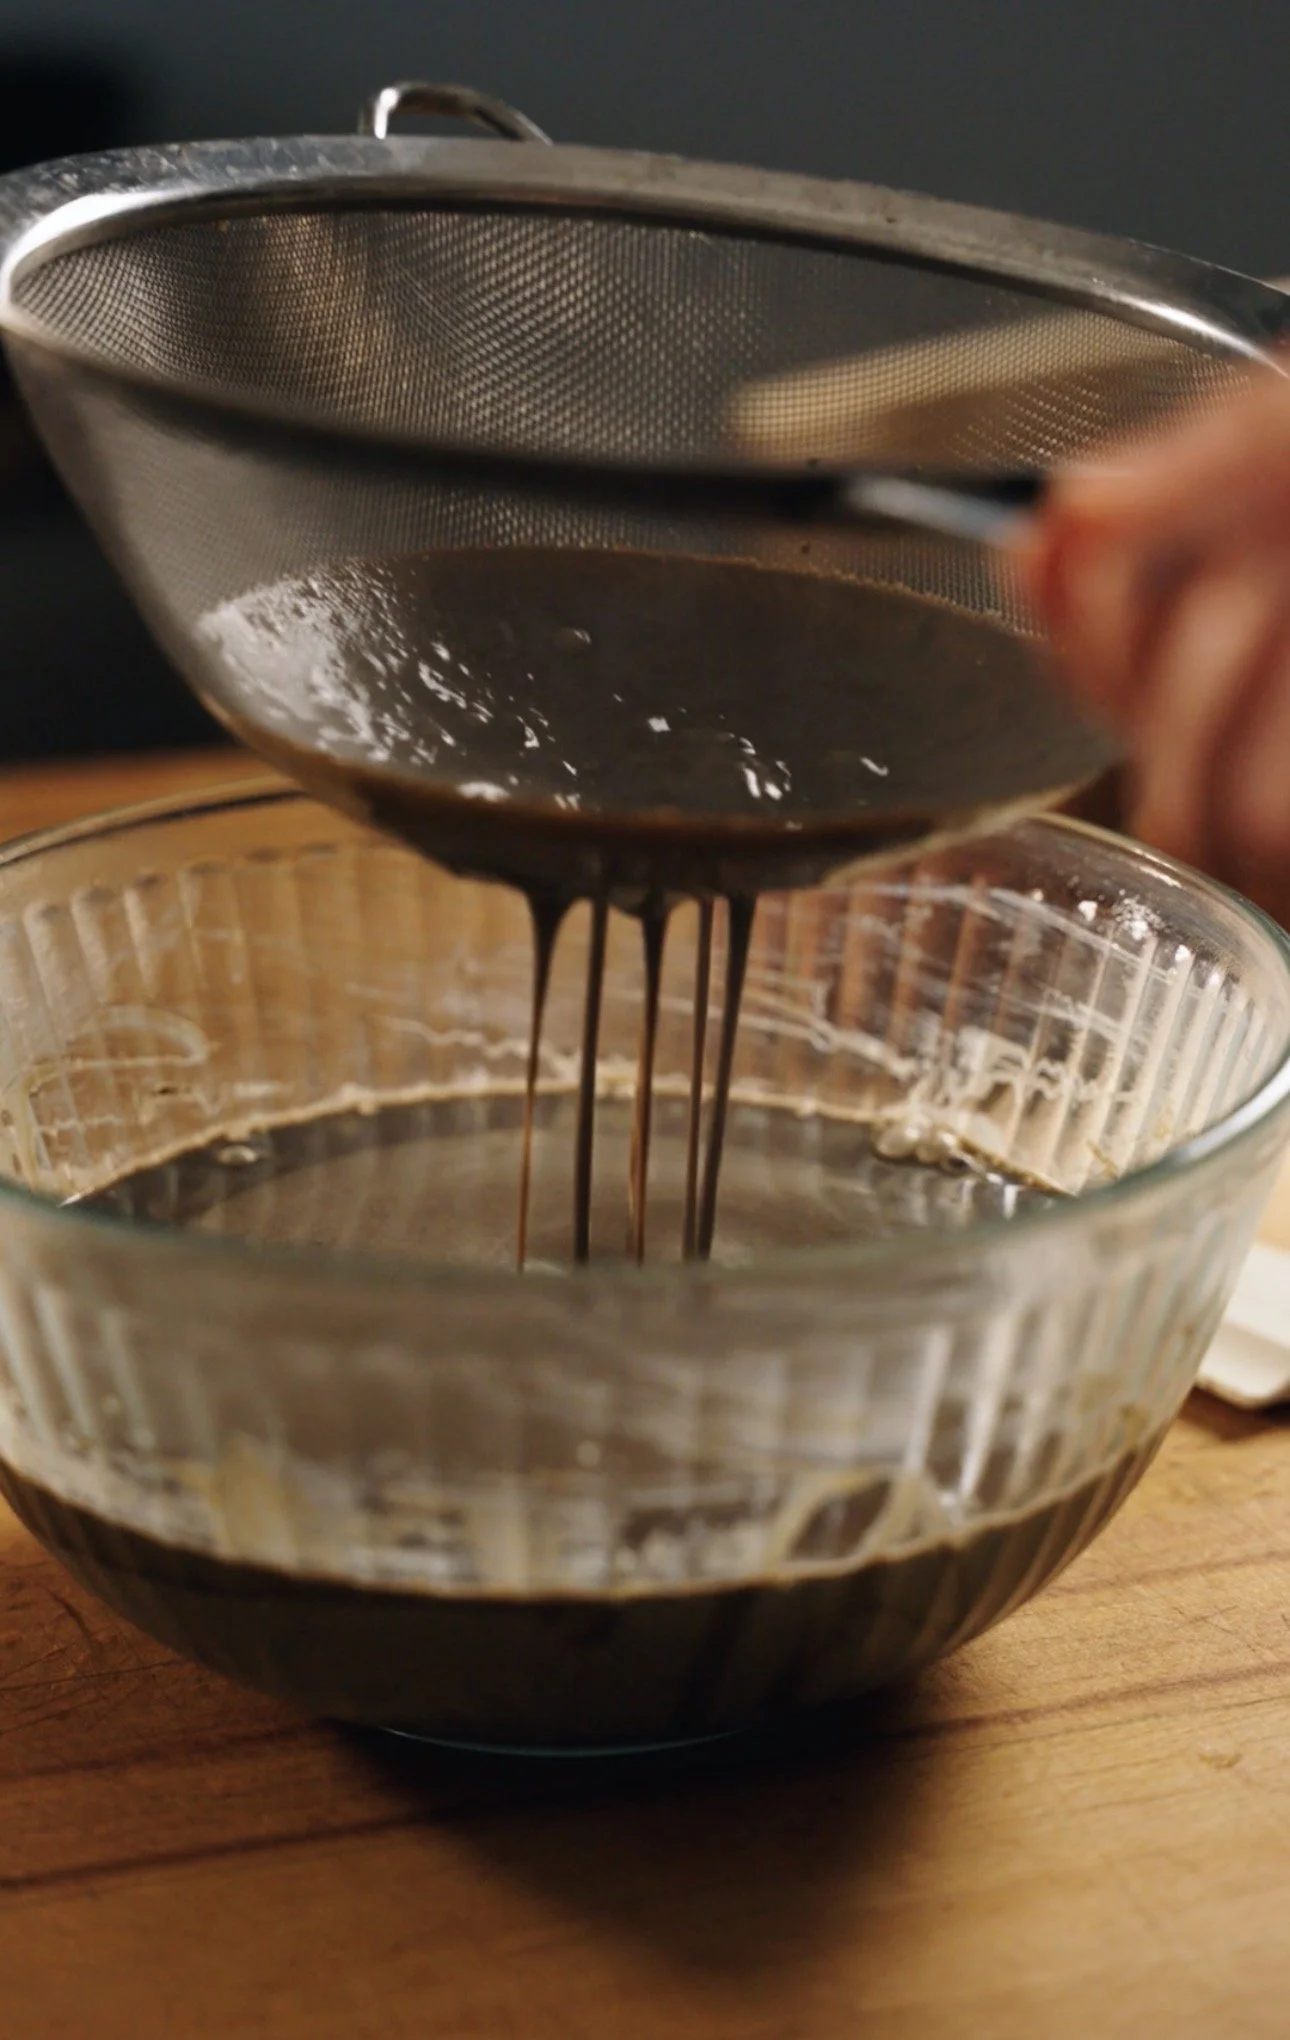
Pour the custard through a sieve and into a large bowl, catching any lumps of egg that might have formed. Discard what remains in the sieve.
Cover the smooth custard with plastic wrap so that the surface is in contact with the cling film (this prevents a “skin” from forming in the fridge) and place the bowl in fridge for 4-6 hours, or better yet, overnight!
To Churn:
Once your custard base has been left to chill in the fridge for at least 4 hours or overnight, you can start to churn it.
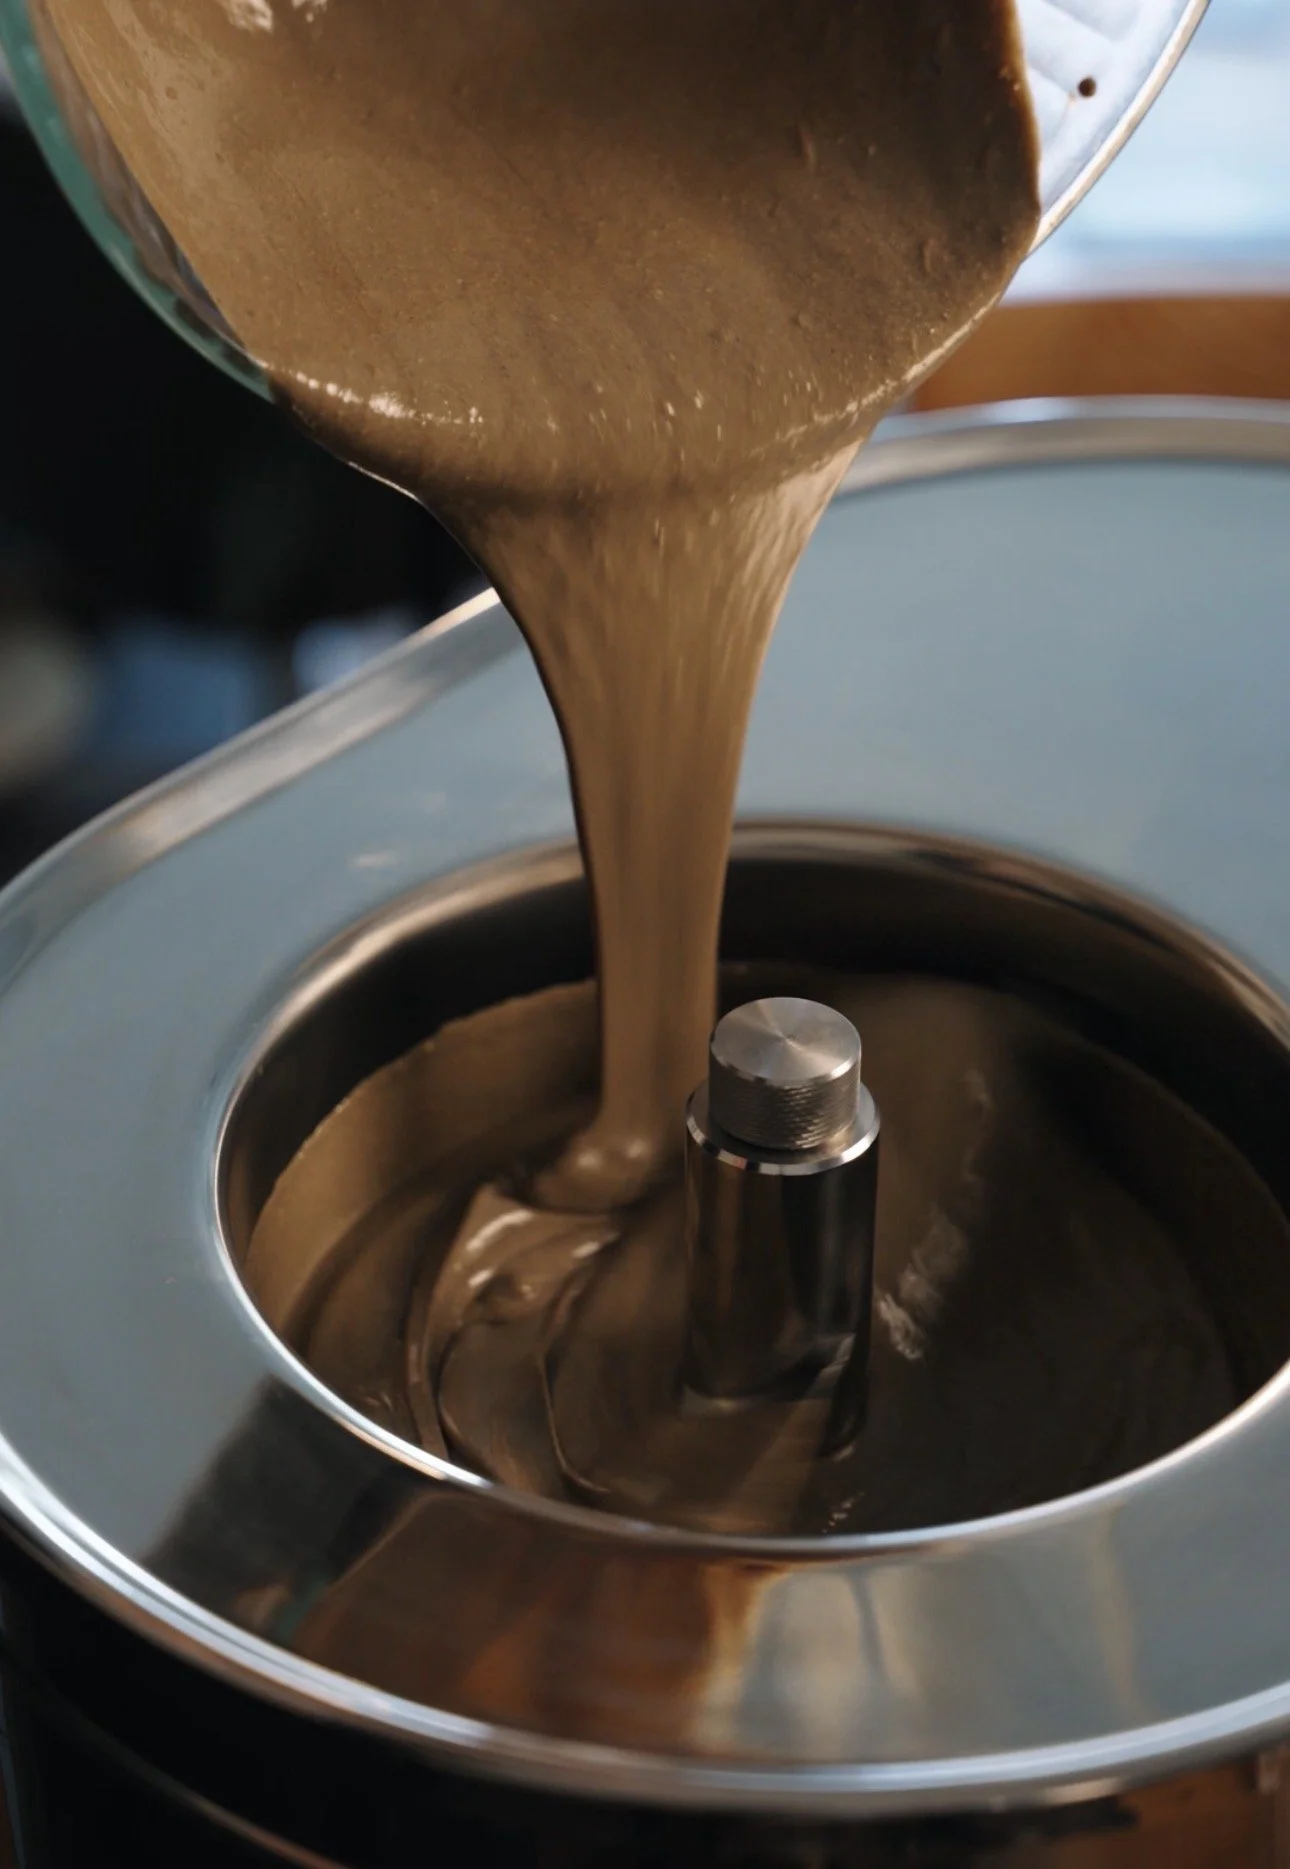
Transfer the ice cream base into your prepared ice cream maker and churn according to the manufacturer’s instructions.
(I churned this batch in my Musso Lussino for about 15 minutes. When it’s done it should be super thick!)
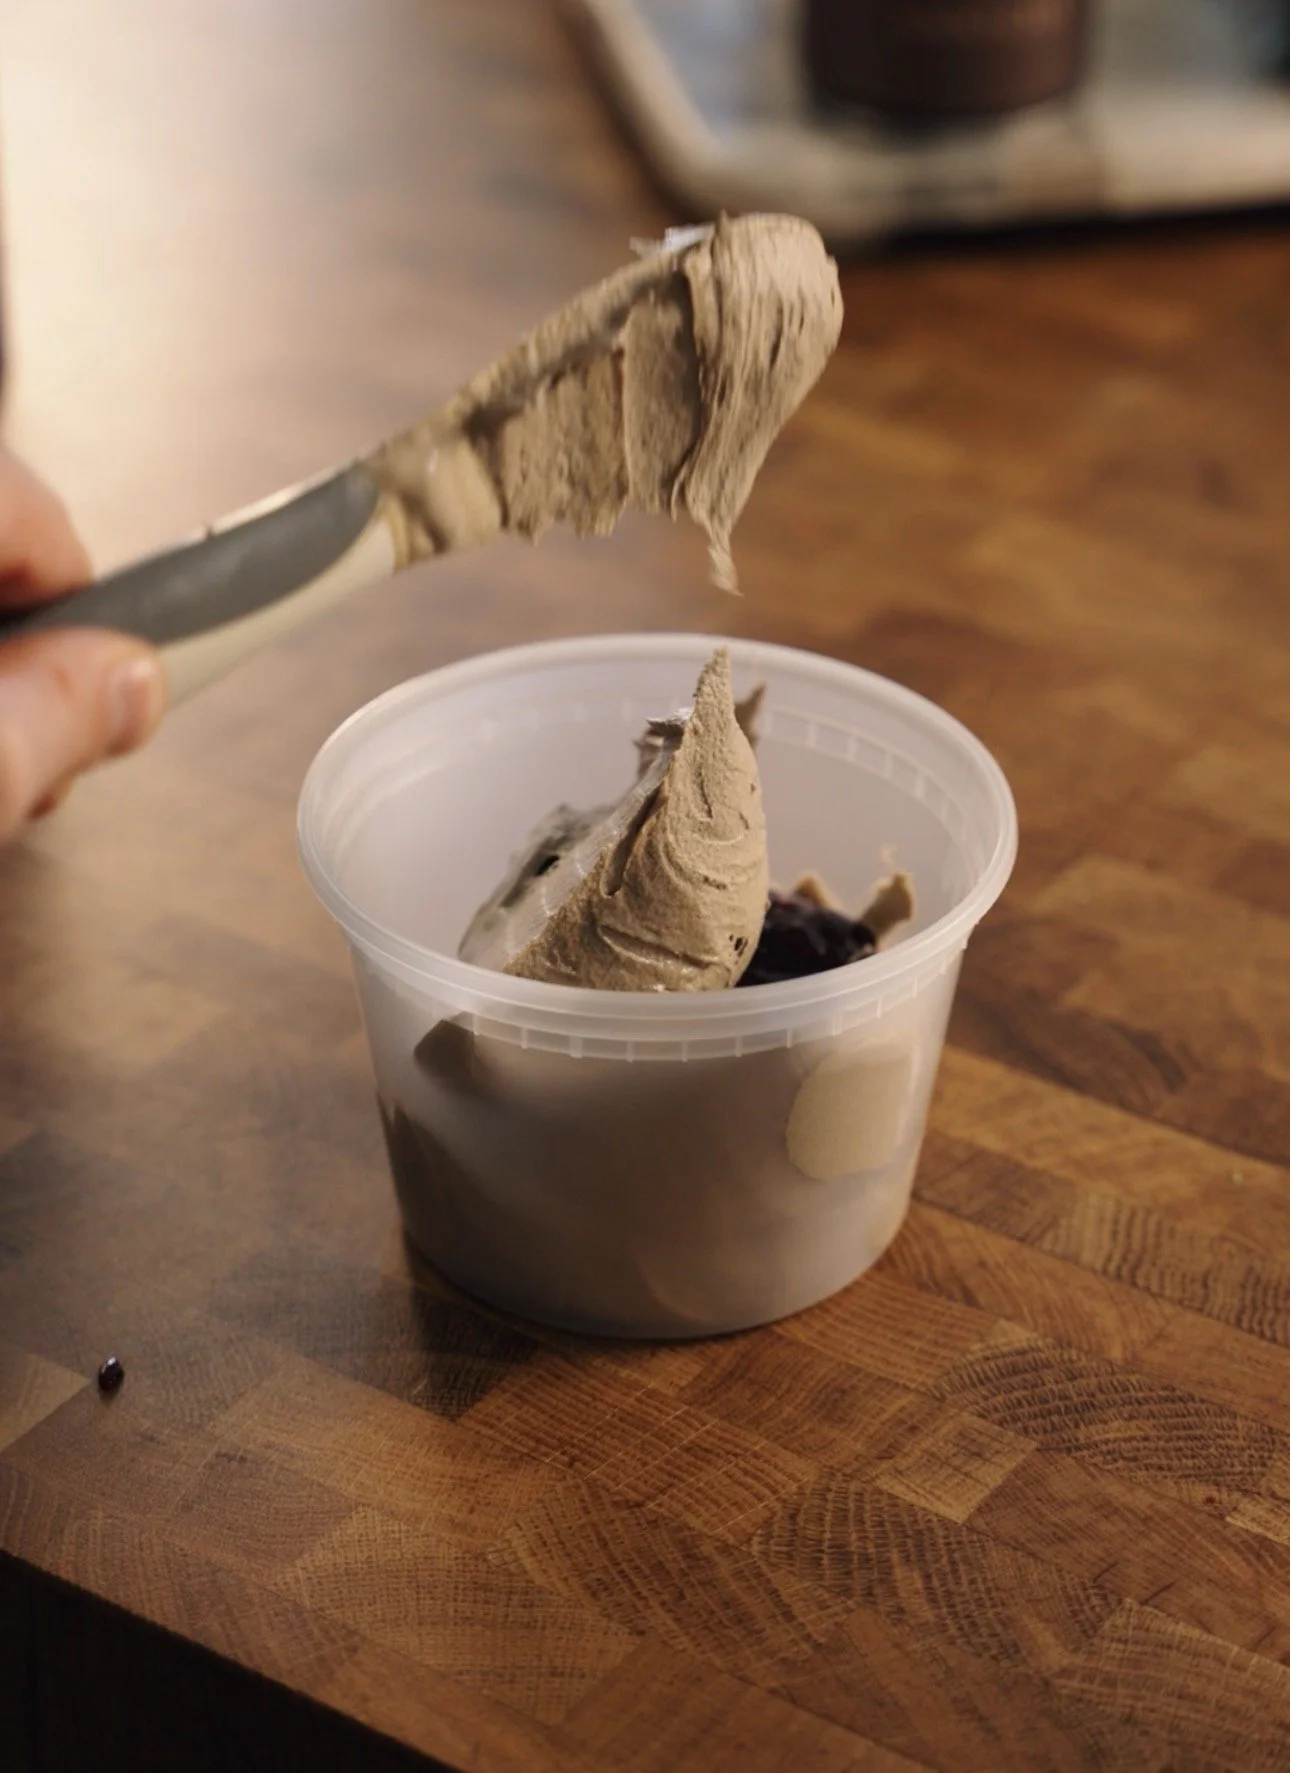
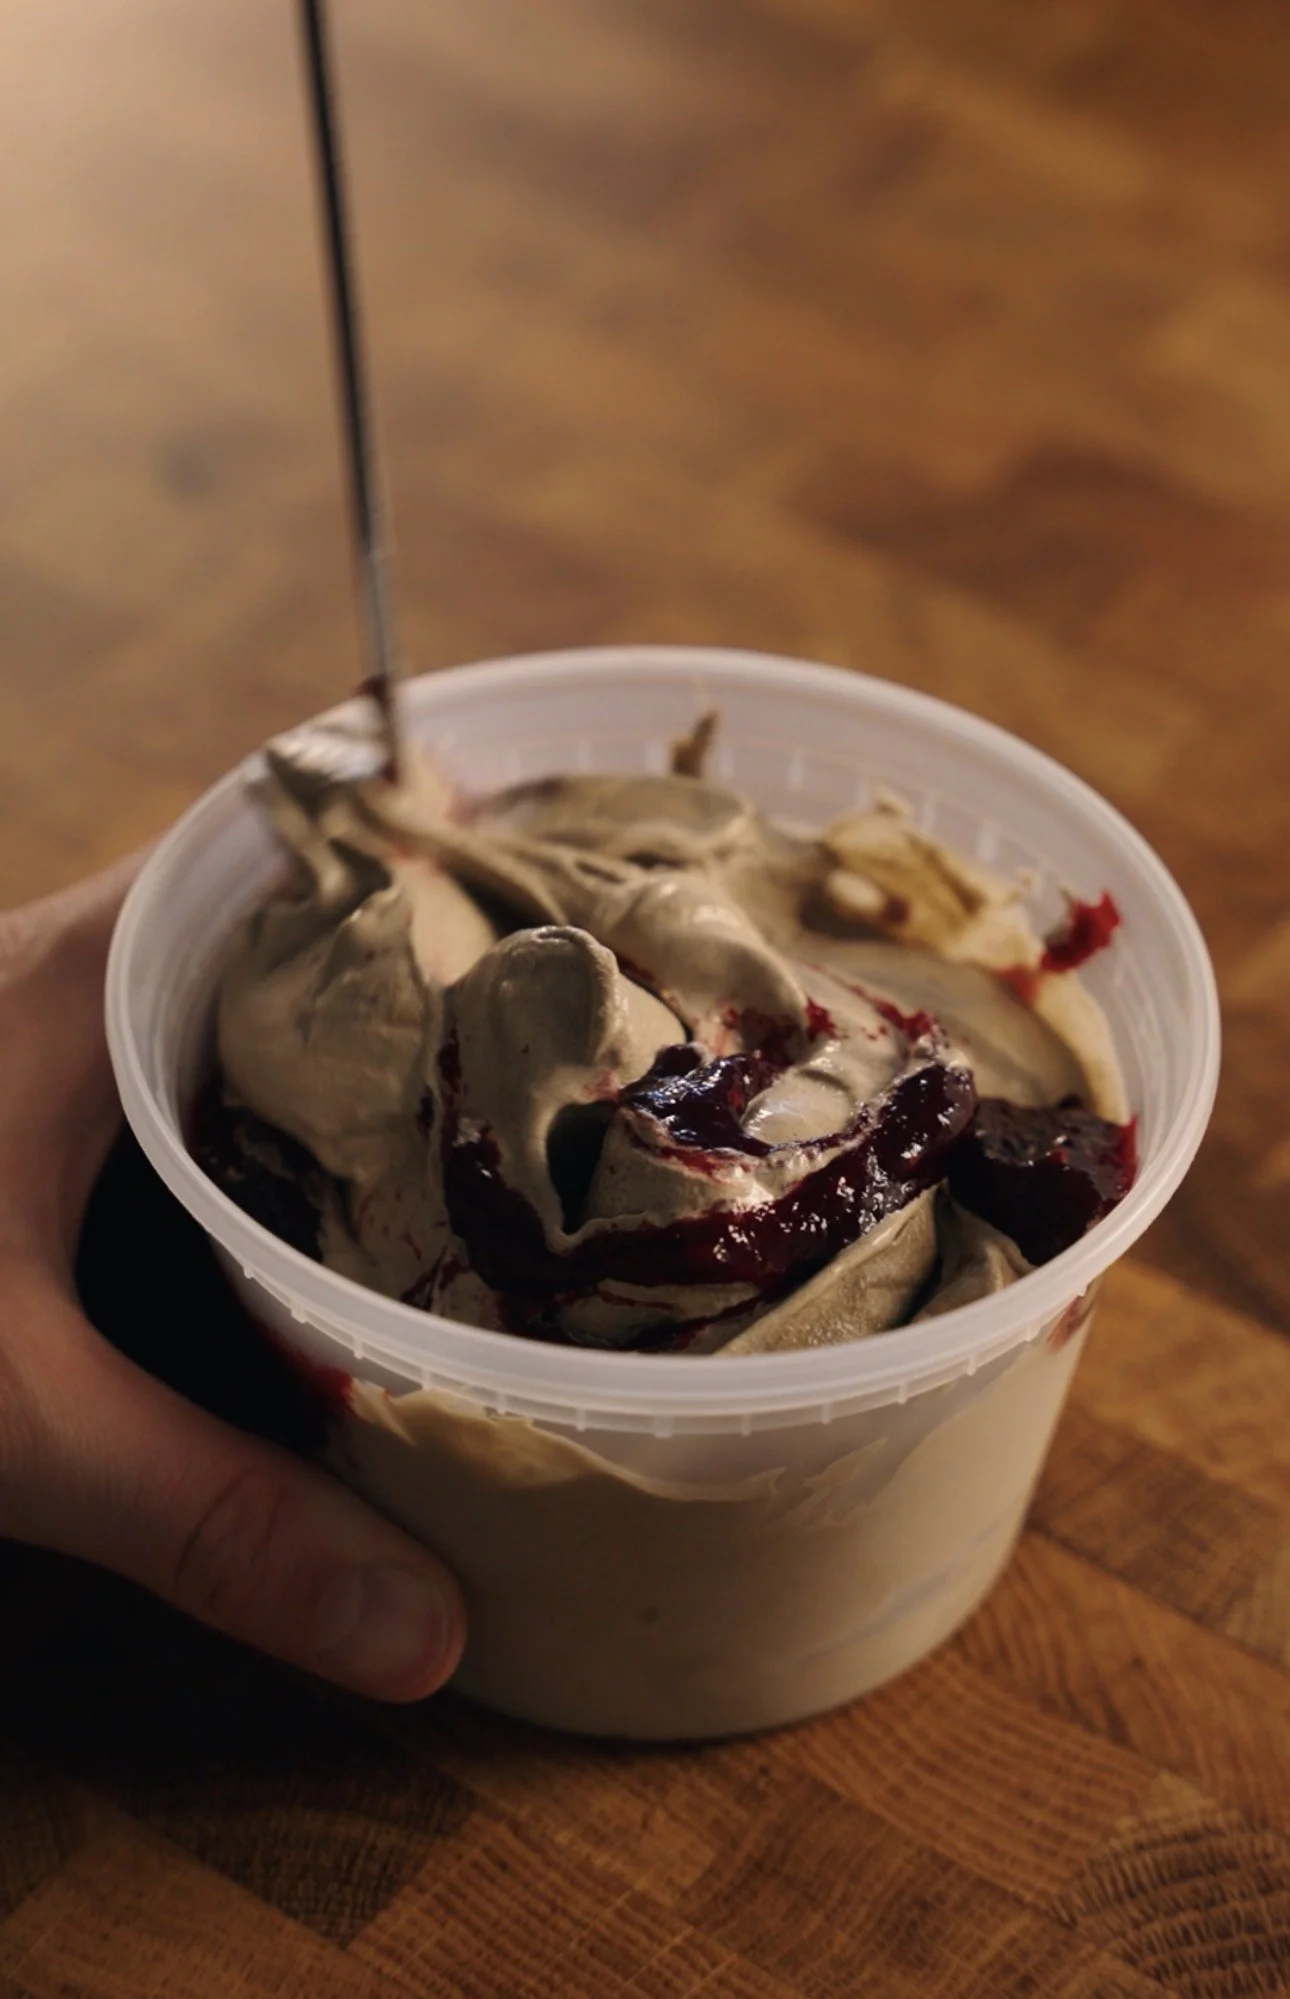
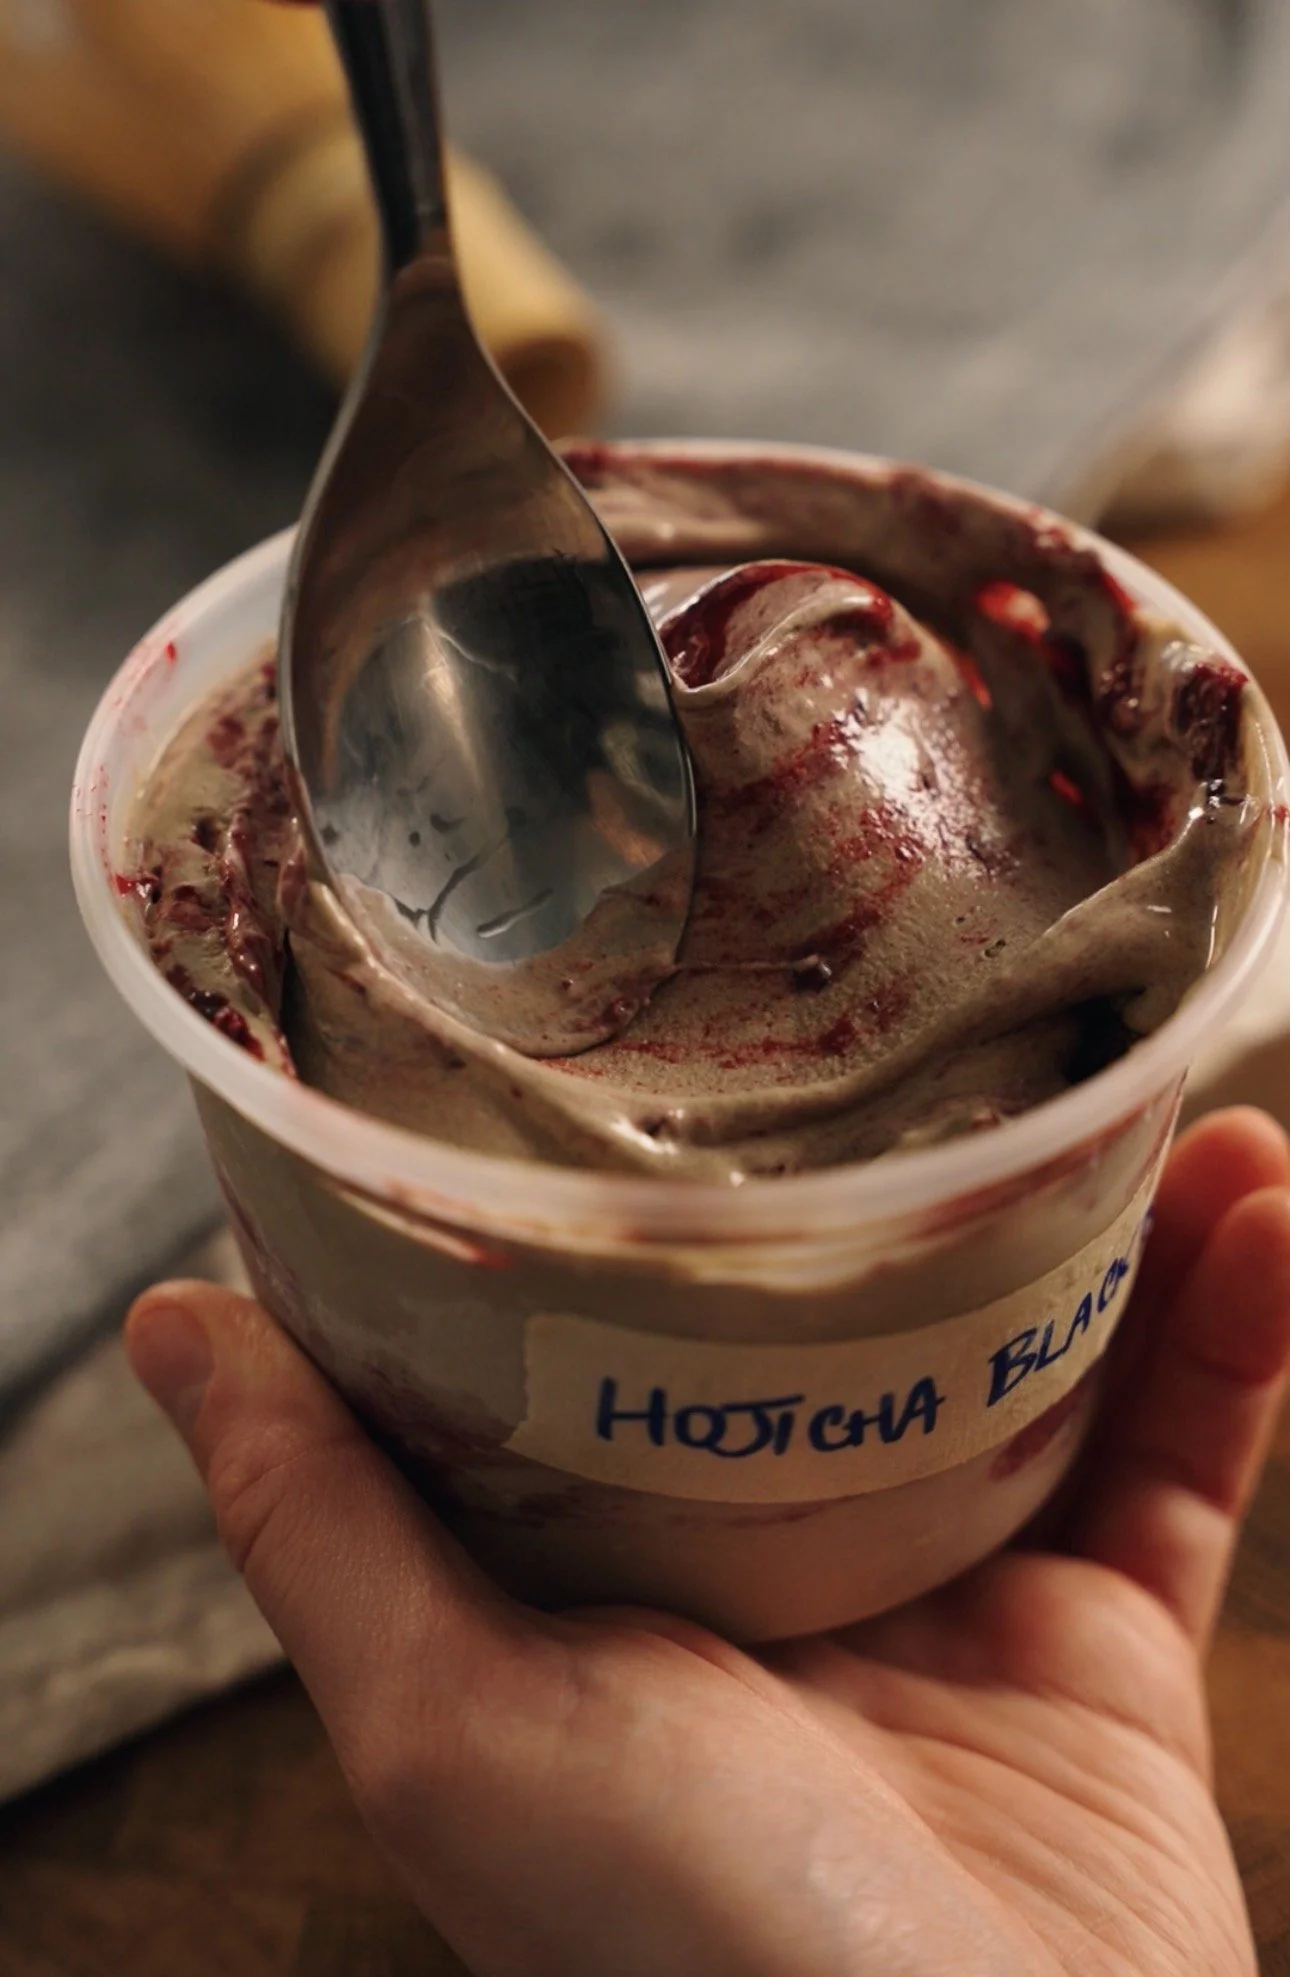
Store your ice cream in pint containers, swirling in the blackberry jam. This should make about 2 pints worth. Store in the freezer.
To enjoy at best consistency: After storing in the freezer, please remove the pint and place on the counter to soften for at least 10-15 minutes before serving.