
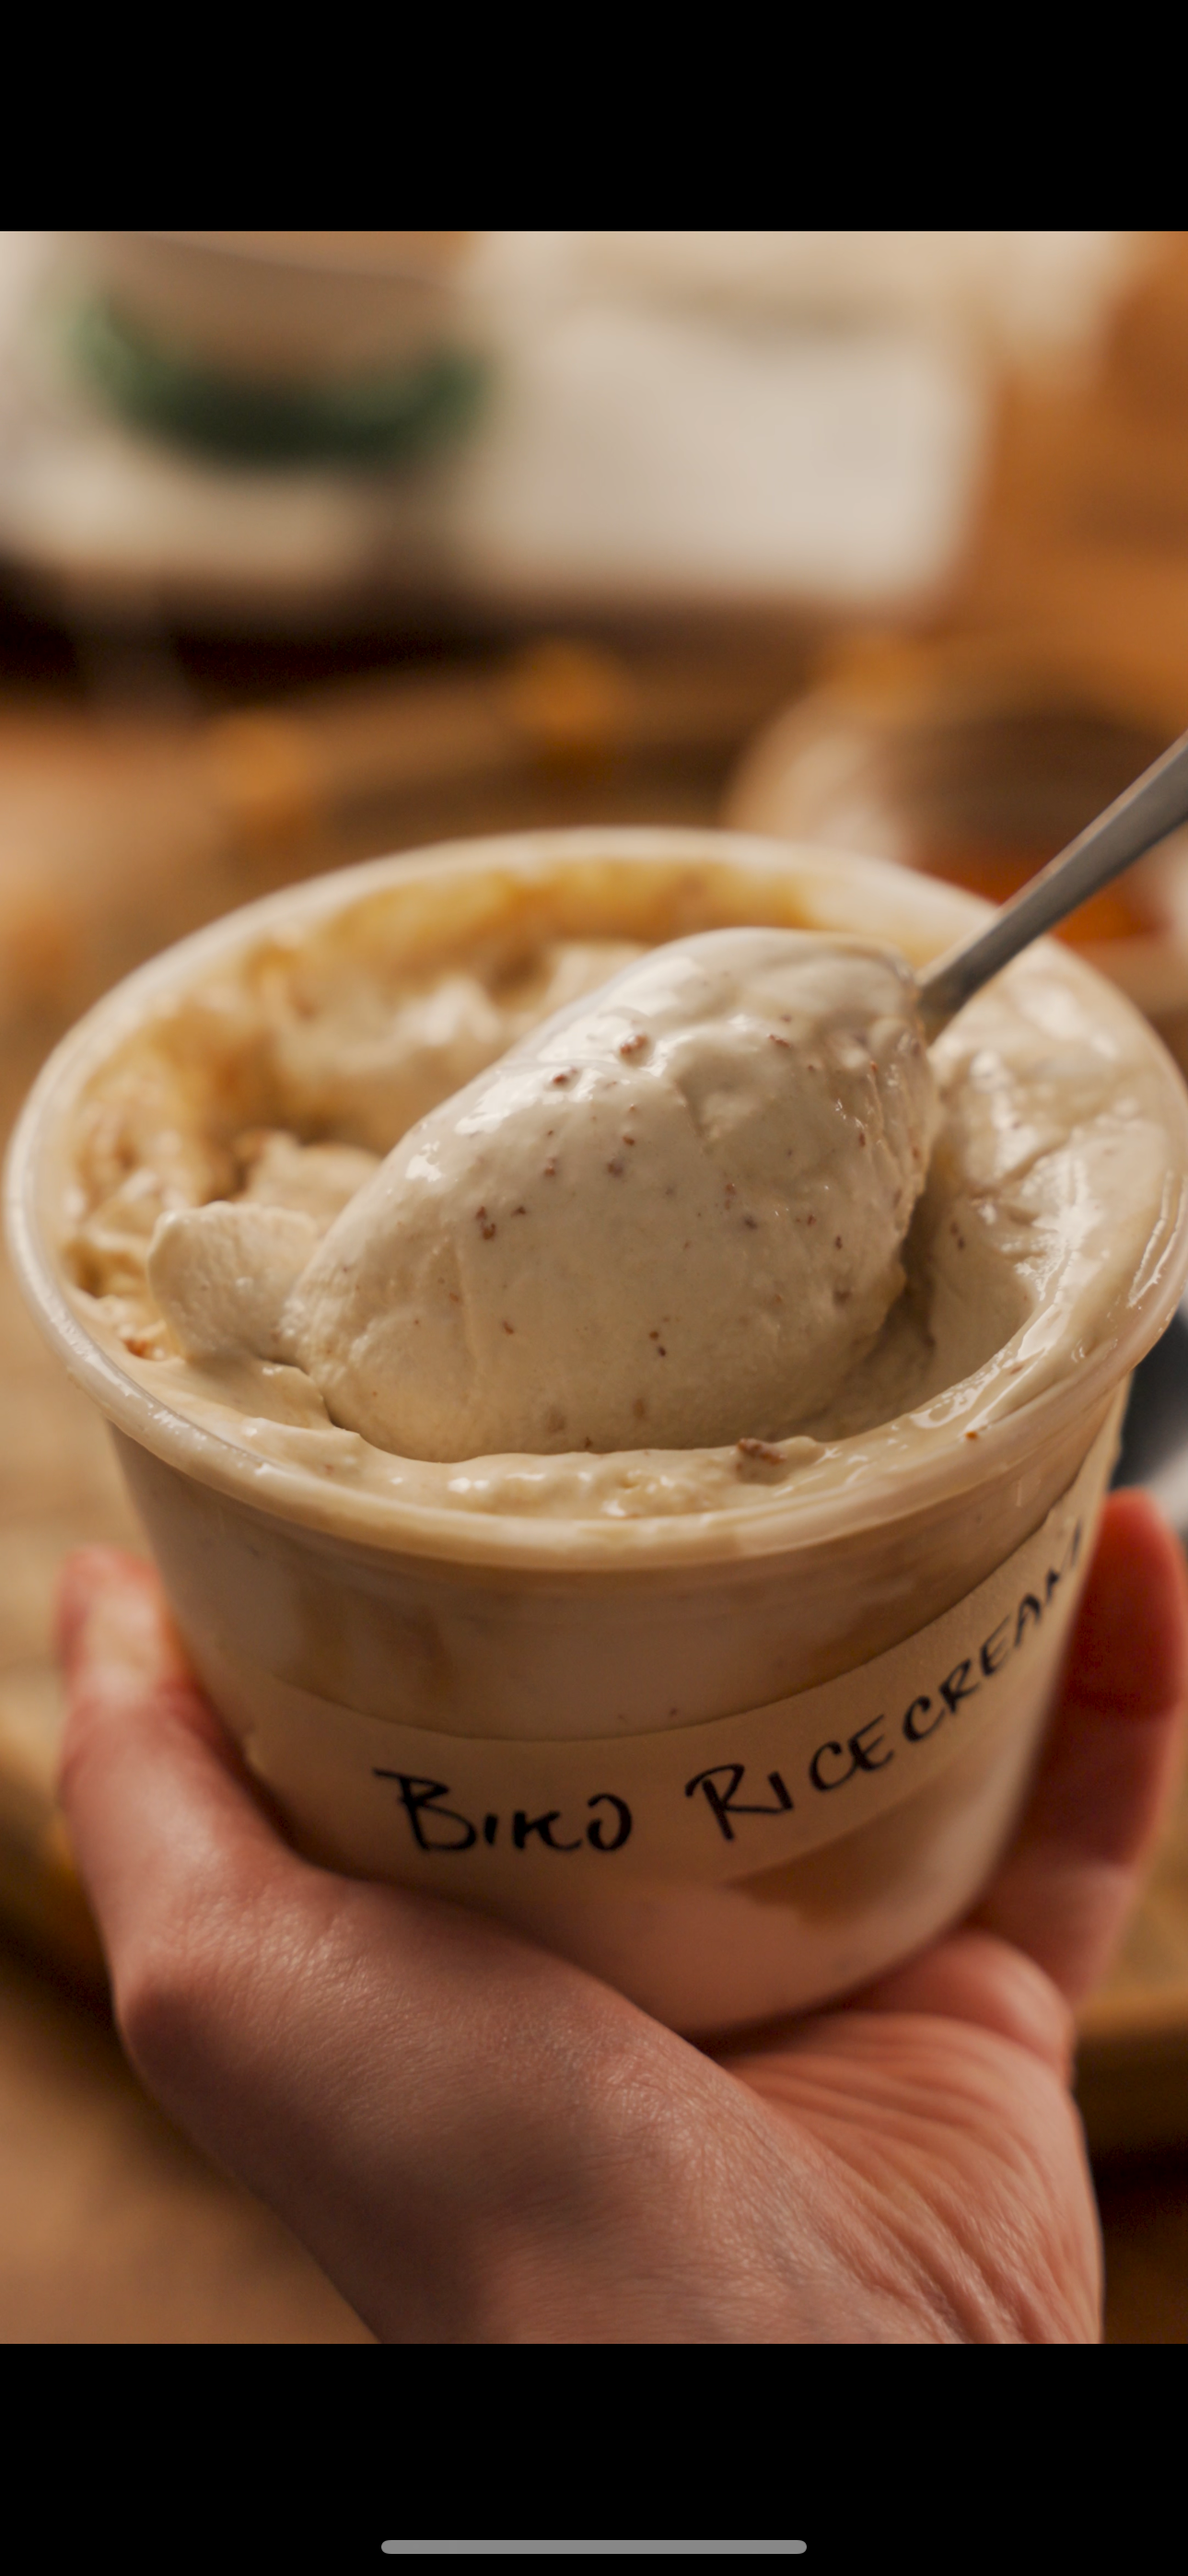
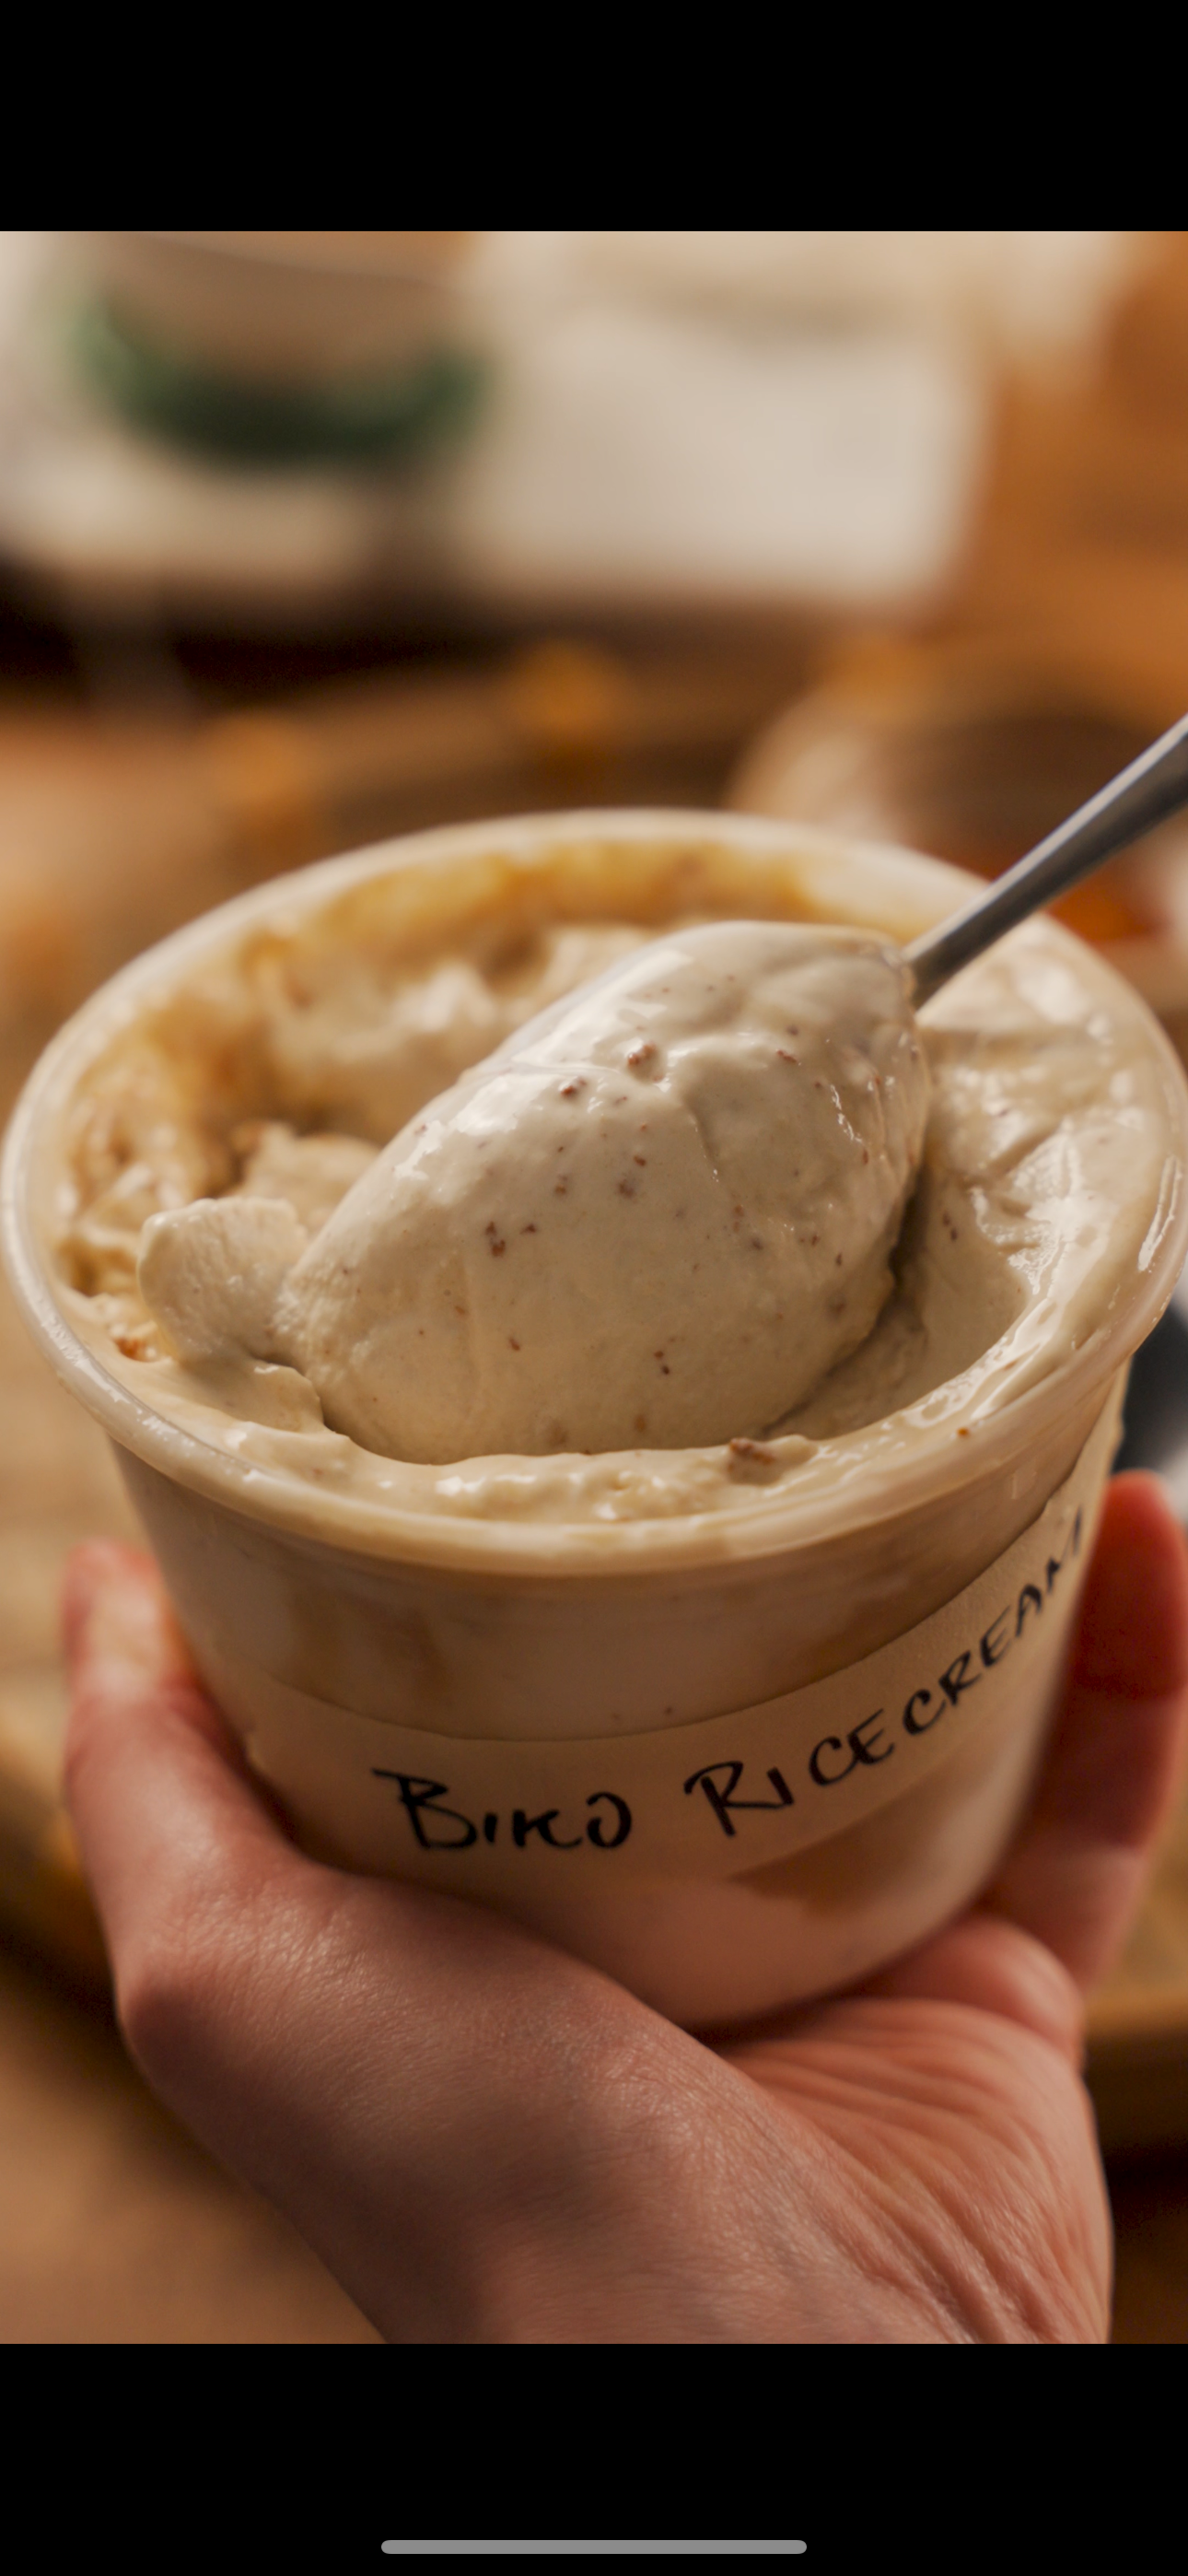
Filipino Biko Rice-Cream

Guess the ice cream flavour— TIMES UP!
If you guessed Biko, I am impressed (but I know you looked at the title…)
And if not, then you might need to update your Filipino radar settings.
I was inspired by Ian of IanKewks.com to create a Biko flavoured ice cream. This is a Filipino coconut and brown sugar sticky rice cake. And it’s impossible not to like.
Edit: I few people have asked why I didn’t use Pandan leaf in my recipe. And to answer the question: there is no reason. I just didn’t use it. You are welcome to add it to your milk/cream mixture! BUT, just know, my addition of Banana leaf was not made to replace Pandan. The banana leaf was used to stay true to the original concept of Biko.

I’ve been loving creating rice-cream lately. It’s a silky smooth ice cream made with glutinous rice. And a lot of people asked if it could be egg free after my last rice-cream recipe, and the answer is a resounding YES!
The rice acts as an amazing thickening agent here, so we don’t really need eggs to form a thick custardy base. WIN.
Let’s make it!
Notes before you start:
This creamy custard heavily relies on glutinous rice to achieve the correct consistency so for this recipe there really are no substitutions.
Full fat coconut milk is recommended as it lessens the water content in the custard base, preventing the likely-hood of ice crystals forming.
Yes, this can be made in a Ninja Creami. I used a Cuisinart 1.5 Quart Ice Cream Maker.
I don’t recommend this as a no-churn recipe.
UPDATE: I recommend adding xanthan gum to the mix. This prevents it from getting too hard once stored in the freezer. Use a precise scale as a little goes a long way! This addition is of course optional, but I encourage it for a better ice cream texture.
Let’s make it!
*RECIPE UPDATED MAY 15, 2025
Recipe:
Special Equipment:
Ice Cream Maker
Blender
Kitchen Scale
Rice-Cream Base:
40g glutinous rice
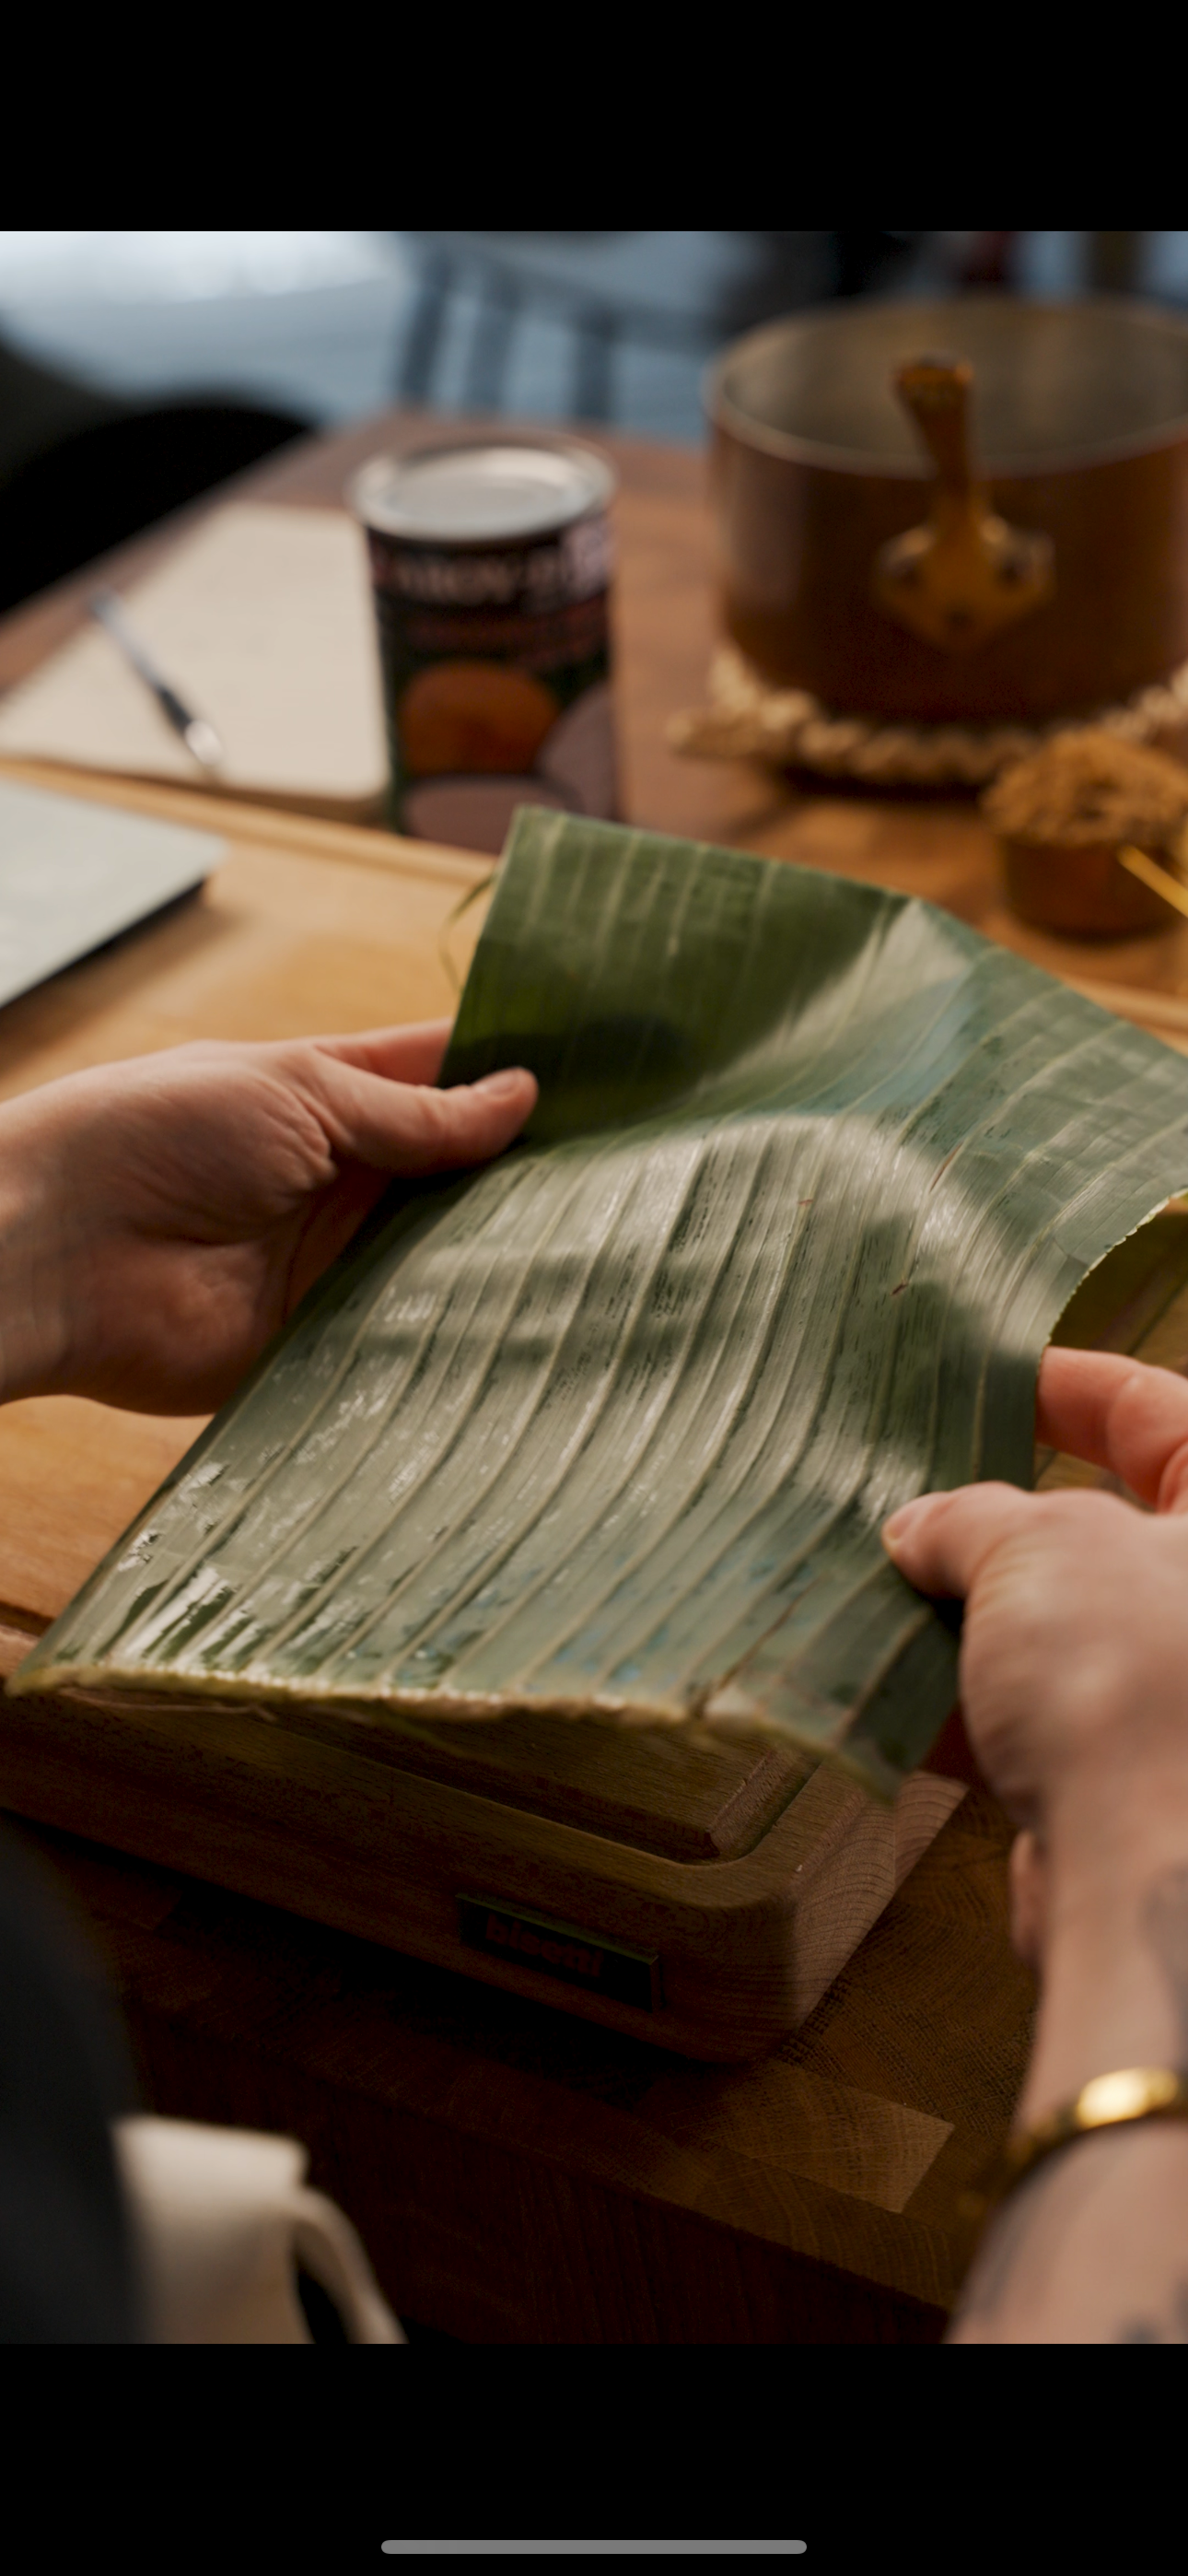
1 large banana leaf, washed
250ml heavy cream
400ml full fat coconut milk
65g dark brown sugar
125ml milk
pinch salt
0.8g xanthan gum
Prepare your ice cream maker by freezing the double insulated freezer bowl for 24 hours. If using a Ninja Creami, skip ahead.
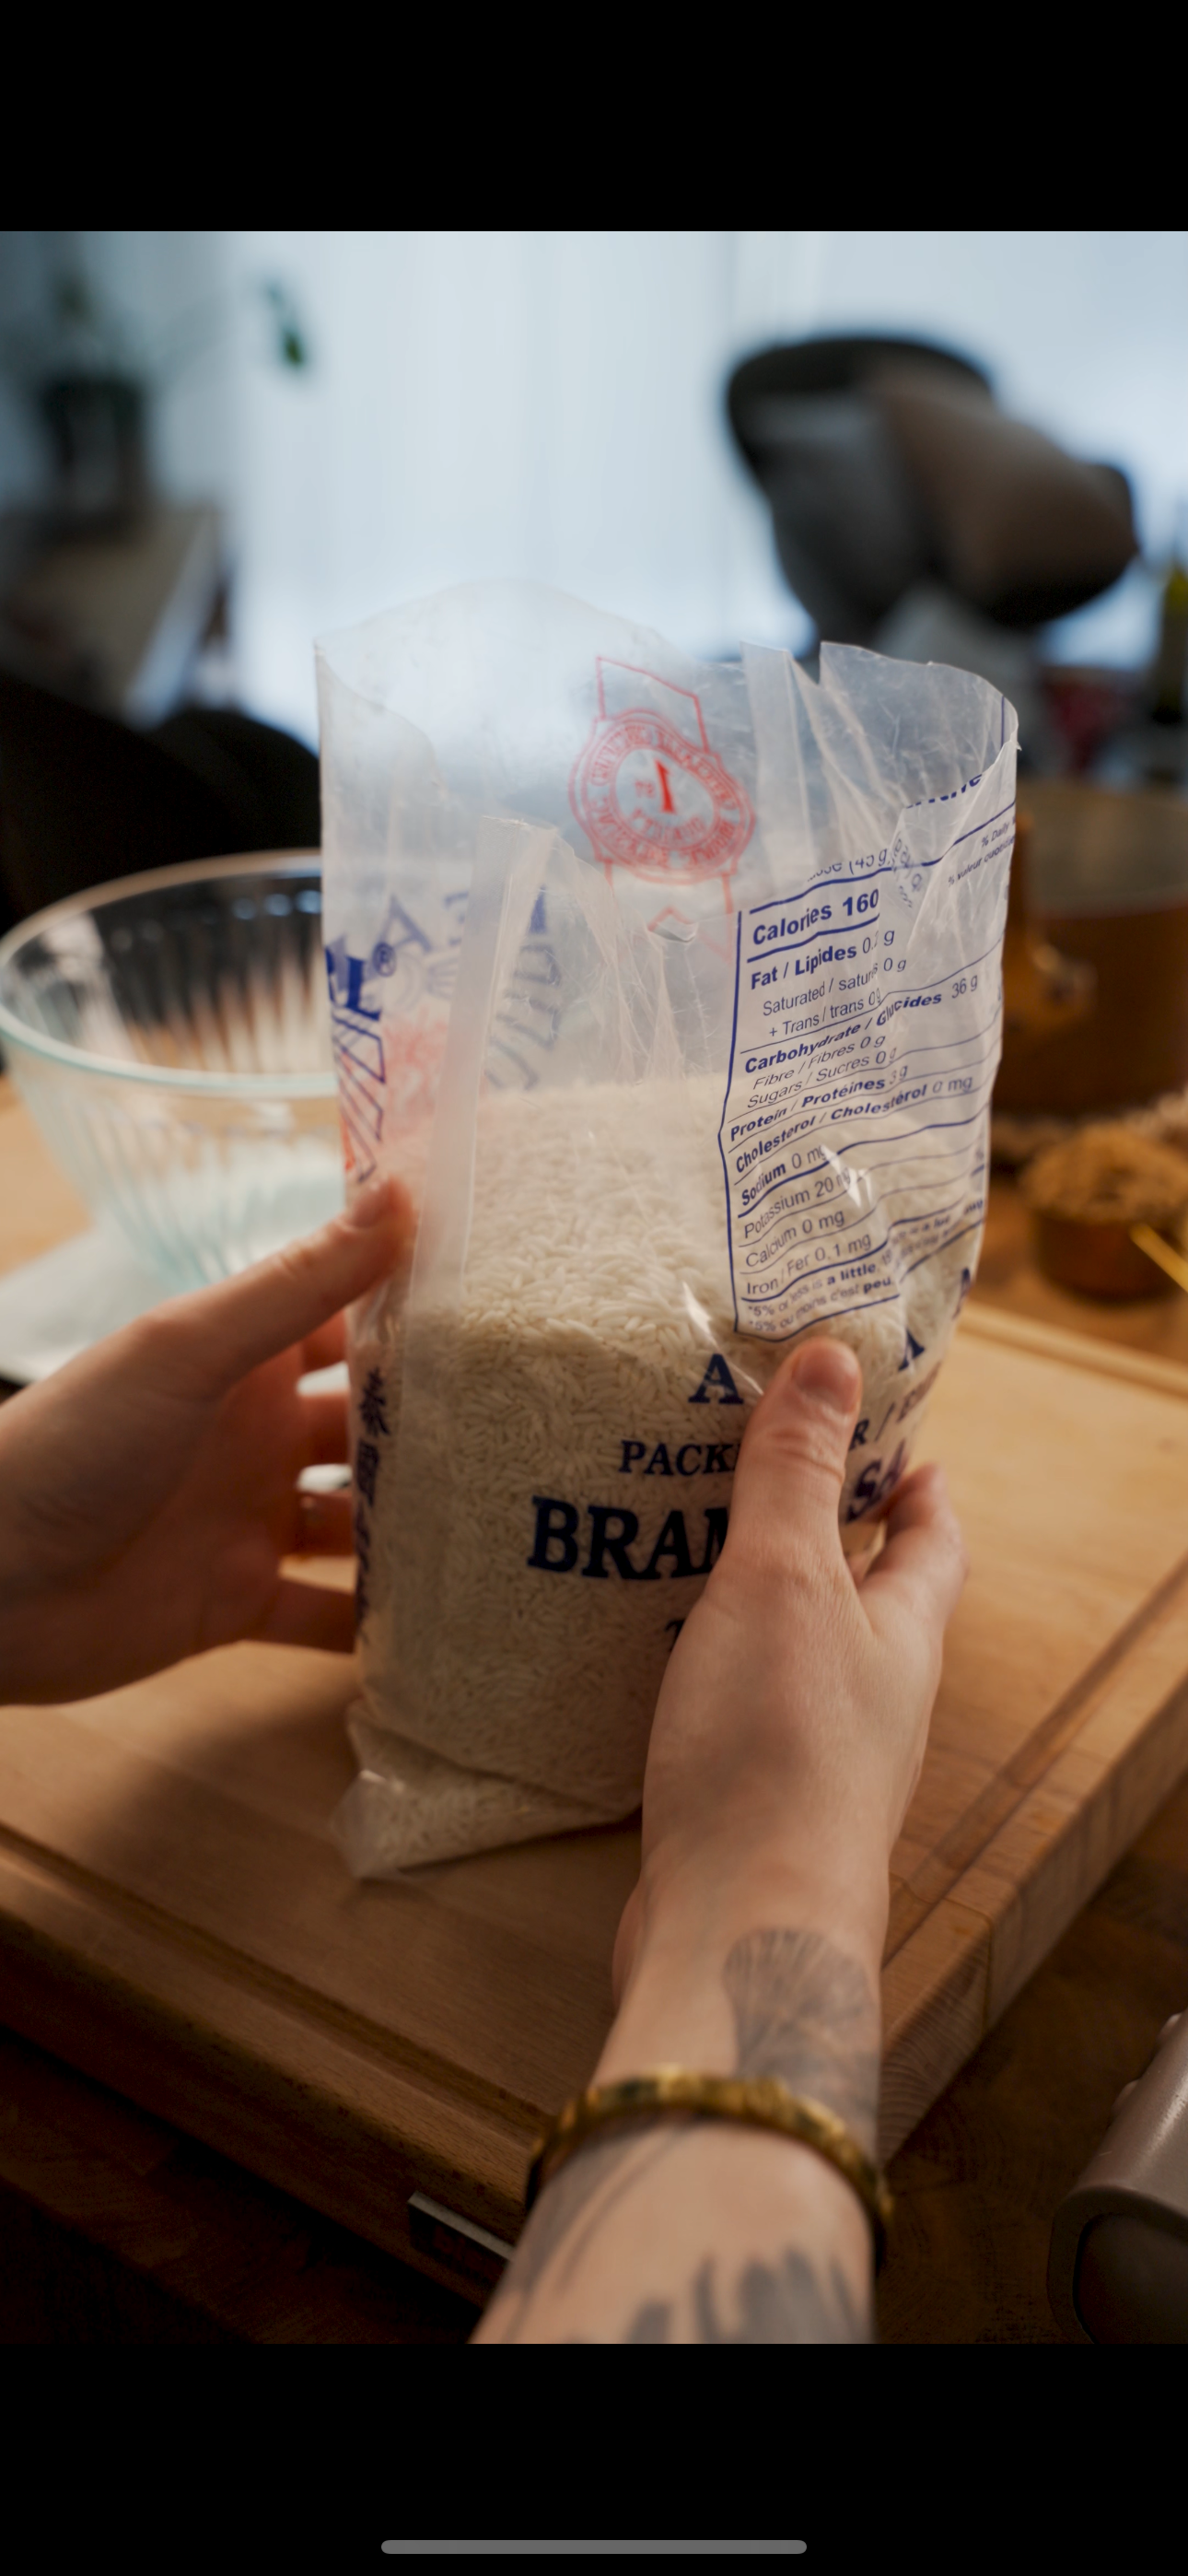
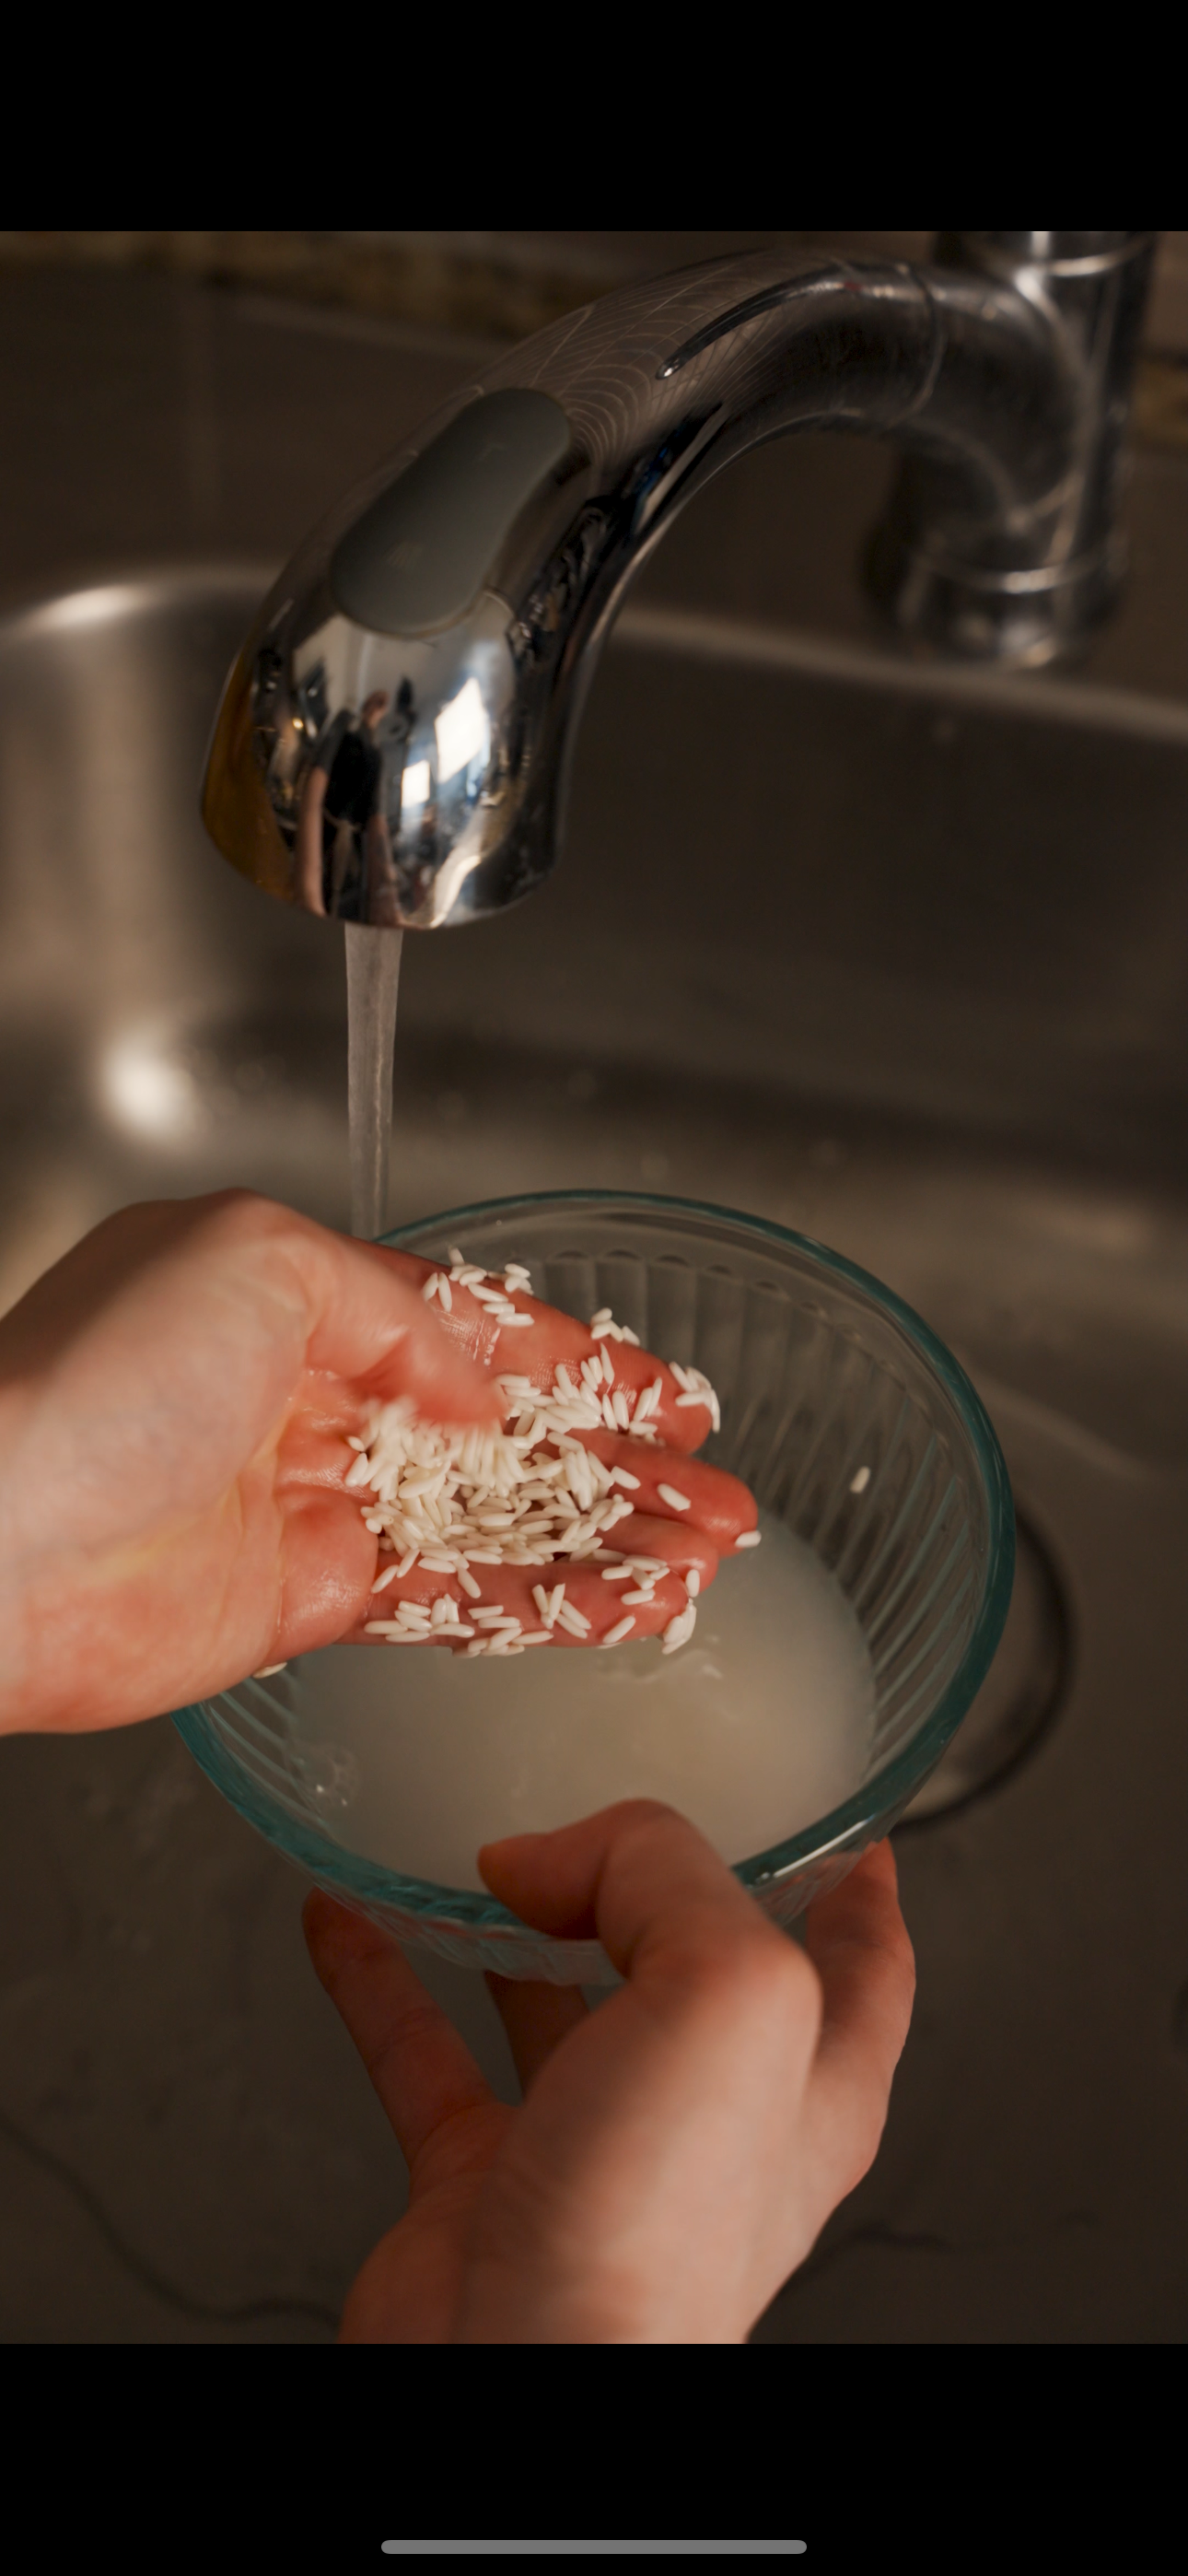
Measure out 40g of glutinous rice and pour into a small bowl. Rinse the rice with water until it runs clear.
Add 1 cup of fresh water to the bowl and allow the rice to soak for 20 minutes.
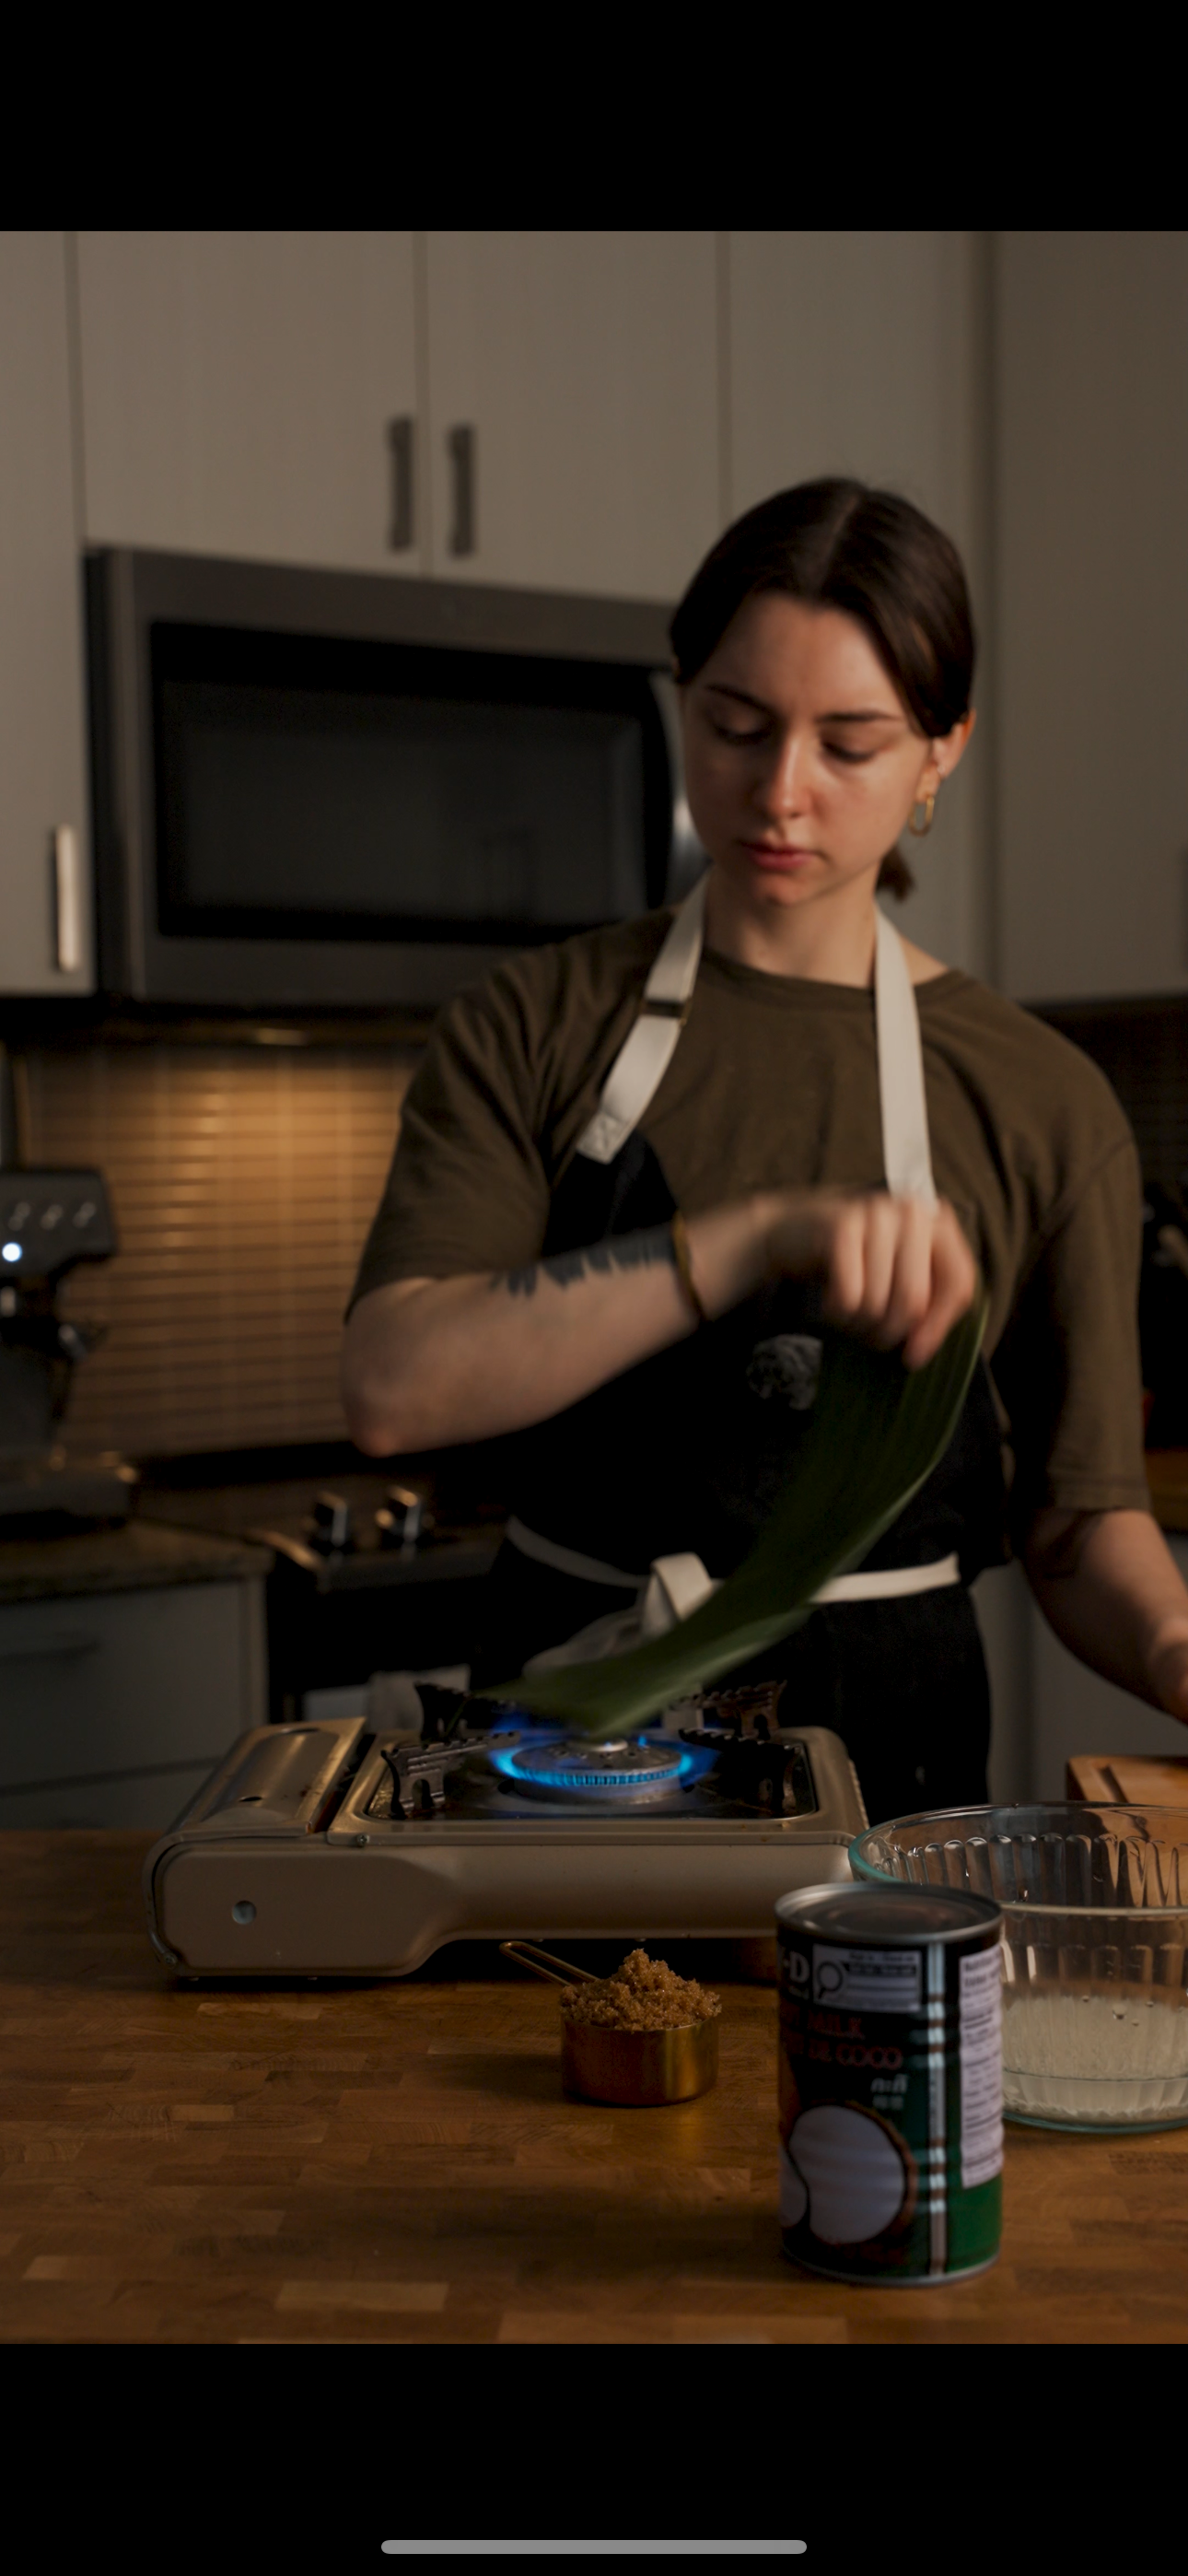
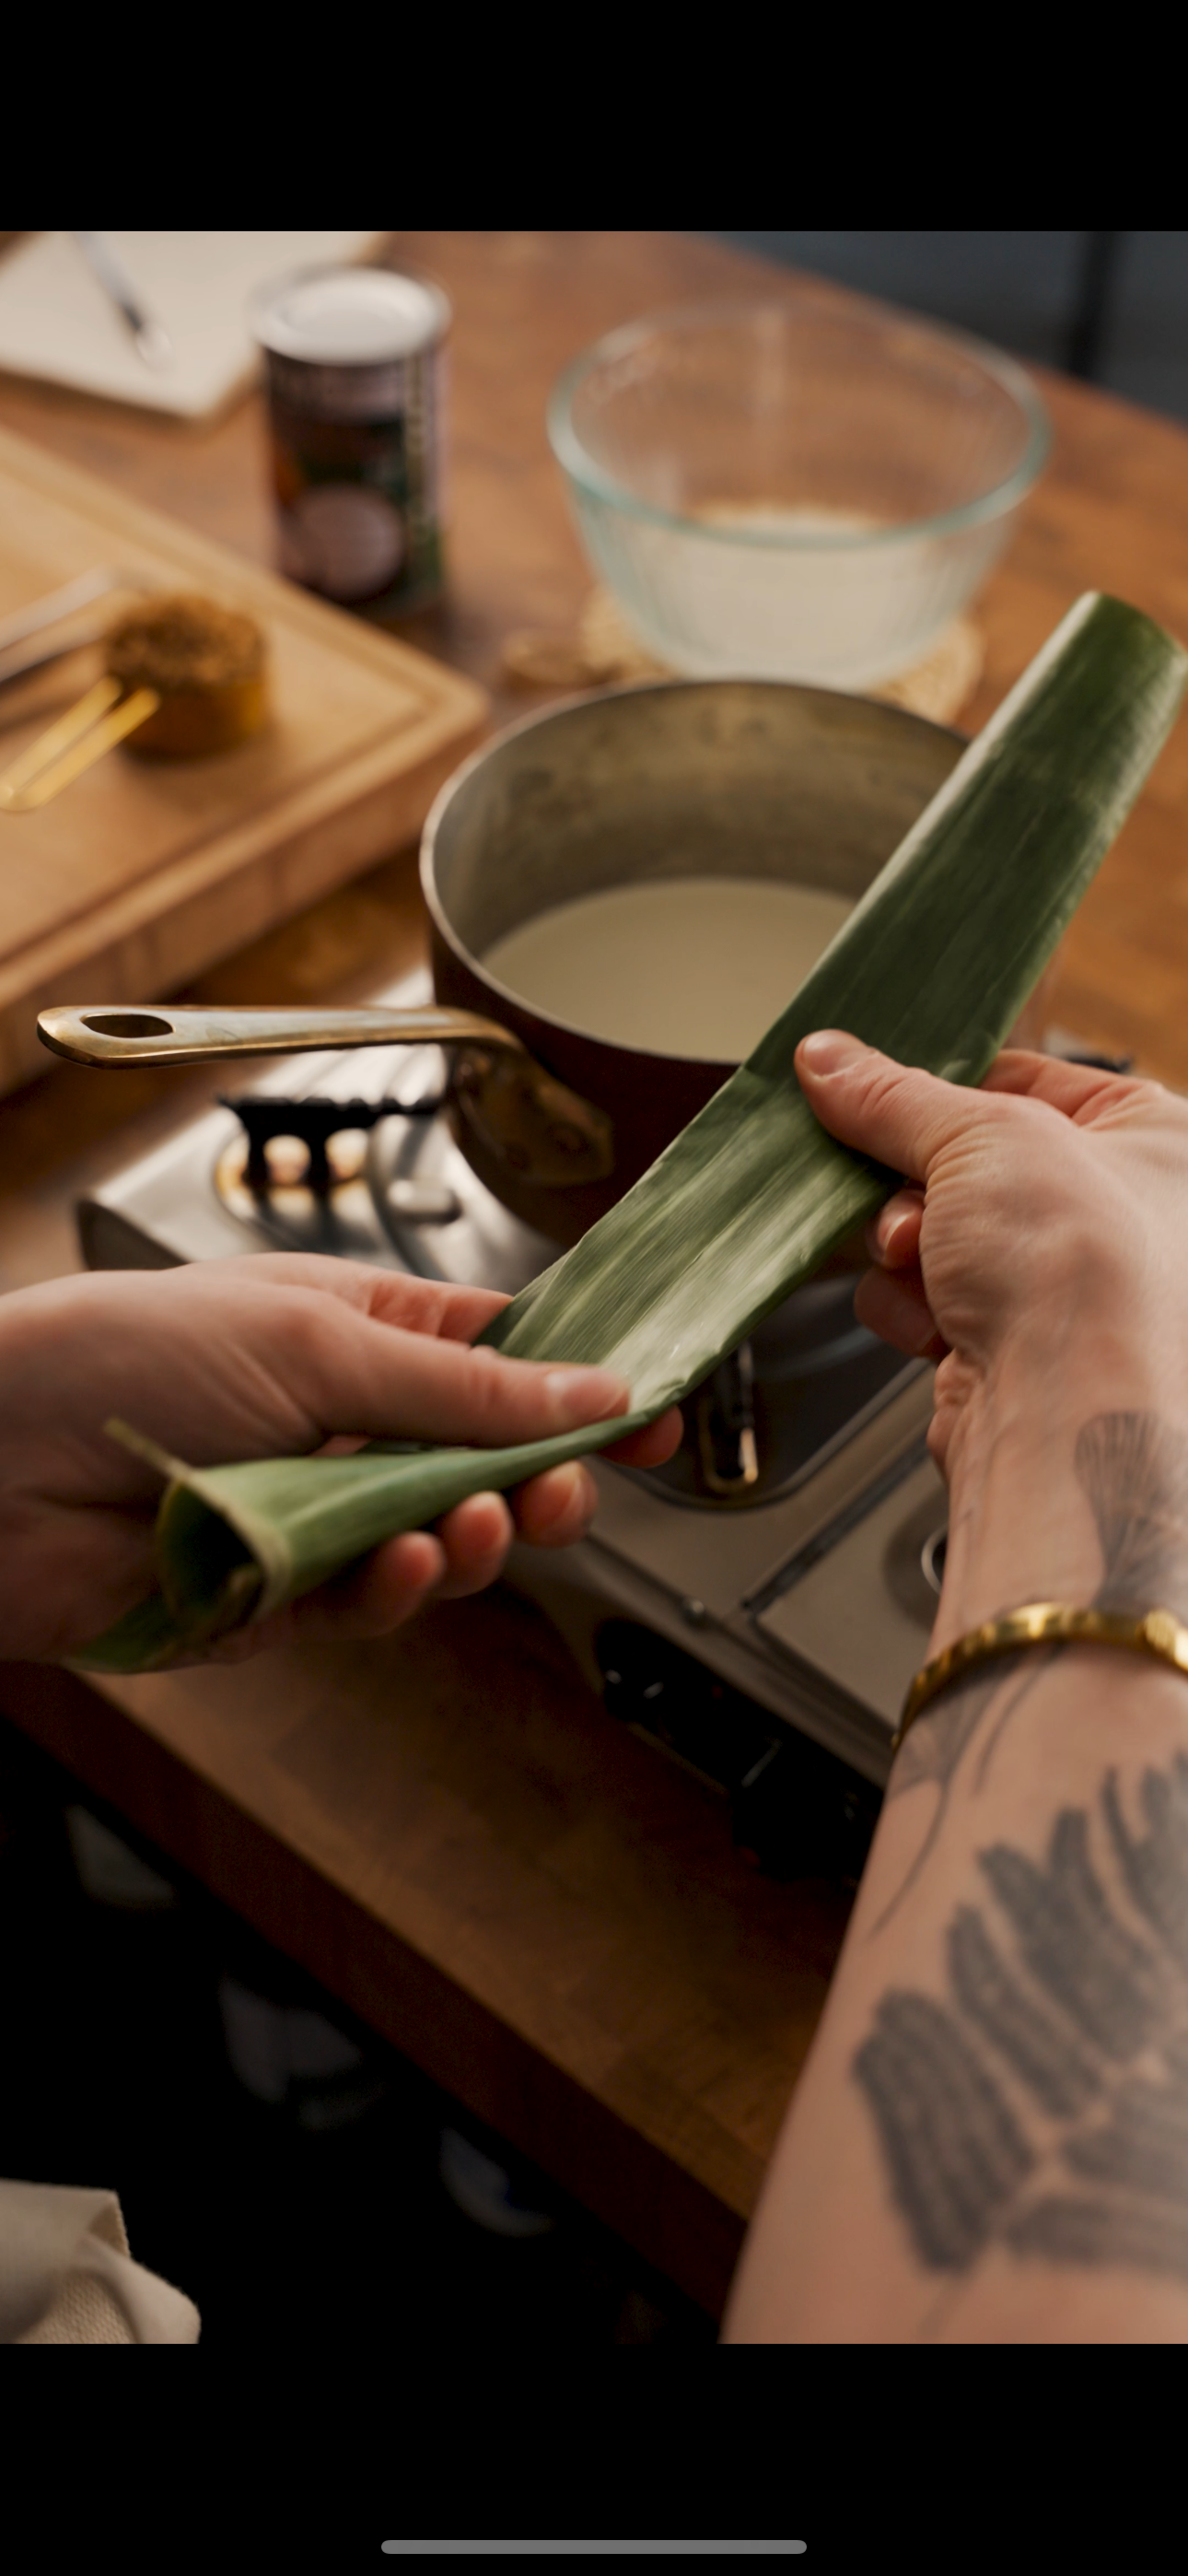
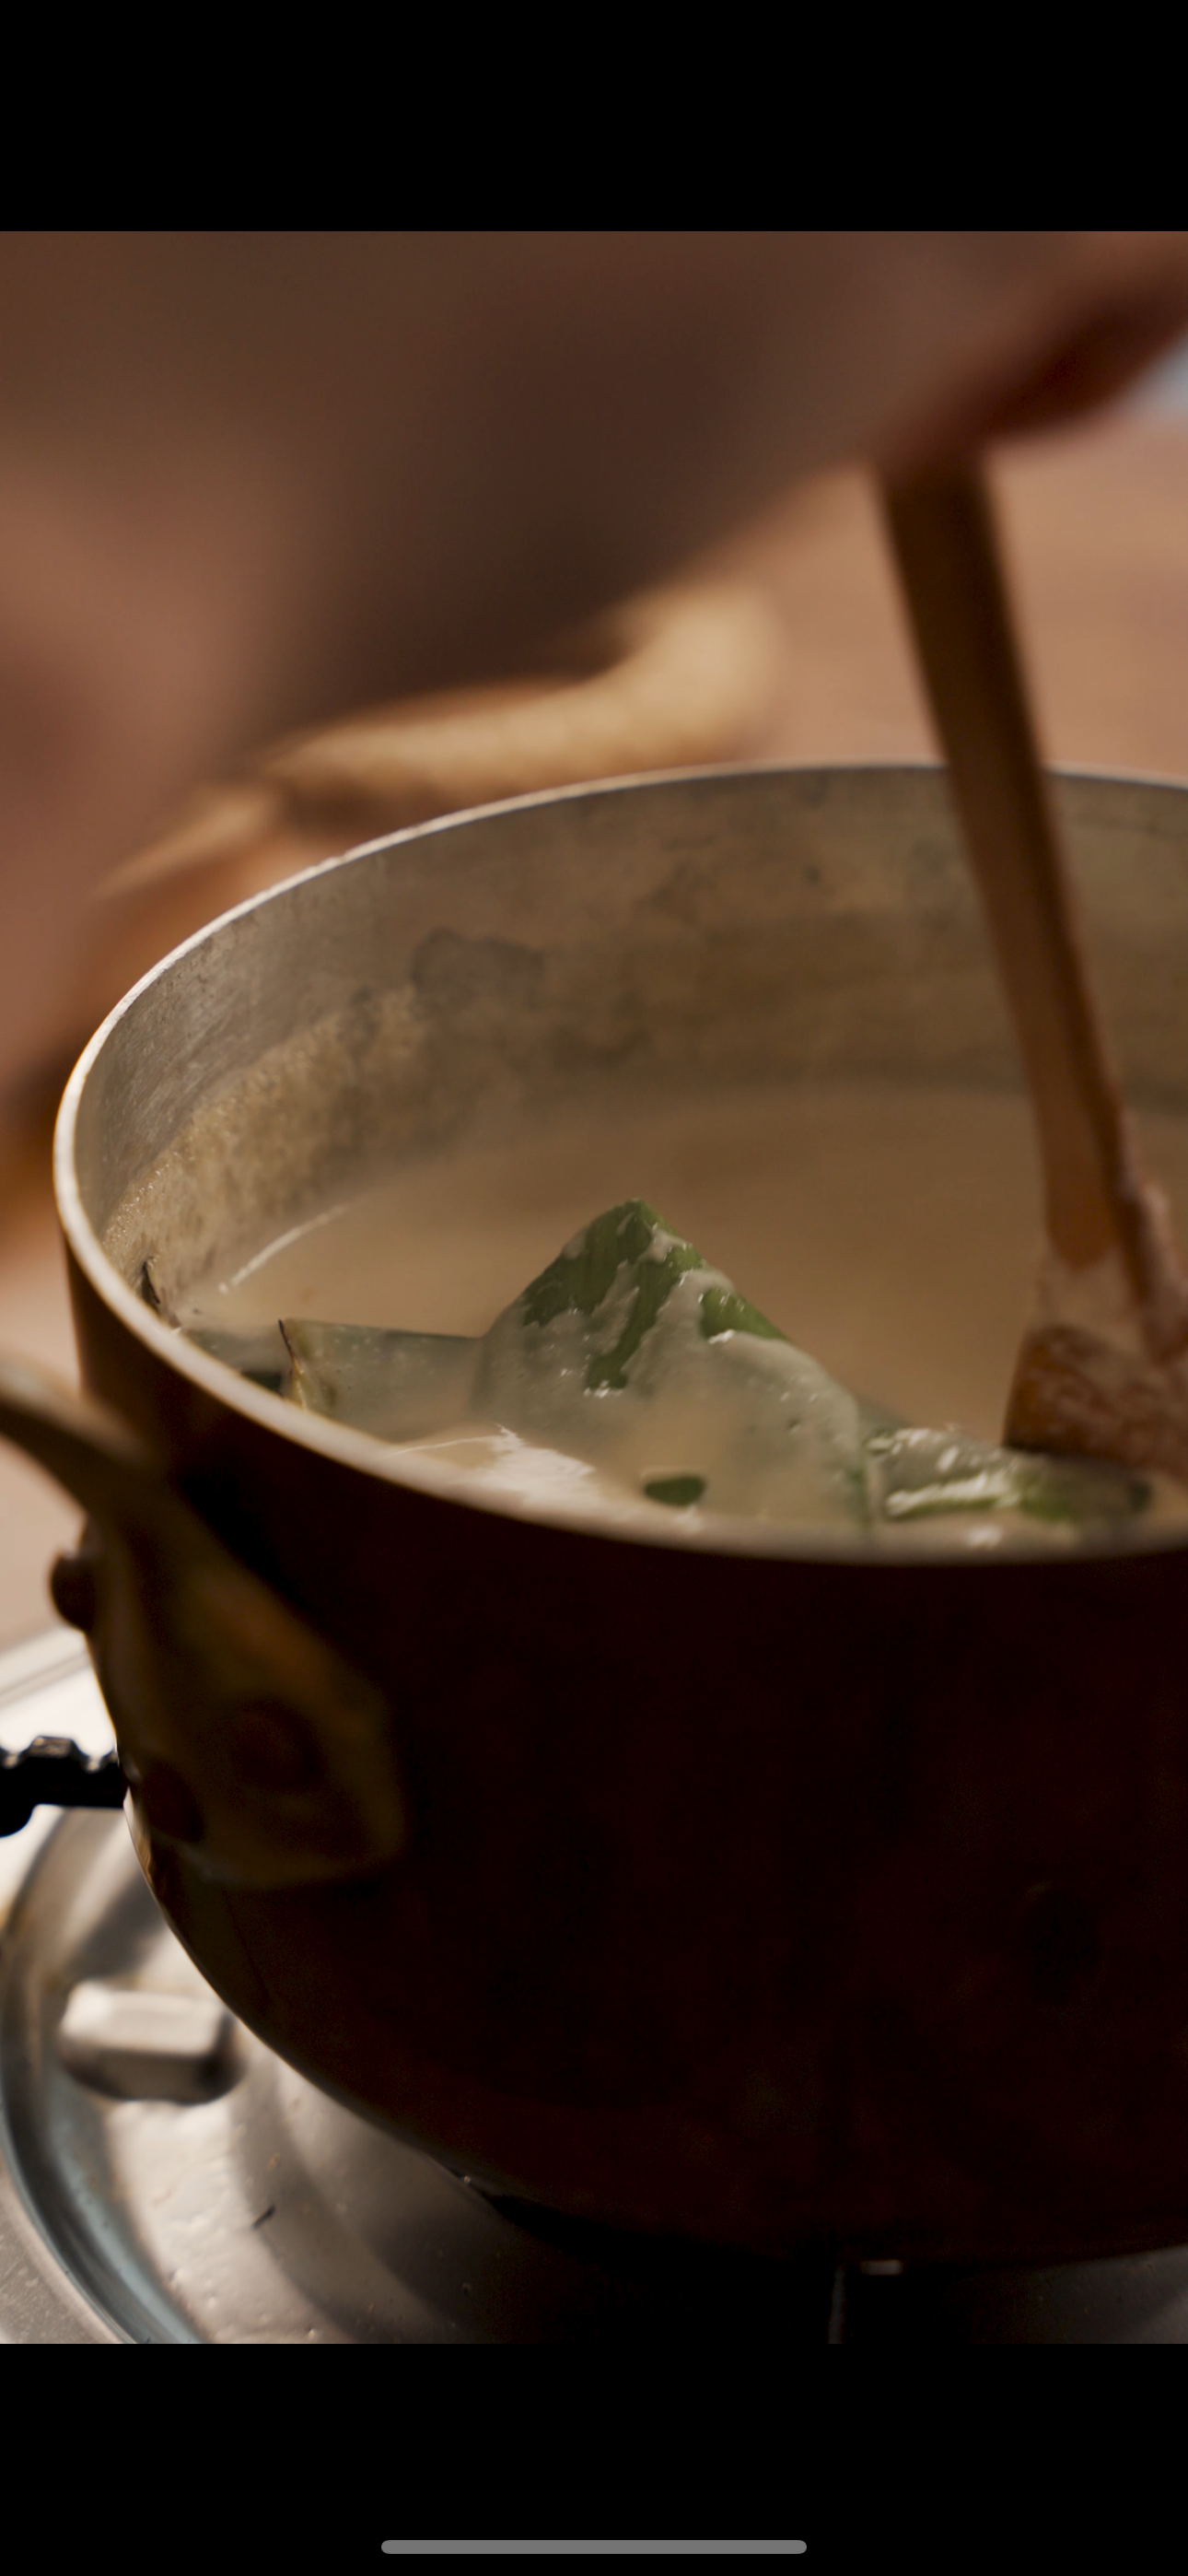
Toast your banana leaf by fanning it over an open flame, do this for about 1-2 minutes or until fragrant and shiny. Fold the leaf into the long strip and tie it in a knot.

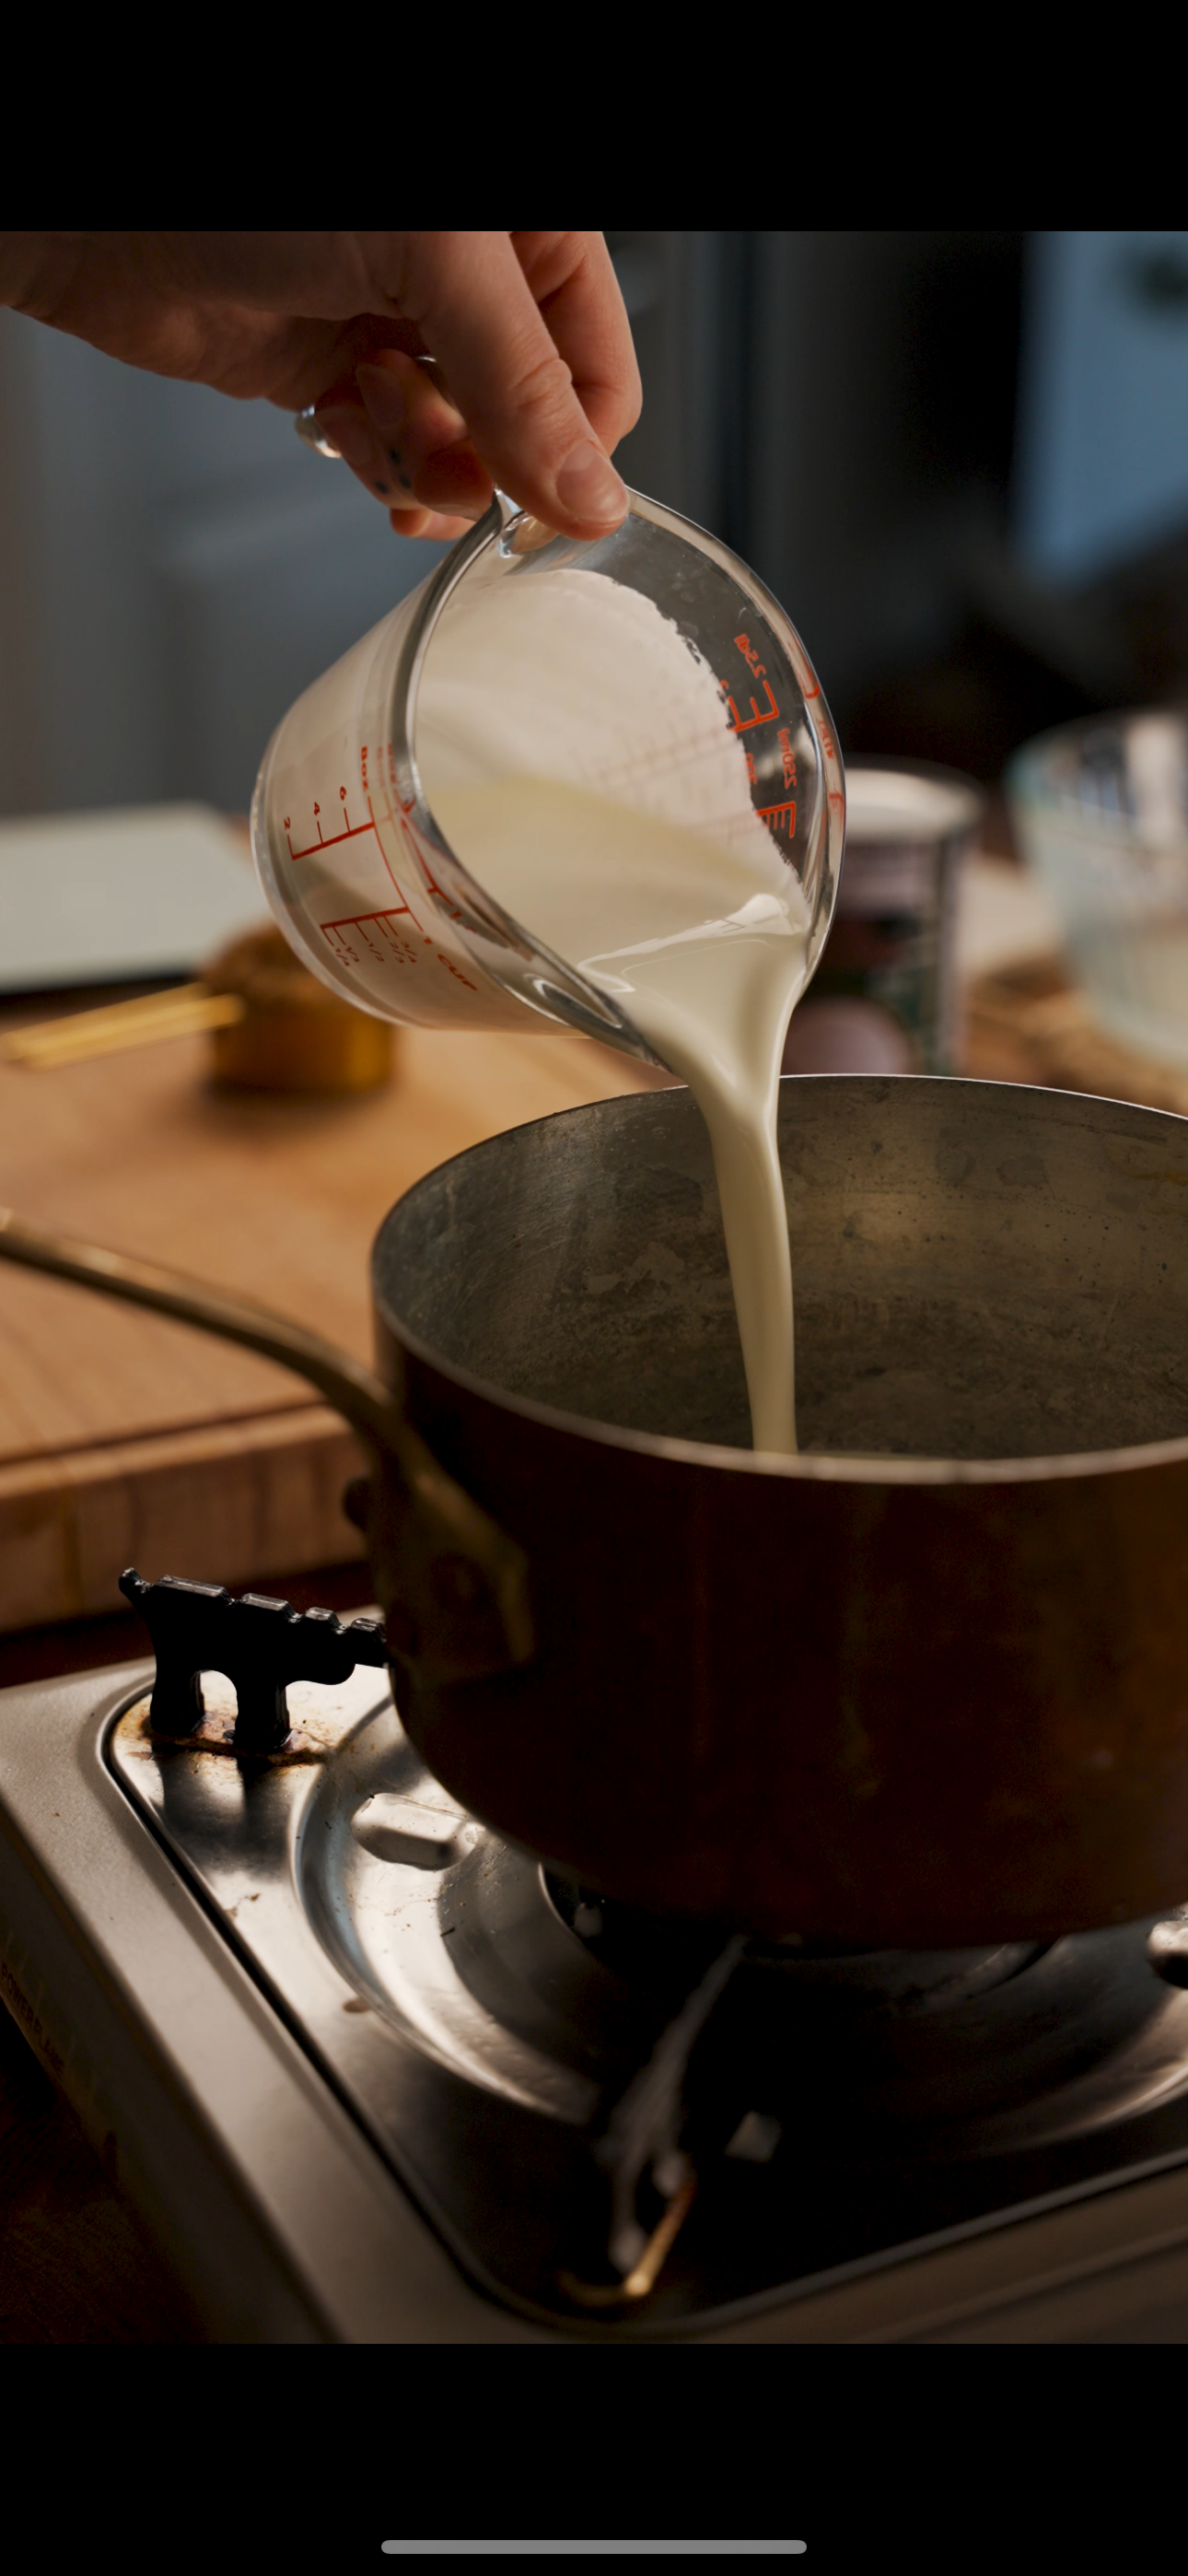
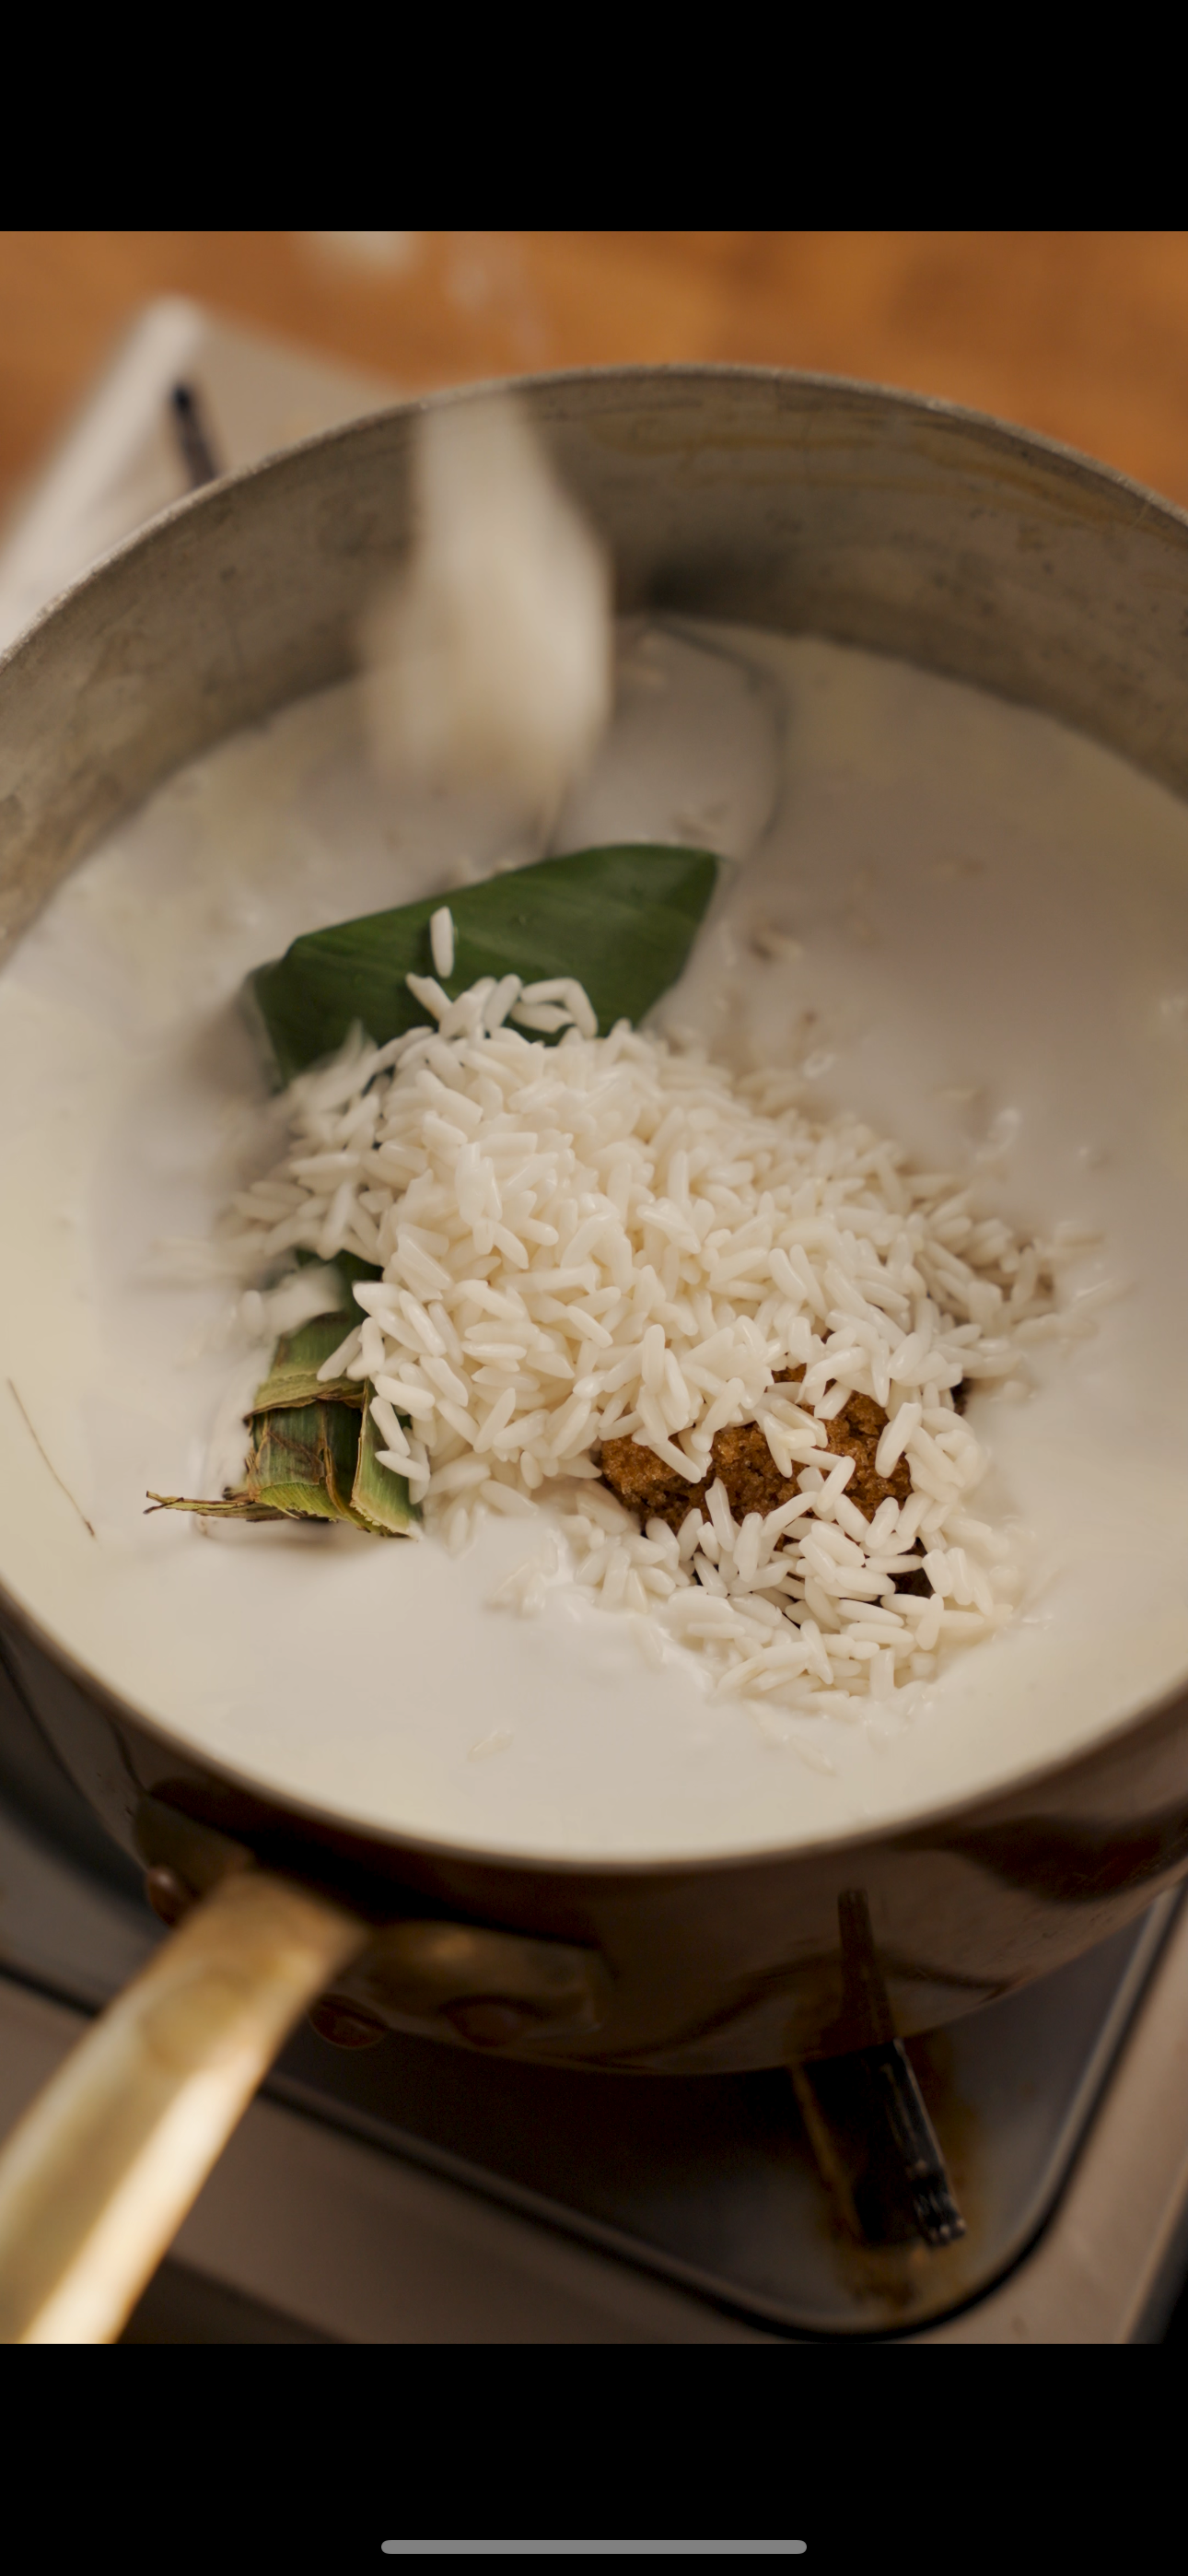
In a medium sauce pot, add the heavy cream, full fat coconut milk, toasted banana leaf, and the soaked rice.
In a small bowl mix together the xanthan gum and brown sugar. This is to disperse the powder and prevent the xanthan gum from forming clumps. While stirring, add this mix to the pot. Bring it to a simmer.
Cook the porridge mixture for 30-35 minutes or until the rice is soft. Stir it frequently so it doesn’t burn/ attach to the bottom of the pot.

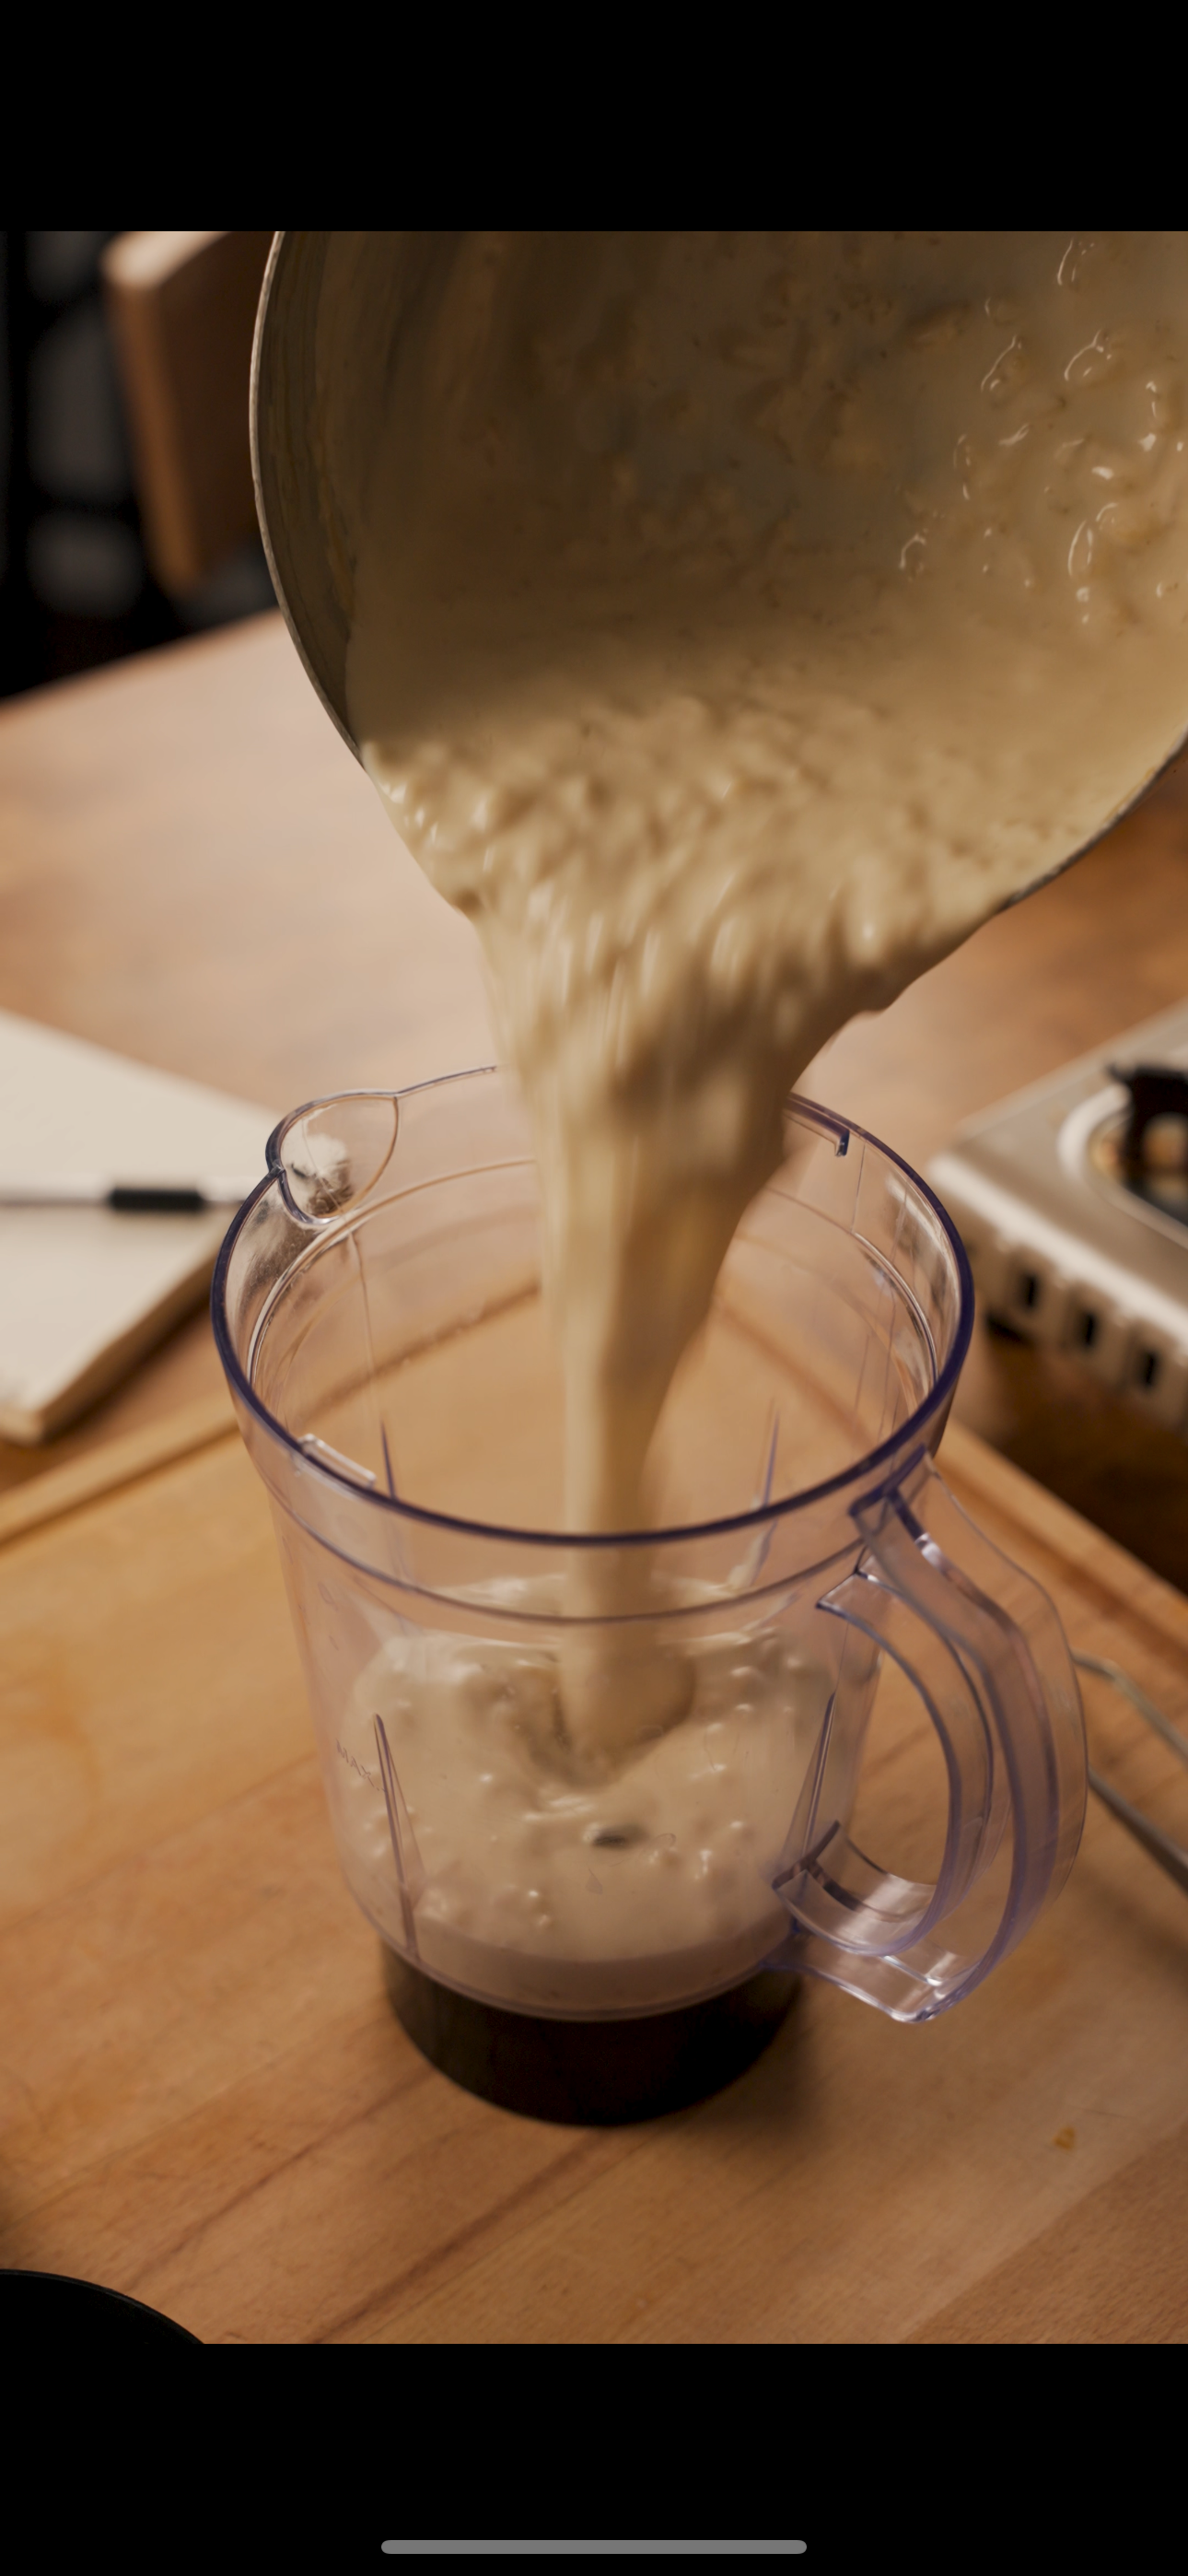
When the rice has fully cooked, remove from the heat. Add the remaining salt, and milk, to thin out the mixture. Remove the banana leaf, squeeze to get any liquid out, and discard.
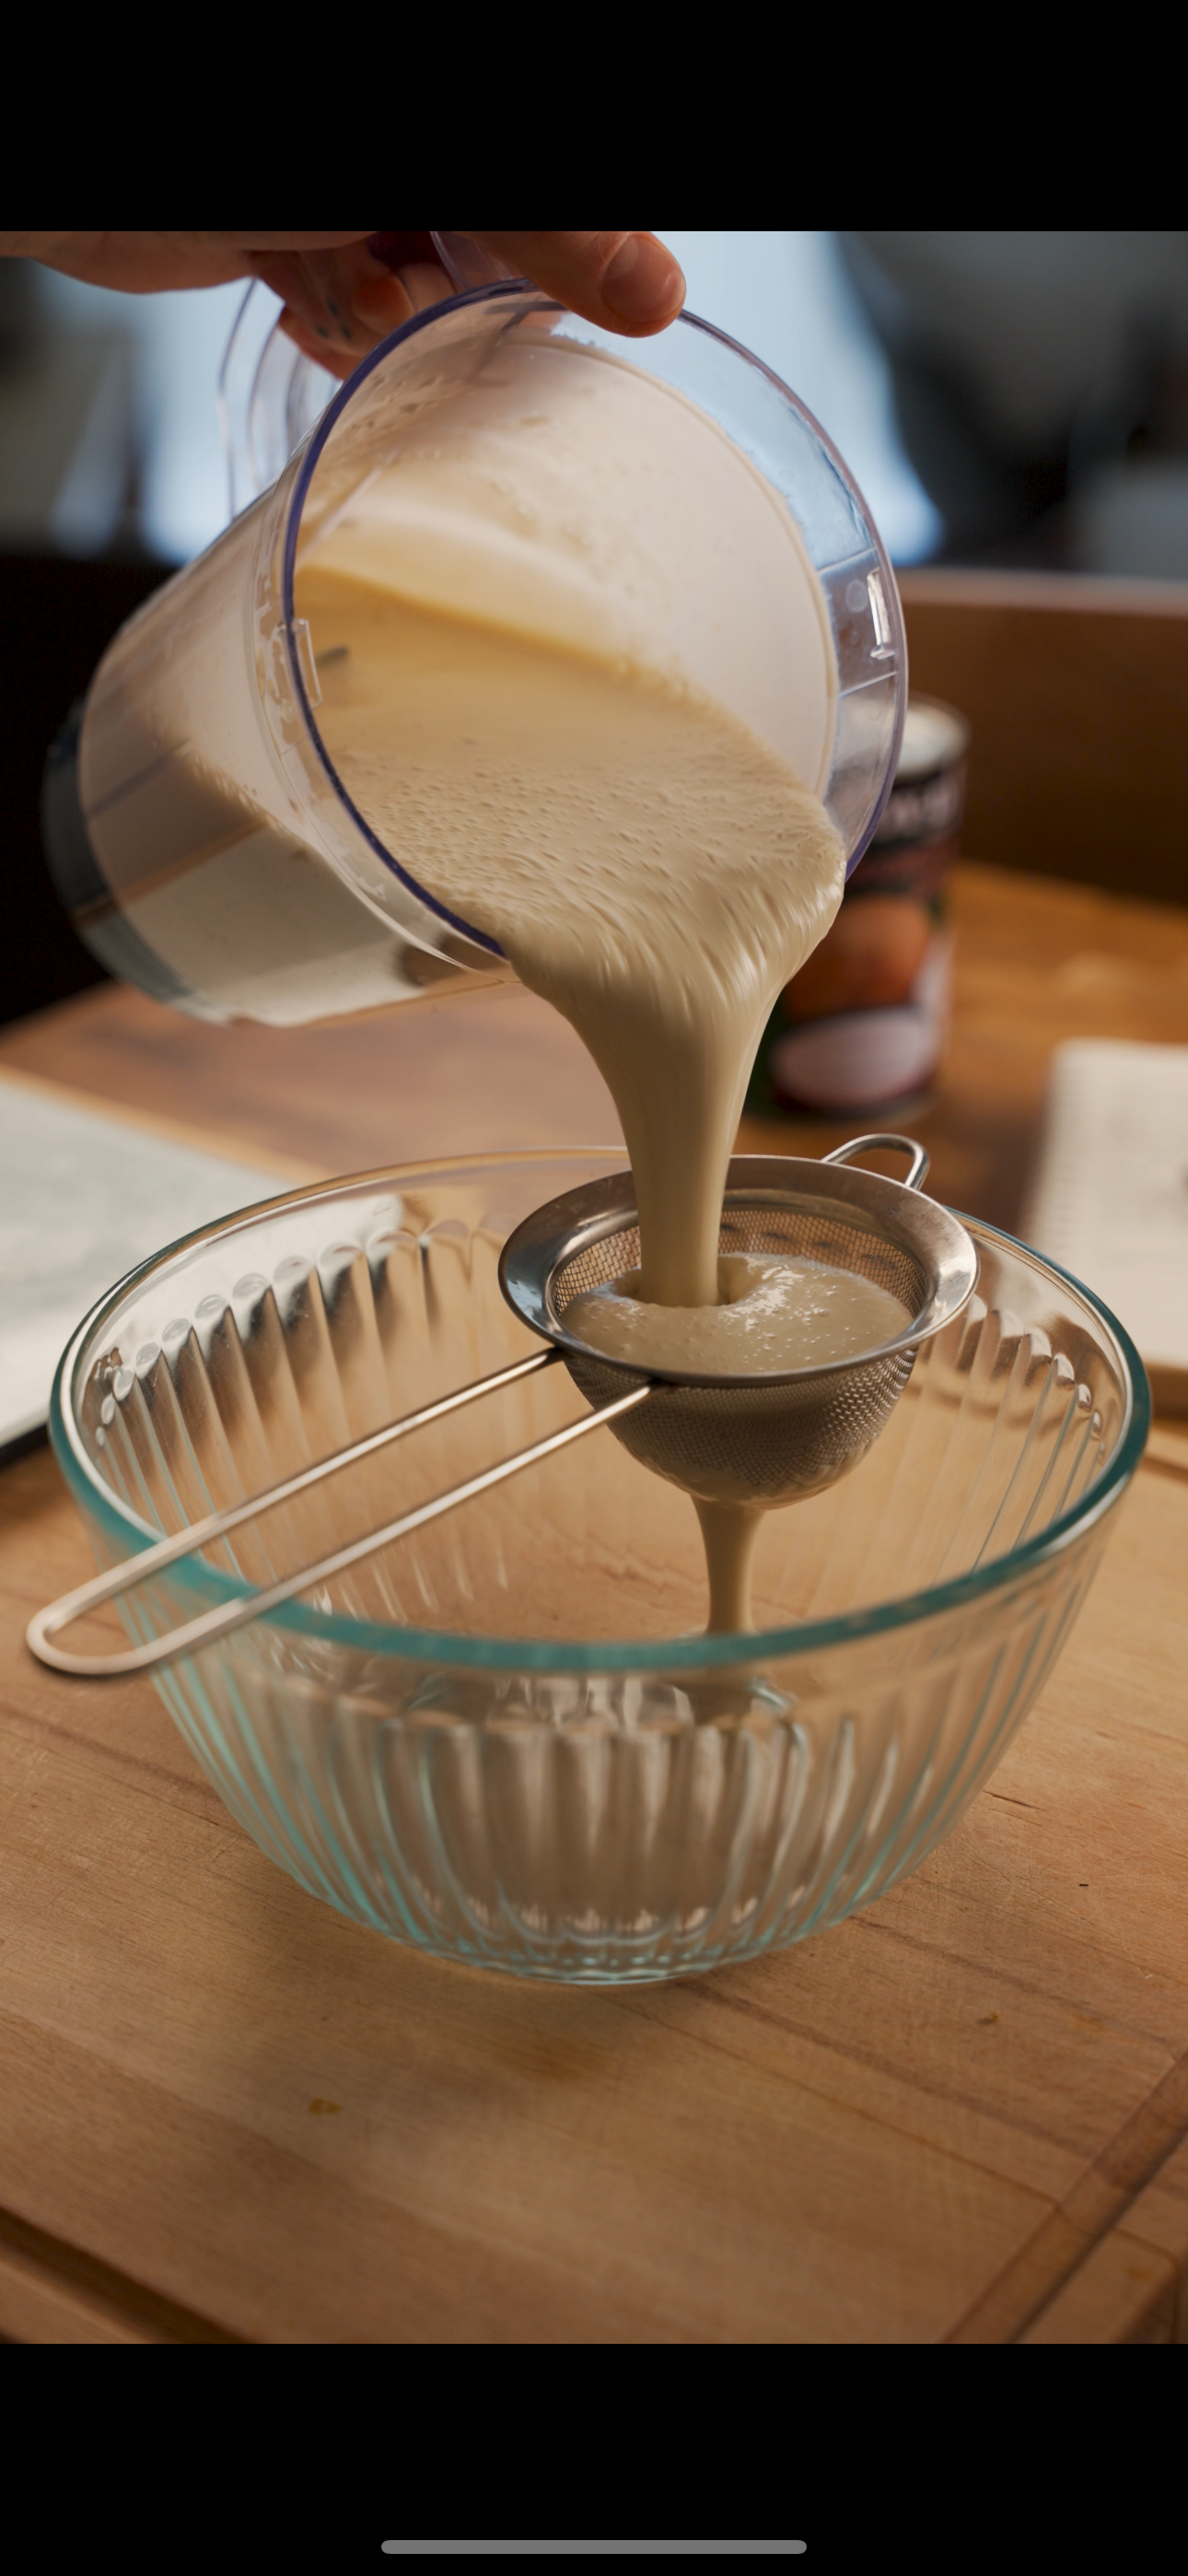
Place the cocnut/rice base in a blender. Blend until the mixture is smooth. Pour it through a sieve to get rid of any lumps of rice, and discard what is left in the sieve.
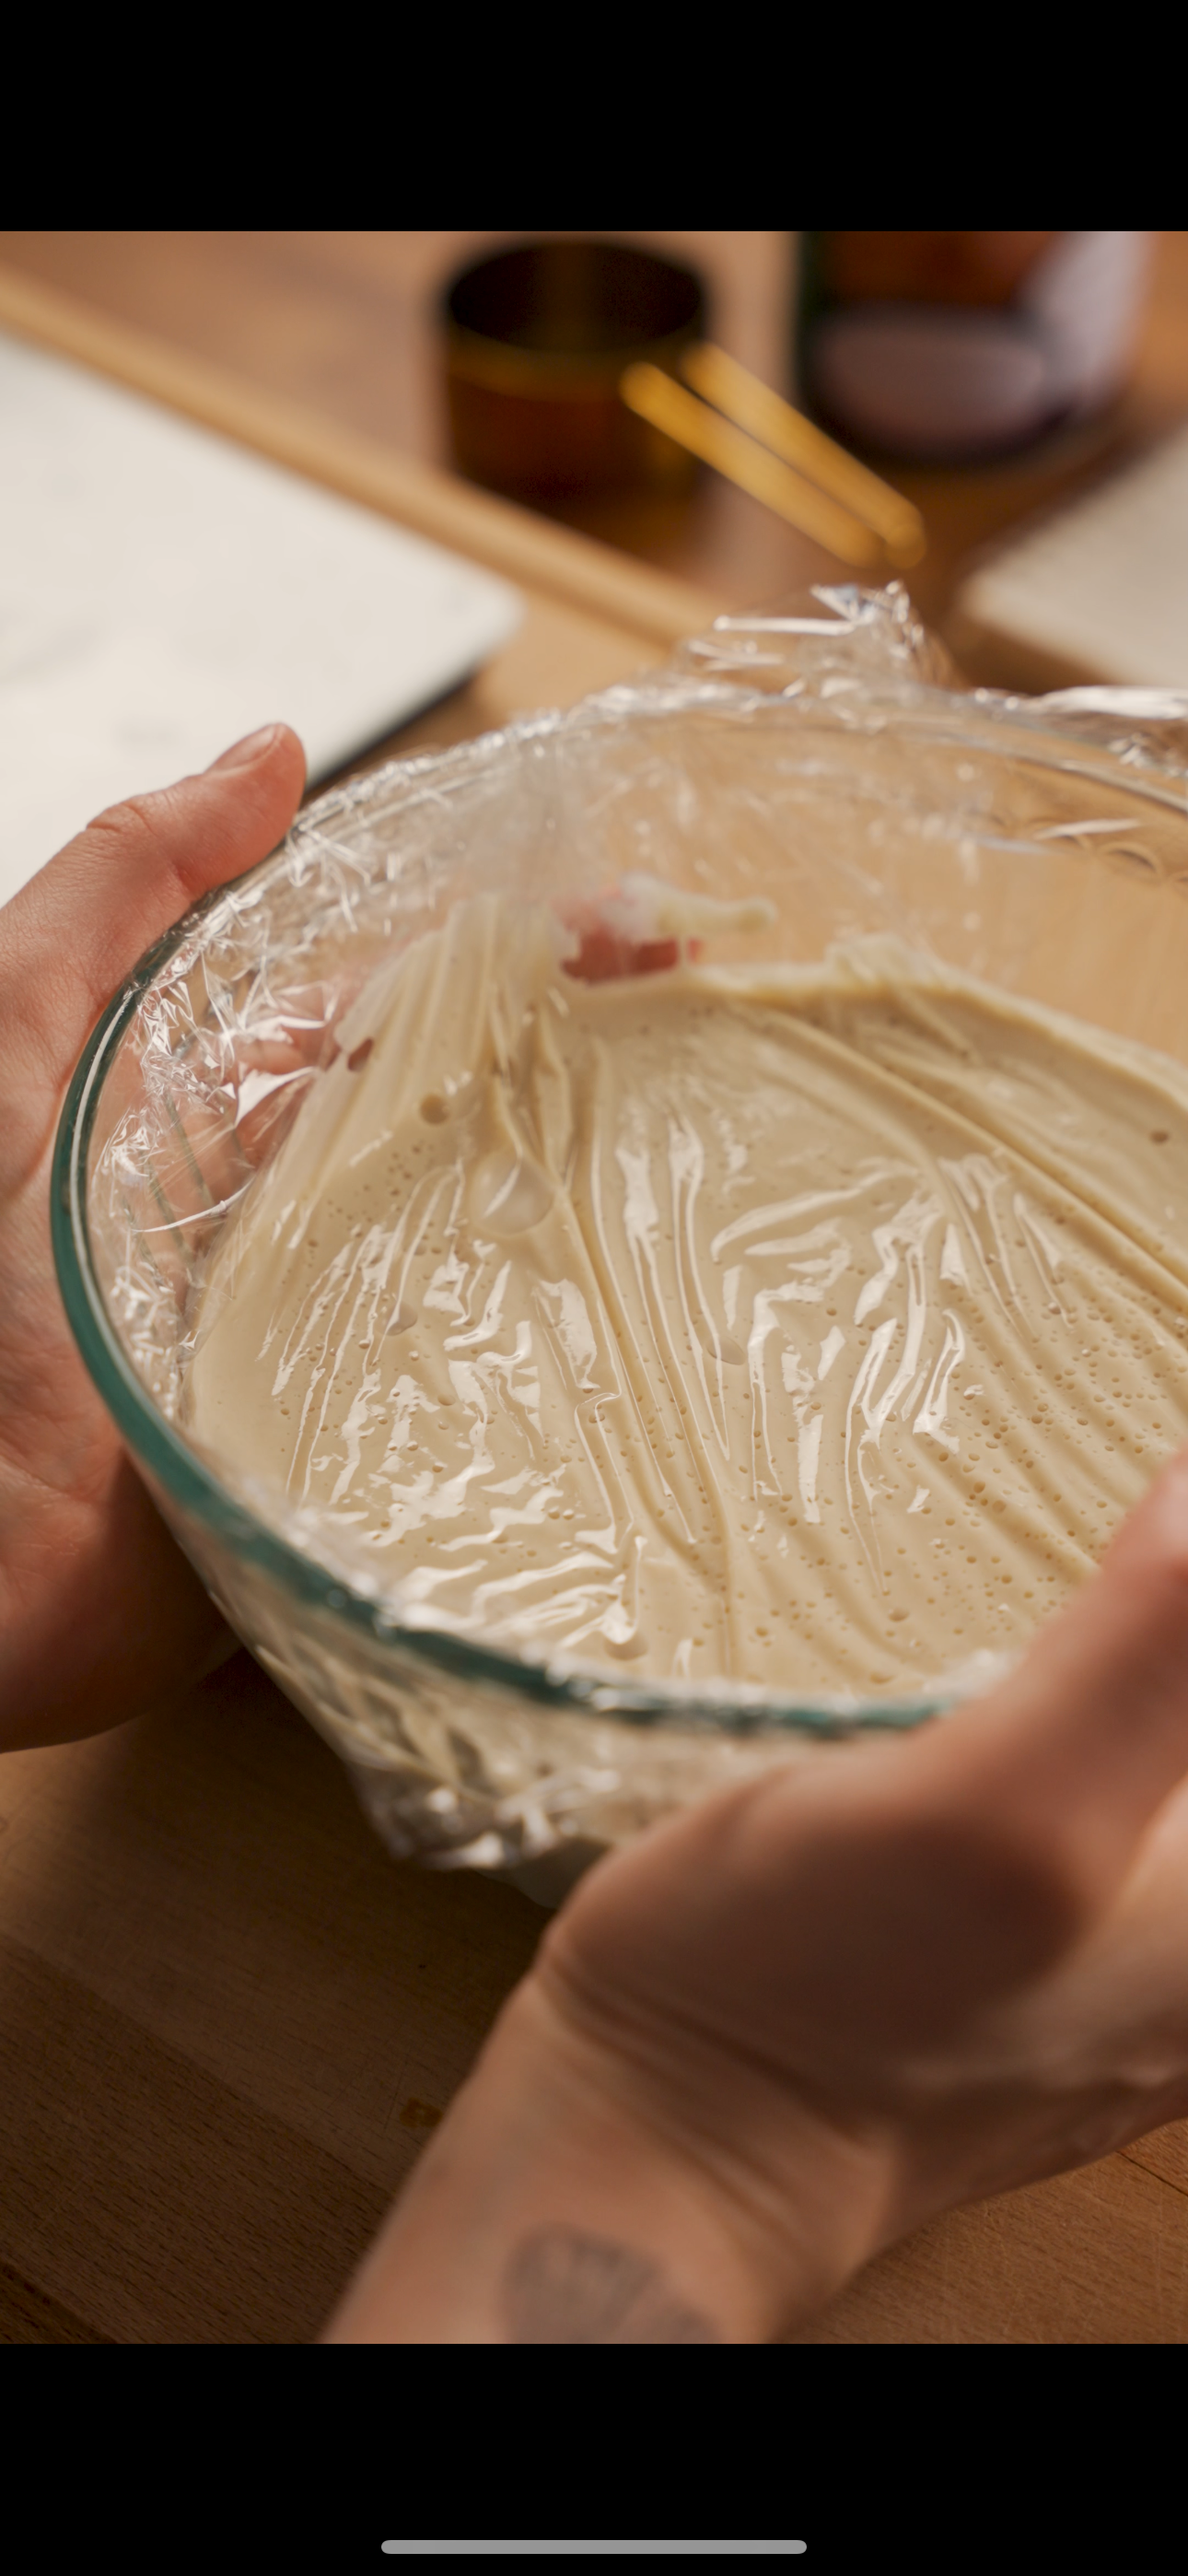
If using an ice cream maker: Cover the bowl with plastic wrap so that it is touching the surface of the custard (this is so it doesn’t form a skin/film).
Refrigerate for 6 hours or until cold.
If using Ninja Creami: Transfer the sieved custard to your respective pint containers. This recipe should make enough for two pints.
Freeze them for 24 hours before spinning!
Latik:
200ml full fat coconut milk
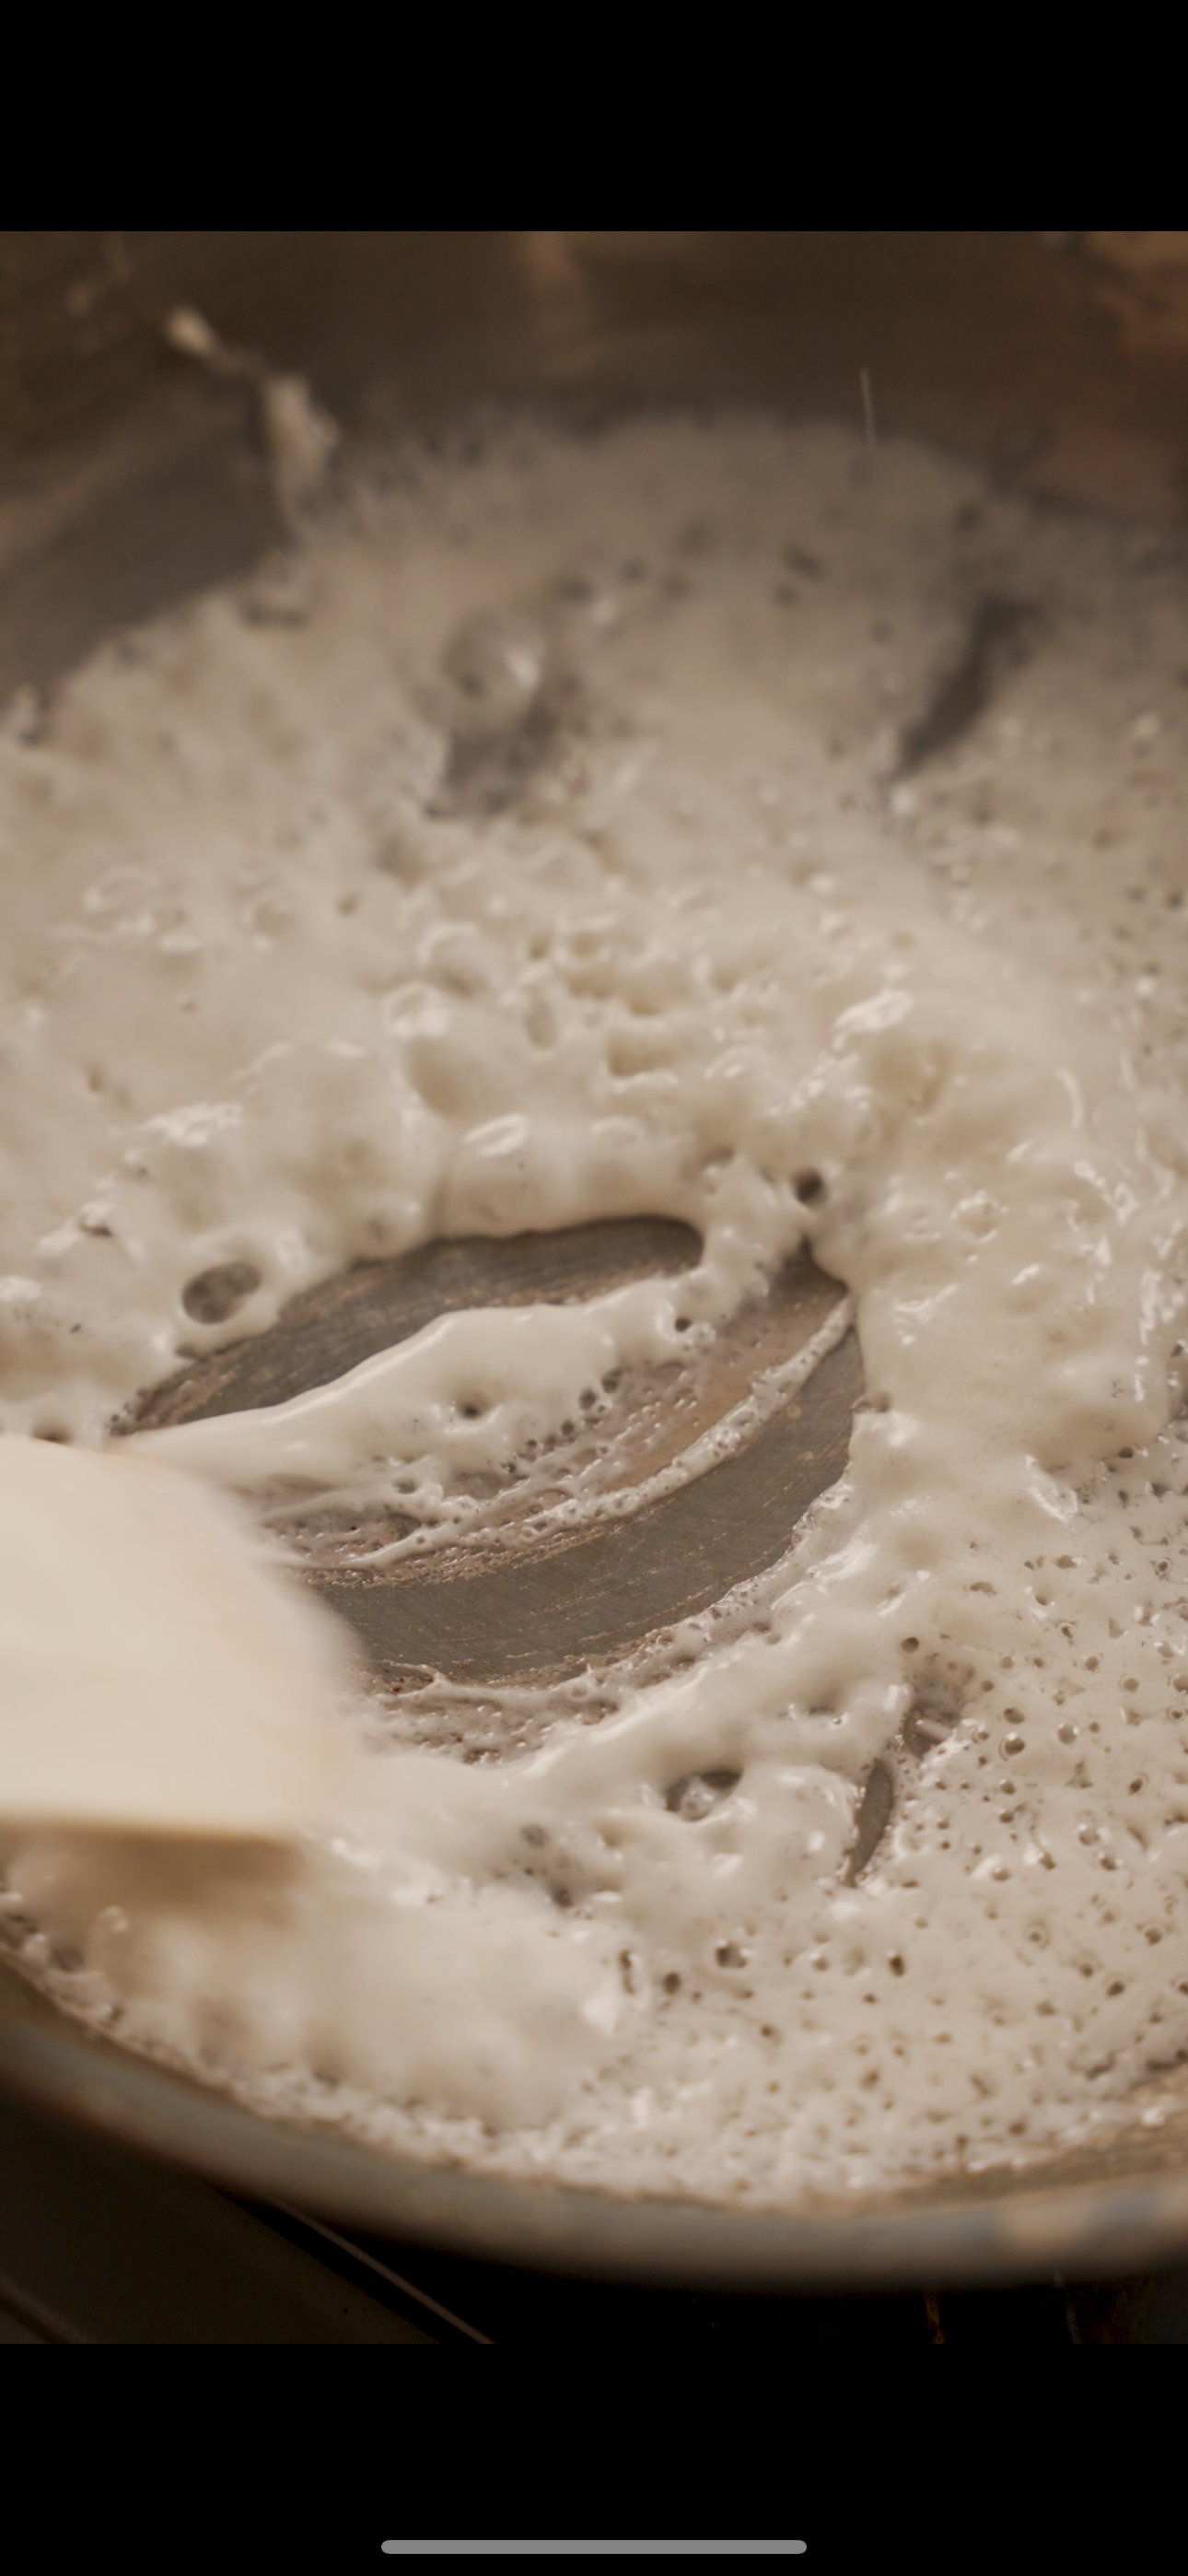
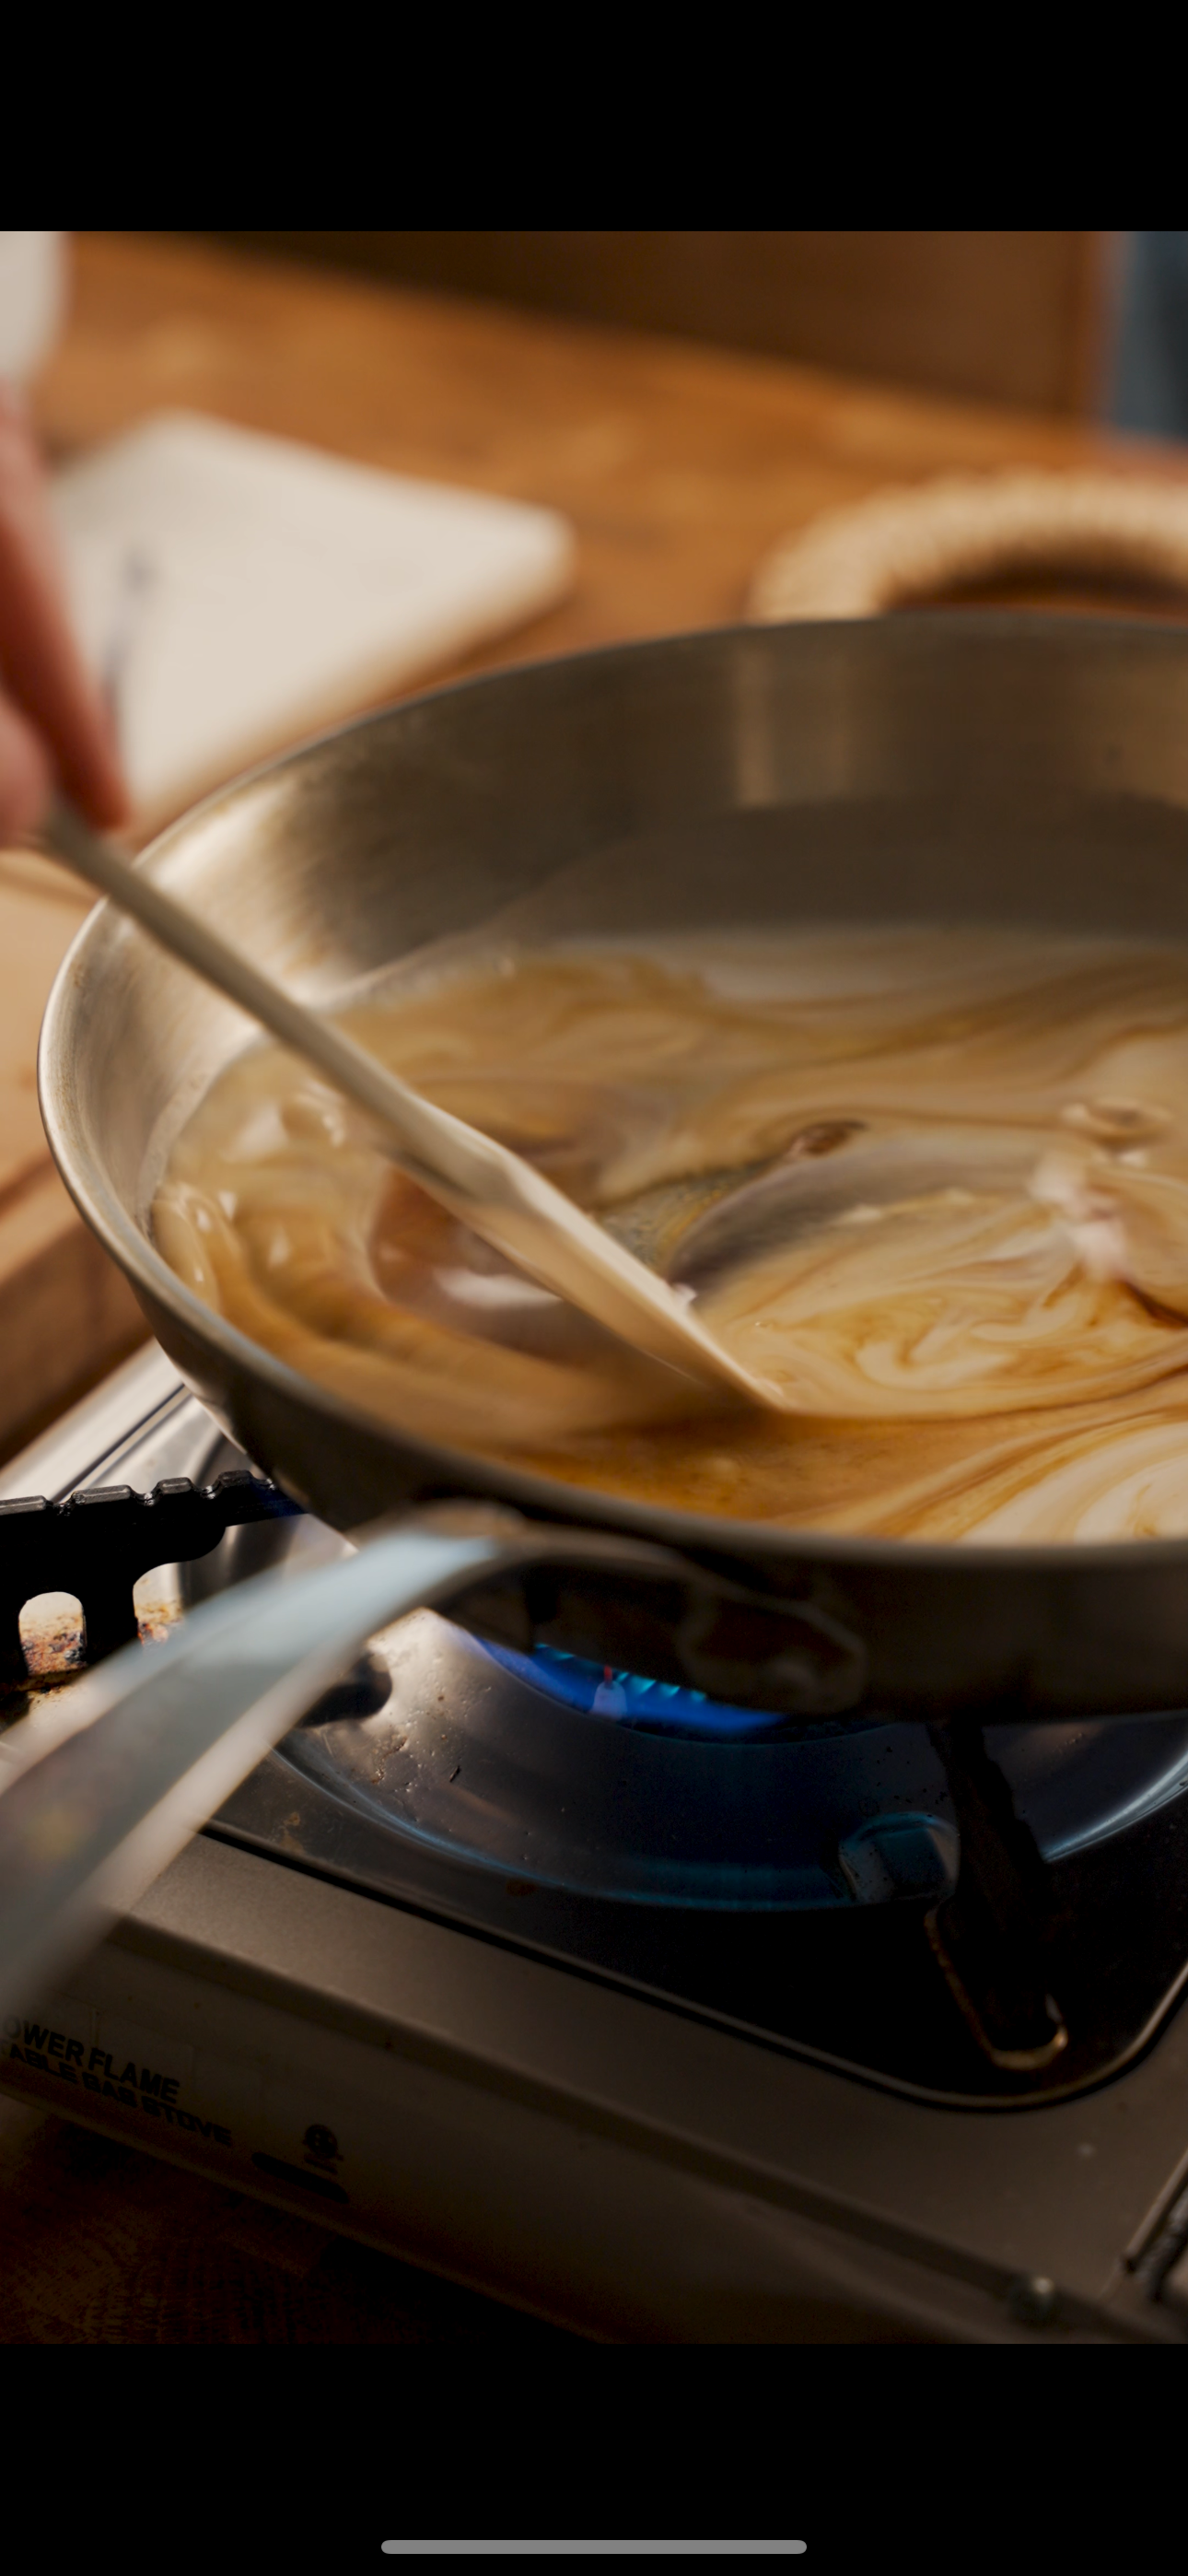
In a cold, medium saucepan, add the coconut milk. Turn the heat to high and bring it to a boil. Reduce the heat to medium and slowly allow the coconut milk to reduce and the water content to evaporate.
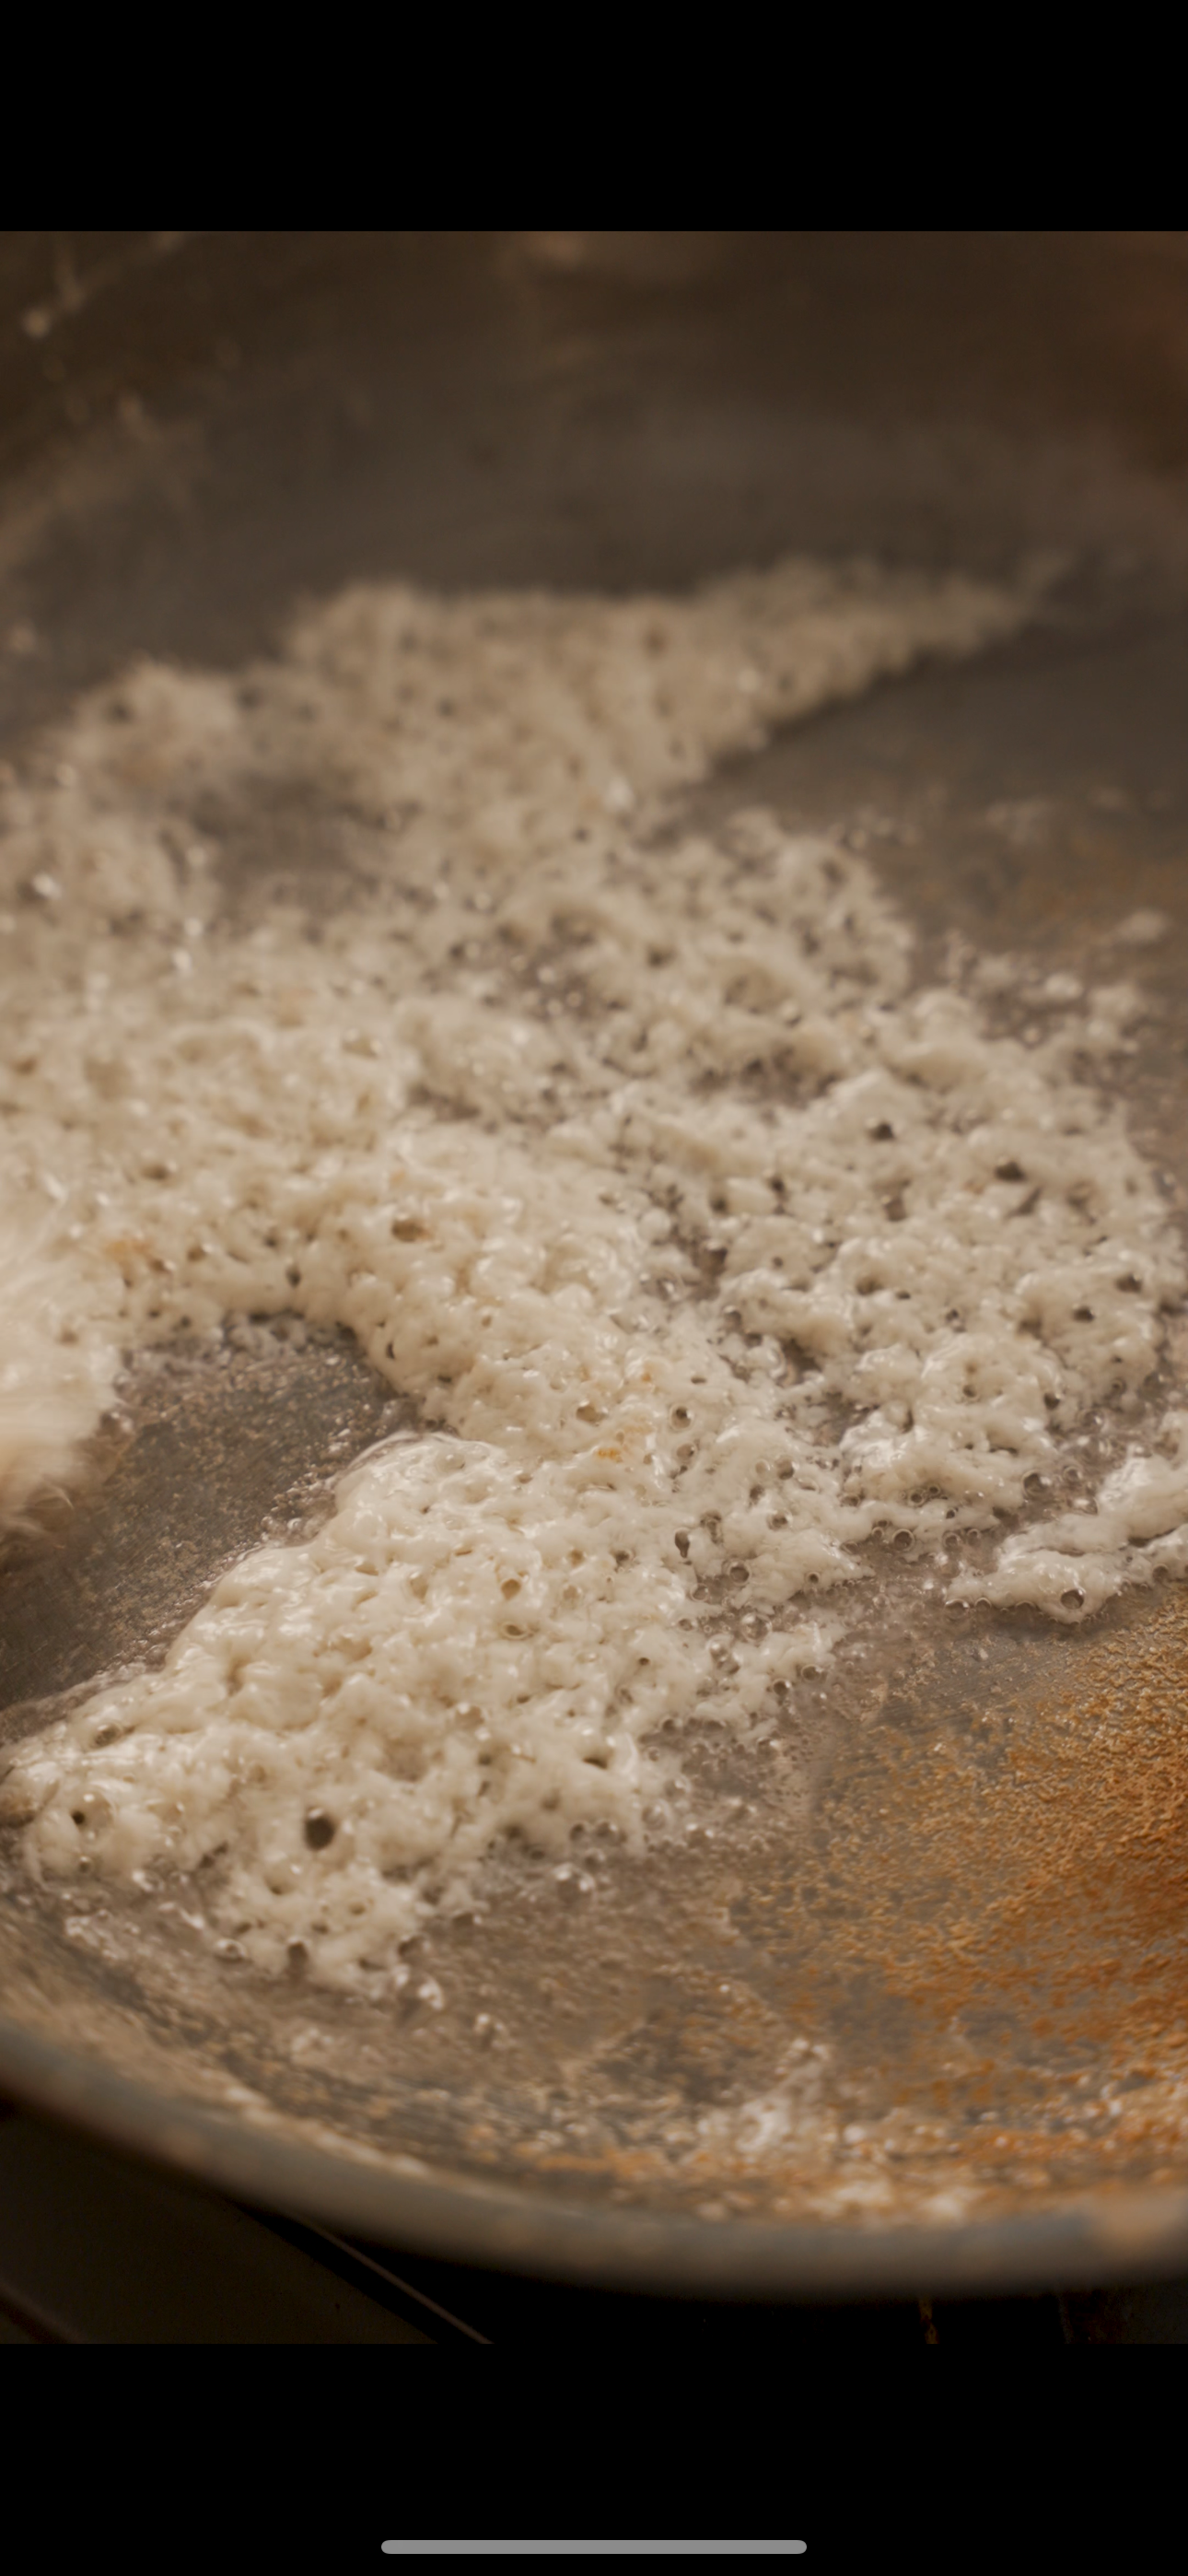
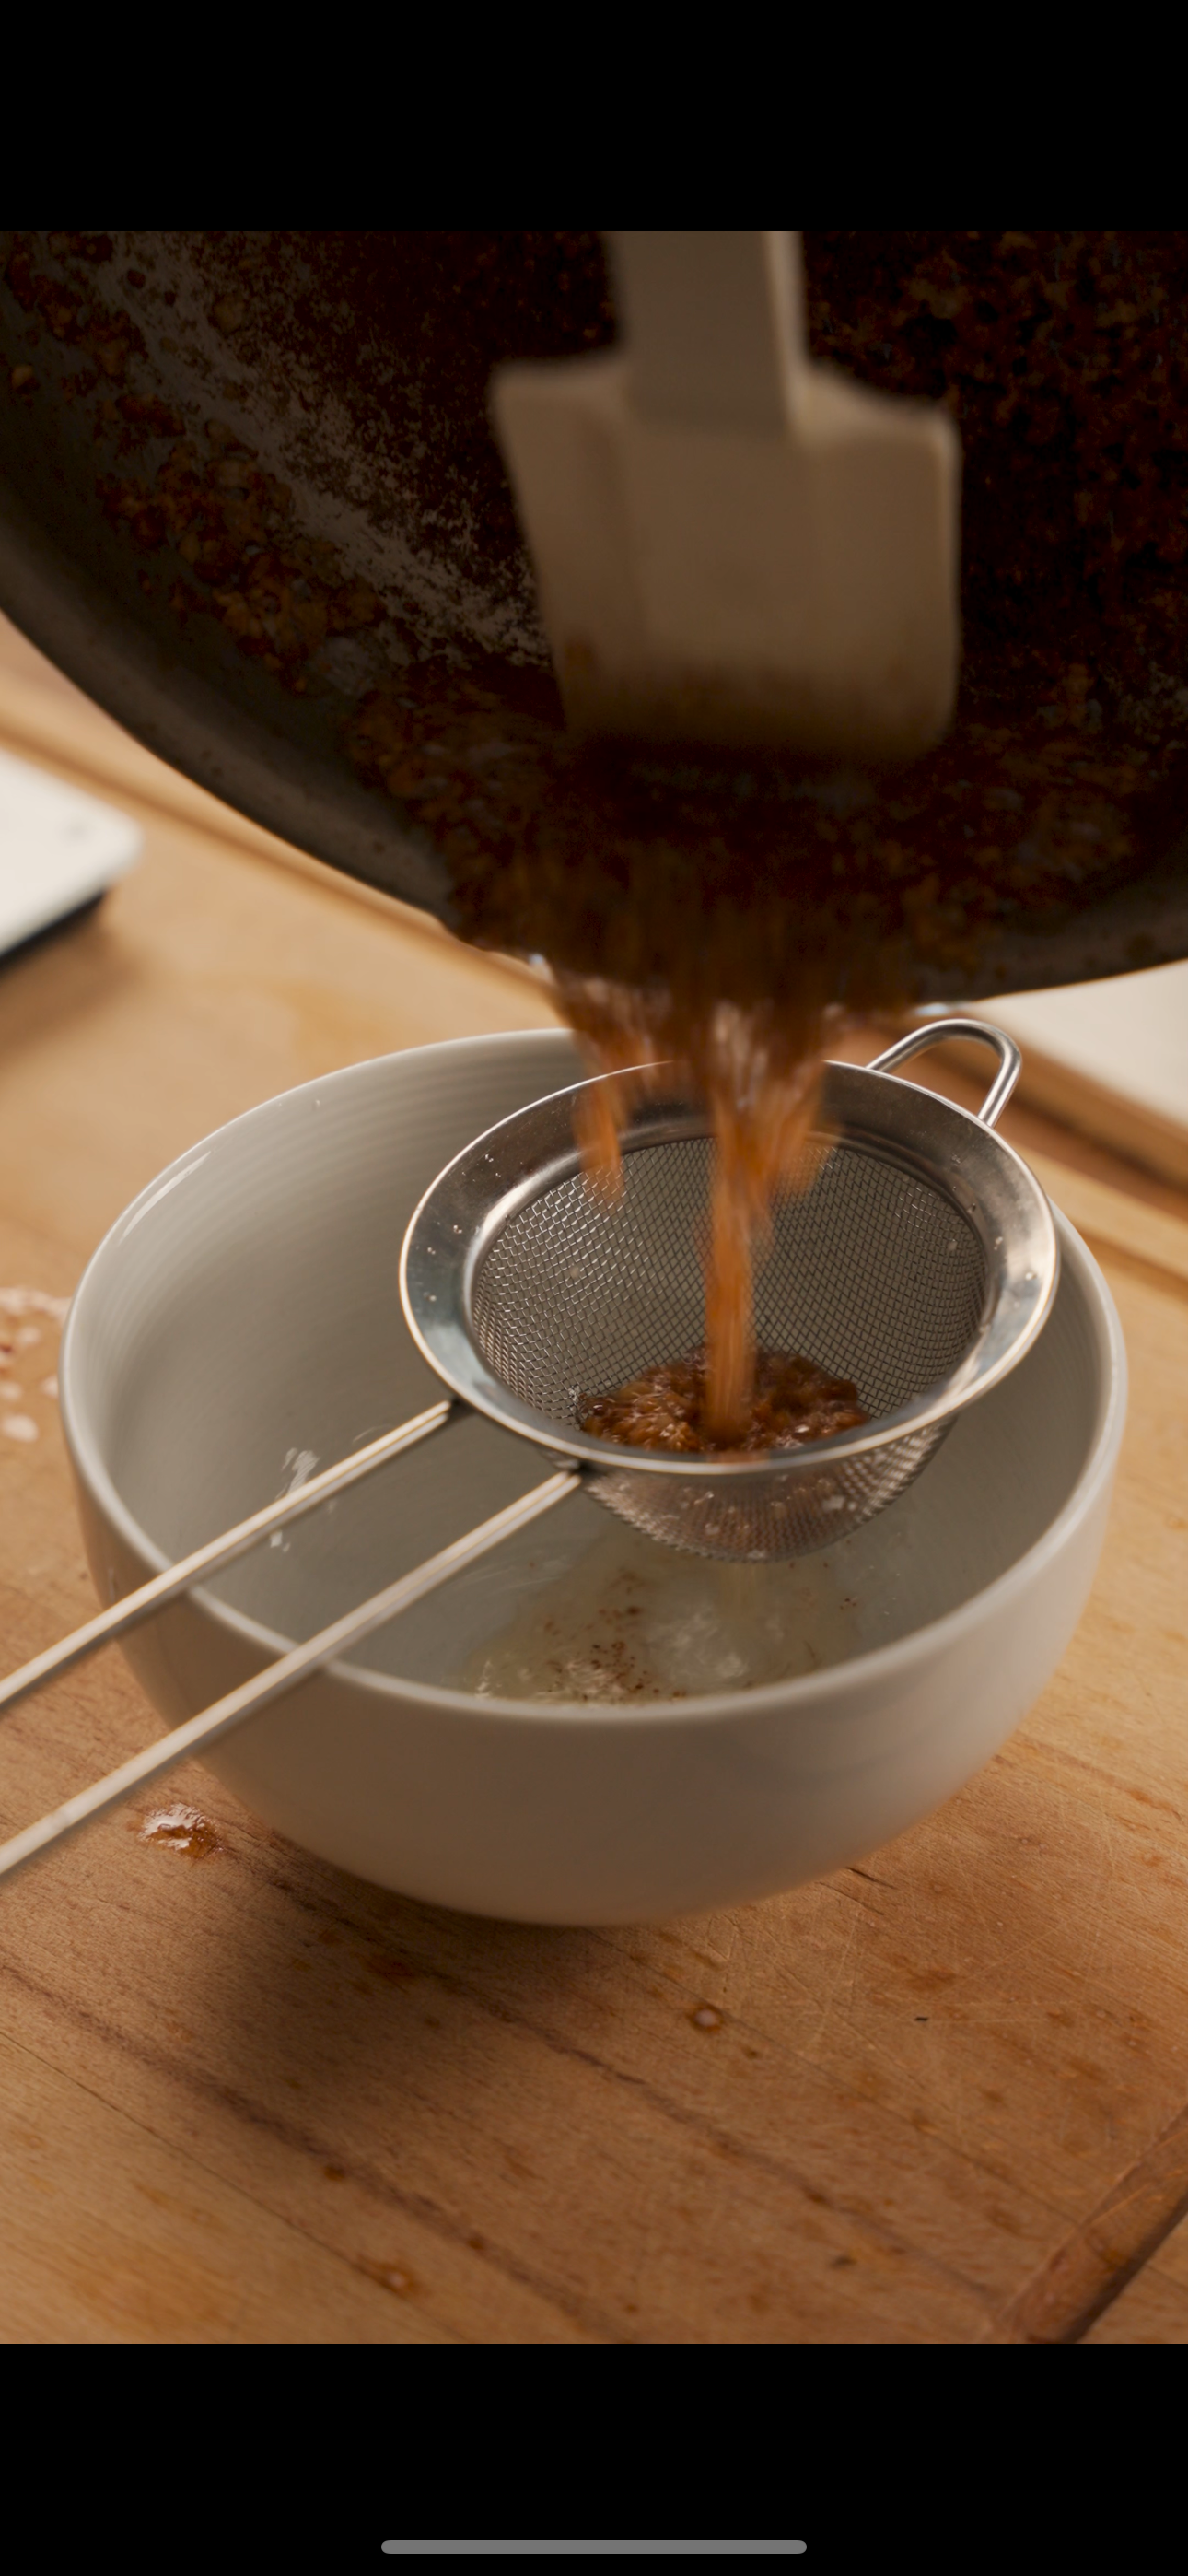
This process will cause the coconut milk to separate into two parts: solids and oil. Cook the coconut solids until golden and toasty. Remove from the heat and pour through a small sieve to catch the solids. Spread them out on a paper towel to cool and crisp up.
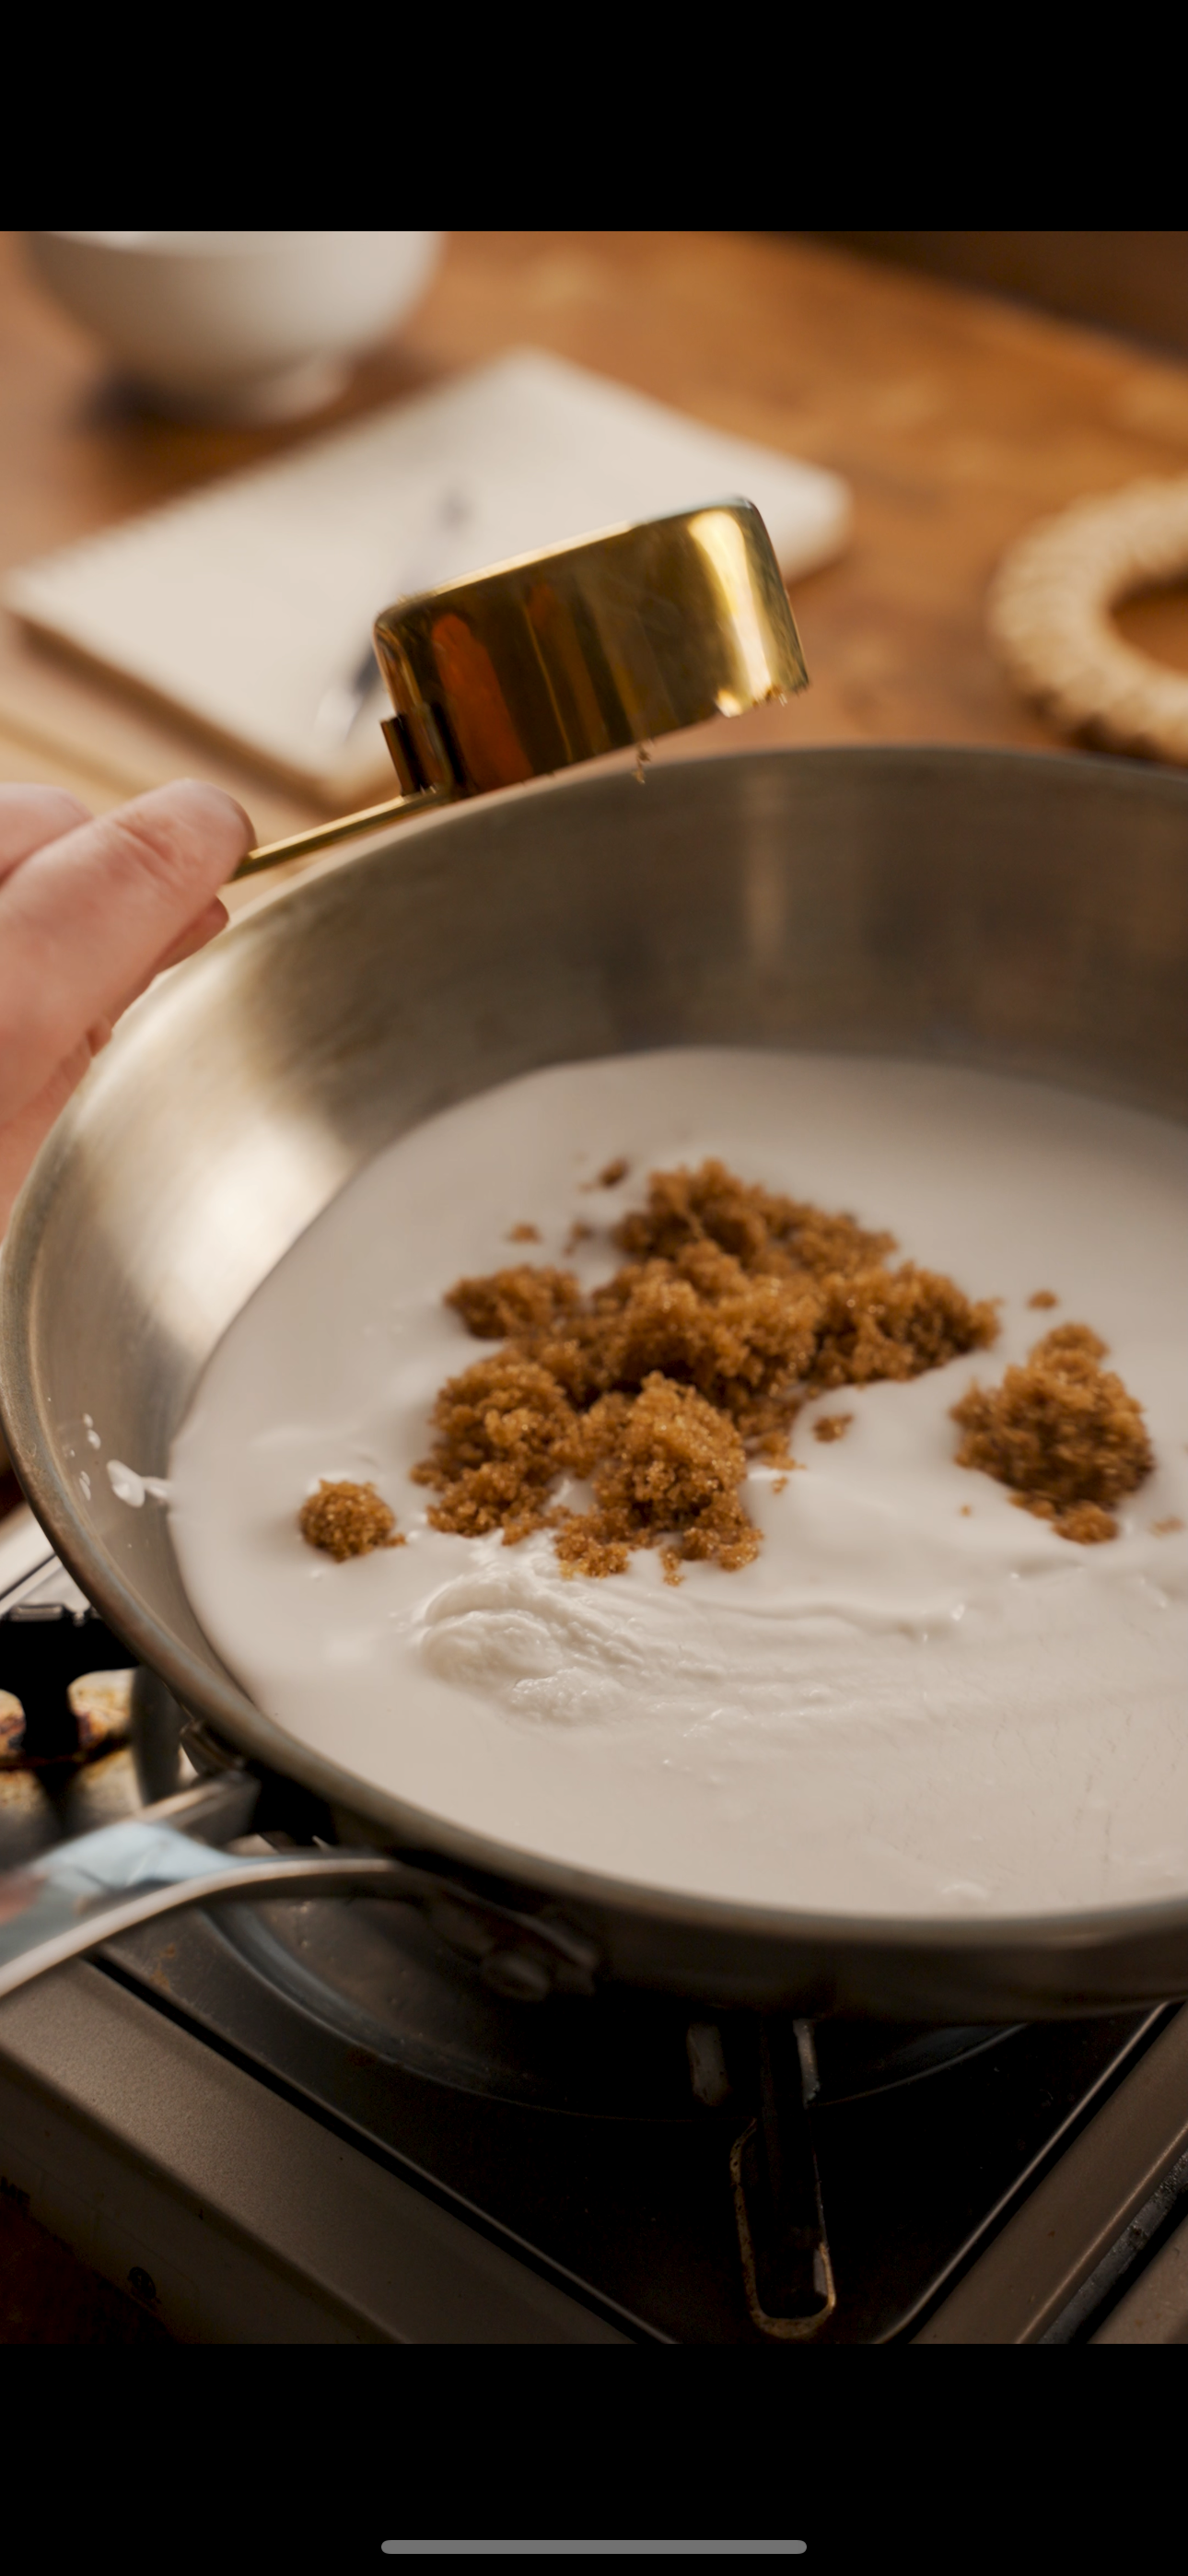
Coconut Caramel Sauce:
200ml full fat coconut milk
40g dark brown sugar
15g molasses
pinch of salt
15g salted butter
In a medium saucepan, add the coconut milk, brown sugar, molasses and salt. Place over medium heat and bring it to a simmer. Cook until is reduces slightly and creates a satiny, syrupy glaze-like consistency. Add the butter and stir to combine.
Transfer the caramel to a bowl. Set it aside to cool completely.
Assembly:
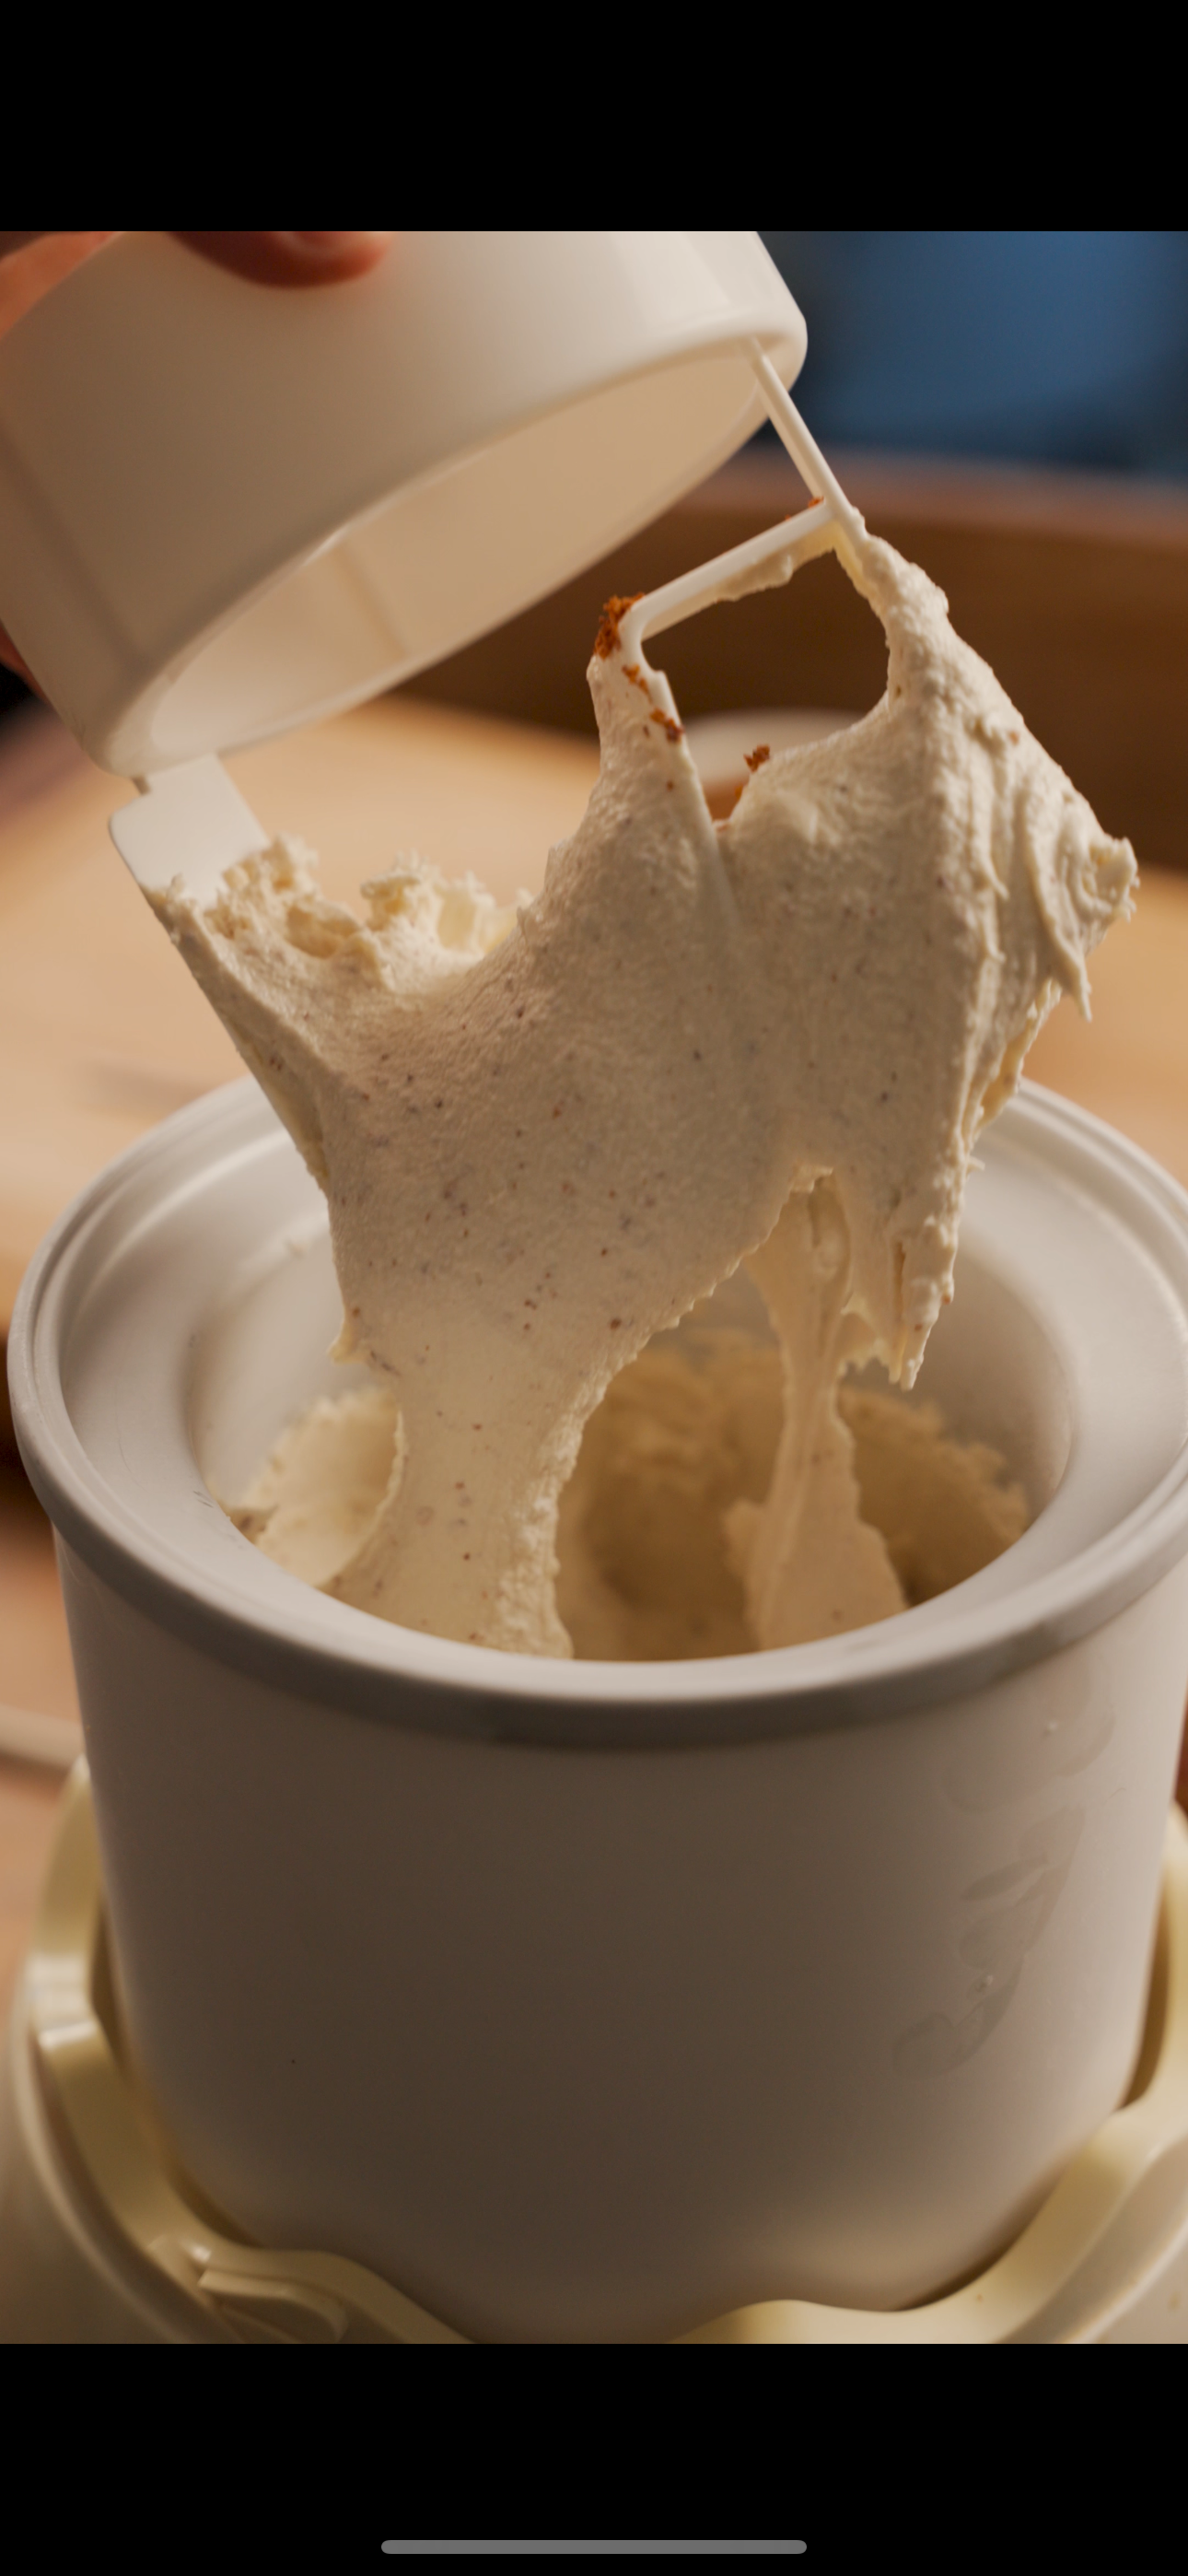
If using an Ice Cream Maker: Once the custard is cold you can churn it with your prepared ice cream basin.
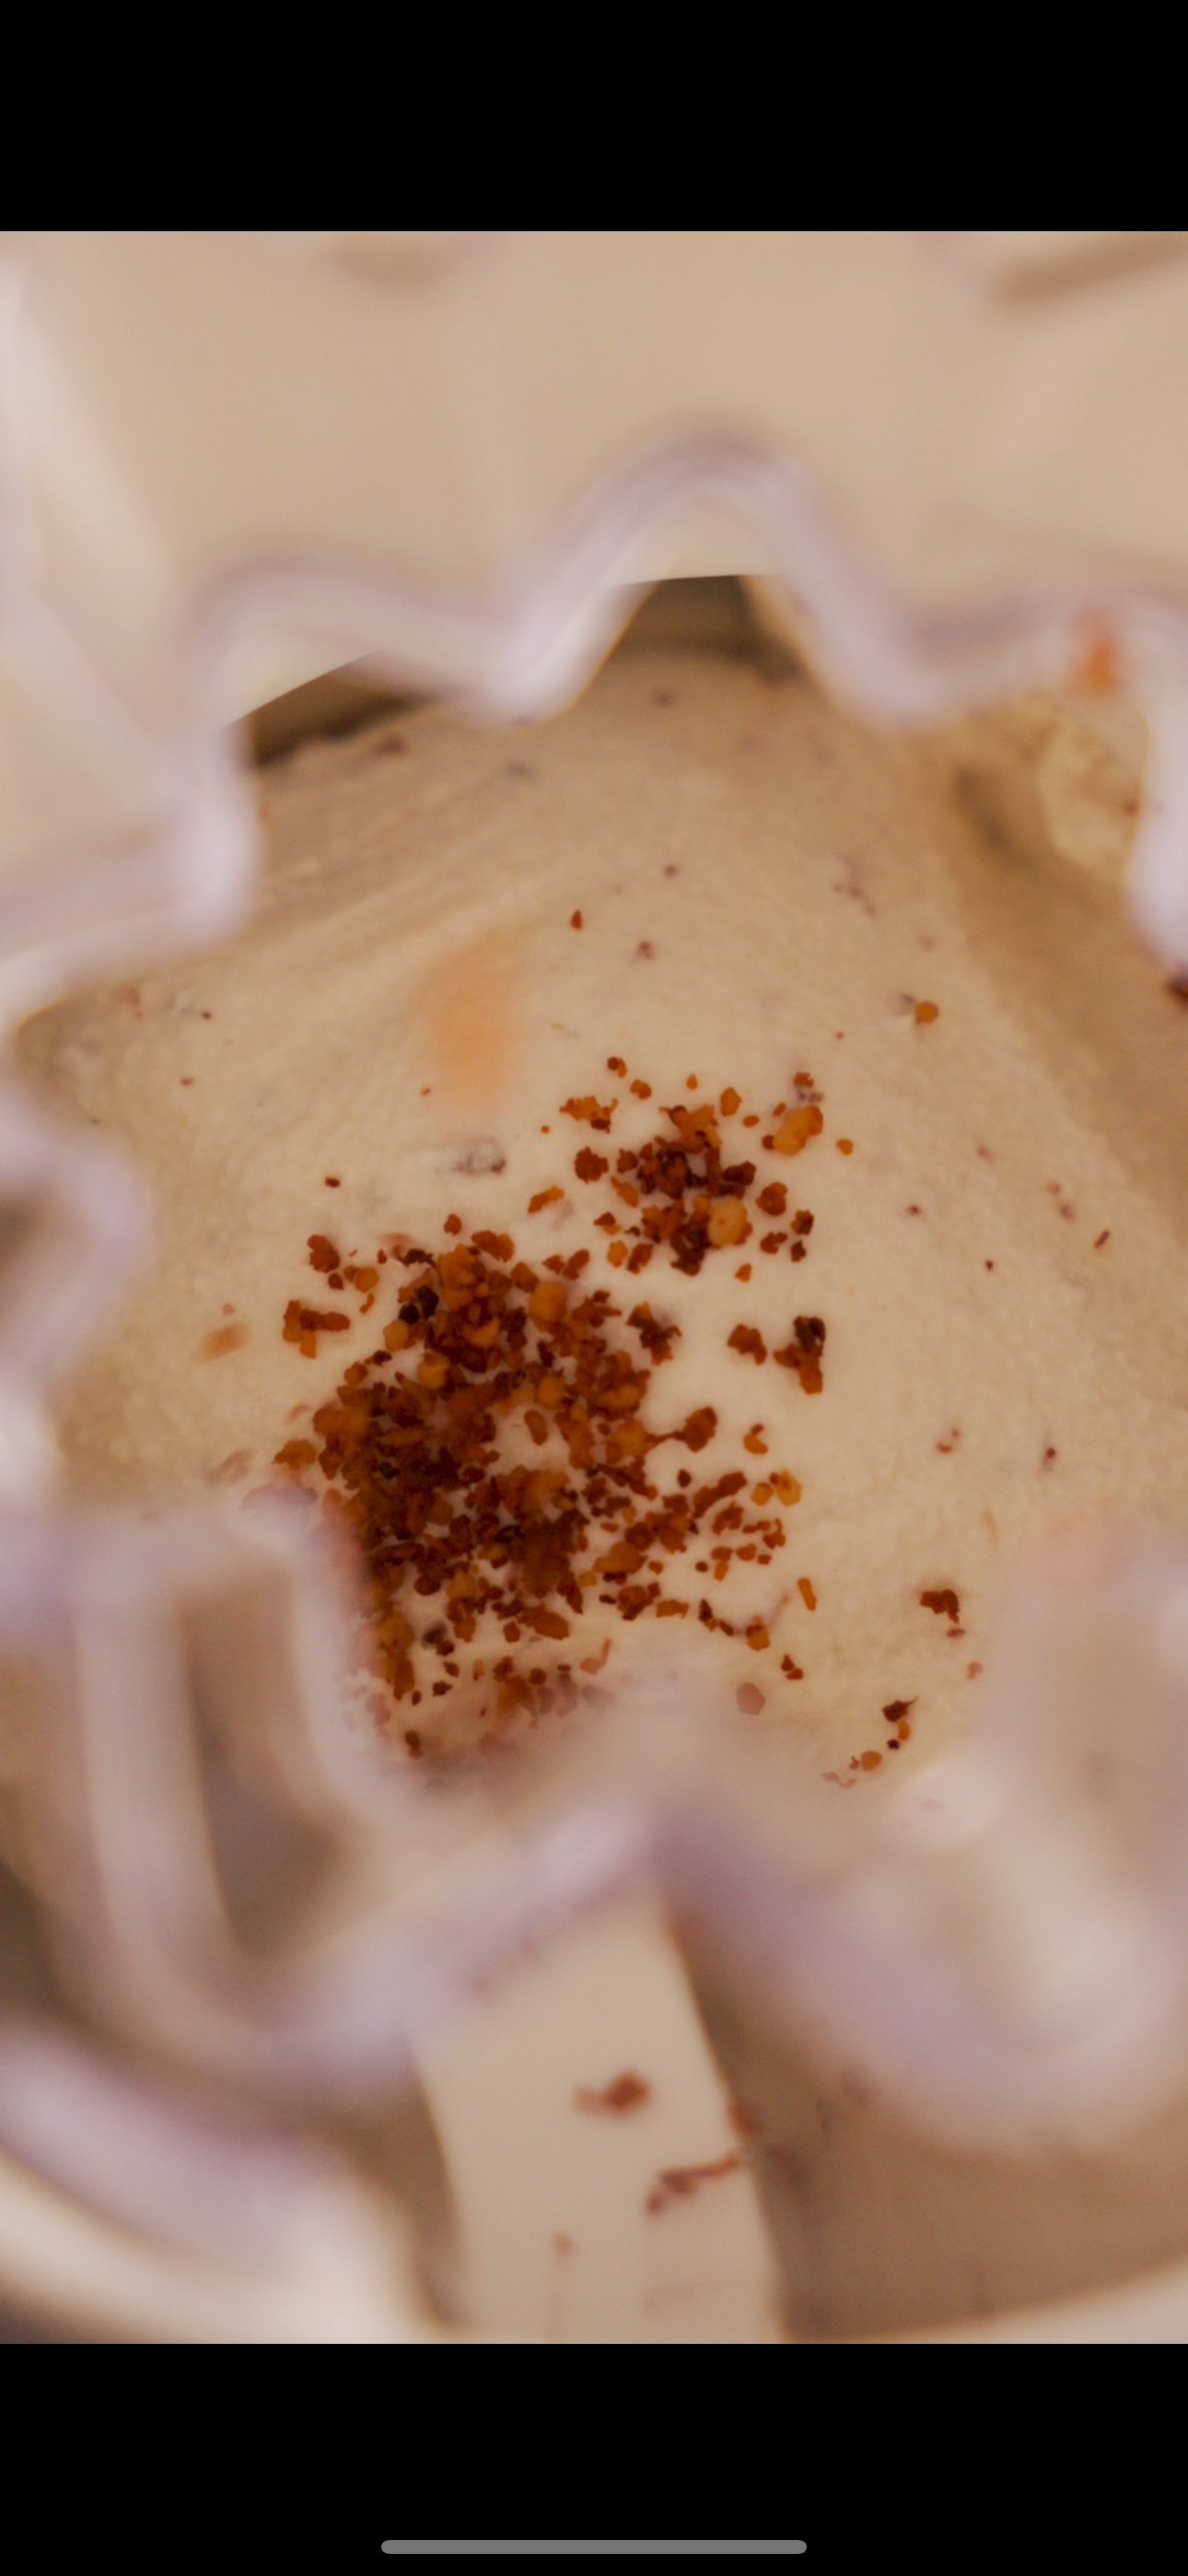
Add half of your crunchy Latik near the end of the churning process to incorporte it throughout. I spun mine for a total of 12 minutes, it should be super thick!


To prevent melting, place the container (in which you wish to store the ice cream in) inside the freezer for 30 minutes prior to transferring.
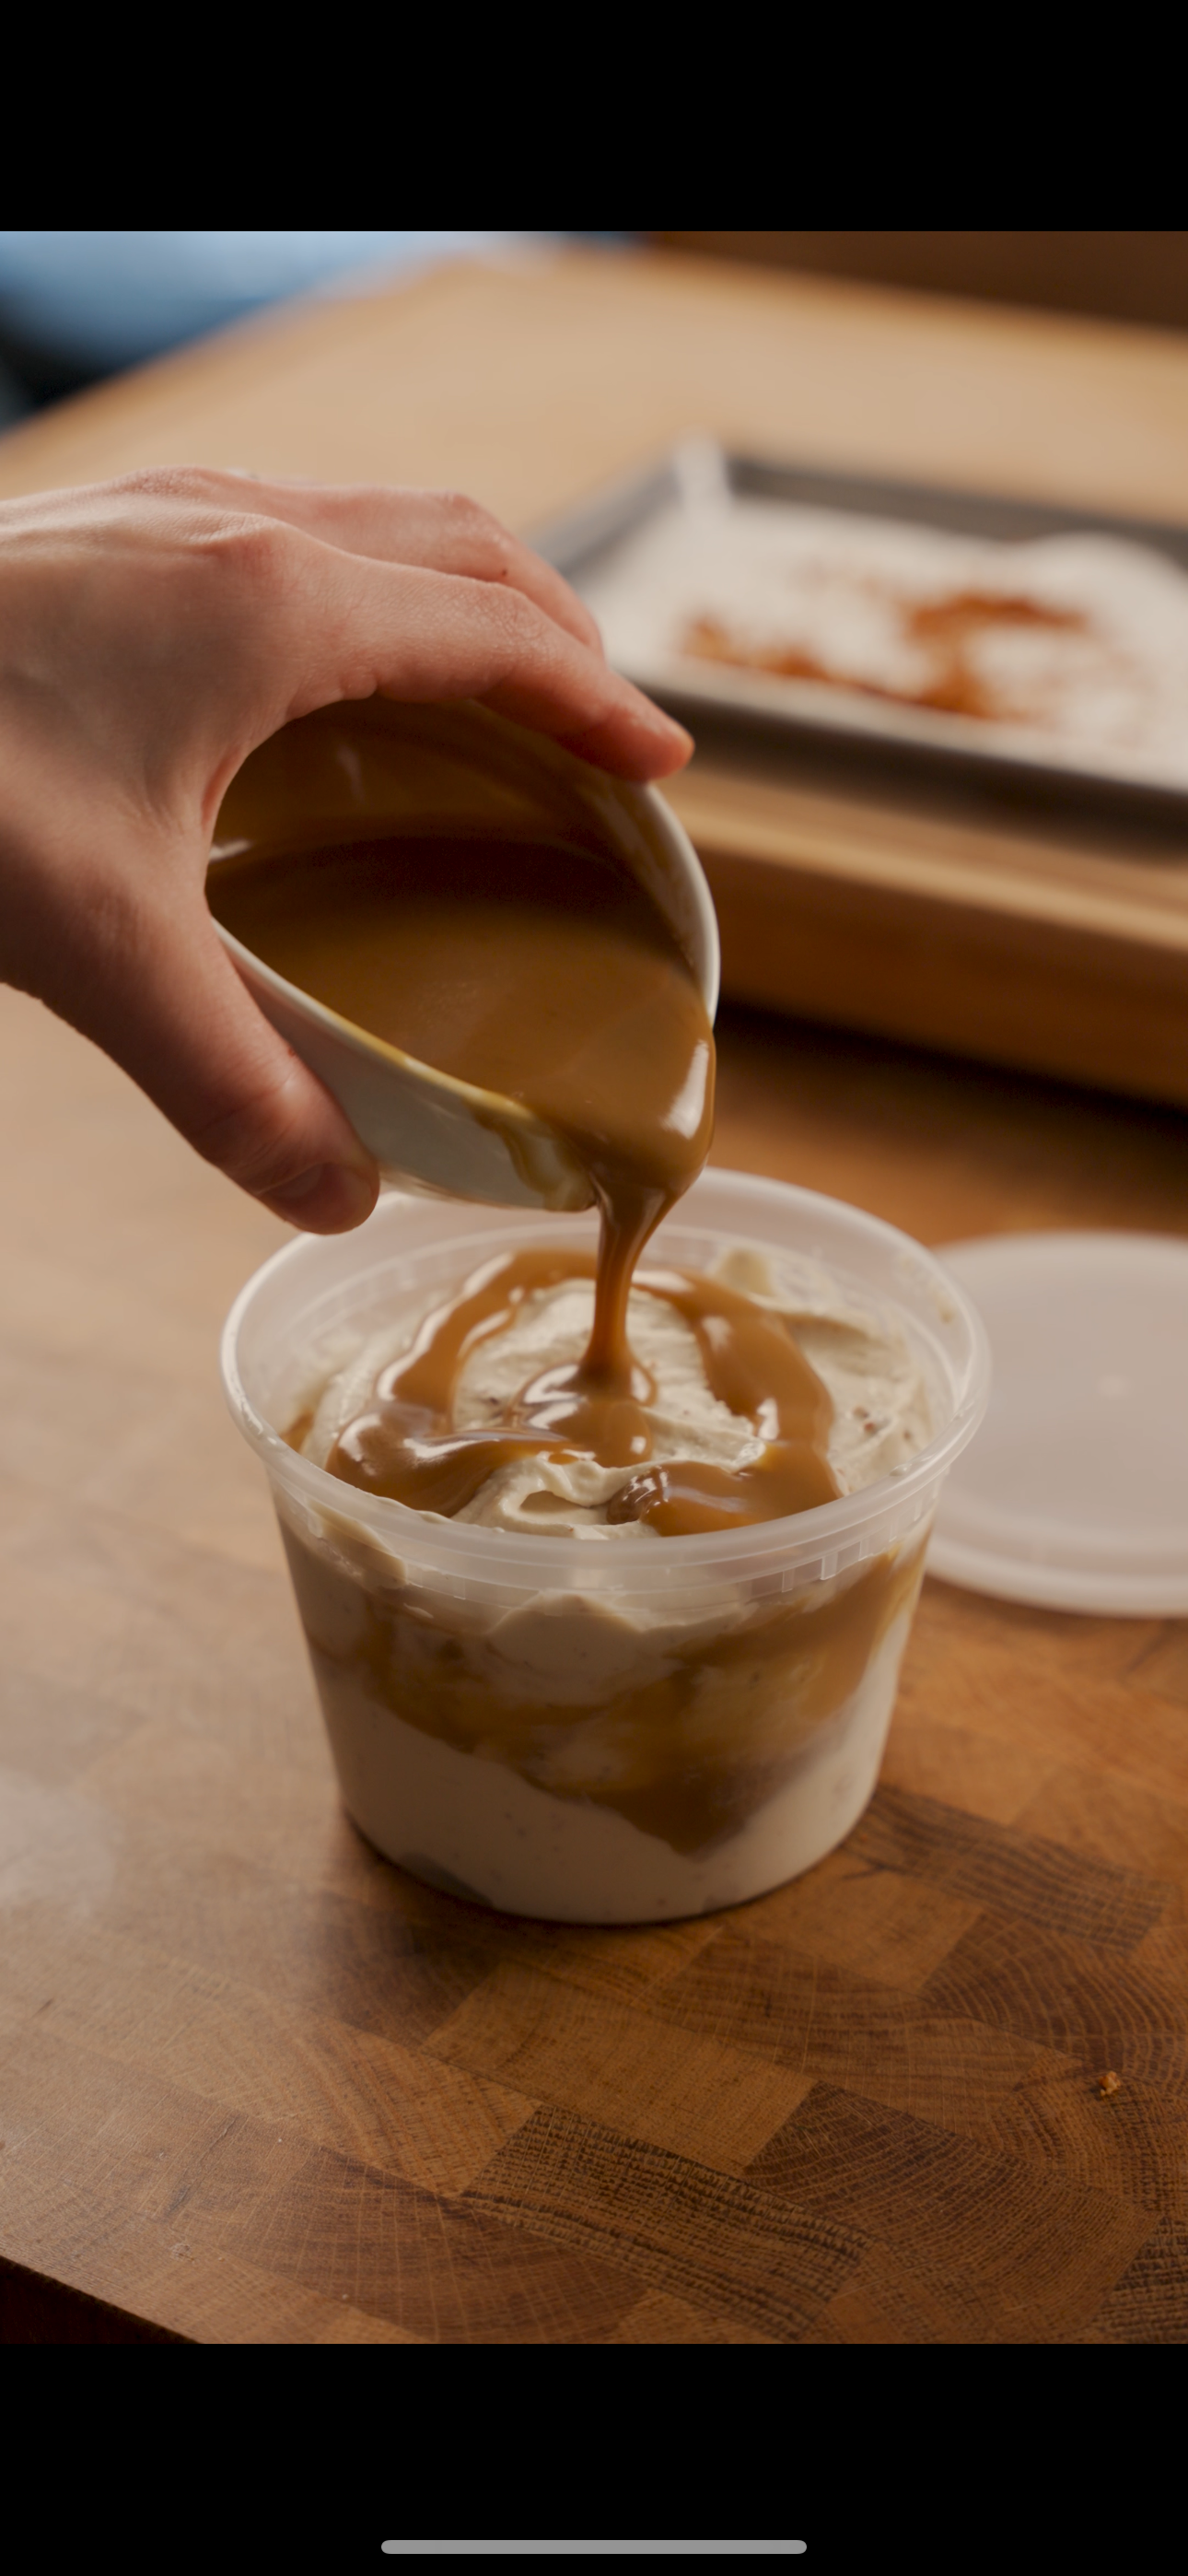
Assemble the ice cream container by layering the ice cream and the coconut caramel. I did three layers of ice cream and two of the caramel.
Store in the freezer for 30 minutes to an hour before serving to help it set up slightly.
If using a Ninja Creami: Spin the ice cream 2-3 times on the Ice Cream setting. Add 2 tablespoons of your crunchy Latik to the pint container and set it to Mix-in mode. When done, it should be thick and smooth.
Remove the pint from the Ninja Creami and create a hole or well in the centre of the container. Pour a generous helping of caramel in the hole to create a sort of “caramel core”. Freeze for 30 minutes before consuming or eat right away.
Once stored in the freezer, to enjoy again with the same desire texture, leave it out at room temperature for 30-40 minutes before eating.
Serve with more caramel sauce and left over Latik.
Enjoy!!